Assembling the Frame of a Chuckanut 15
In the previous series, you saw some of my efforts on the Preparation for Building a Chuckanut 15. What you didn't see is the rest of the wood preparation: Cutting (2)16ft 1.5 x .75 gunnels, (5) 16' 1 x .75 stringers and chine, and (2) 16' .75 x .75 sticks for the carlins. I do this on my tablesaw.
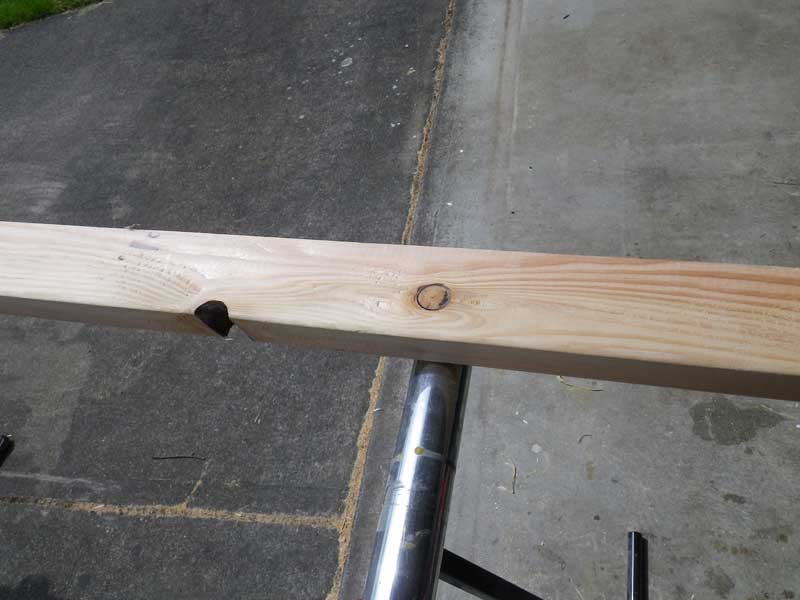
I start by going to Lowes and rooting through their stacks of 16' 2x10s and 2x12s, trying to find one with either few knots or all the knots on one side so I can find a fairly knotless run that is maybe 5.5" wide down the length of the board. This is WAY harder than it sounds. Lowes seems to buy their wood from Knotty Forest Products. Plus, 16' green doug fir is damn heavy AND the Lowes people give you the stink-eye when you knock over their pile of 2x12s.
Next I rip the wood on my tablesaw - use a sharp blade designed for ripping. The sticks you get out of the other end are pretty rough, so I ran them through the table router with a 1/8" rounder bit, then sanded them with my Random Orbital Sander with a 40 grit pad. It's a LOT of sanding.
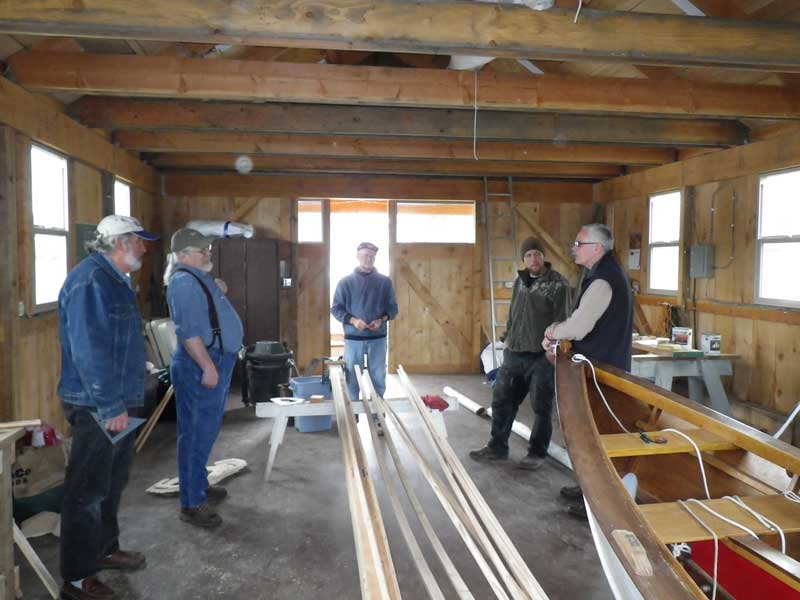
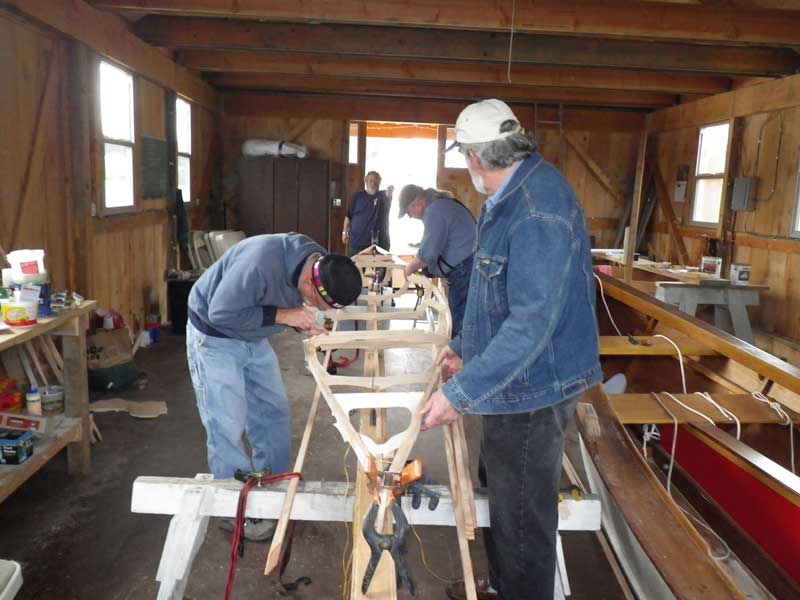
When ready, I bundled up everything and all my tools and went to the Toledo Community Boathouse. There I found (starting at the left) Jim, John, and Curt (fellow Coots) Luke (who'd just been hired on by the Port, and Bud, head of the Port of Toledo.
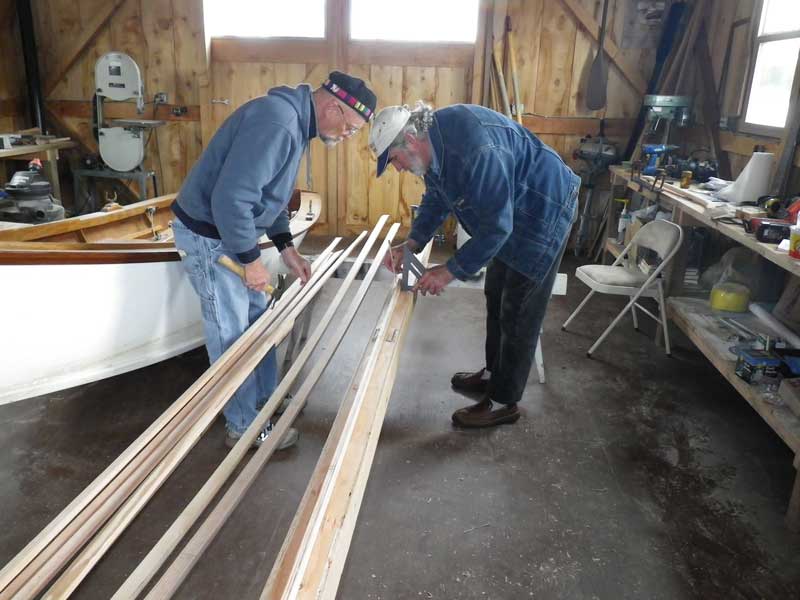
They didn't like the strongback I'd made (it is a little wavy, after all) so we spent a lot of time getting the keel straight. Jim and Curt marked it off and then used nails to brace it into place.
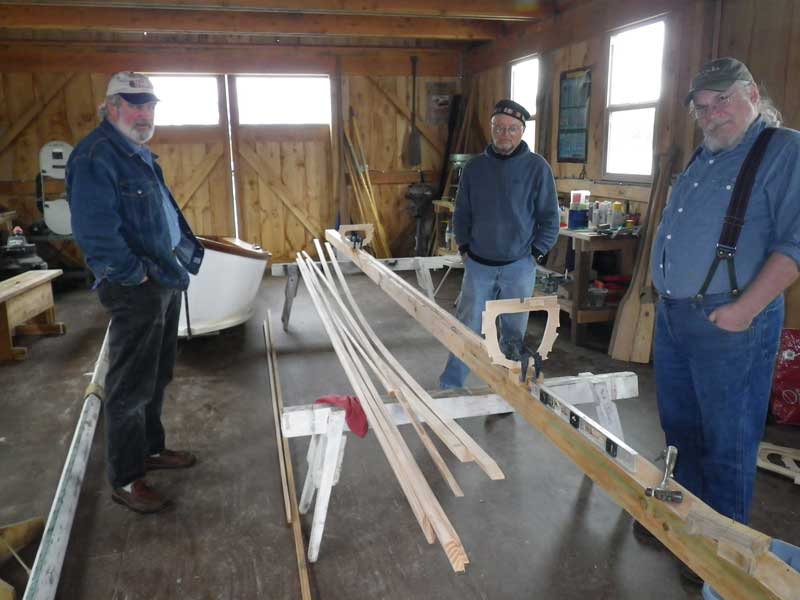
Then we spent a LOT of time making sure everything was level. Things started getting out of hand when the subject of 'relative level' came up - the argument being we were in a floating boathouse, and if we all stood on one side of the kayak, the boathouse would tilt, throwing our 'absolute' level off. I put the matter to rest by reminding everyone that Nanook didn't have a level, and if he could kill whales in his boats, we could surely paddle around the slough in ours.
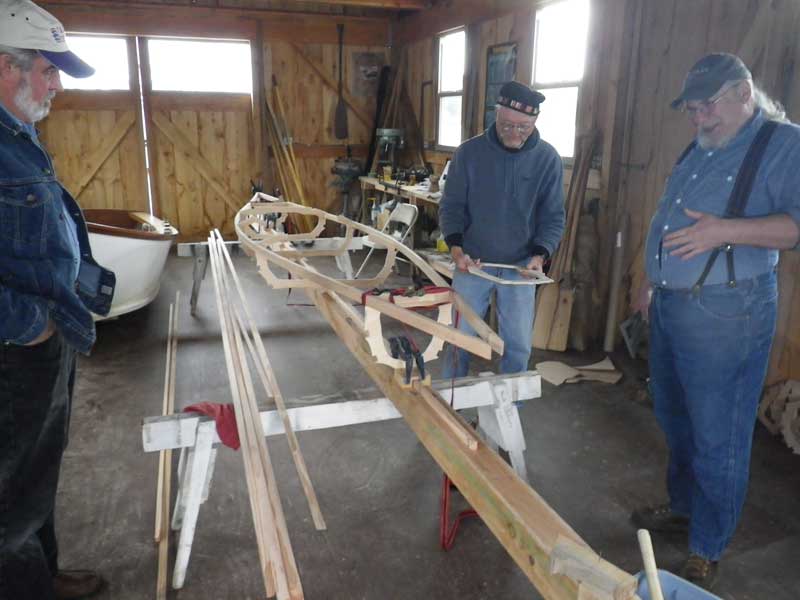
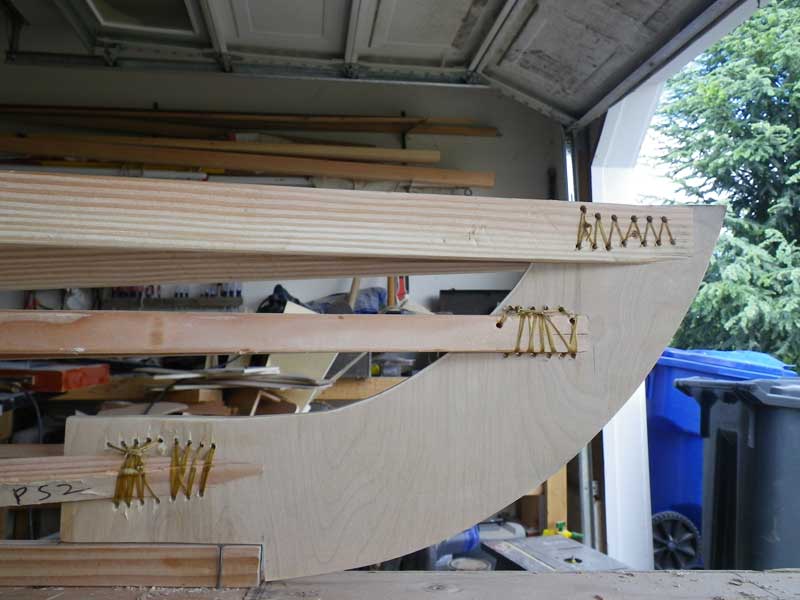
Straighten the keel, clamp on Frames 1 and 6, loosely hold the gunnels in place with cargo straps, then spread the gunnels with the other frames at the appropriate positions. Here, you need to make sure the frames are perpendicular to the keel - both lefty-righty and uppy-downy. That way your boat is straight.
Next, we learned how to lash - a new thing for all of us. We learned the Eskimo Knot and cinching and all kinds of good stuff. We were using synthetic sinew, which you can get at a crafts store (in the leather section) or nice and cheap here: http://www.primitiveoriginals.com/70pounrolcol.html
This guy has nice videos on lashing
http://kudzucraft.kudzupatch.com/video/lashing.php
At the end of our first 3-hour session, we had all the frames lashed to the gunnels. Pretty good for first timers.
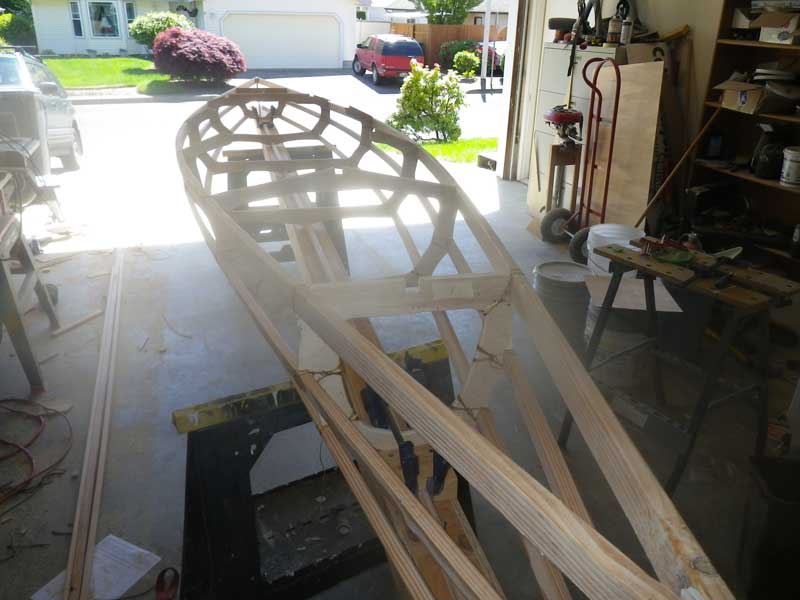
At the end of the second day (only 2 hours) we had all 4 stringers lashed in as well - then I brought the kayak home so it'd be ready to skin the next week.
This is what you get, driving around with a naked kayak frame on top of your car: Bugs. Too bad I am so lazy - rather than wash them off, I just slathered them with varnish, preserving them for future generations.

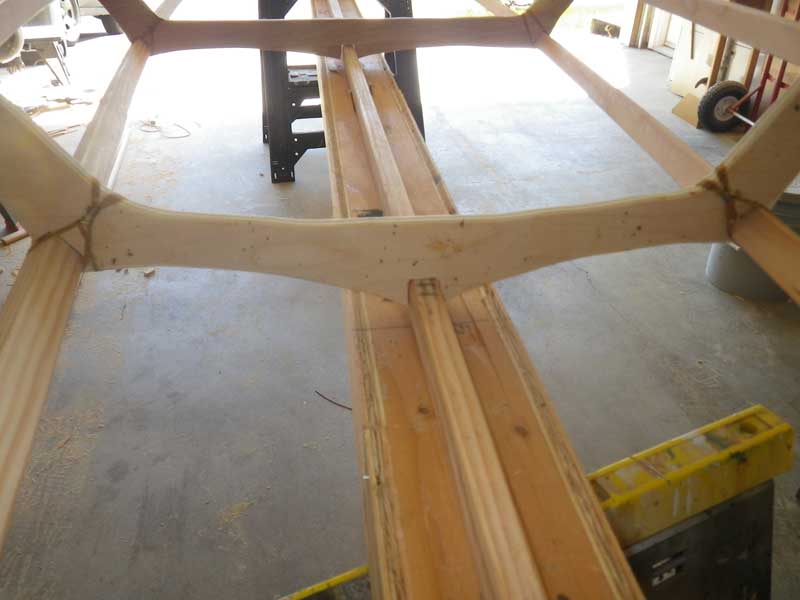
Here's a detail of the lashing. I was so pleased with how tight the lashing was and how well it worked, I decided to lash the whole thing - no glue or fasteners.
This "no fasteners" thing got complex at the stems. I was just winging it here - didn't bother to ask anyone or look anything up. I just made my best guess and went for it. Hey! It worked!
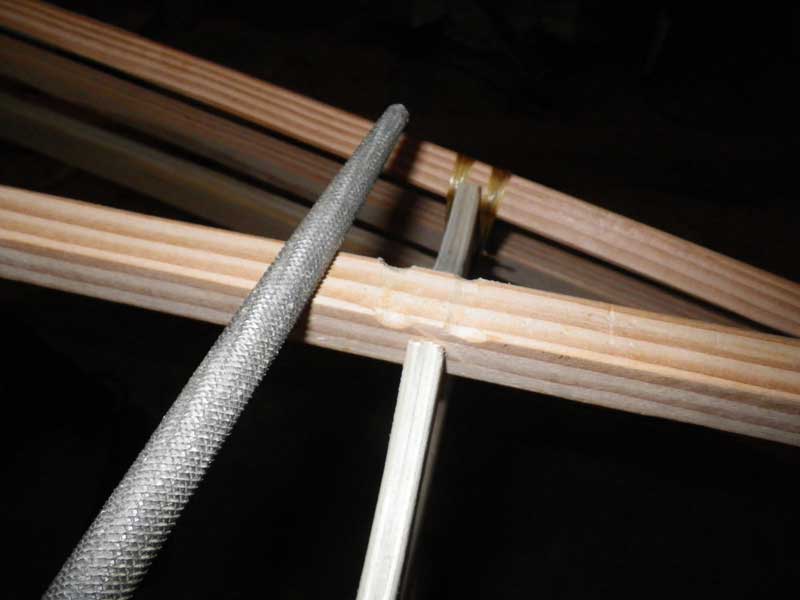
The guy at Kudzu Craft recommends hogging out the corners of the keel where the lashing will go to prevent wear on the skin. OK, fine. Hog away.
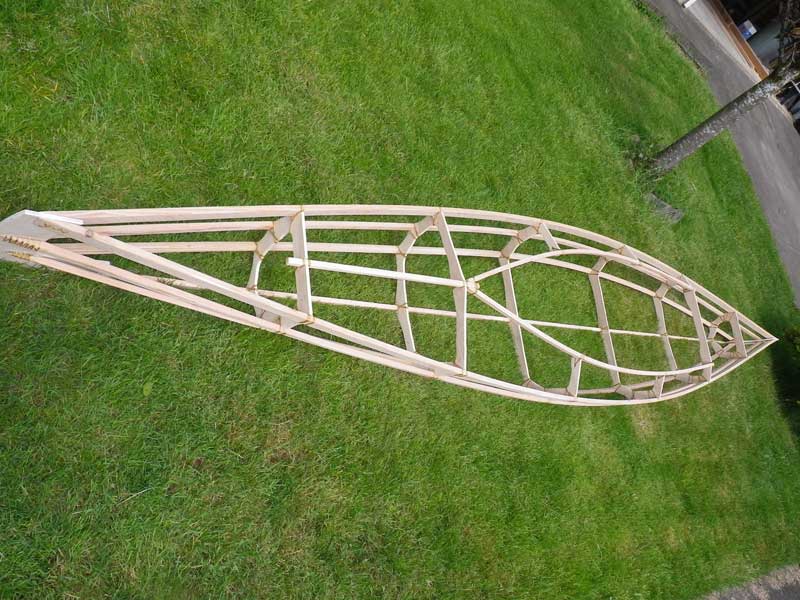
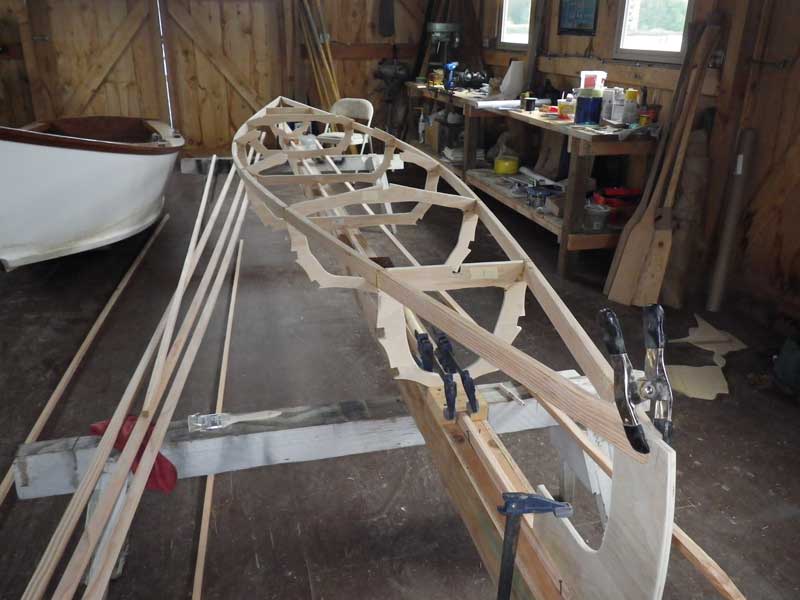
There she is, all lashed together. Damn, that's purty.
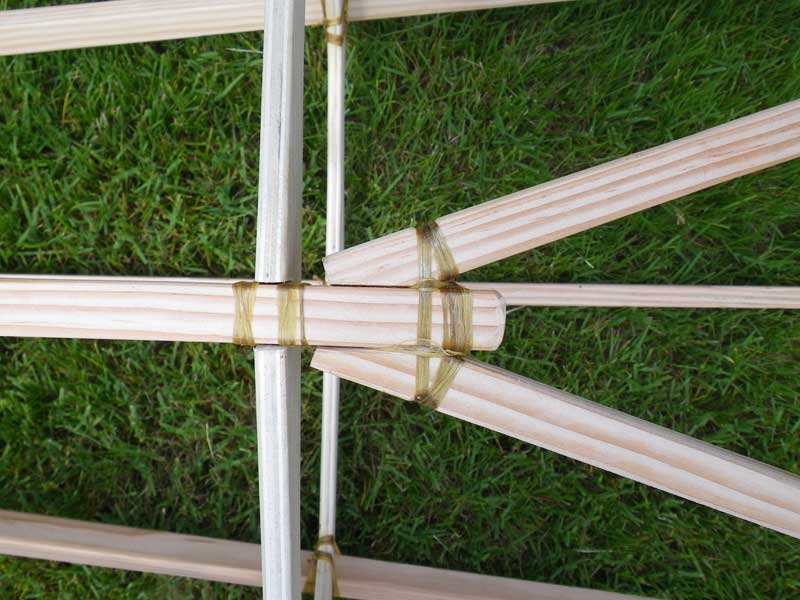
Here's my detail on lashing the carlins to the king plank. I'm thinking it'll work.
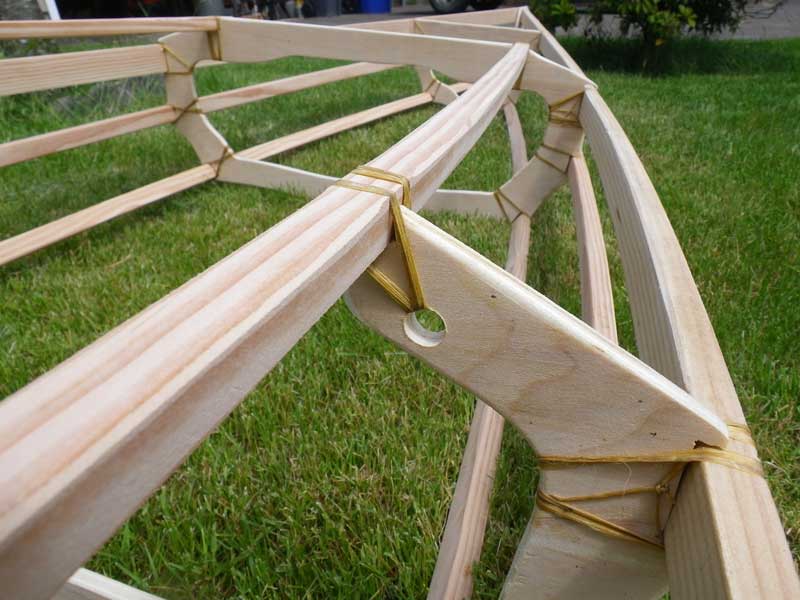
I sorta cheated on the carlins - they have a pretty good bend to 'em and need a lot of pressure to hold 'em in place, so I drilled holes in the frames so the sinew wouldn't slip under the strain.
The final thing I needed was a floor. It had to be about 8' long and 12" wide AND it needed to support a person's weight over a span of 30" or so. All I had left to work from was the remnants of the original 2x10 I'd cut the rest of the boat from, and it was pretty ratty.
In the end, I trimmed it to (2) 8' sticks 2.5" x 1.5", then sliced it the wide way into (6) planks 2.5" x ~ 3/8". I used the excess to make supports (which you'll see later.)
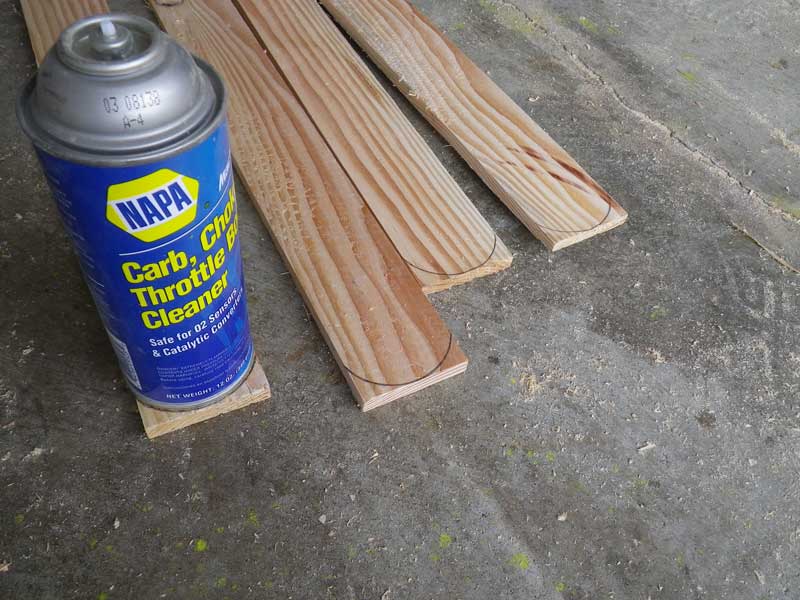
I didn't like to look of the squared ends of the planks, so I used a spray can as a template and rounded 'em (carb cleaner? Where'd that come from? I haven't cleaned a carb in over a decade.)
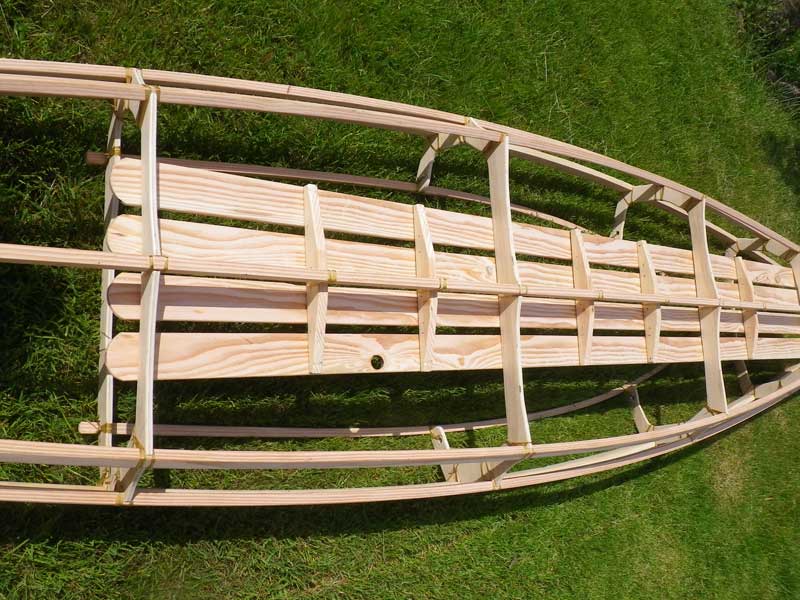
This is the underside of the kayak skeleton with the floor installed. Remember the bracing I mentioned earlier? That's those little wedge thingies you see lashed to the keel. They provide support for the floor boats for when land lubbers go stomping around in my kayak.
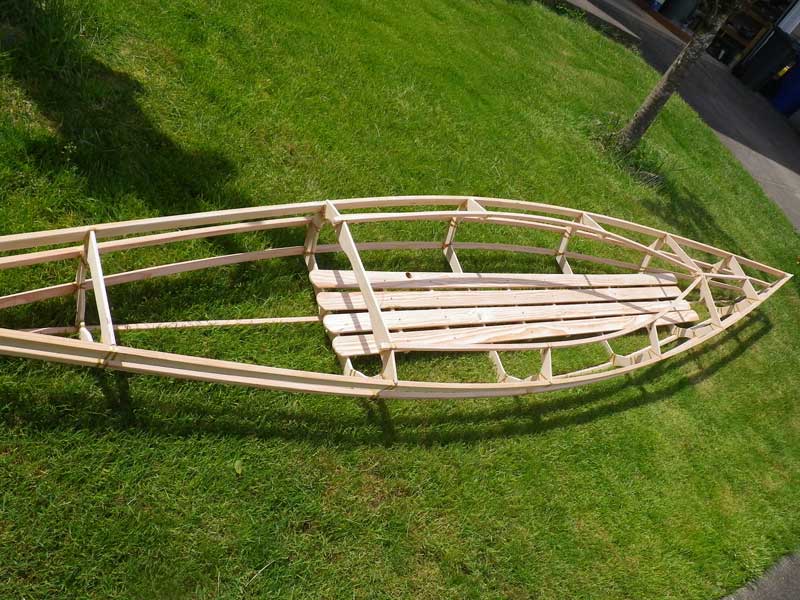
And there she is, all put together ( the front is to the right.) To tell the truth, I'd be happy to stop right here and call it good - I think it is beautiful just as it stands.
Next week: Skinning!