|
Scale Model of a Modified Chuckanut
- a Chuckanoe? I've discovered Skin-on-Frame boats and really like 'em. The guys at the Boathouse and I built one of Dave Gentry's designs, a Chuckanut 15, and it is pretty dang cool. Since I am primarily a canoest and not a kayaker, I thought it could use a little bigger cockpit, so I set to doing a modification.
It's still a Chuckanut, just a little more canoe-y. Until Dave tells me to knock it off, I'm calling it a Chuckanoe. It requires modifying Frames 2 and 5. I wanted to make a 1/2 scale model to use for demonstrations and to hang from the rafters in the Boathouse to just provide a little more atmosphere. Using my design software, I laid out the frames, took some guesses, and got it done. I printed out the frame patterns on my home printer (some require use of legal sized paper.) Tracing the patterns over carbon paper, I transferred them to 1/4" ply, cut the frames, and set to building.
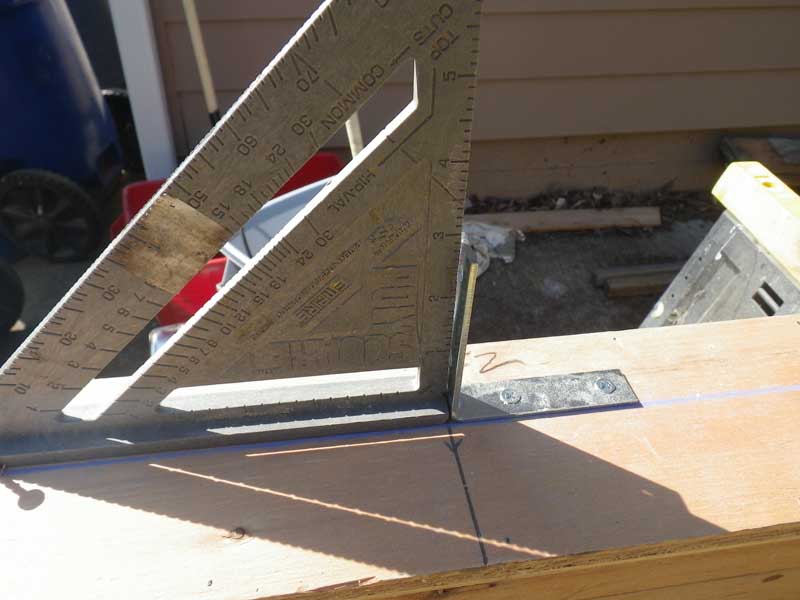
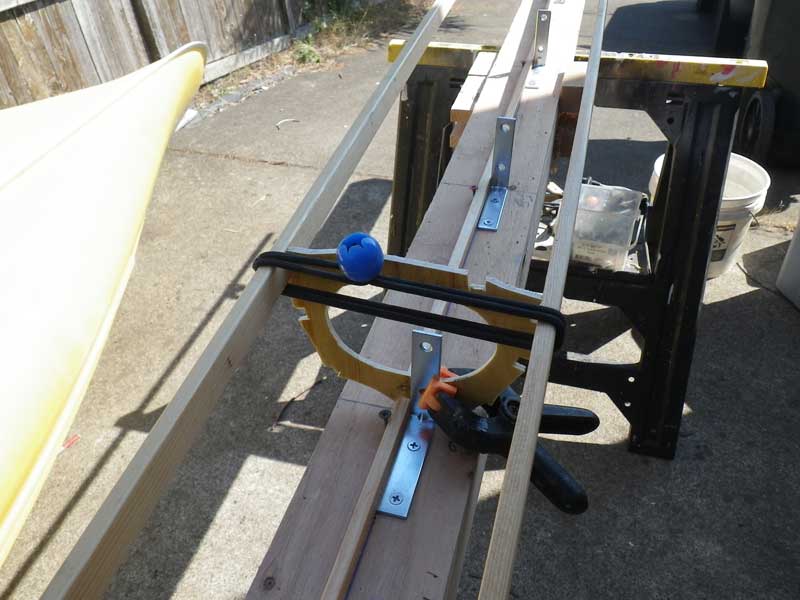
When building Dave' Ruth design, I hit on the idea of using L brackets to hold the frames in place while we lashed on the stringers. The trick is to get 'em square to the strongback.
I'm cheap, so I am using scraps to make this model. I'm not used to using sticks that are 3/8 x 3/8 x 8' long - wood does funny stuff when you liberate it from the board. My keel developed a distinct bend to it after milling. That's OK, that's what the chalk line done the strongback is for.
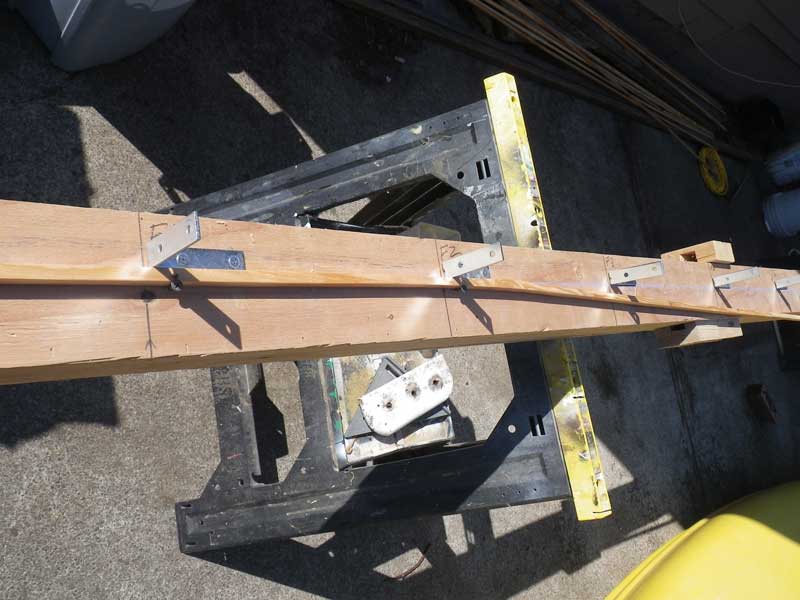
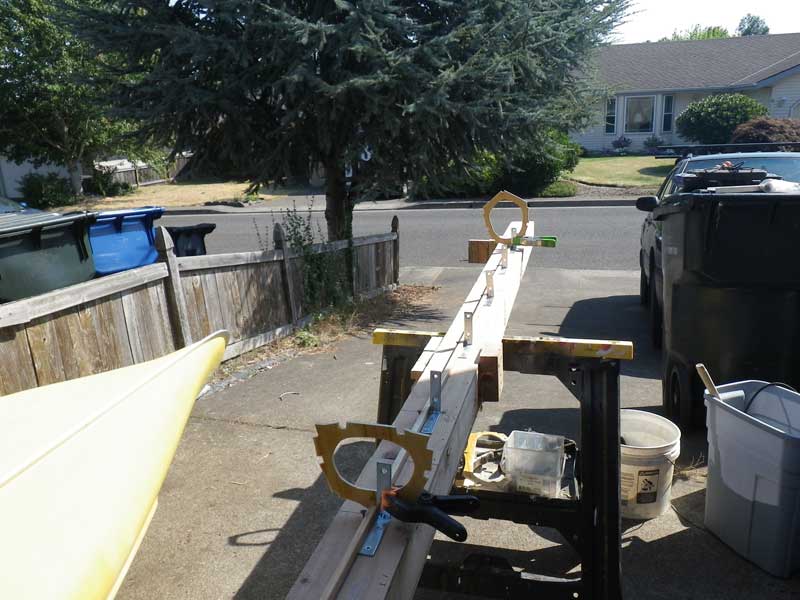
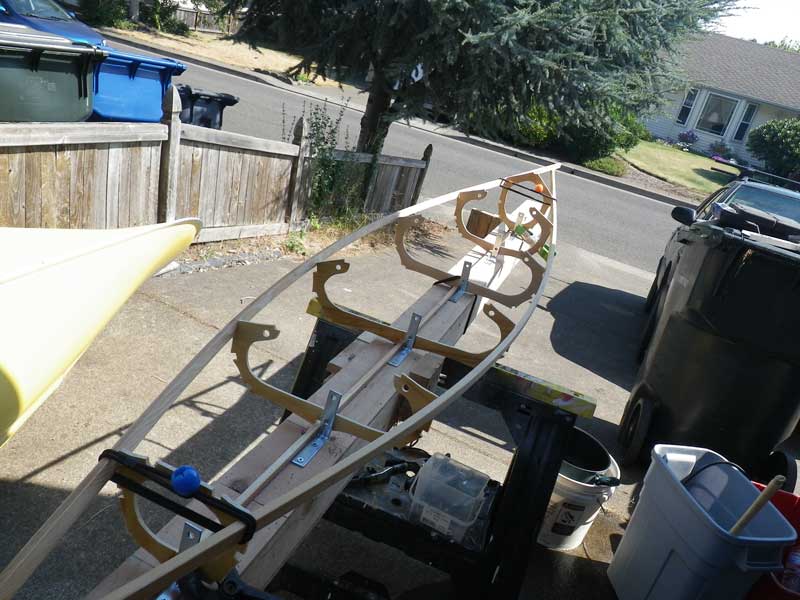
I got the strongback set up and started with Frames 1 and 6.
Crap, I forgot to bend the gunnels. Again - thin strips of wood behave differently than thicker strips of wood.
After some minimal bending, I bungeed the gunnels into place.
and inserted the rest of the frames. Again: Materials behave differently when reduced in size. The 1/4" ply frames were deforming under the pressure - not much, but enough to notice. This does not happen when done full sized. About this time, I noticed small materials have another problem. Most tools are set up to handle 2x4s, 2x6s, etc - big stuff. I broke one of the stringers and decided to scarf the pieces rather than mill a new one. I was in a hurry, so I thought I'd use my chop saw to cut the scarf. I held everything in place with my hand and said "Man, I'm gonna lose my thumb if this goes wrong." It went wrong and I lost my thumbnail to the saw - probably permanently. The upside is I got a tetanus booster, so I'm good for another 10 years now.
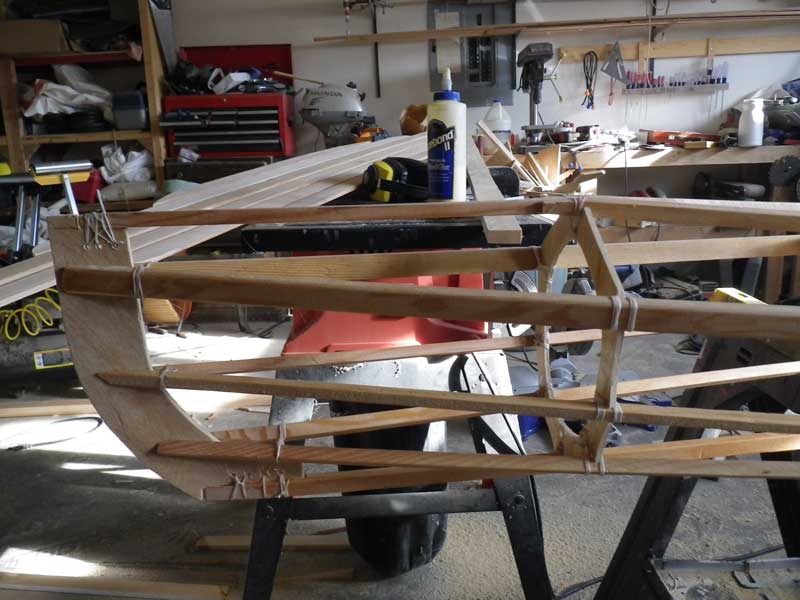
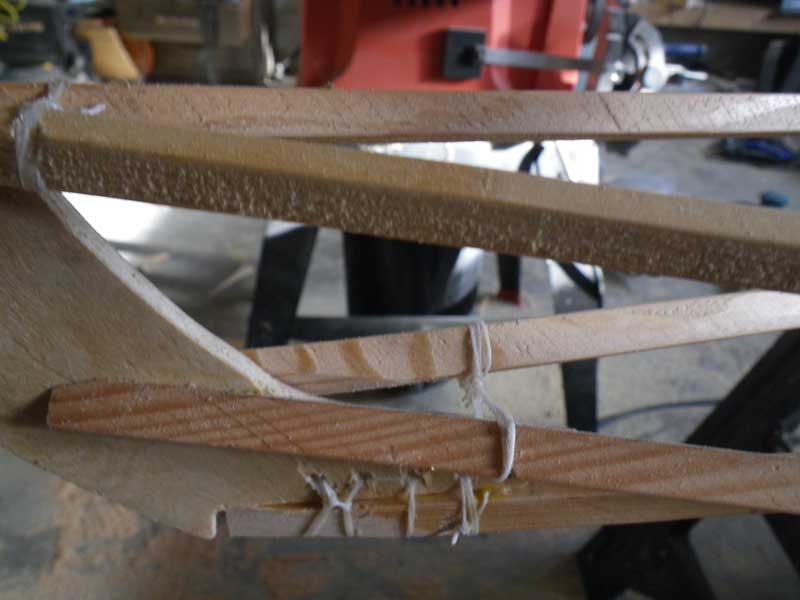
I got bored waiting for my thumb to heal, so after a day or two, I started lashing again. I'm using waxed sail twine for lashing, as I can't find my spool of artificial sinew. This is the new bow of the Chuckanoe - I'll probably fiddle with it a bit more before I am happy. (you use your thumbs a lot when lashing)
Bow stem detail. I use glue on the parts that touch the stem - the lashing bends the stringers into shape.
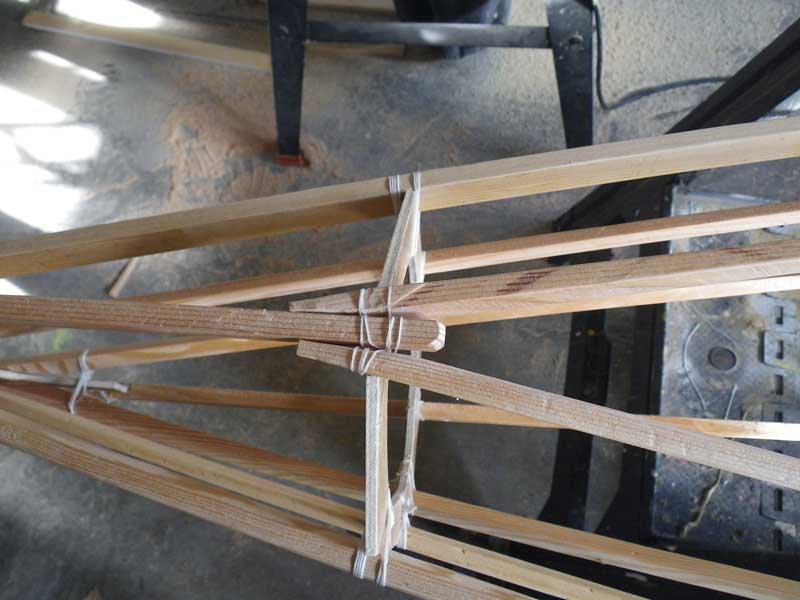
Top down view of the stern.
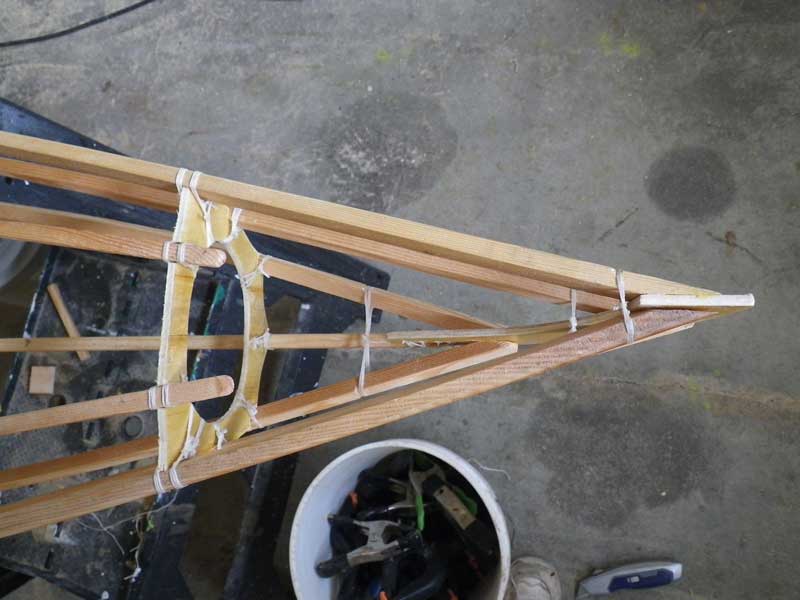
Top down view of the front end of the cockpit - Frame 1.
I became uncomfortable running the lashing around the frames - lashing is susceptible to abrasion and the floorboards will rest on them if they are wrapped over the top of the frames.
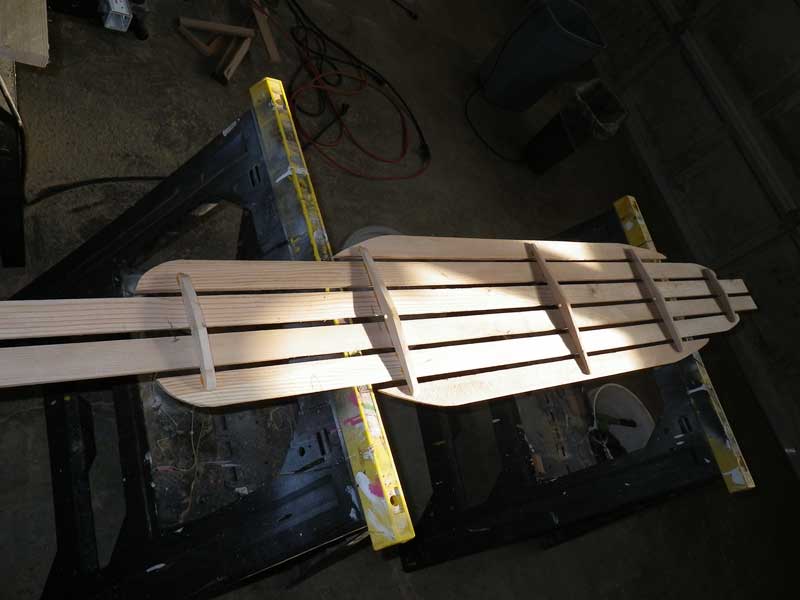
I don't think enough attention is given to the floorboards. I can understand why, though, they are tricky and vary from build to build. I make them as a separate unit - after much trial and error. I use those little braces to help keep the floorboards from cracking when people step on them (you can't teach people to not stand in a canoe - you just can't.)
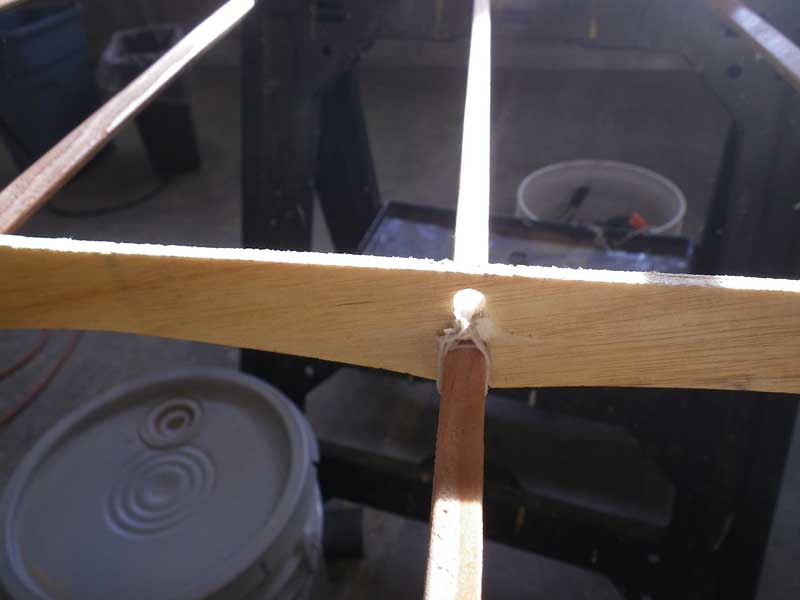
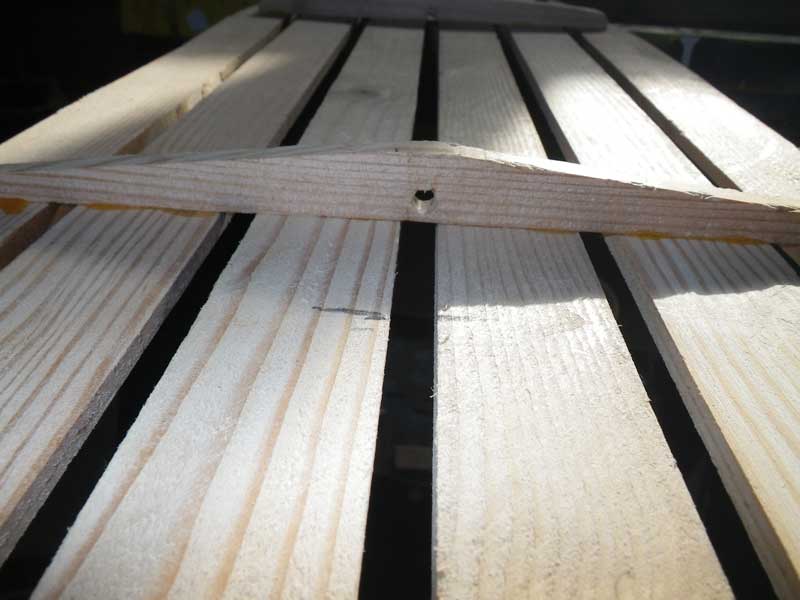
Detail of the brace - upside down, of course. The brace rests on the keel.
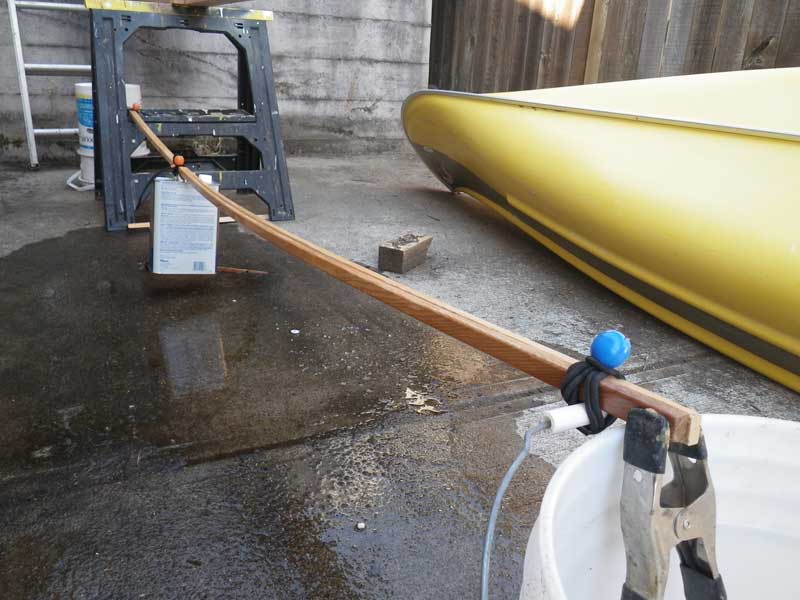
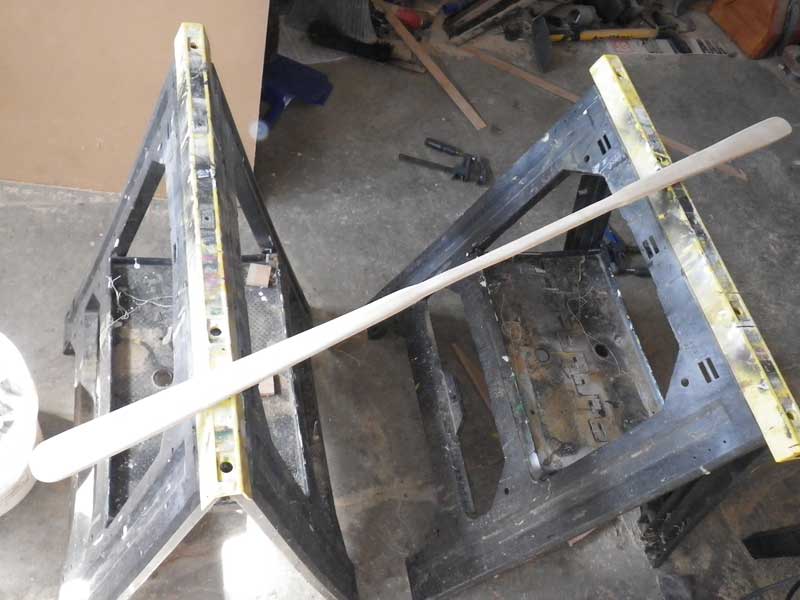
Can't have a canoe without a paddle, can ya? I took 20 minutes or so to crank this 1/2 scale Greenland-style paddle out of a piece of scrap.
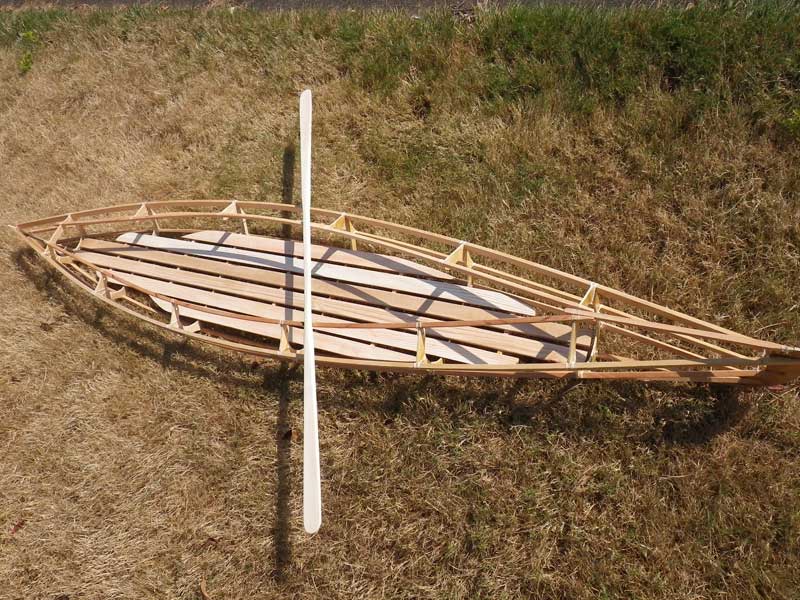
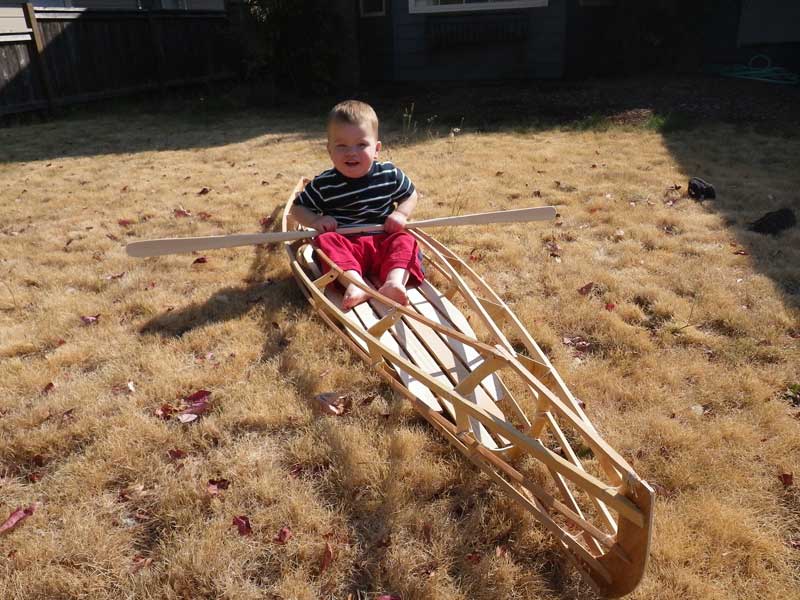
And there she is - a 1/2 scale Chuckanoe with paddle. Now, a 1/2 scale boat has 1/4 the volume, so I needed a 1/4 sized person to test it out. For that I went across the street.
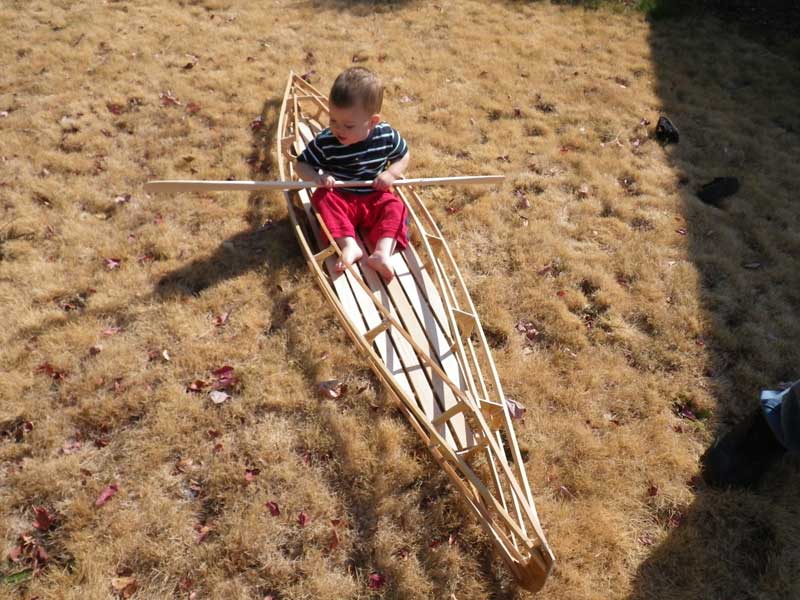
Capt Ben in his first command. That's . . . that's just about perfect.
That first pic was the best, but he's a good subject.
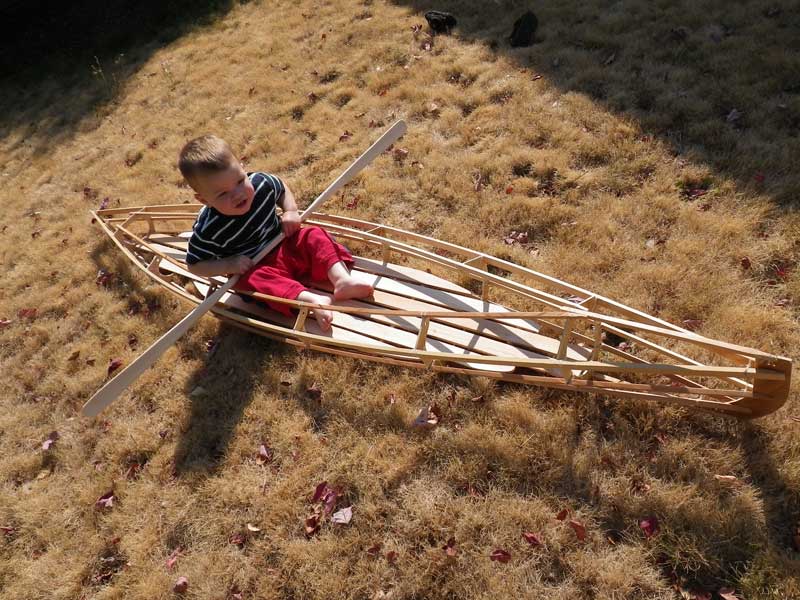
And one last one to round it out.
|