|
The start of the Toledo Rowing Club
(maybe) After the ROUSING success of the Family Boat Build, we took the month of January off to rest up a bit and figure out what we are going to do next. The Depoe Bay Wooden Boat Show is coming up in April, and we want to have something to show. Plus, we want to get started on a rowing club, so we might as well get started on building rowboats, innut? Our eventual goal is to compete in the Scottish Coastal Rowing program (PDF file of the prospectus) The boat required for that is a St. Ayles Skiff, and that's a lot of boat - especially when we don't know if anyone is even interested in competitive rowing. We chose the following criteria:
This was a shockingly difficult order to fill - especially the
"Two rowing stations" part. In the end, I went to New
Zealand's John Welsford
Small Craft Design. I have conversed with John several times
and know he rows for both fun and sport. He suggested his Mollyhawk
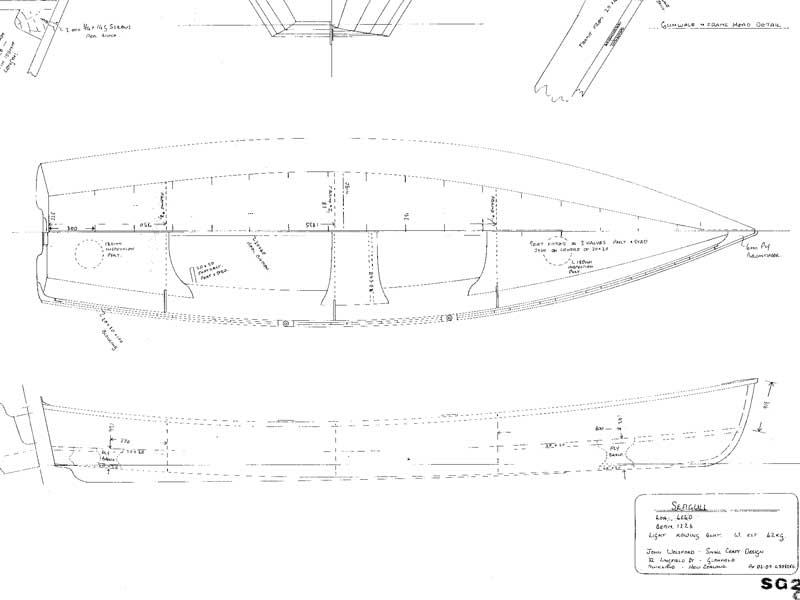
design, a stretched version of his Seagull
This is the overview of the Seagull. For a Mollyhawk, you extend it by 115% so it ends up being over 17' long and just over 4' wide. As near as I can guess, the Bill of Materials (per boat) for this project will be
and, of course, what ever the final cost, add 10% for things I forgot.
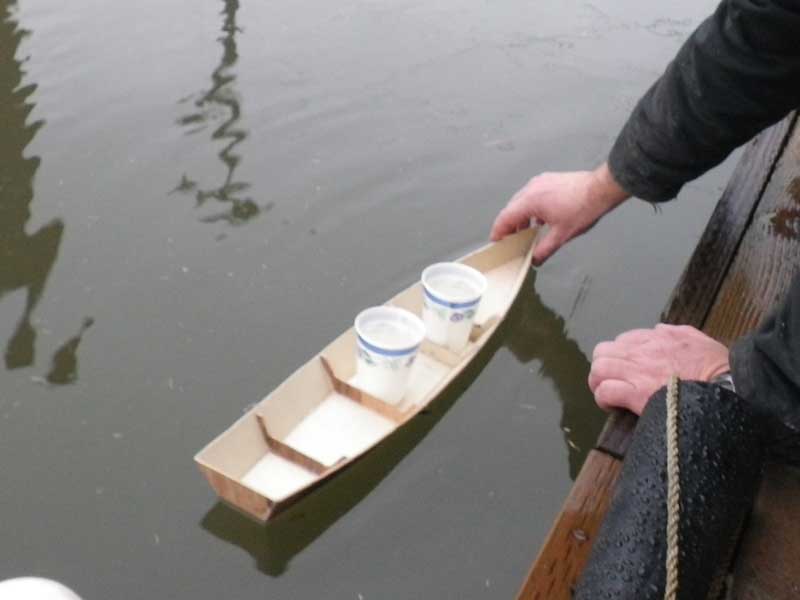
I don't know from no 115%, so I futzed around and made a model. The boat is long, lean, and elegant. My only complaint is that it is too easy to build. But making the boat 115% longer doesn't tell you where to put the seats . . .
That doesn't stop us from trying, anyhow. Bad science has to be better than no science, doesn't it? (hint: No - bad science is bad.)
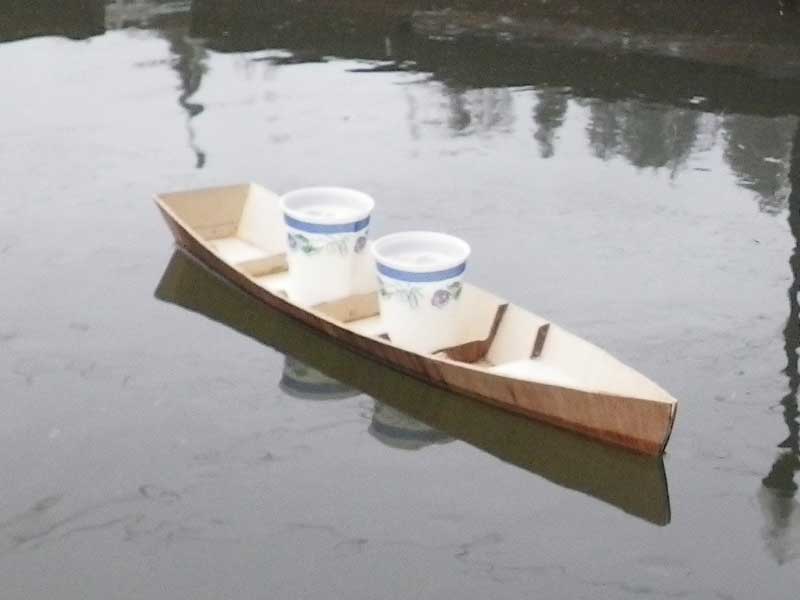
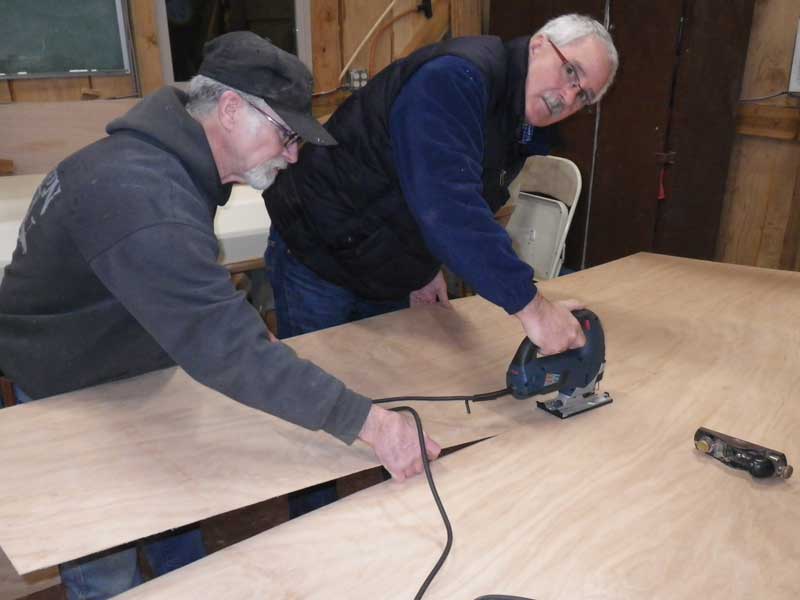
Bad science or not, the model gave us something to go on. We decided since it floated, we'd go ahead and make the boat. Rick, Curt and I are lining out templates. You only make templates if you are going to make more than one of something, so you have guessed correctly, we are going to make at least 2 (can't have a race with less than 2 boats.)
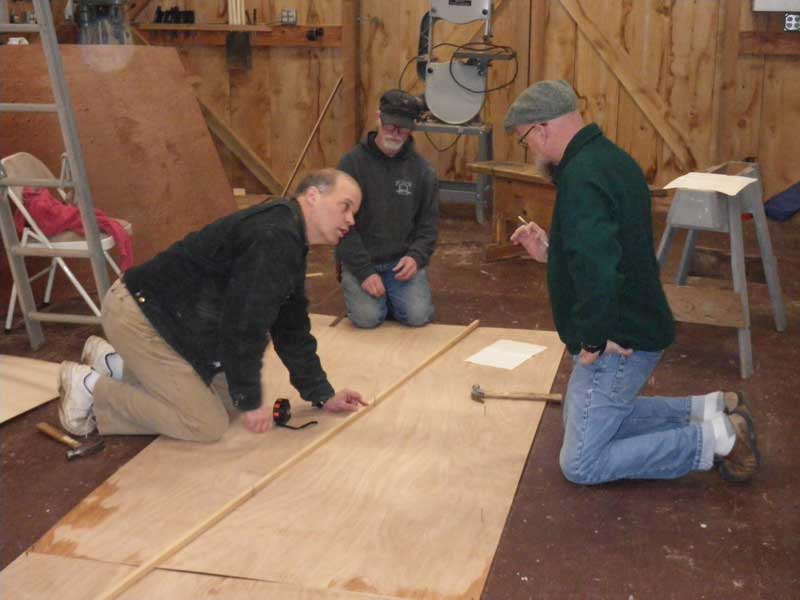
Loft a bit, cut a bit. I caught Bud by surprise in this pic.
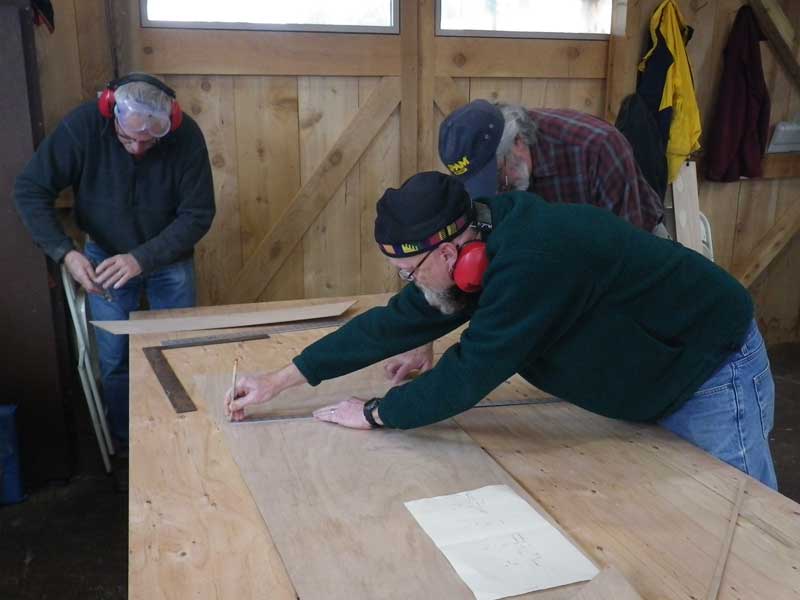
More lofting . . . (ain't it pretty when you buy safety equipment, get the guys to put it on, and they still don't use it correctly?)
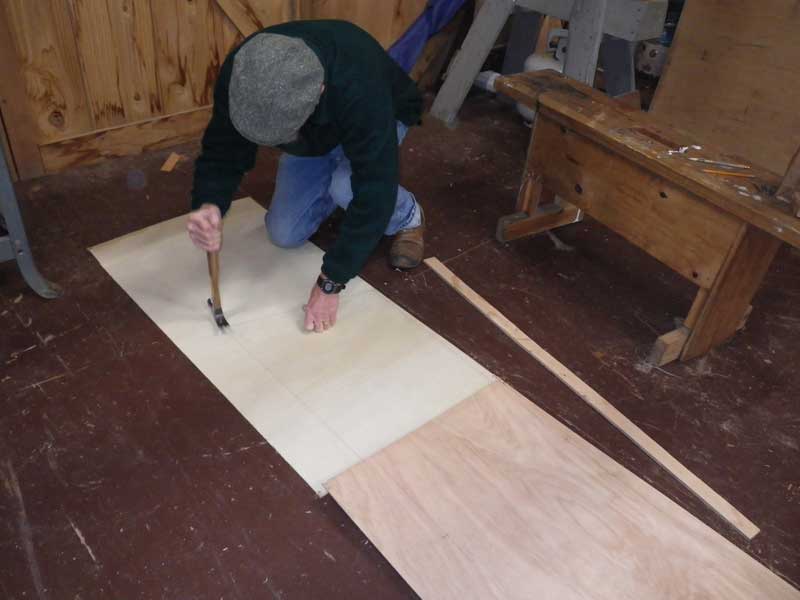
. . . and more. lofting. We are making the templates of 1/8" ply. The bottom is exactly 16' long but the sides are ~ 18ft long. We are going to use Payson Butt-Joints to tie the panels together so we have nice, smooth joins inside and out. Next week: Cutting the bits and maybe going 3D.
|