|
Mollyhawks, Week 7 When last we saw the Mollyhawks, they'd had the exteriors sanded and been given their second coat of epoxy. This week is the same, only more of it. We work in 3-4 hours sessions. When sanding or cutting wood, we can't epoxy because of the dust. We've been breaking the work sessions into distinct phases: Sanding/milling then epoxy then turning off the lights and going home.
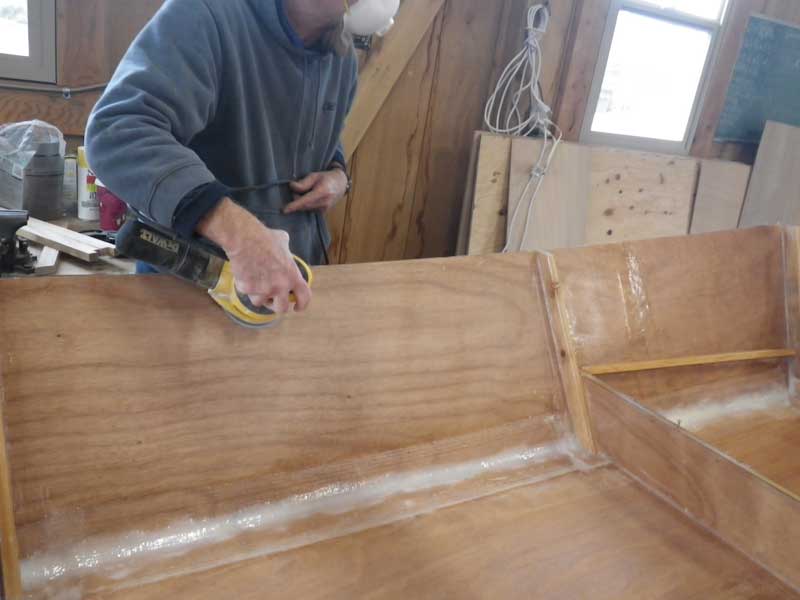
We did the exteriors last week - which are easy compared to the interiors. We started by 'roughing up' the epoxy on the outside with 120 grit paper, flipped the boats, and started the mind-numbing task of sanding the interiors.
The single most important thing is to feather the edge of the fiberglass tape. Nothing shows poor workmanship more than visible weave and edges. We were using 40 grit paper on this. The picture shows the sanding process - feathered out on the left, raw edge on the right. We then coated the interior with epoxy and flipped the boats.
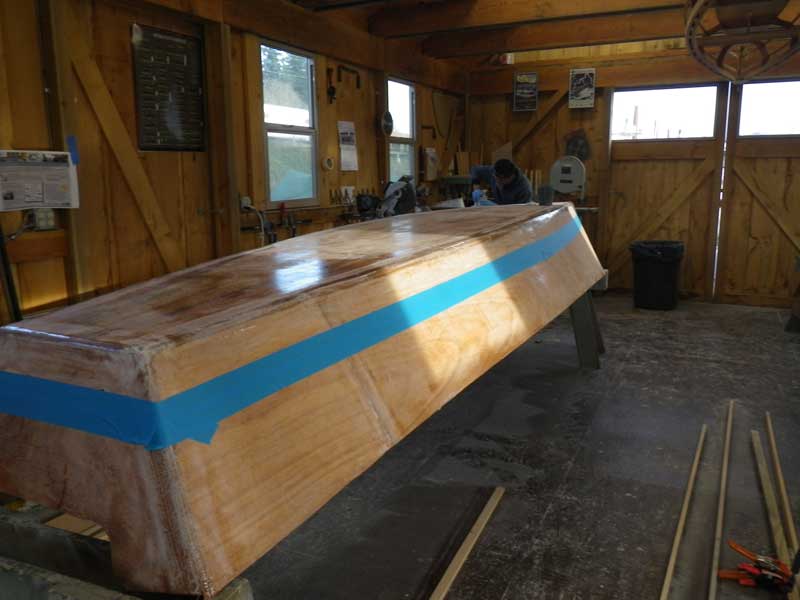
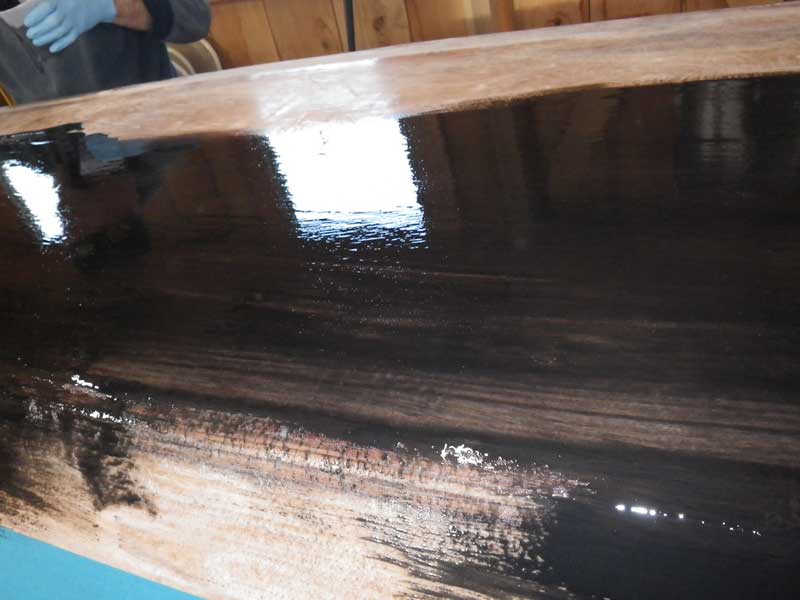
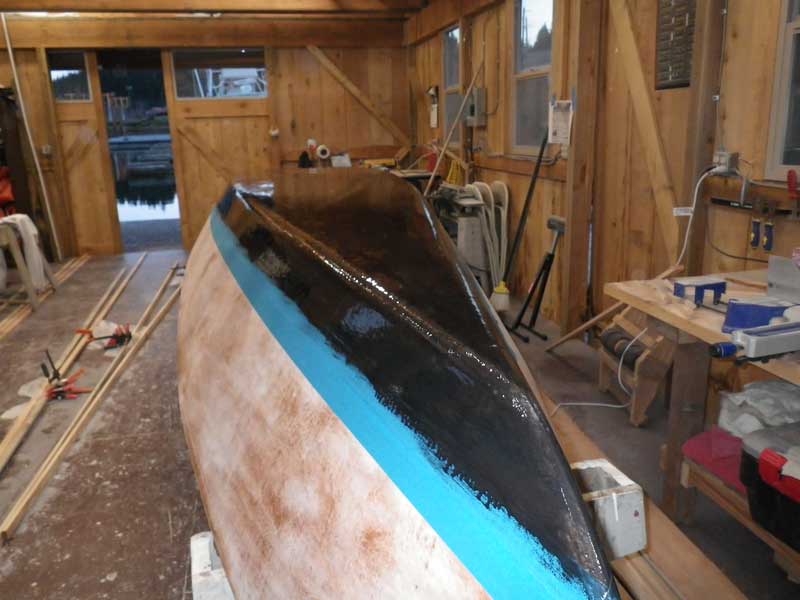
Our goal was to coat the bottoms with epoxy impregnated with graphite. This is rumored to make the bottoms very slick - plus it looks bitchin' cool. Step 1 was to establish where the bottom coat would stop. We stubbed a guide together and drew a line . . .
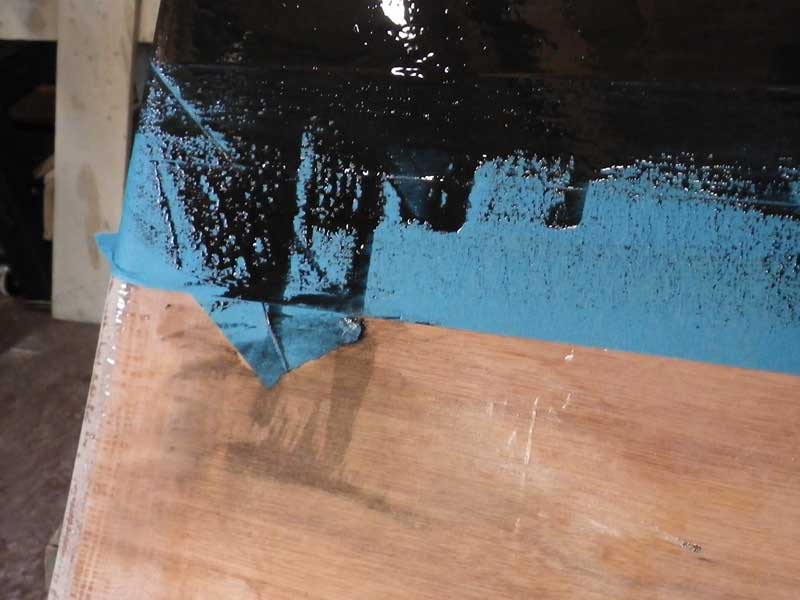
Then laid on a strip of painter's tape. I was using 1.5" wide painter's tape from Harbor Freight and after consideration, we decided to make it double wide in case there were spills and drips.
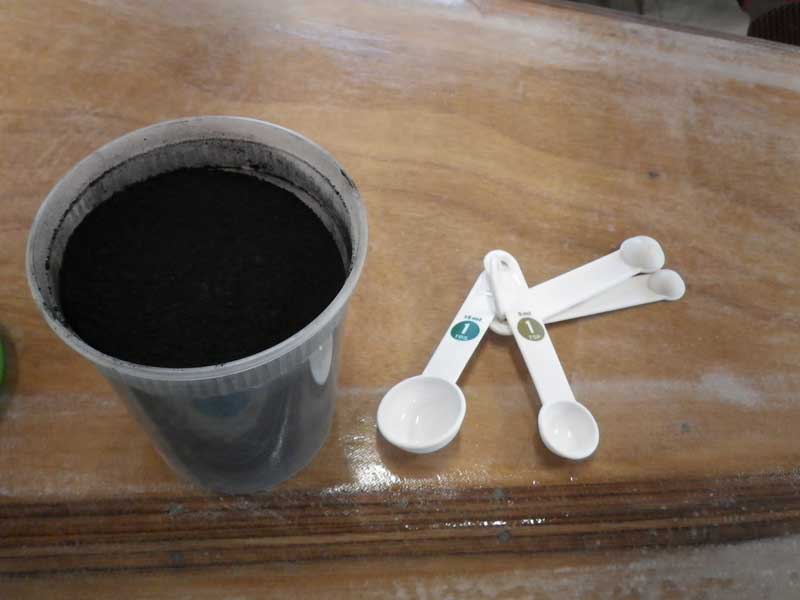
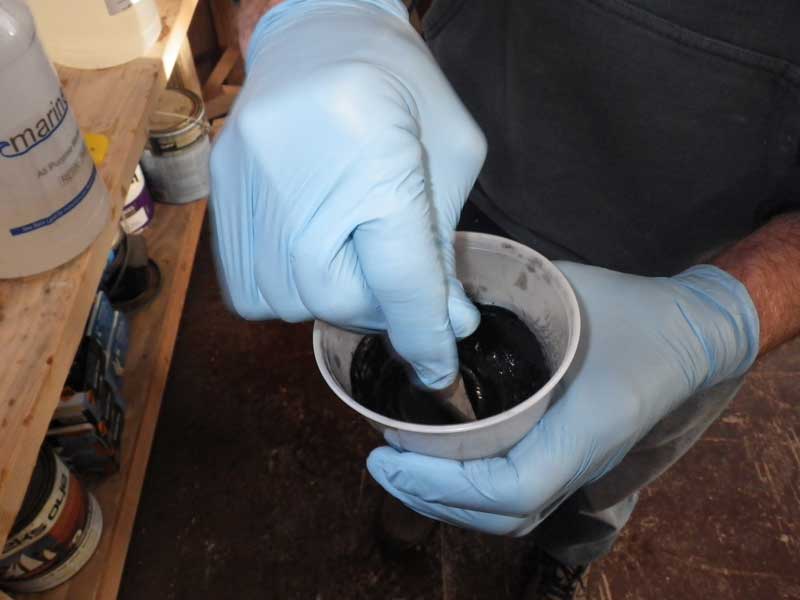
Powdered graphite from Duckworks, where $7 gets you a quart. One "batch" of epoxy is 3 ounces. You do a 20% mix of graphite and epoxy. 20% of 3 ounces is 2 teaspoons. There are 192 teaspoons in a quart, meaning we have enough graphite for 1.5 gallons of epoxy. That's a lot.
Mix the epoxy first - mix it up good, then add the graphite.
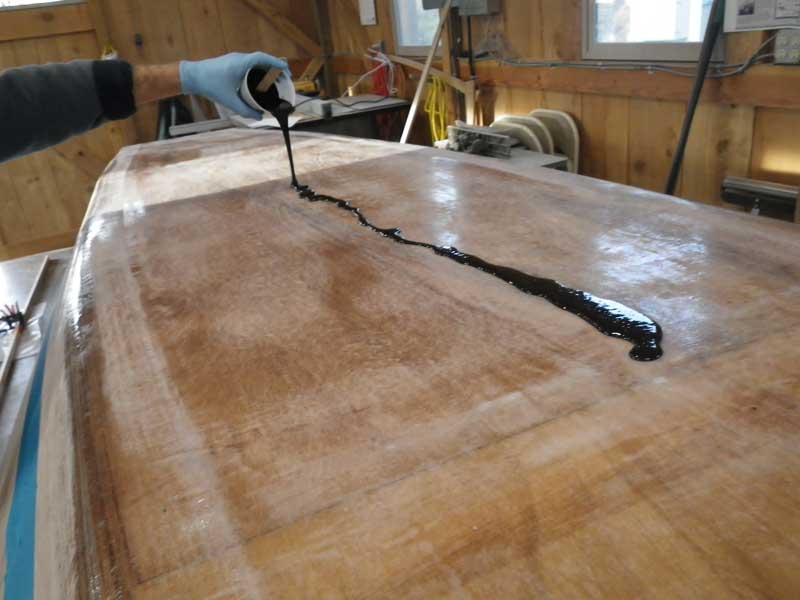
Then, as with all epoxy projects, start in the middle and work out.
Here we noticed something we had not expected: The epoxy/graphite mix seemed thinner than straight epoxy. I had thought it would have acted like a thickener. Guess I ain't that smart after all, am I?
Good thing we added that extra width of tape, we were running all over. We made the mistake of thinking we'd do a really thick coat as our first layer. We ended up chasing runs for quite a while.
There you go: The end of the first session had the bottoms of both boats coated with graphite/epoxy
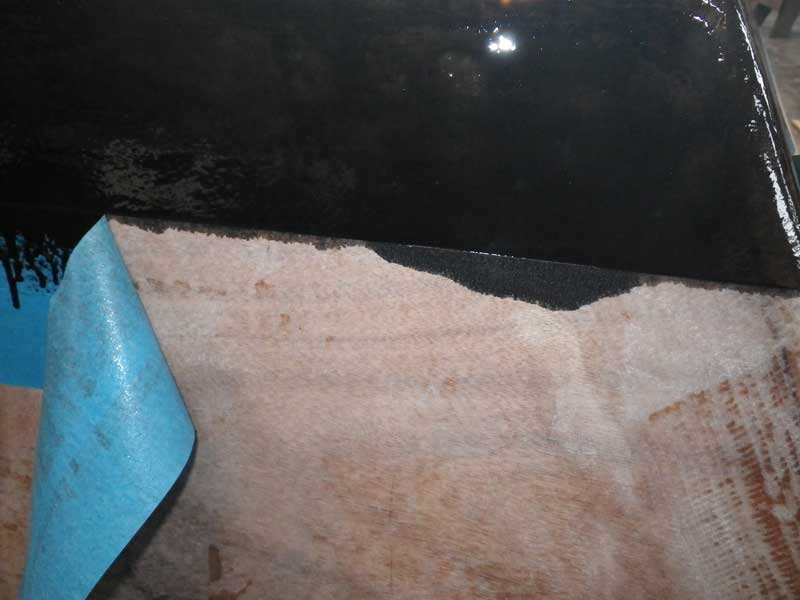
In the morning, we decided to see how our tape job went. Not well, there was a little creep all along the edge and in places where we hadn't really pressed the edge down hard, there was significant creep. Damn you, Harbor Freight! You, with your cheap knockoffs that make me think I am saving money when I am really just making more work for us.
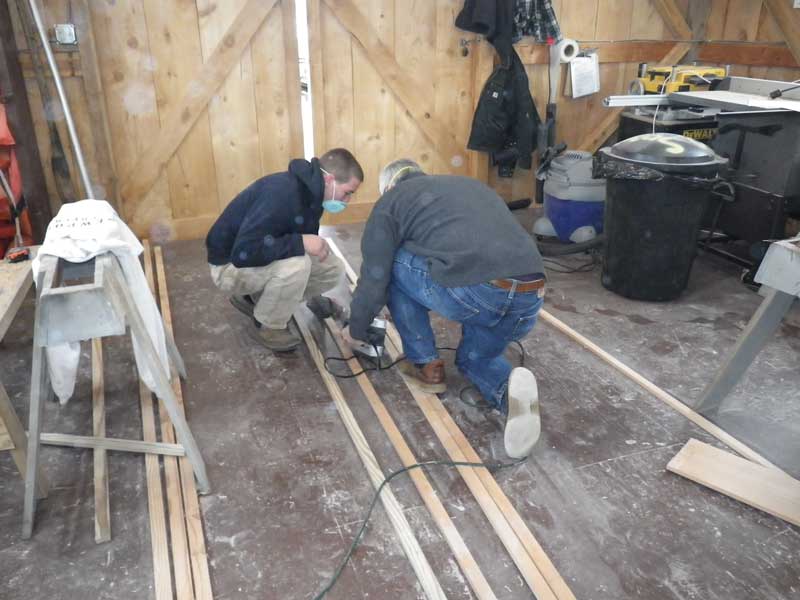
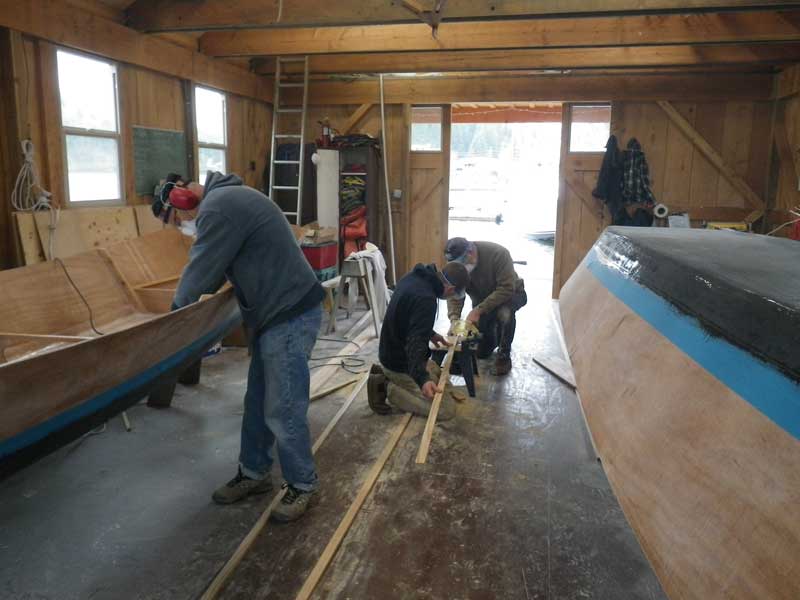
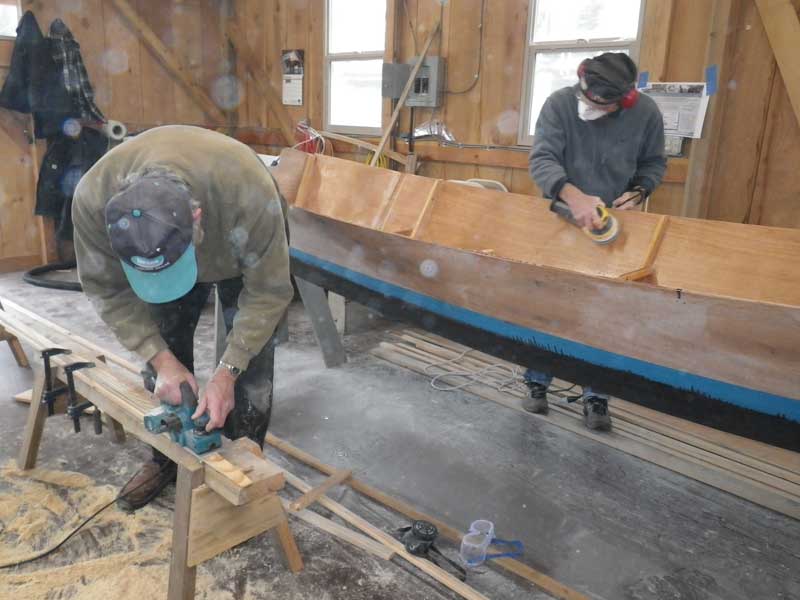
First part of the session was taken up with milling and sanding again. Bud and Shawn went to work on the wales while Curt and I went back to sanding. If you don't like to sand, don't take up boat building.
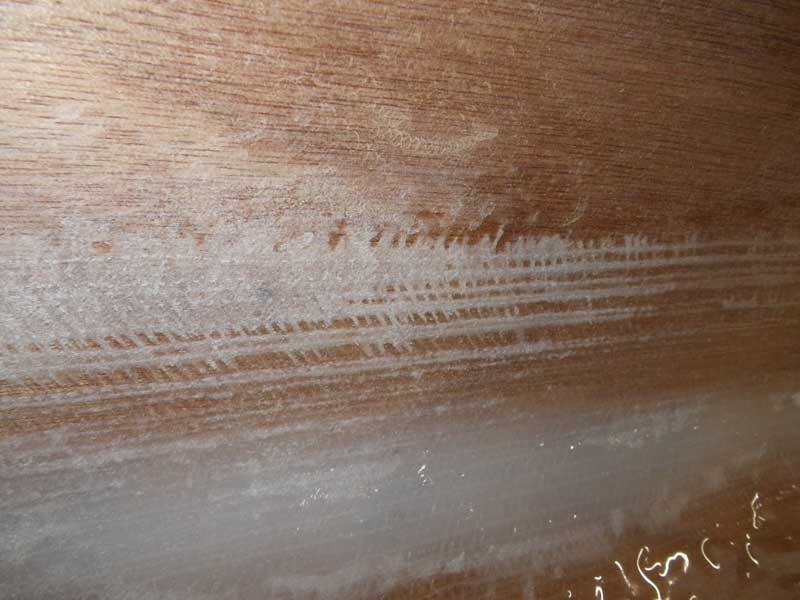
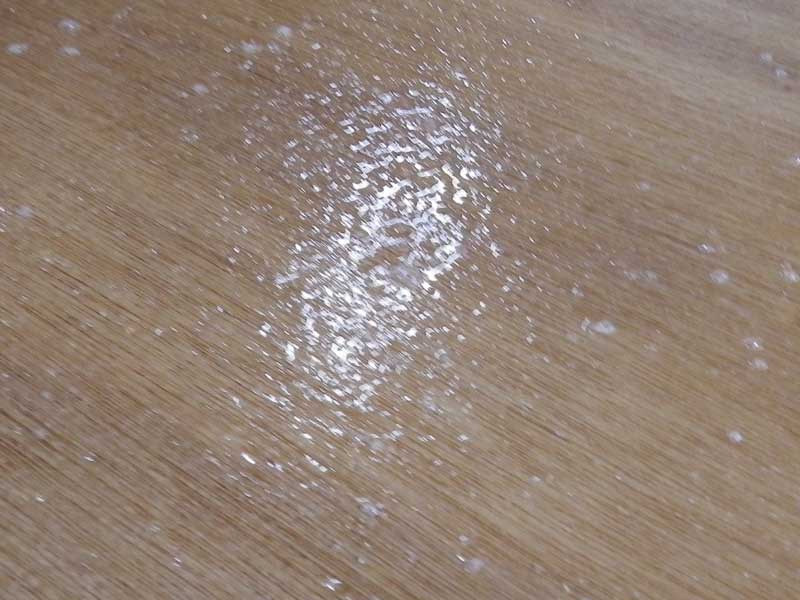
Can anyone explain these little bubbles to me? We coated the interior with epoxy, then turned the boats over. In the morning, there were hundreds of tiny bubbles that required sanding out.
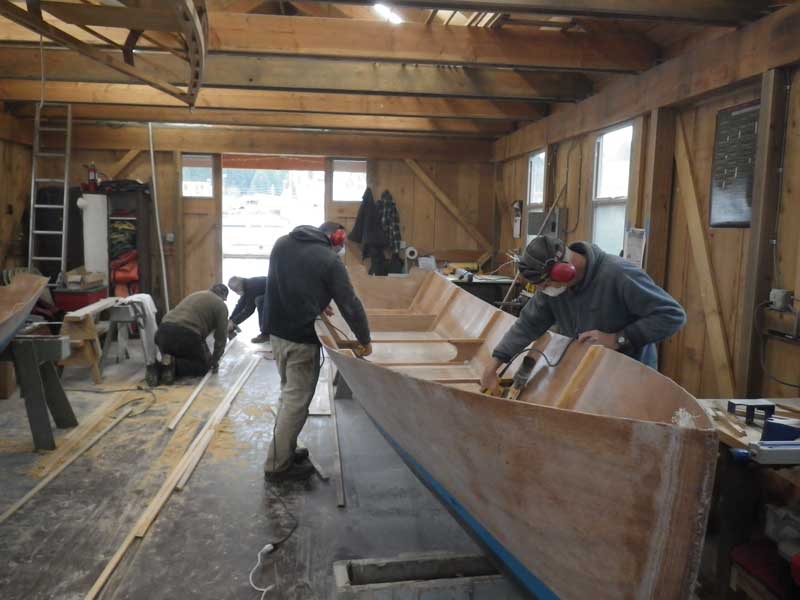
Boathouse is rockin' on Saturdays!
Jim got his chance to play with scarfing. Everybody gets to learn something new.
A fine and productive day.
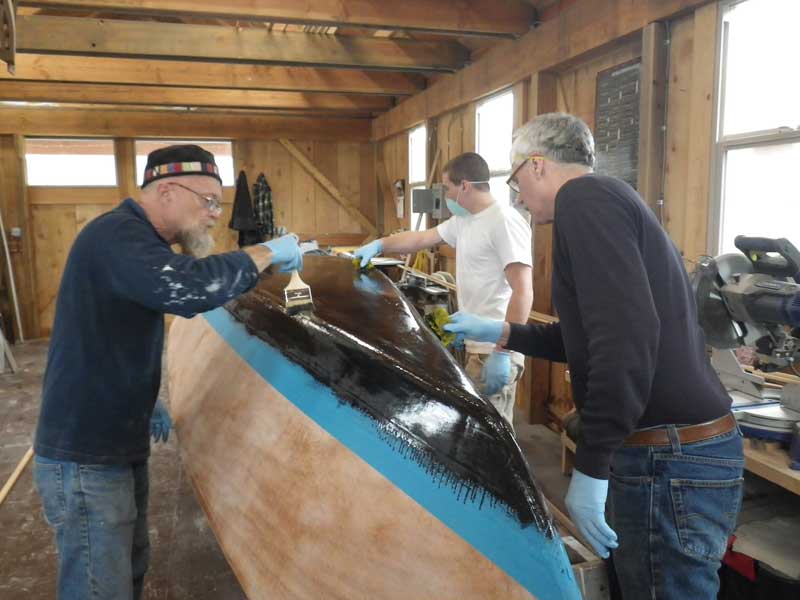
We ended with slathering the inside with straight epoxy and giving the bottoms their second (final?) coat of 'pox/graphite. Constant, steady progress. That's all you can do when boat building. Our goal for next week is to get the interiors finished: Seats installed, maybe gunnel and inwales installed. We are pretty much under the gun now - the Depoe Bay Boat Show is a scant 4 weeks away, and we are starting to run into scheduling conflicts. |