|
Andy (and Dan) make a Spangenhelm I want to make a Viking costume, and I am starting with the helmet.
My sole source of information comes from this Instructible: I don't work in metal, but I have a friend who does. We tried making a spangenhelm last week, but it didn't come out as nicely as we wanted. We took what we learned from that one and applied it to this one.
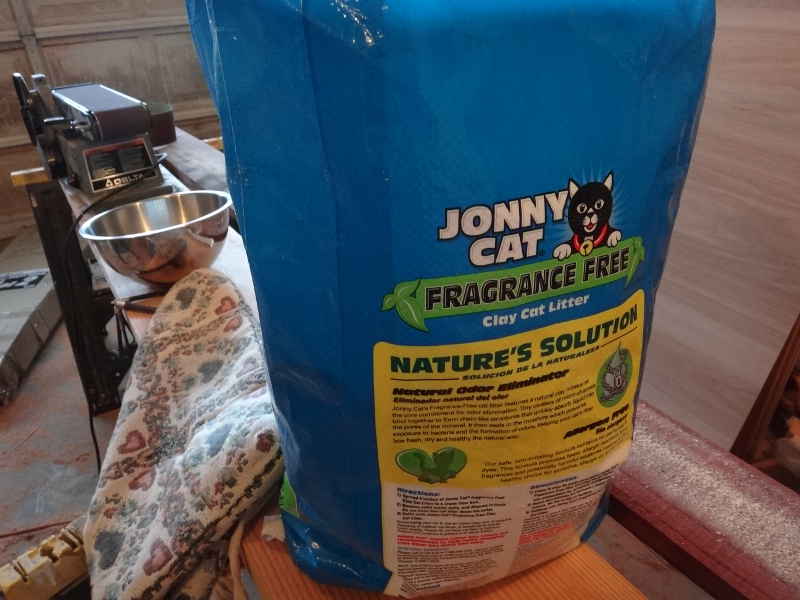
The Instructible talks about an Armoring Swage, but says I could use a leather sandbag if I wanted. I don't have a leather sandbag, but there is a Goodwill nearby and they had a seat cushion. (Note, you can see the bowl I am using for my helmet in this picture.)
I didn't have sand, but cat litter is clay and is readily available.
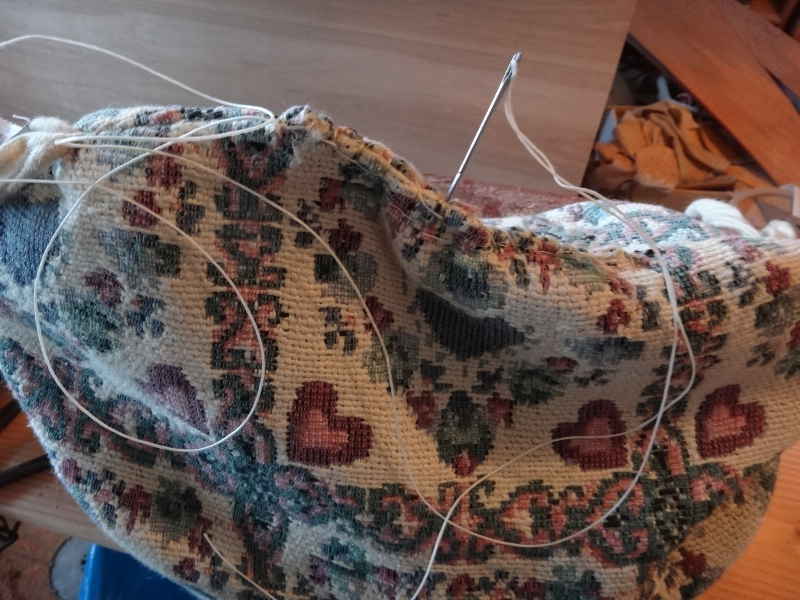
Cat litter into the unstuffed seat cushion and stitched it shut. Boom: Armoring swage
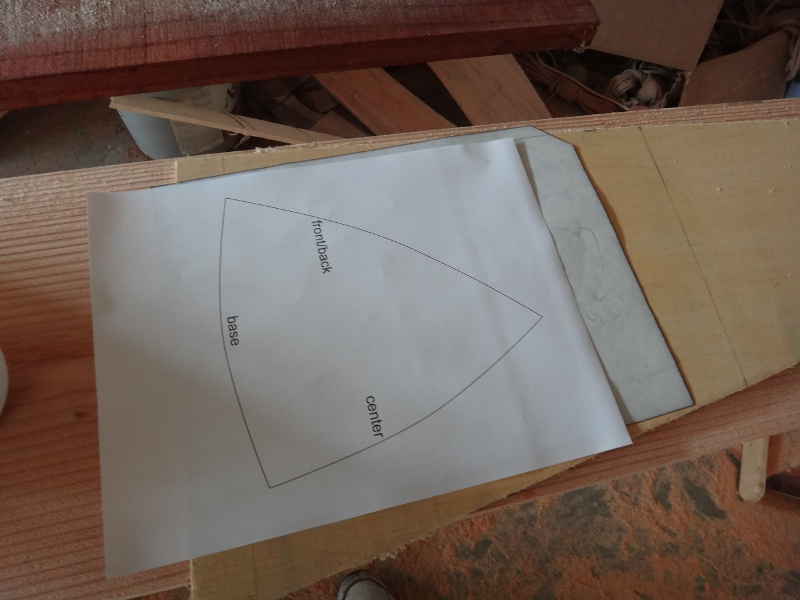
Dan had the idea of using stainless steel bowls for the panels for the helmet, but now that I had the Armoring swage, I thought I might one to pound out panels on my own. I made a pattern according to the instructions, printed it out, and used carbon paper to trace it onto some scrap ply.
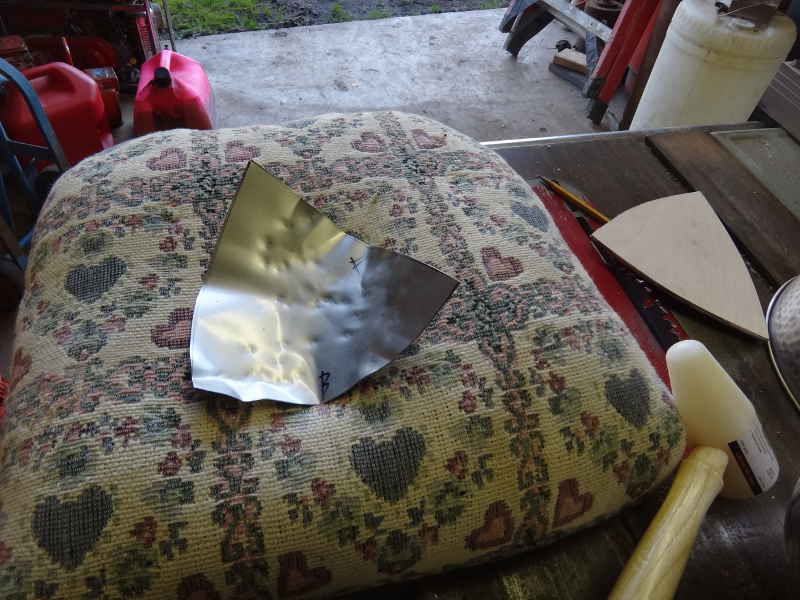
Dan didn't have the .06 sheet metal, but he did have an aluminum baking sheet to sacrifice - it bent fairly well (better than this picture shows) but I wanted to go with the bowl, instead.
Dan's a scrounger. He had a 6" wide roll of brass shim material laying around. Though it isn't .06 either, we used it for the frame.
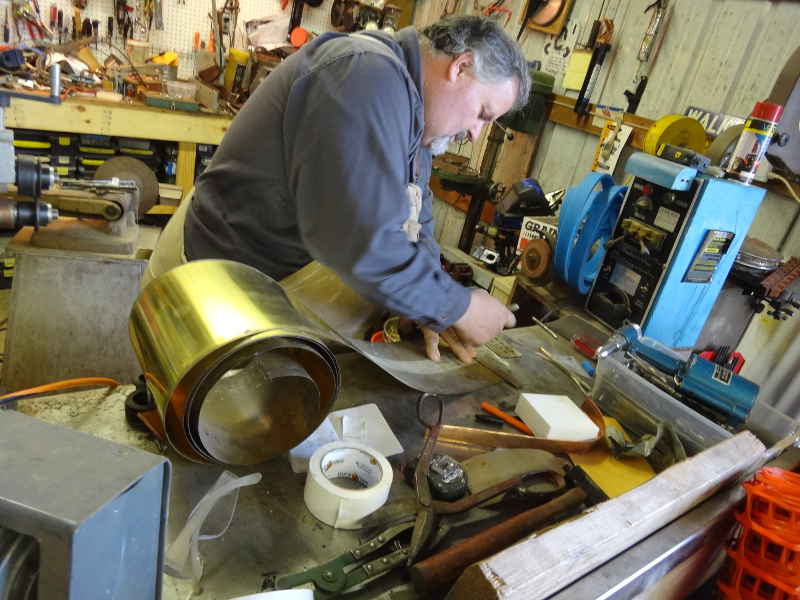
We cut 2" wide strips the length we needed . . .
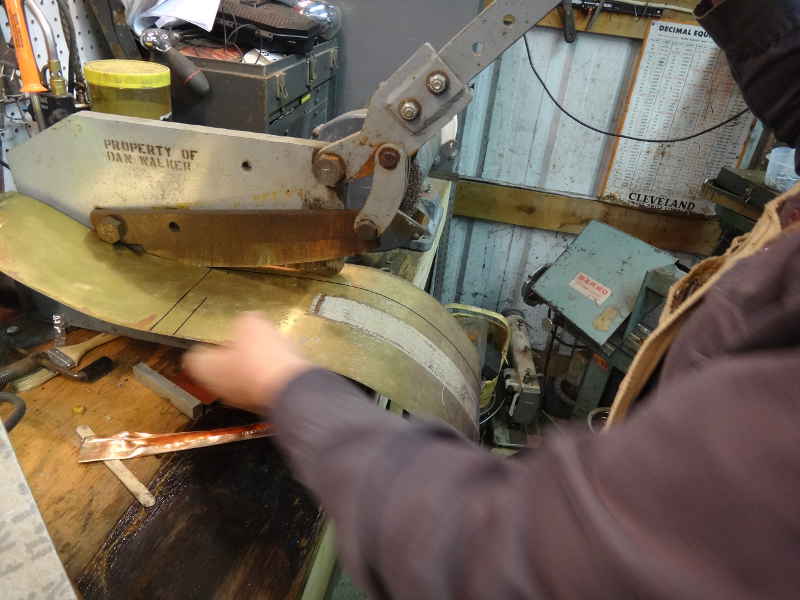
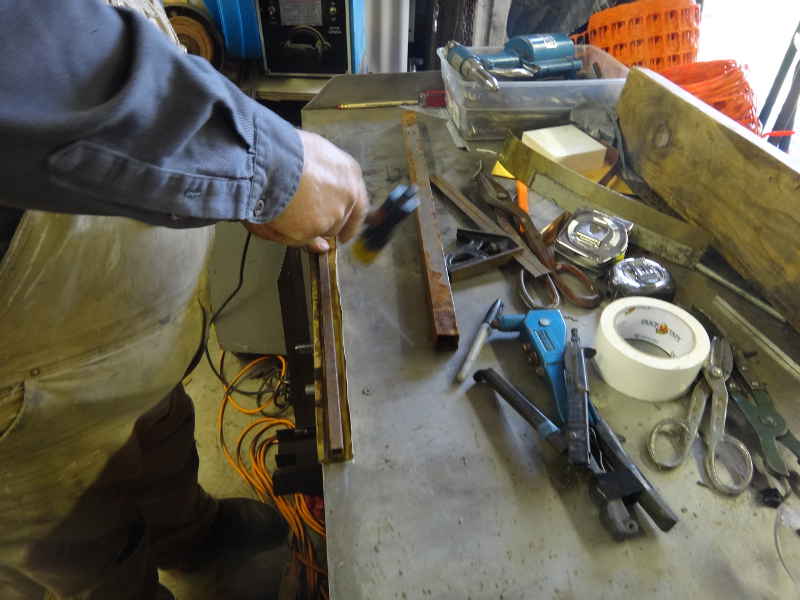
. . . took 'em to the break and bent the edges up, then clamped 'em down and carefully taped the edges down flat.
Next was to run 'em through the roller to smush 'em down flat.
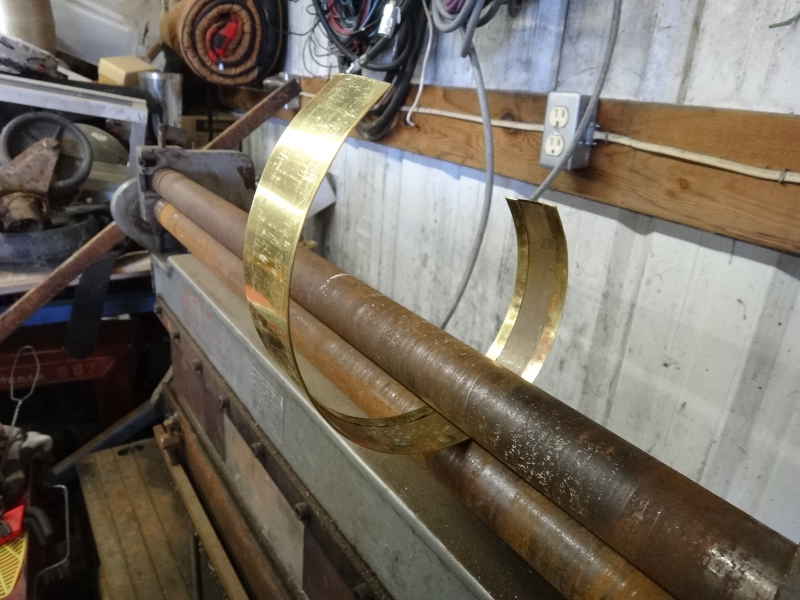
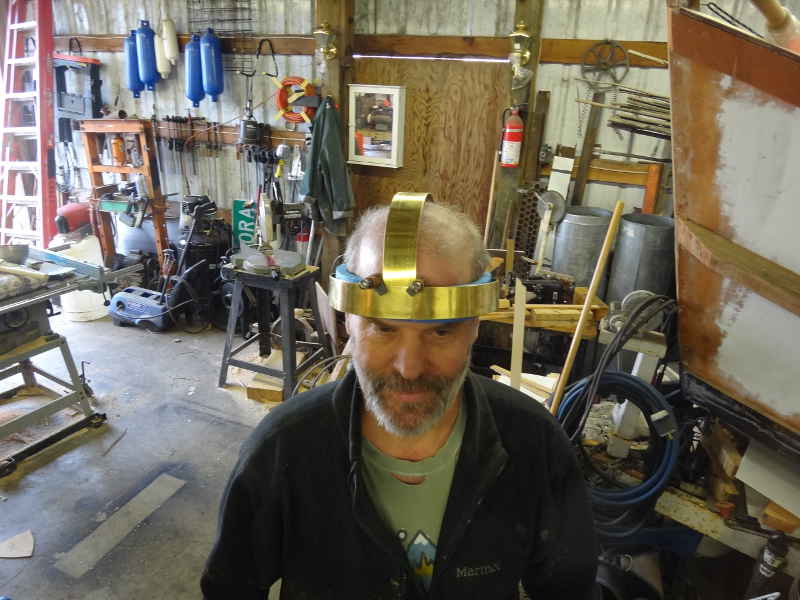
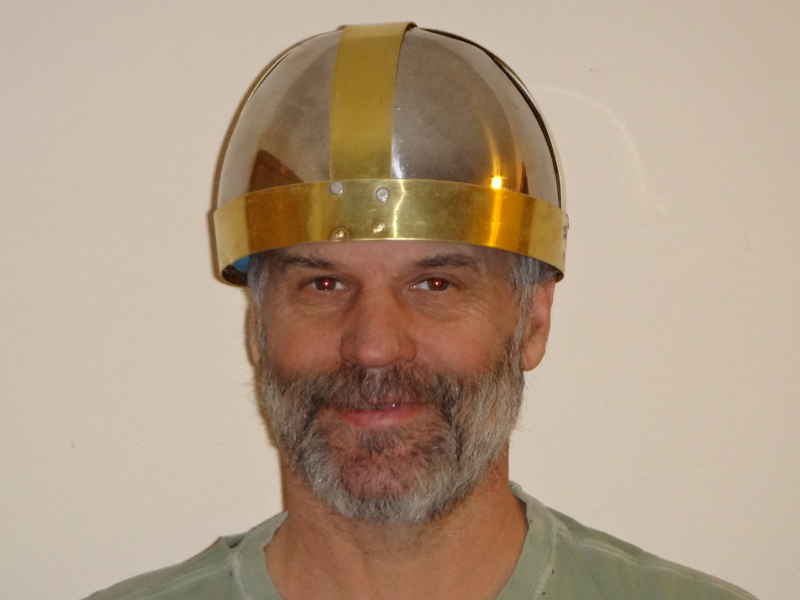
We clamped the 'spine' strap into place and checked it. You never realize how bald you are until you look at pictures.
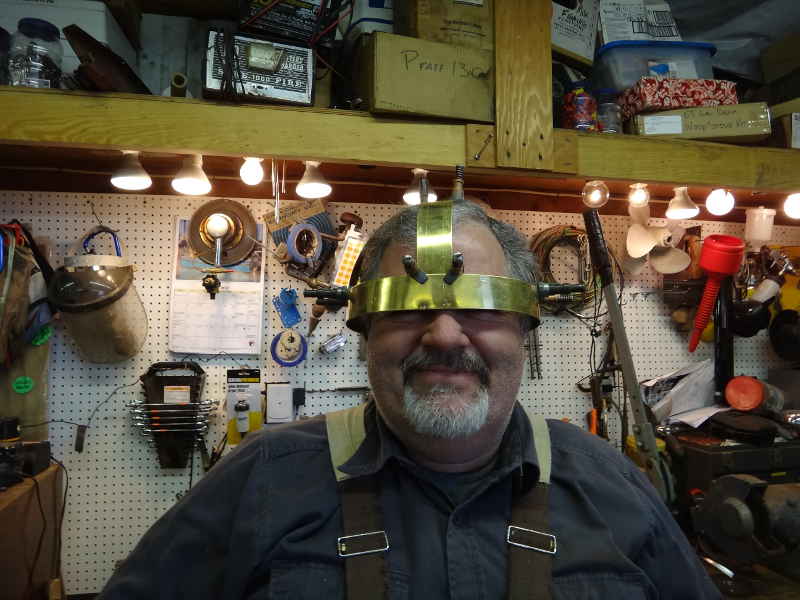
We clamped the 'ridge' piece into place, and Dan got into the act on testing.
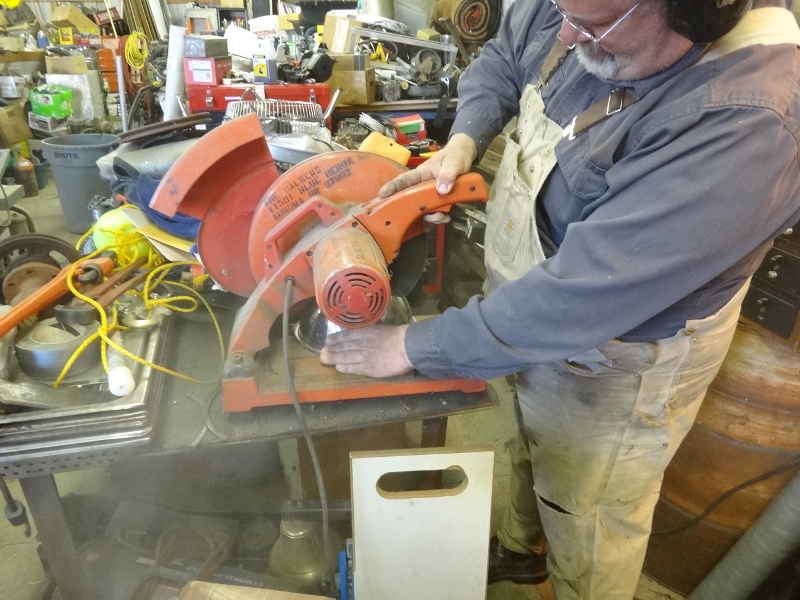
We spot welded the frame together and Dan took the metal cutter to the stainless steel bowl I had brought. He cut the lip off the bowl as well.
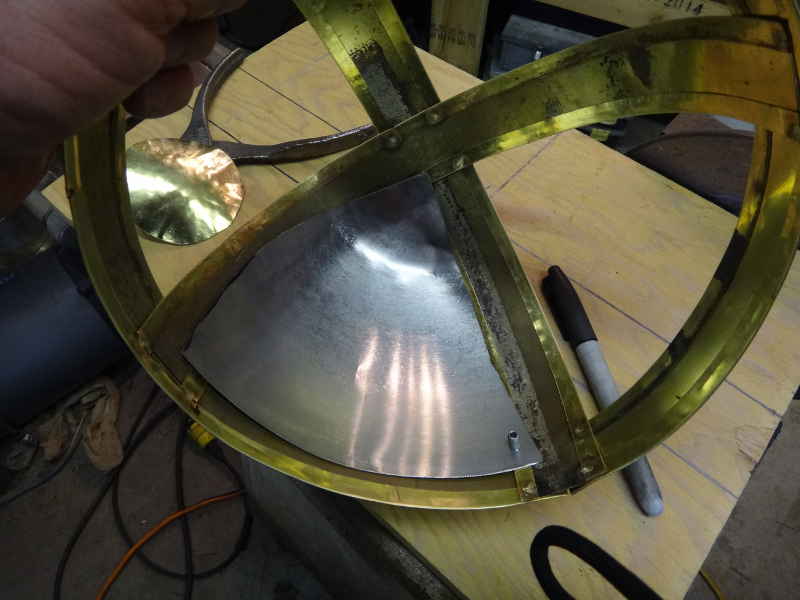
Rivet rivet. Bowls are not perfect, I tried to pound it round (bowls are flat on the bottom) but it didn't go perfectly. One rivet in each corner.
That's it for the first bit: We have a Spangenhelm. Next will be dressing it up a bit.
I need to pound some little disks into mildly domed shapes and use them to cover the rivets at the top, front, back, and sides. This I can do at home. A guy at work is supposed to hook me up with cow horns. Yes, I know Vikings didn't have horns on their helmets. I'm not a Viking, I just play one in real life. |