|
Building a FliteTest Sparrow I need a hobby. I like building things, but I don't like owning things. Robotics is fun, but it it fairly expensive and of limited practicality - plus you end up with robots. I went looking for something else. I've always been interested in airplanes, and when I stumbled on FliteTest.com, where they have free plans to make airplanes out of foamboard you can buy at Dollar Tree. The Sparrow Glider I made cost about $1 each.
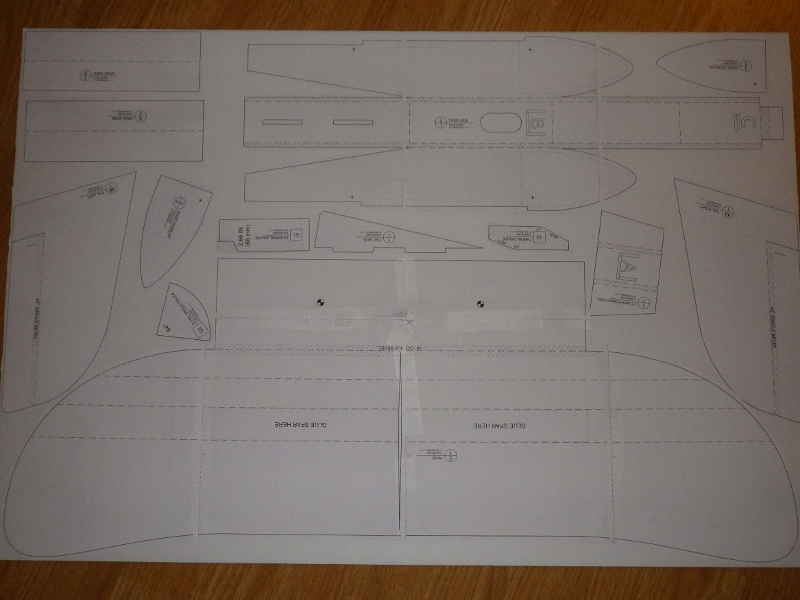
The plans are in PDF format, and for some reason, Adobe's PDF reader doesn't want to print them correctly (they are either off center or slightly enlarged.) Sadly, the solution is to - ugh - use Microsoft Edge. Print, trim, tape together. The Sparrow fits on one 20x30 sheet.
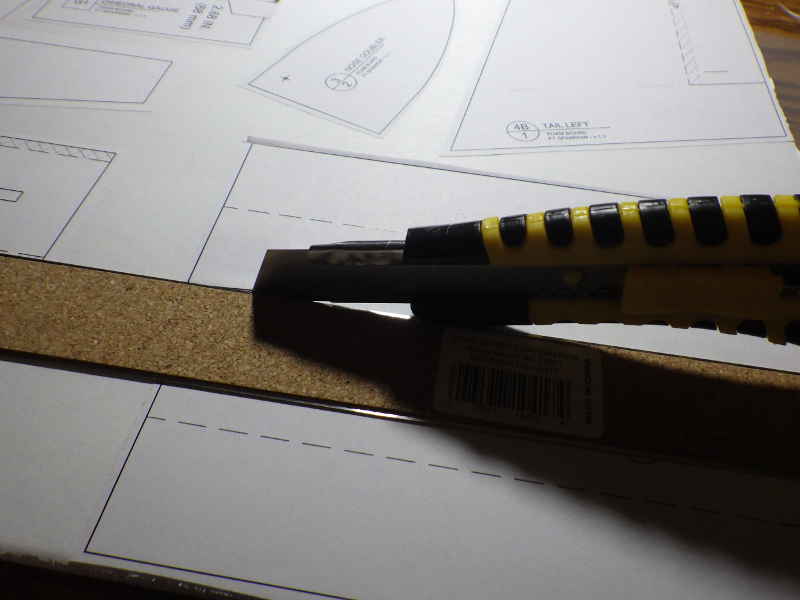
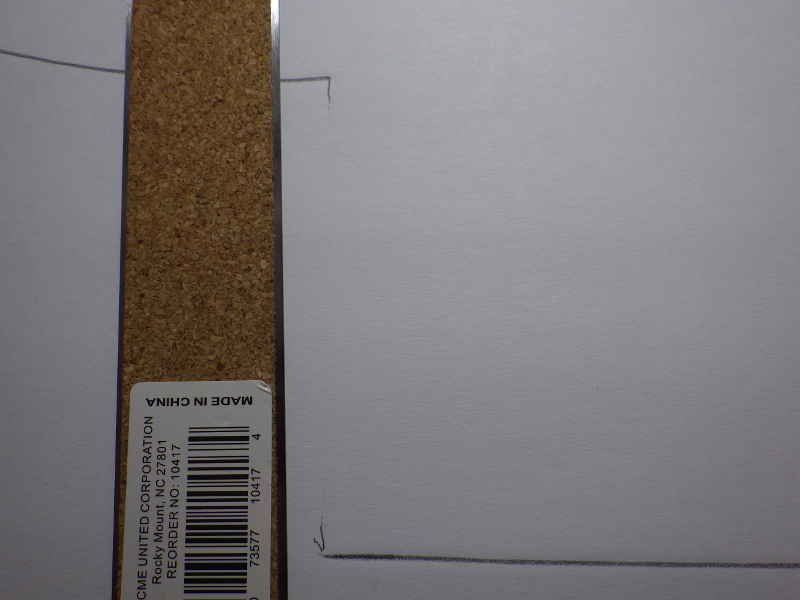
I wanted to make several of these (to gain experience with the technique) and decided to make templates of the parts so I could reproduce them several times without having to reprint the plans. For this, I needed use scissors to rough cut the parts from the plans, spray glue to fix the pieces to foamboard, a straight edge, large razor for straight cuts, and an X-acto for corners and details.
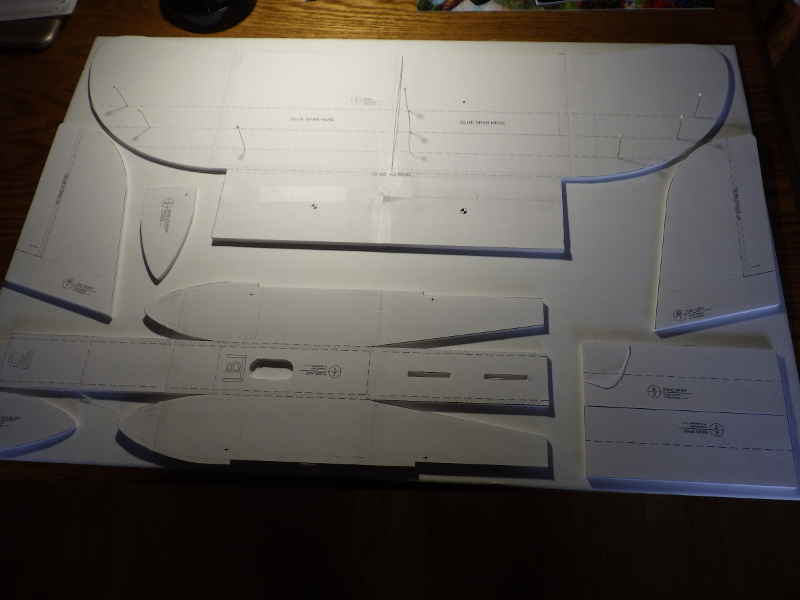
Once the templates were cut, I arranged them on foamboard and traced them.
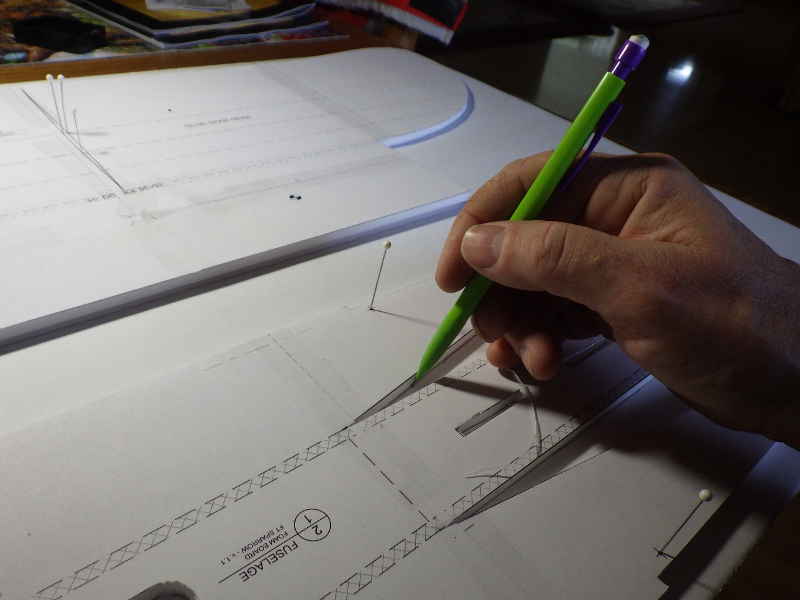
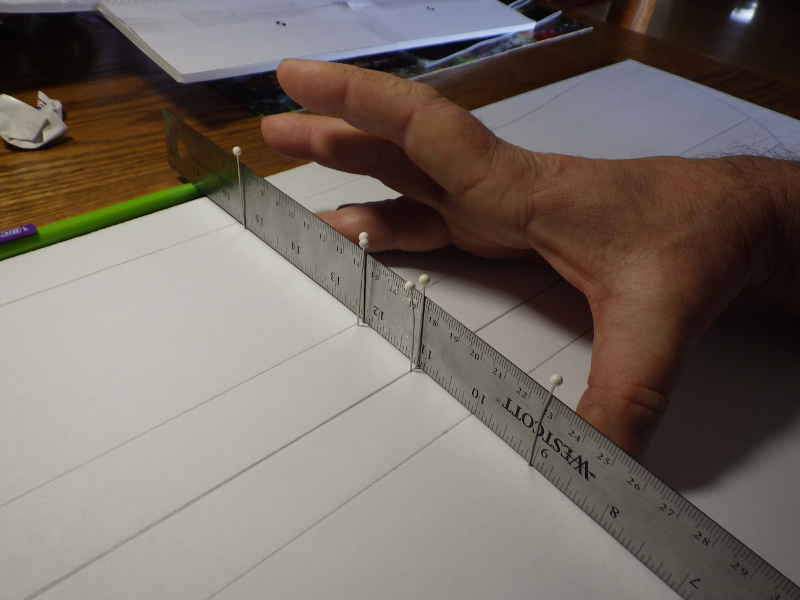
It takes practice to get your pencil all the way in there. I used pins to hold the template in place - and also as markers for sections where the cuts don't go all the way through - then I removed the template, I would "connect the dots" between appropriate pin holes.
Make sure to fill in any gaps in your tracing.
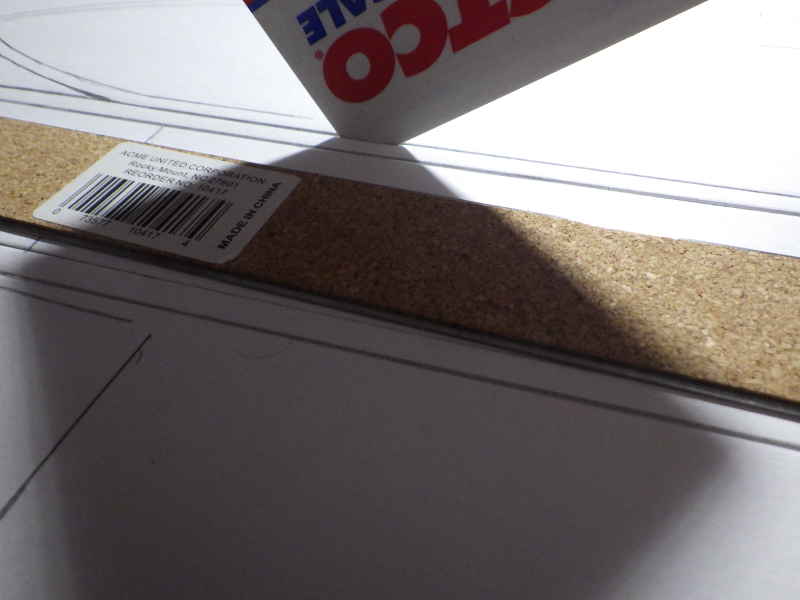
The bendy metal ruler is great for drawing curves.
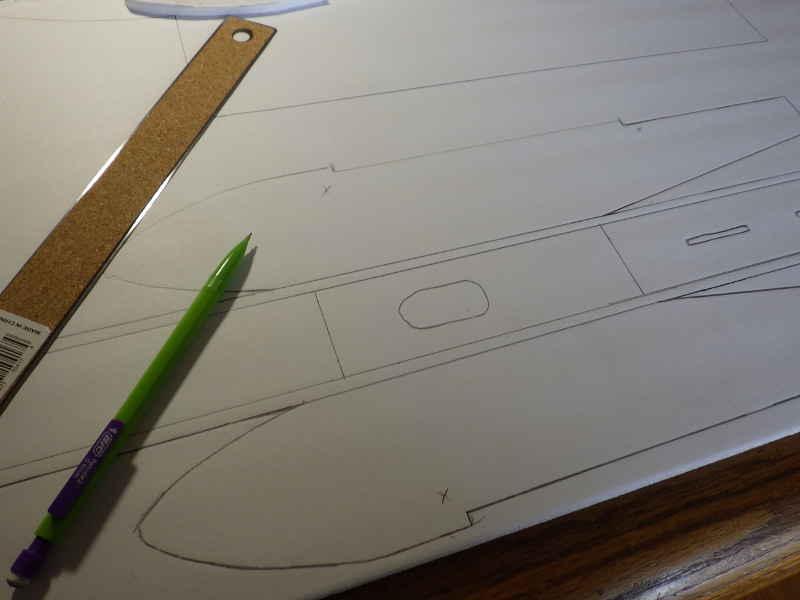
Trace the pattern, connect the dots and BOOM! You have a design ready to cut out.
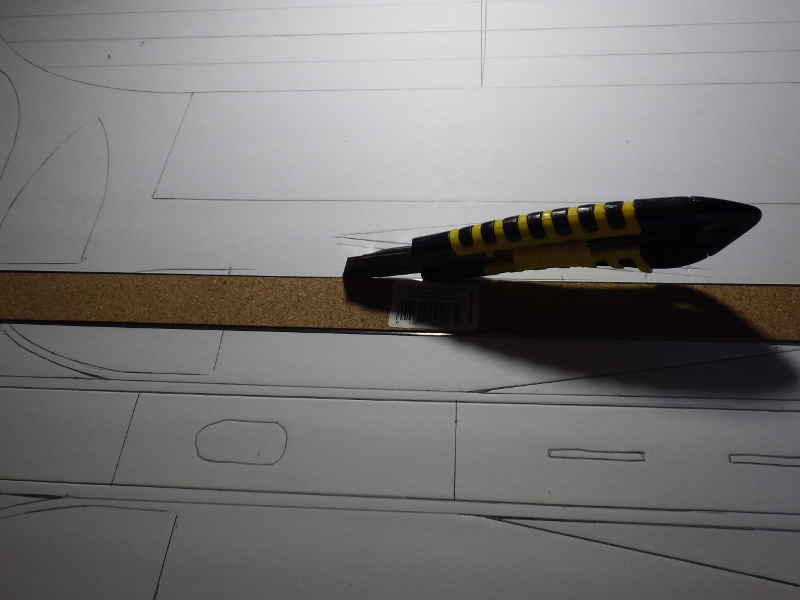
The accepted procedure is to cut all your straight edges first, then cut your corners. I tried to not remove the part from the foamboard until all the cuts had been made.
For cuts that don't go all the way through, I'd break the surface with the razor, then score the cut with a plastic card.
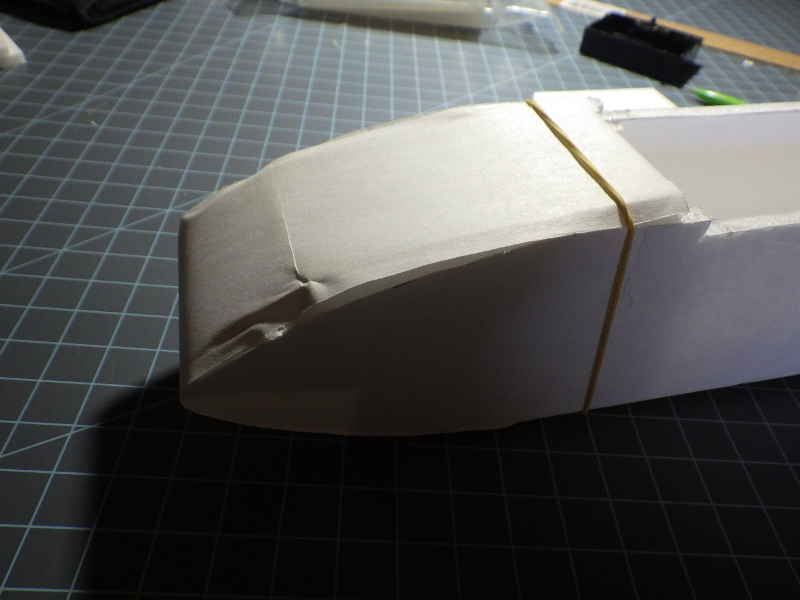
OK, I skipped a lot of steps. Folded things together, glued seams with hot glue, etc.
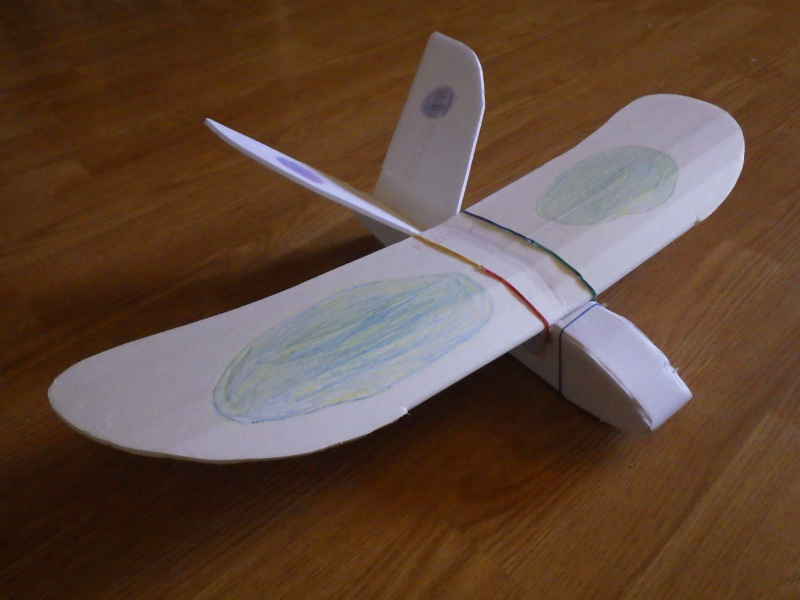
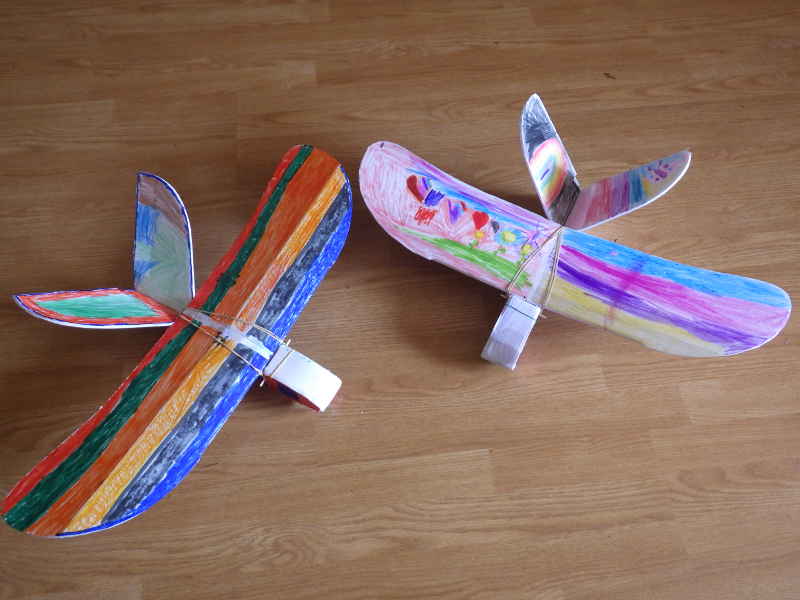
Here is a finished Sparrow decorated by a neighbor, Kiana.
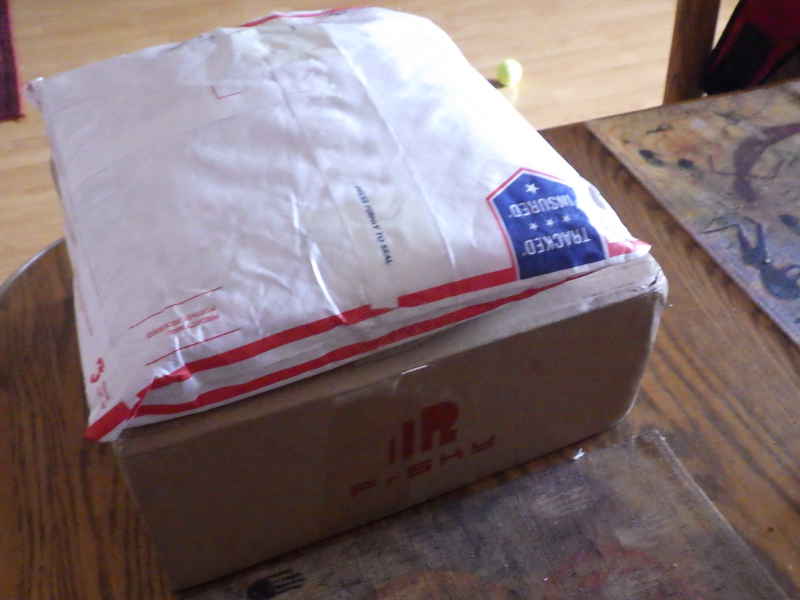
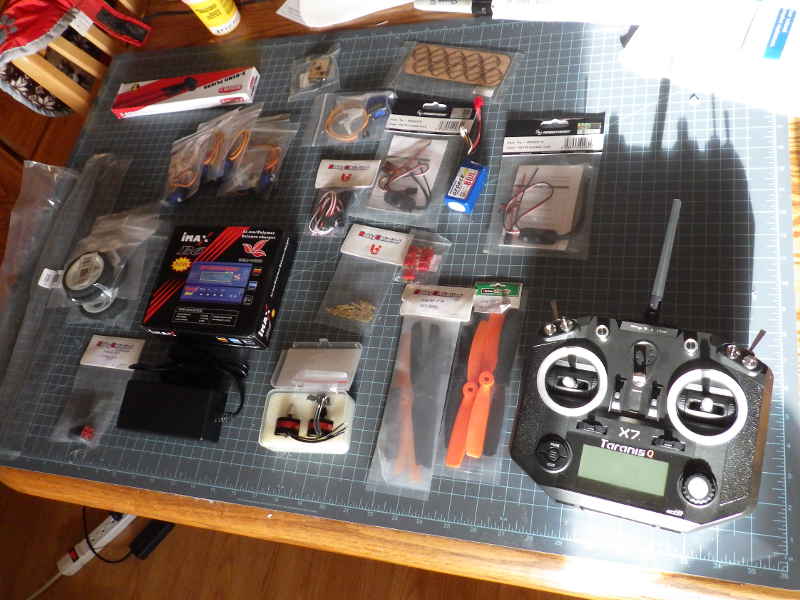
While all this was going on, I received a couple shipments. Things were starting to cost money.
That's about $250 worth of bits and pieces, with $100 going to the FrSky Taranis Q X7 transmitter. $28 on the battery charger, then a pair of matched motors - one rotates clockwise, the other counter-clockwise for when I graduate to multi-engines, Electronic Speed Controllers (ESCs), CW and CCW blades, and other items. What I forgot to order was receivers - the thing that talks to the transmitter and allows you to control you plane. That was another $50 for two.
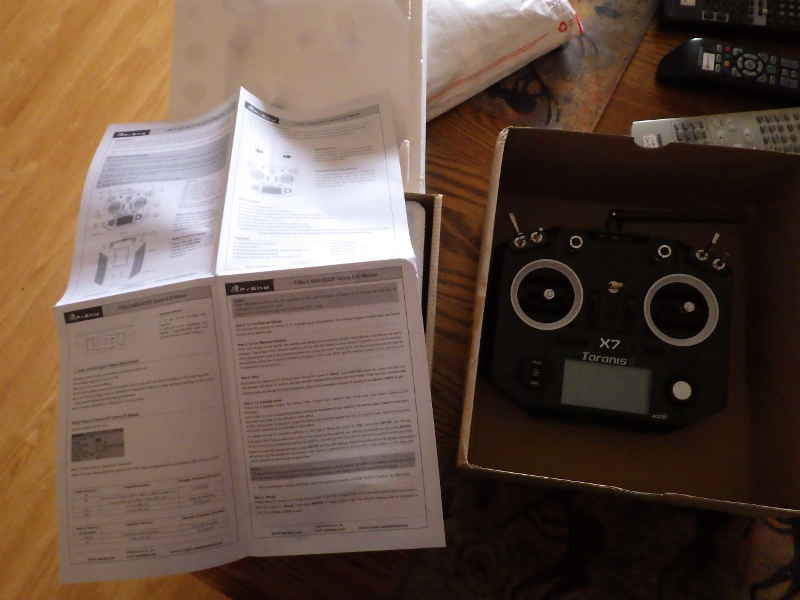
That's the manual that comes with a 16 channel transmitter. Somehow, I think I will have a steep learning curve.
Back to the gliders. The kids did a nice job decorating them, so I thought I'd protect their work by spraying it with varnish. Want to know what happens when you spray foamboard with varnish? The paper peels off. I had to make new gliders and get the kids to decorate them again.
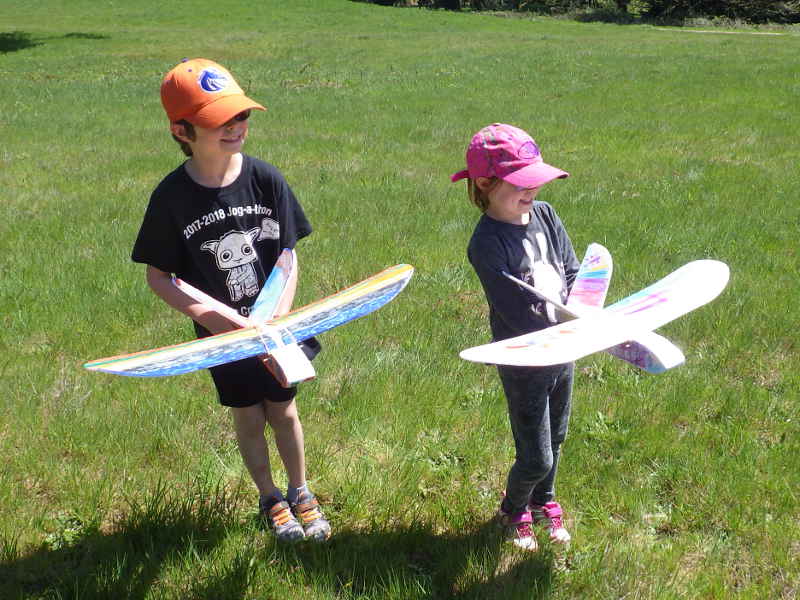
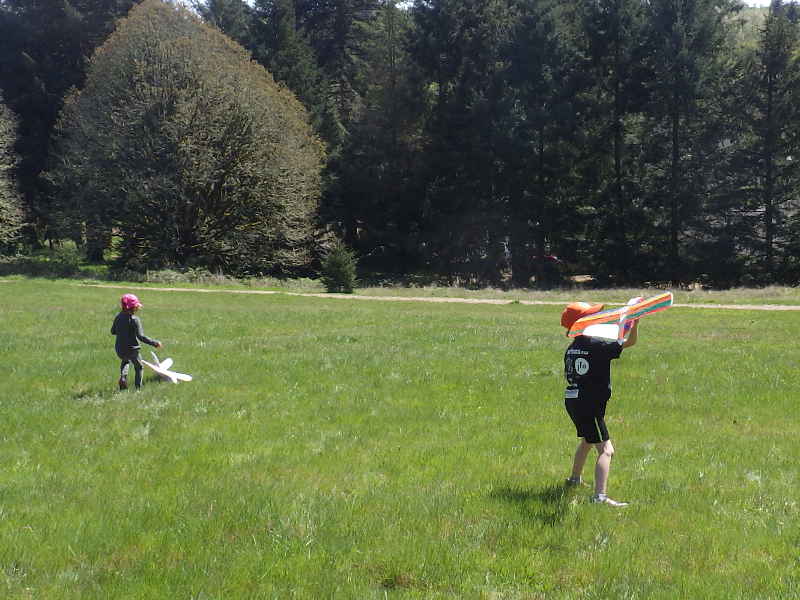
Finally, we were ready. That's Trevor and his sister, Tanna with their planes.
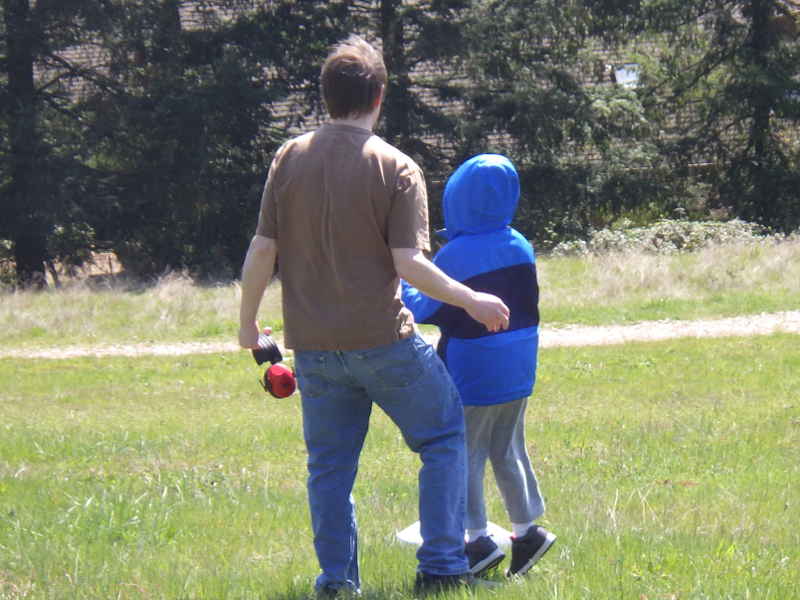
That's Mike and his son, Ben, trying to fly the plane decorated by Ben's sister, Kiana. It was a pretty sad day for glider flying.
We learned a couple things: The gliders are . . . OK. Gusty wind conditions don't make for good glider flying. Also, 6-year-olds don't throw worth a poop. |