|
Building the Clark Fork Drifter,
Session 3 Whenlast we left our Clark Fork Drifter build, we'd only had a short, one-day session and only got the fiberglass down on the sides. This week was the Big Session, where we go from flat planks to 3D
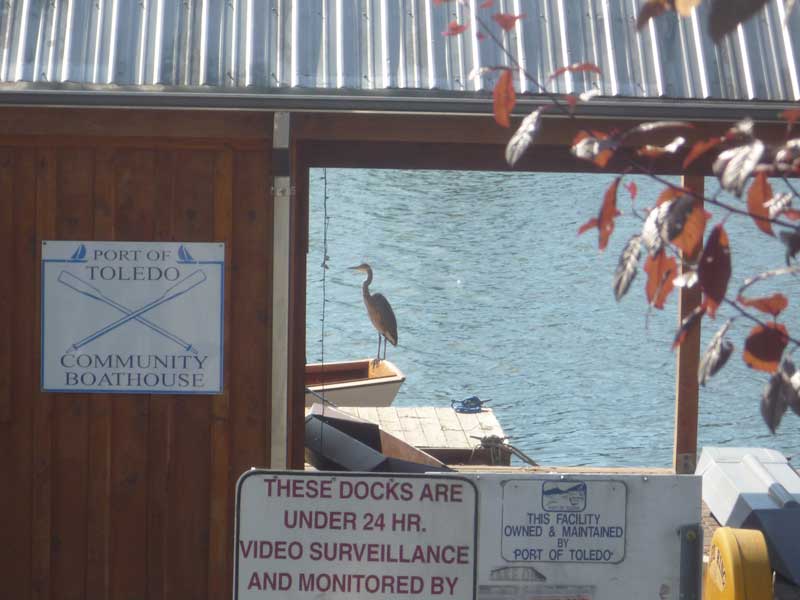
Everything starts, as it always does, with a view of our resident Great Blue Heron, Waldo. We decided to call him Waldo because we figured most people would call him "Harry" or "Harvey" and we wanted him to be unique. Also, we'll be able to ask "Where's Waldo?" a joke that will never get old.
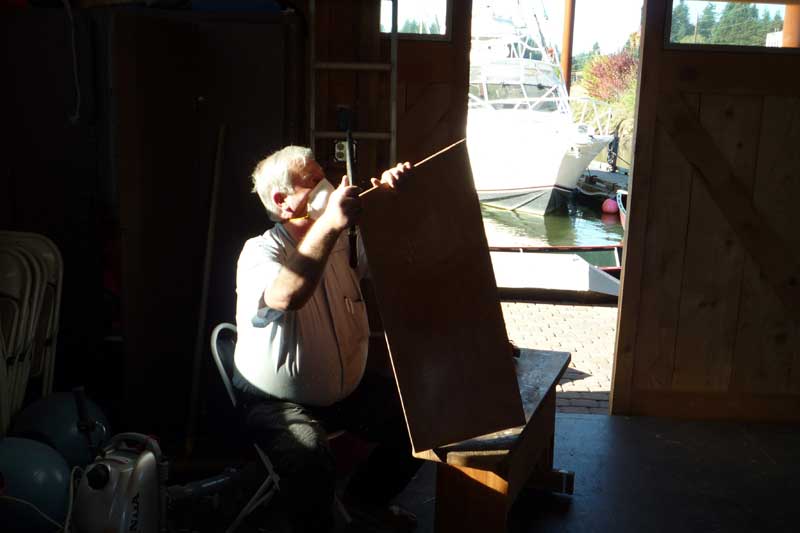
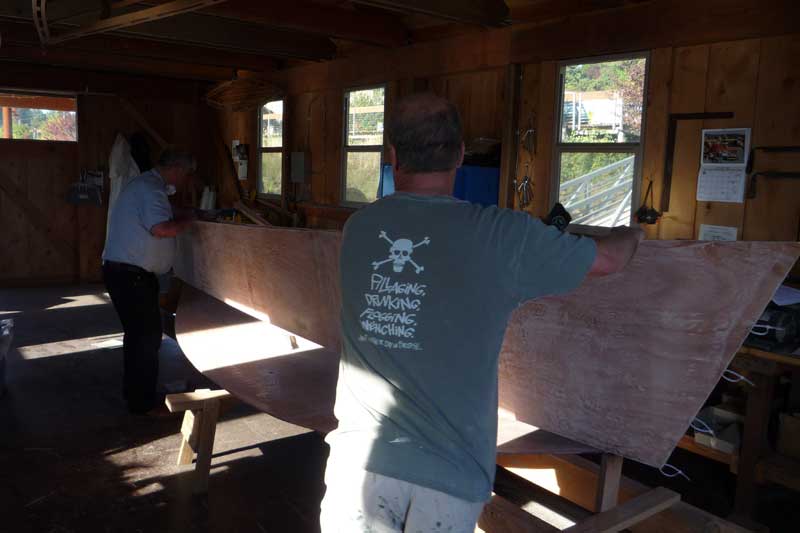
Step 1 was to trim up the edges. Epoxy-soaked fiberglass is damn sharp, so we went around all the pieces, trimming off any excess, and smoothing out any rough spots.
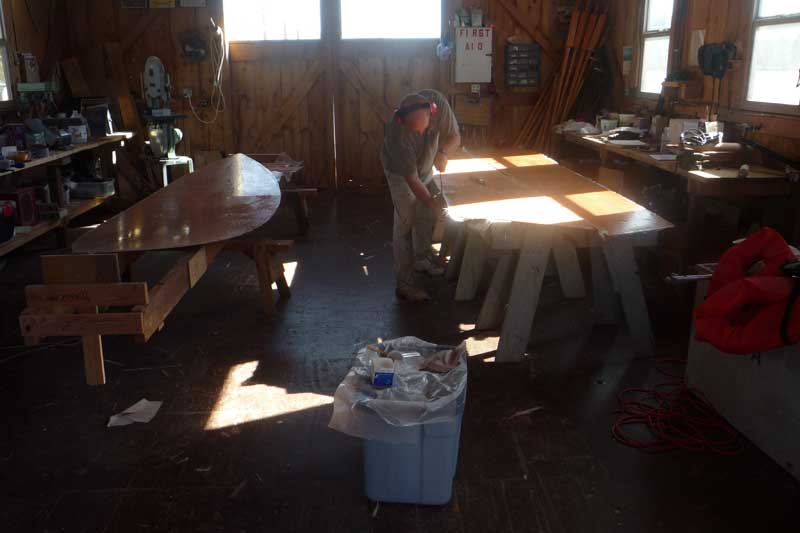
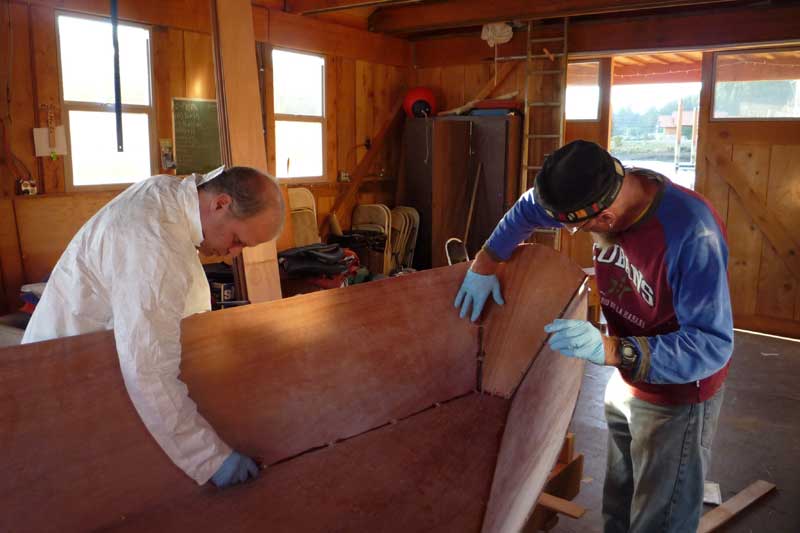
While Curt and I worked on the big pieces, Bob handled the fiddy bits.
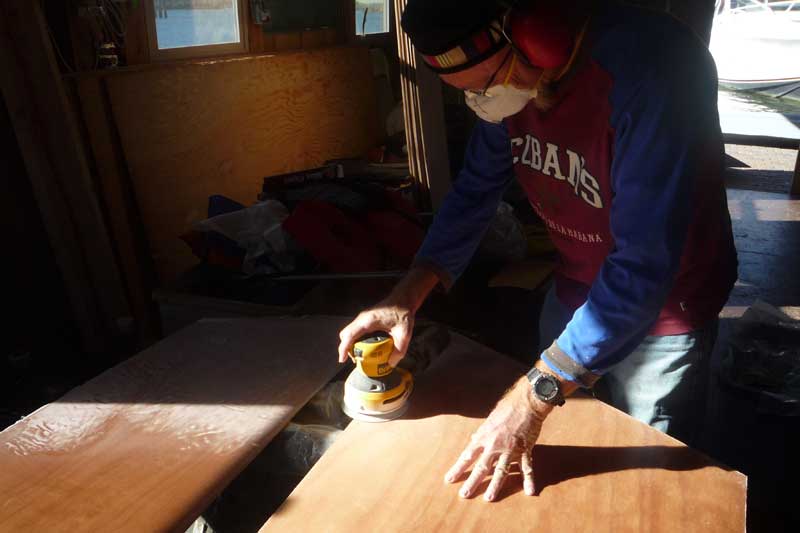
After trimming, we went over everything with the random orbital sanders to get the surface roughed up and ready for the next layers of epoxy.
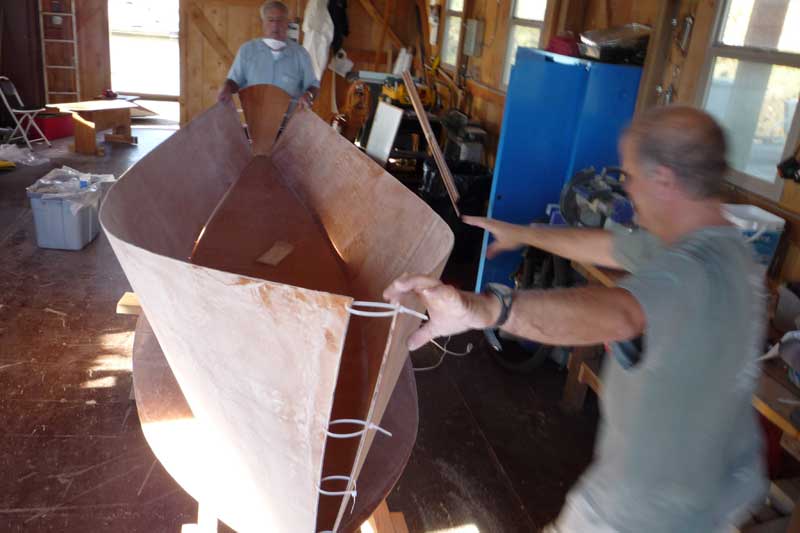
This is a Stitch-n-Glue build, where we use zip-ties to 'stitch' the parts into place, then hold them there with epoxy fillets. We clamped the two sides together and drilled holes for the zip-ties.
We then loosely stitched the bow together and also loosely stitched on the transom.
Lift up the sides and place them on the bottom.
The trick is to them spread the sides out until they hook over the bottom and are held in place pretty much by friction. At this time, I pulled the bow zip-ties together tightly.
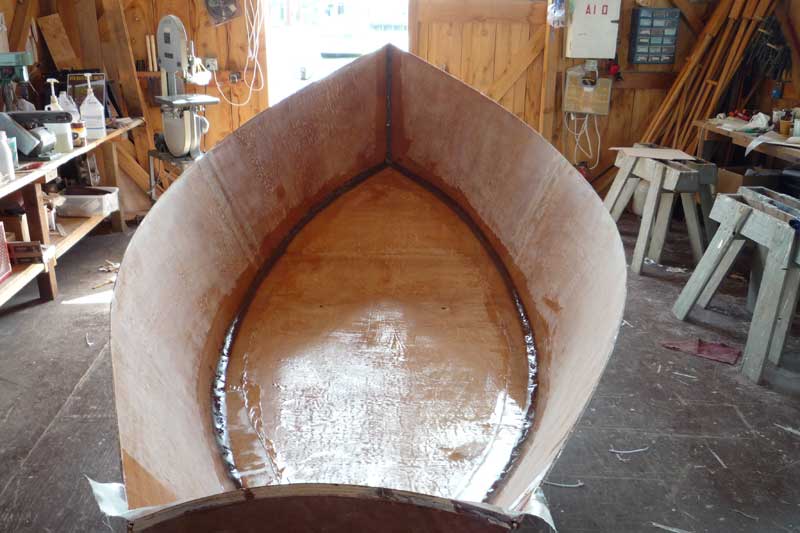
Starting at the bow and working back, we stitched the boat together . . .
. . . .until we got to the transom, trued it all up, and zipped that together, too.
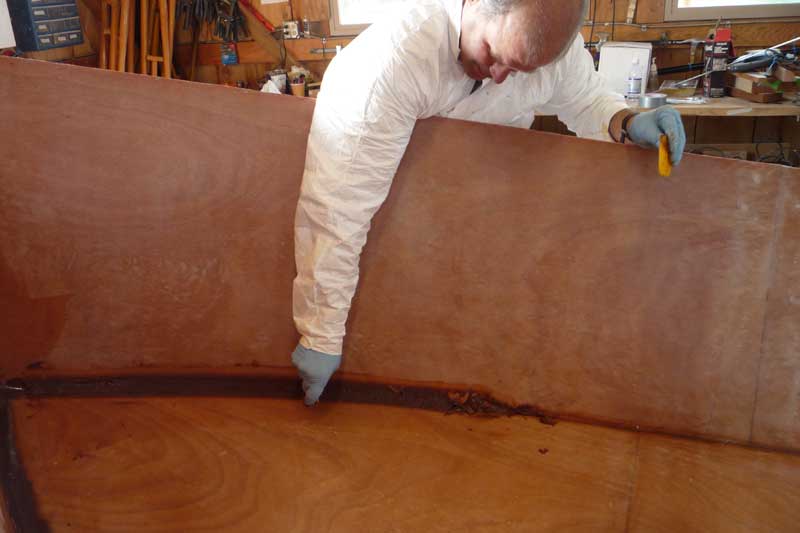
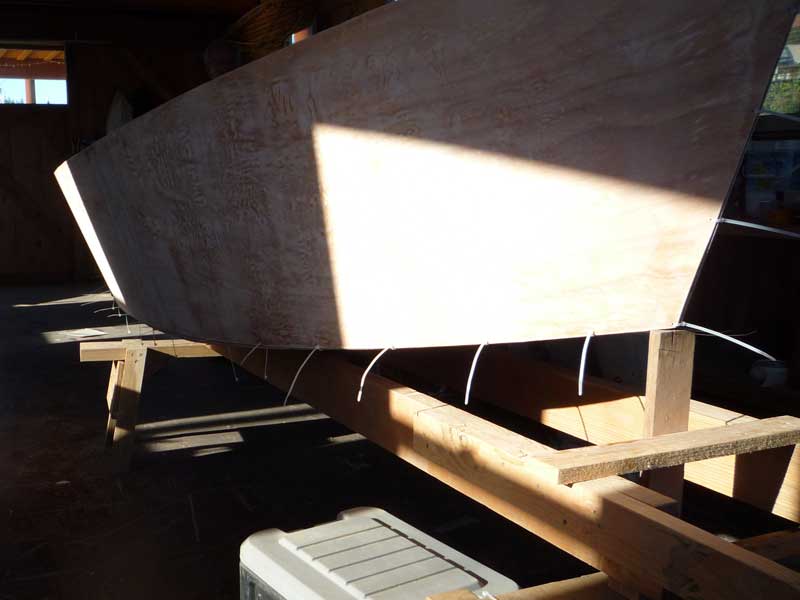
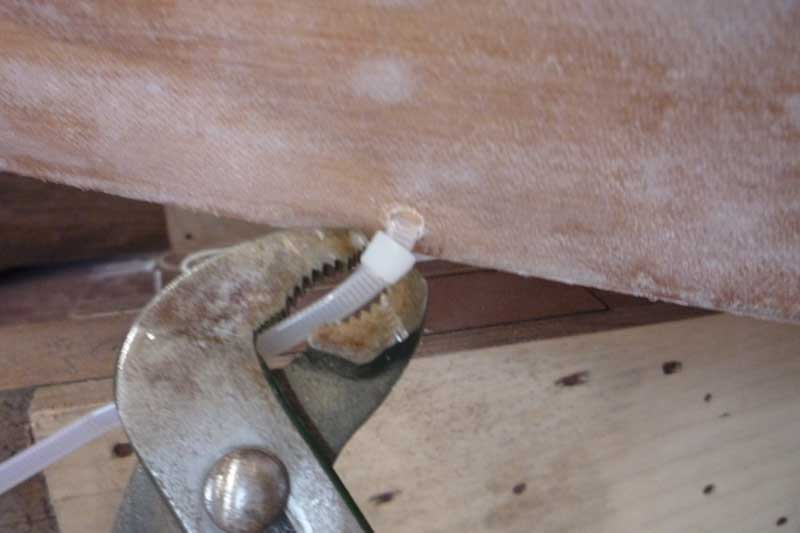
The final step for the evening was to tack the seams down with a small bead of thickened epoxy. We have lots of silica filler a the Boathouse, but I decided to use wood flour as the filler. The wood flour comes from our own sanders from pervious projects - we have gallons of the stuff.
Bob mixed the epoxy, I laid it down, and Curt smoothed it. Great team work. We finished a little after 6pm and headed over to Pig Feathers for a beer and dinner.
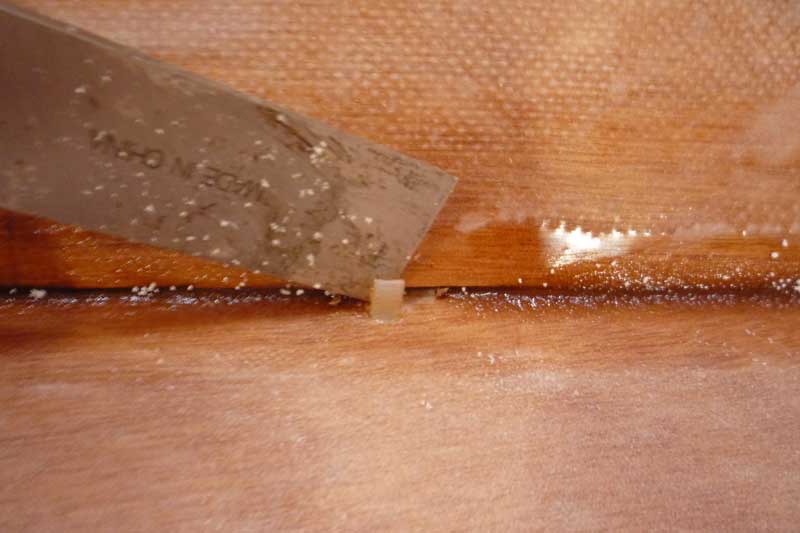
After the epoxy cures, you can either slice off the exterior parts of the zip-ties and leave the little bit on the inside, OR you can remove all of the zip-tie. The first method requires 2 cuts, one for each 'leg' of the tie. The second method requires just one cut, but then . . .
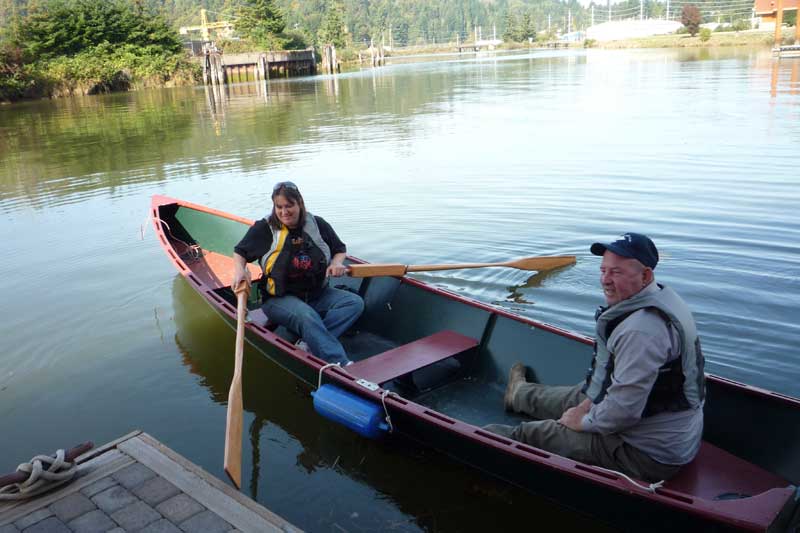
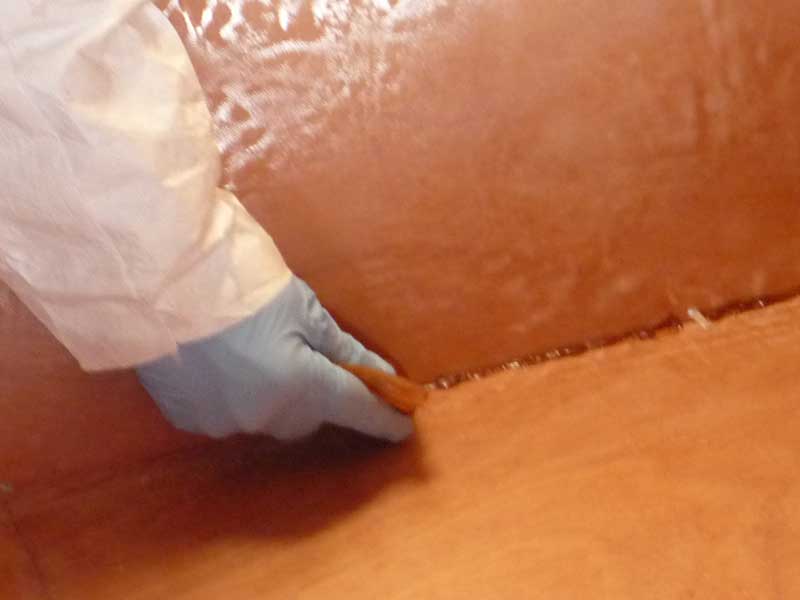
I was working alone that morning and surprise surprise, Joe and his daughter, Katherina, came for a visit. Joe had wanted to watch how I did fillets, and since I really didn't know how to do fillets, I encouraged them to go on a rowboat ride while I tried to figure it out.
I ended up making very thick batches of epoxy - well thickened with wood flour. Joe commented that my fillets were a little on the thin side, so I made them even thicker. Peanut butter consistency for sure. I made a couple paddles for spreading the fillets into nice, uniform shapes. On the bow I used a 2" dia paddle and on the sides I used a 4" dia paddle.
I finished up the fillets by covering them with a 6" wide strip of epoxy-soaked, 6oz fiberglass. The book doesn't say to do this but for some reason, I felt compelled. The 'glass came from the excess from glassing the bottom, so it didn't cost anything - except weight and more epoxy. So there she is - flotable in her current state, but unusable without seats, gunnels, and all the other stuff that makes a boat a boat. We've used roughly:
|
 . . . you have
to pull the zip-tie through. I've found using channel locks or pliers
and rotating the tie out is by far the fastest and easiest way to
do it.
. . . you have
to pull the zip-tie through. I've found using channel locks or pliers
and rotating the tie out is by far the fastest and easiest way to
do it.