|
Clark Fork Drifter, Session 4 When last we left the Clark Fork Drifter, we'd gone 3D, filleted and taped the chines. Now it's time to get busy on the interior. This is my least favorite part of a boat build - the build process gets all "furniture maker-y."
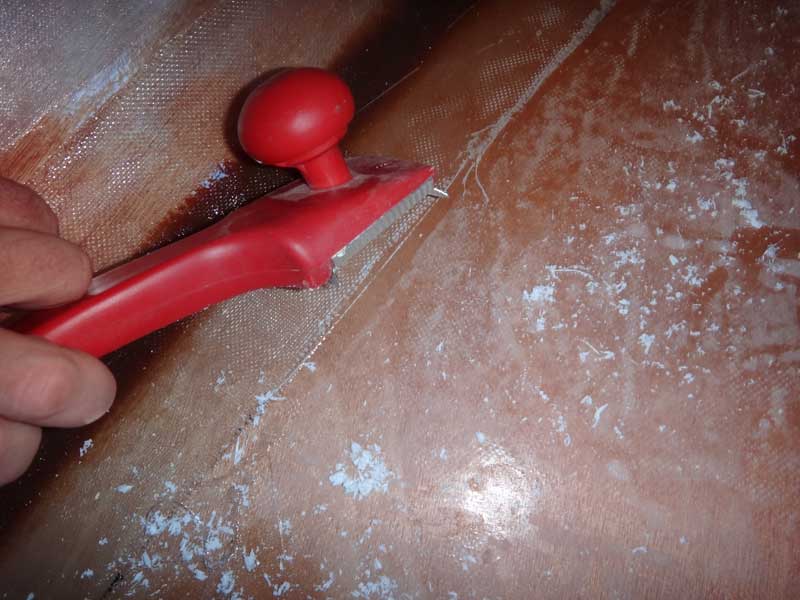
The first thing to do was to knock the edges of the fiberglass down and give the epoxy a good rogering so it's ready for more work. I'd heard of using a cabinet scraper from other builders and designers, and the instructions were included in the manual for the Clark Fork Drifter, too. I thought I'd give it a shot - and it works GREAT.
I've finally gotten smart enough to cut the holes for hatches before installing the bulkhead. You have no idea how much easier it is to run your sabersaw on a free floating board than it is to run it on an installed wall. I keep meaning to buy a compass for the Boathouse, but I keep forgetting, as well. This way works just fine.
We had some visitors, a couple from McMinnville were out taking pictures. I invited them in and told them about our operation. The wife (sorry, never got their names) was very interested in the boats, but confessed she is deathly afraid of water.
Bob showed up just in time to help with sanding. Sorry about the over exposure, but it's the start of October and the sun is shining bright - I'm taking pictures of it. We finished out the evening by sanding all the chines - I think we are going to be very pleased with how this boat comes out.
The next morning, Waldo greeted me with his customary SQUAWK! as I opened things up.
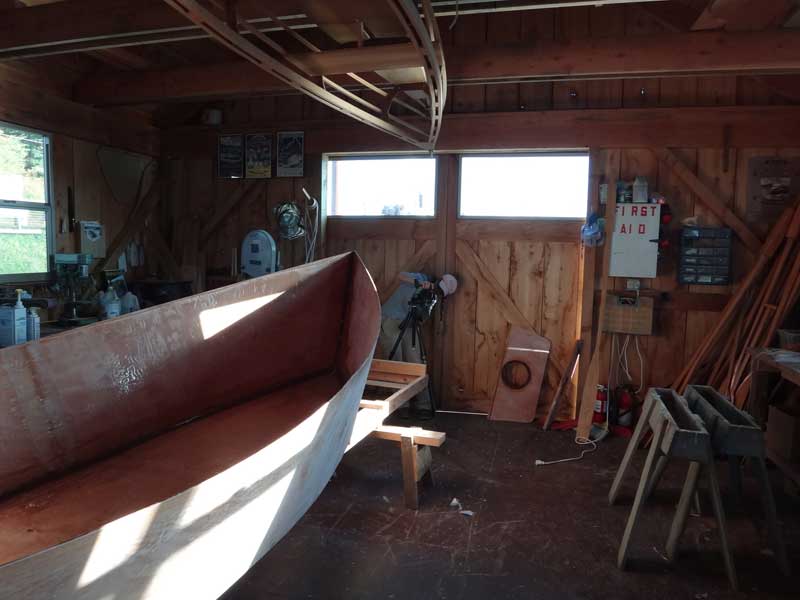
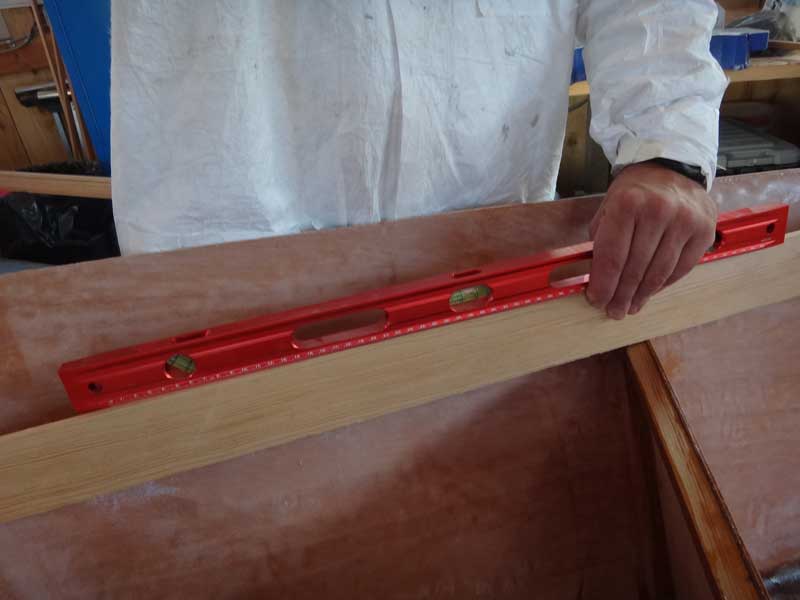
To get better access for sanding, I'd dropped the boat off its sawhorses last night. Now, for installing the bulkheads and seats, I wanted it level. I chose to set level at dead center, figuring people would trim the boat as flat as possible when in the water. The whole thing weighs about 60lbs (27+kg) right now, so it's easy for one guy to move it around.
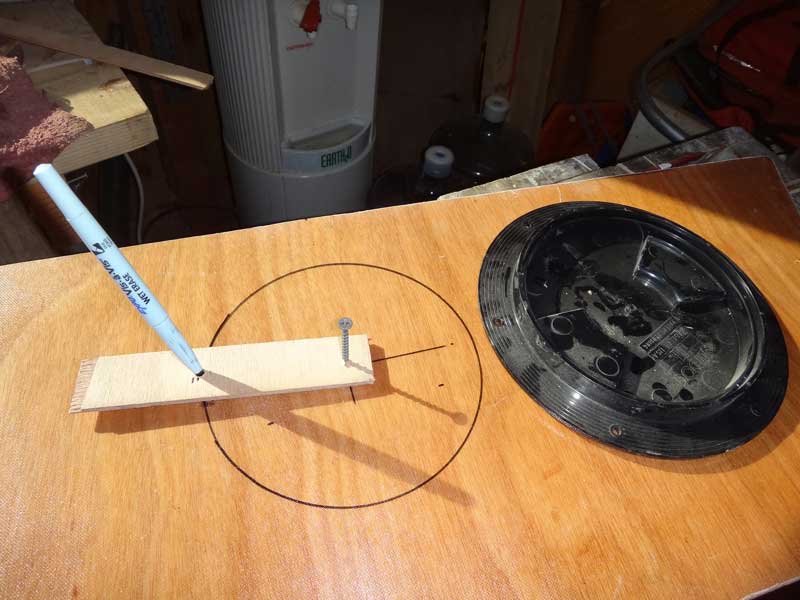
Once I set, filletted, and 'glassed the bulkheads, I had to determine how I wanted to run the stern and bow seat tops. First thing was to determine where 'level' was. Once I found it, I drew a reference line. (it's hard to take this picture by yourself) I wanted to slant the seat slightly so any water might drain into the cockpit, so when I installed the cleats, I gave it a 5/8" slant - I still want it to be comfortable to sit on.
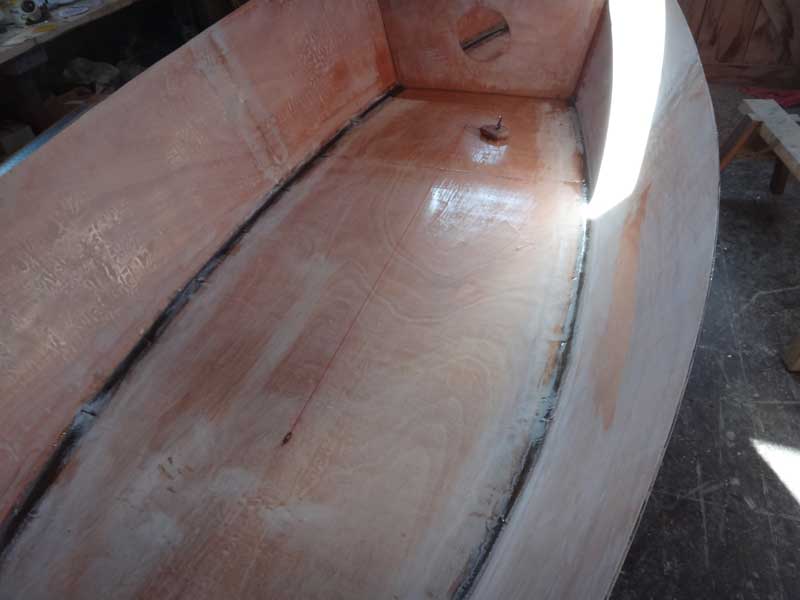
I got the bulkheads installed - epoxied and fiberglassed, then started thinking about the partial bulkheads. I needed to know where the centerline of the boat was, but I had drawn the centerline on the outside of the hull. The only way I could think of you accurately get the centerline was to drive screws up from underneath, then snap a chalk line on it. These partial bulkheads have been confusing me from the start, and as I worked on them, I just got more confused. I ended up calling the designer, Paul Butler, and asking him what to do. He rooted through his plans for a bit, then called me back and gave me the instructions I needed.
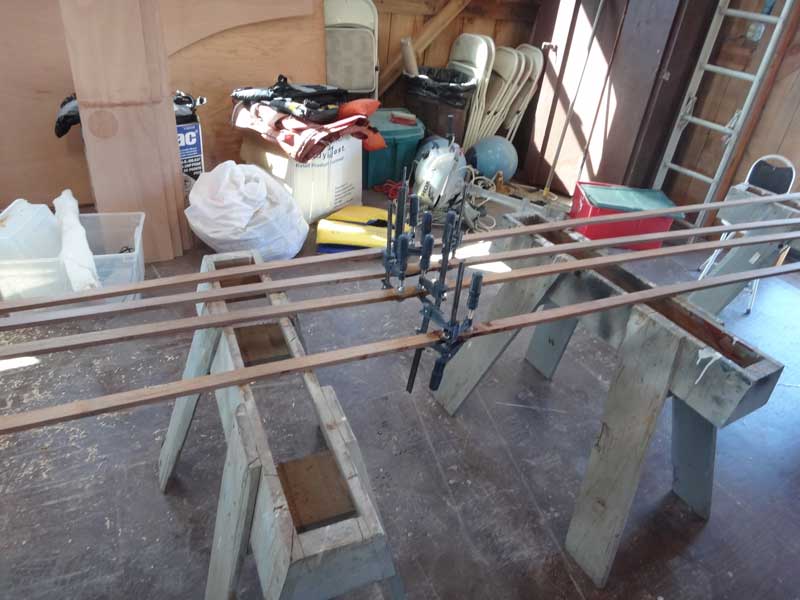
But just then, Bob came in with some 8' lengths of walnut he thought would be good for the gunnels. I left off the partial bulkheads and got to scarfing. I like scarfing.
I there is a boat builder in your life, you always know what to get him for Christmas: Clamps.
The couple from McMinnville came back - the husband was very intrigued with our skin-on-frame canoes. I tried to get them to go for a row, but they declined and went to Pig Feathers instead.
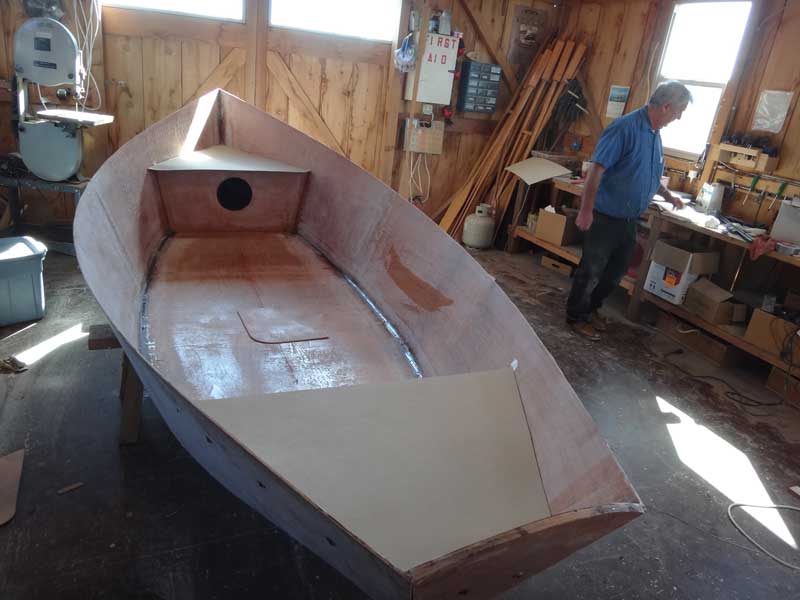
Bob and I finished out the session trying to make patterns for the seat tops. This is harder than it looks, and we'd really like to get it right. If there are any pattern makers out there, I could sure use your help next week - Friday, 4-7, to be exact. With luck, we finish out the interior next week! |