|
Clark Fork Drifter, Session 6 When last we left the Clark Fork Drifter build, I hadn't taken any pictures, so the writeup is kind of lame. I tried to make up for it this time.
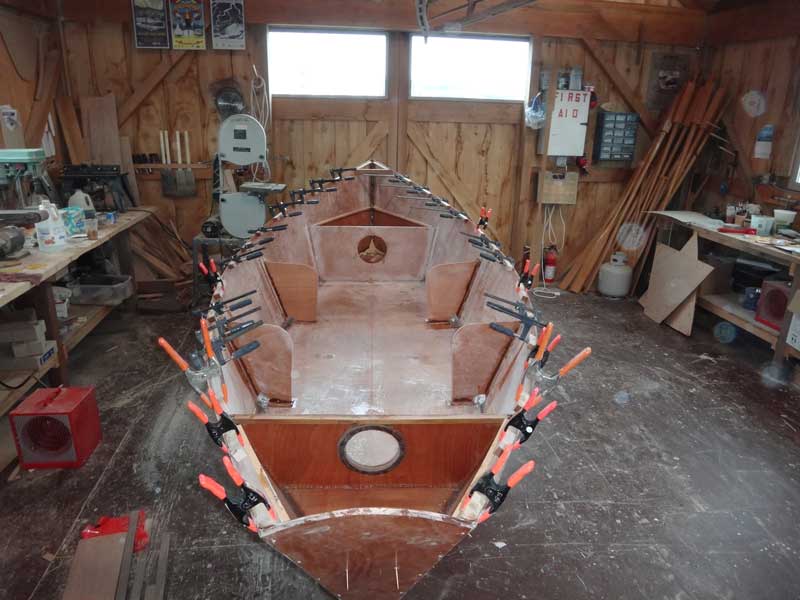
Ever wonder what to get a boat builder for Christmas? Clamps. Always clamps. We epoxied and clamped the wale spacers on, we'll be running screws through the inwale and outwale, so the spacers will be held on tight.
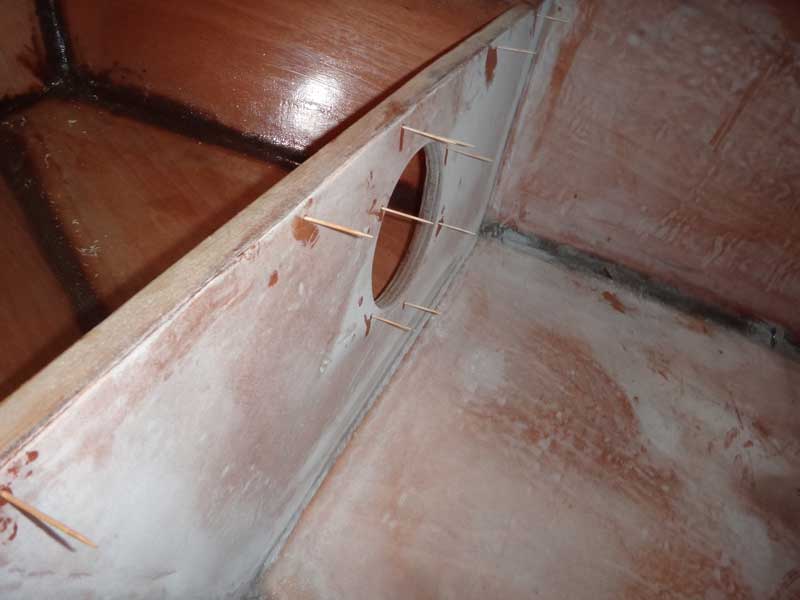
The old "Fill the holes with toothpicks" trick works very well. Toothpicks fit nicely into the holes left by drywall screws. You can use bamboo skewers, too, but they cost more.
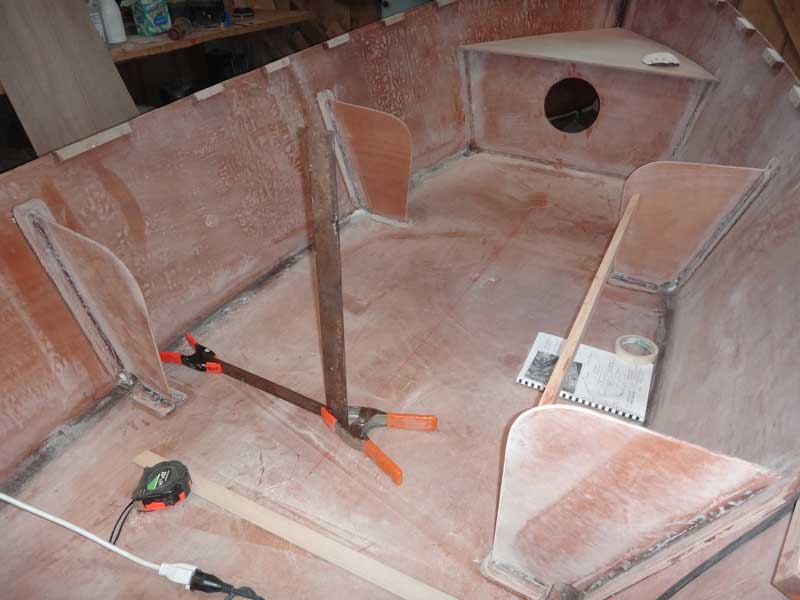
The big trick last week was installing the partial bulkheads. They needed to be perfectly parallel to hold up the gear shelf/seat support.
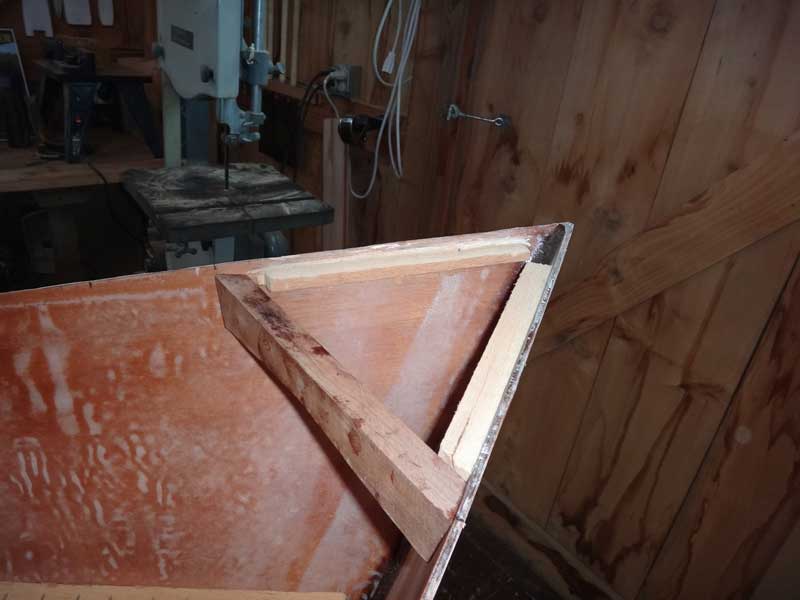
The breasthook is also a tricky piece. It needs to fit snugly inside the sides and the support has a compound angle. Compound angles are tough, so I've developed some tricks.
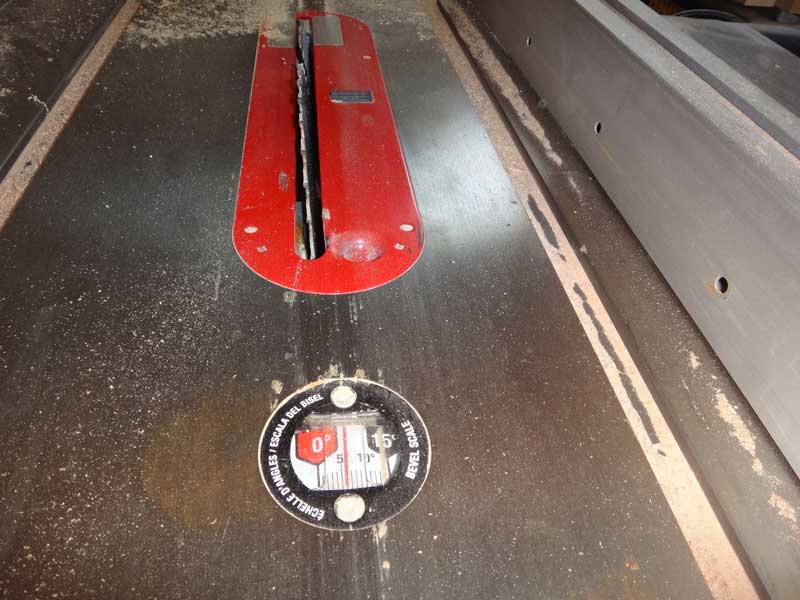
Choose your angles and set up a flat surface, then use bevel angle to get your measurement.
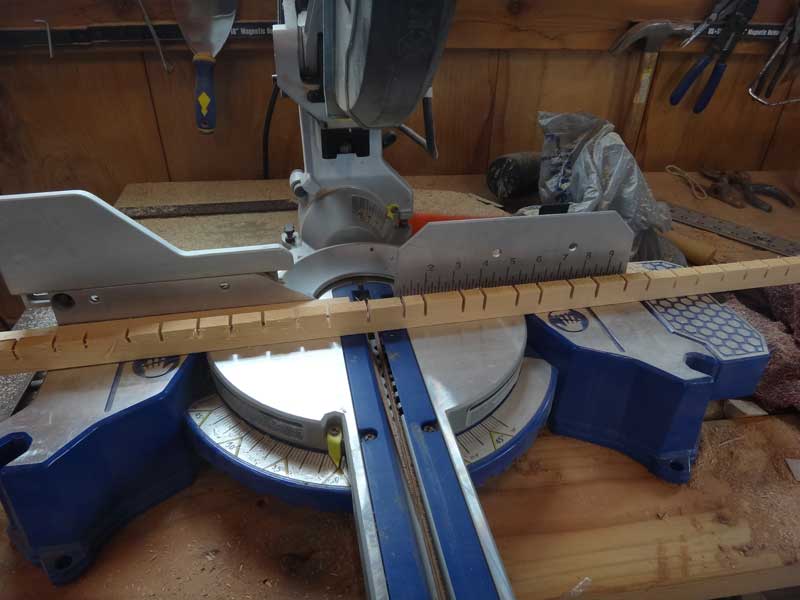
I've never liked protractors - even when I was a little kid - so I use my chop saw to get the degree measurement. Depending on the cut you are making, you use the chop saw or . . .
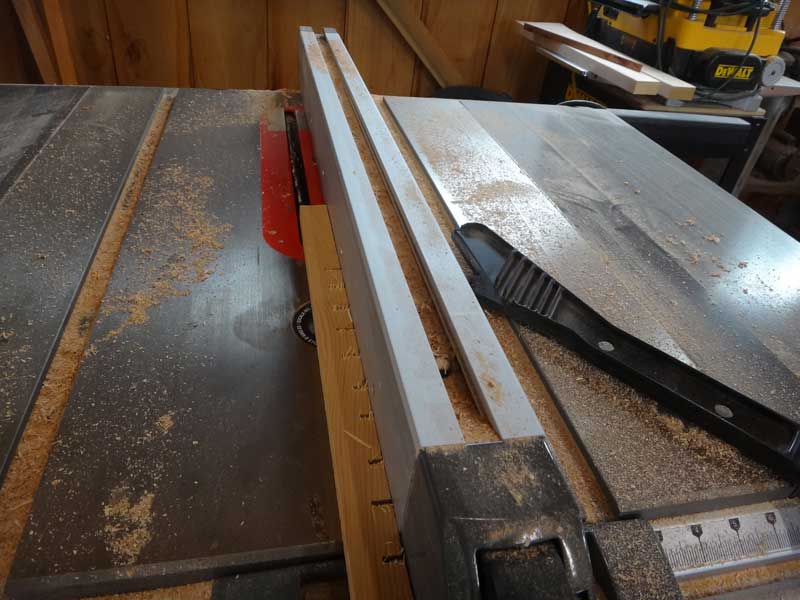
. . . transfer the angle to your tablesaw. There's a zillion ways to get angles - this is my preferred method.
Curt knocked the corners off the wales while I worked on the gear shelves. We are going to do the wales "bright" so we won't be attaching them until after we've painted the boat.
The gear shelves have to run parallel to each other and parallel to the centerline of the boat. I thought I was pretty tricky, coming up with this way of measuring out from the centerline. I am sure there are other ways of doing this as well.
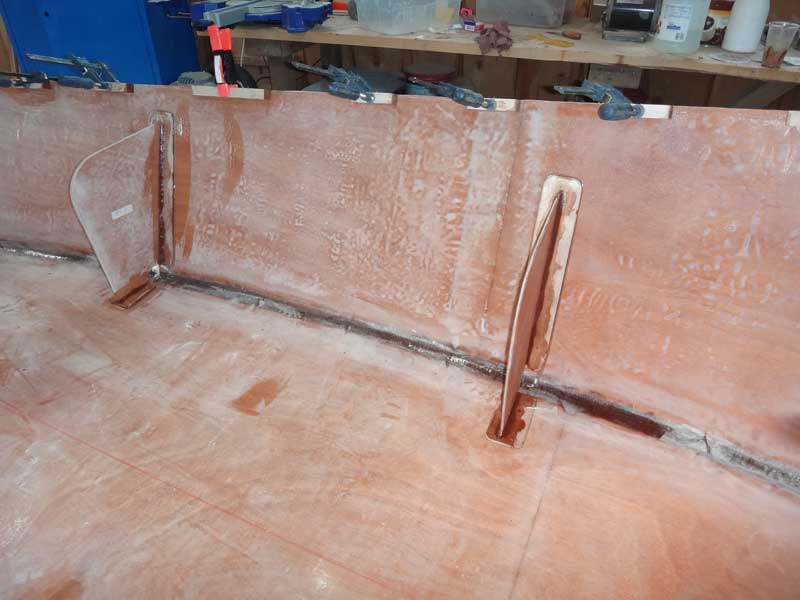
The plans call for the gear shelves to be filleted to the sides of the boat. I decided to have them attached to cleats, instead. This weighs a little more, but I believe it will stiffen the side and provide a more secure mount. The cleat has to follow the curve of the side, so I cut these notches in it to make it bendy.
Then I used that "get the angle" trick from earlier to bevel the edge of the cleat so it lays level. Notice the push stick? You only get 10 fingers - use them wisely.
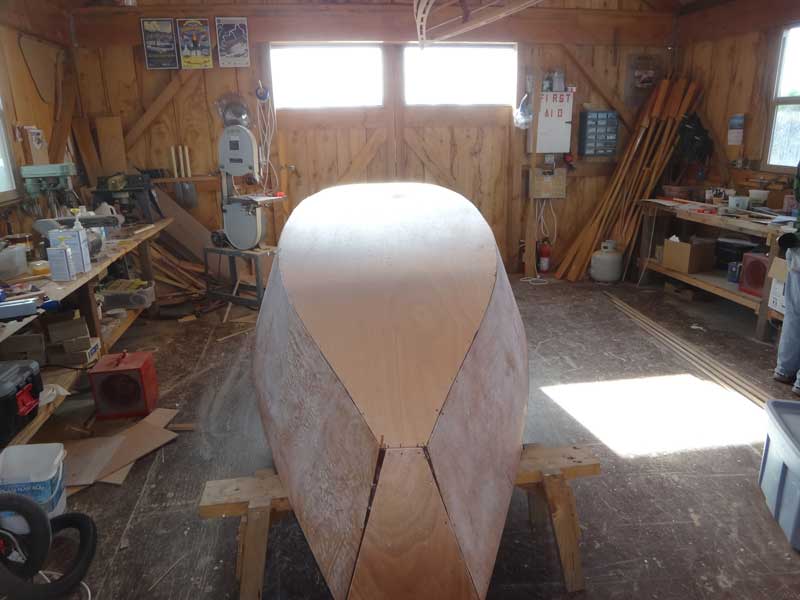
Once the cleats were installed we flipped the boat to begin work on the bottom. We won't put in the gear trays until the end - all the horizontal surfaces will be bright finished (probably.)
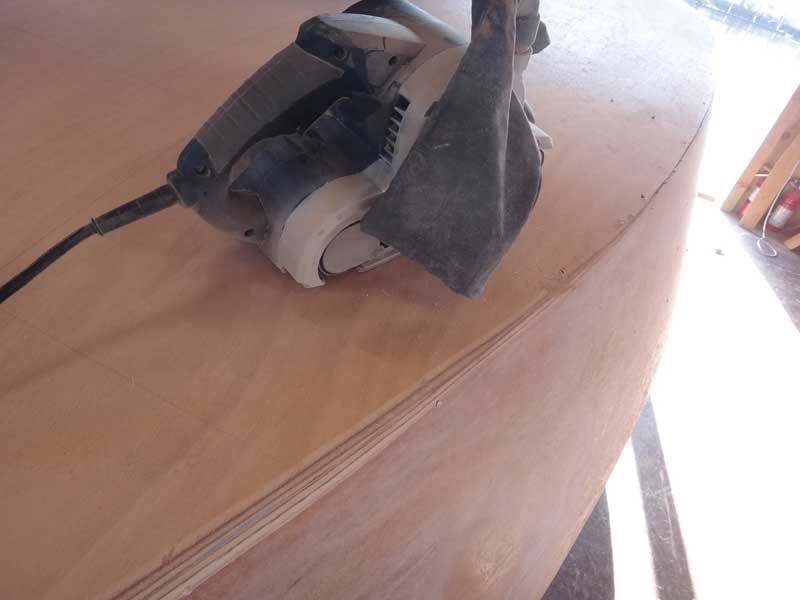
Step 1 was to round the chines - I gave them a radius of about 1 inch. A belt sander with 40 grit paper works great for this - then go over it with an orbital sander to knock off any of the really rough bits.
We hadn't seen the bottom since we began, so Curt had to smooth out the butt joint while I worked on the chines. (I'd make a joke about Spirit Orbs, but some people take them seriously and I don't want to offend.)
For this project, we'd 'glassed most of the big pieces before assembly - while they laid flat and were easy to get at. I'd left the bottom alone because I wanted the fiberglass to lap over the chines for abrasion protection. We used 6oz for the bottom and will go over the chines with 12oz tape later. Everything from Duckworks, of course.
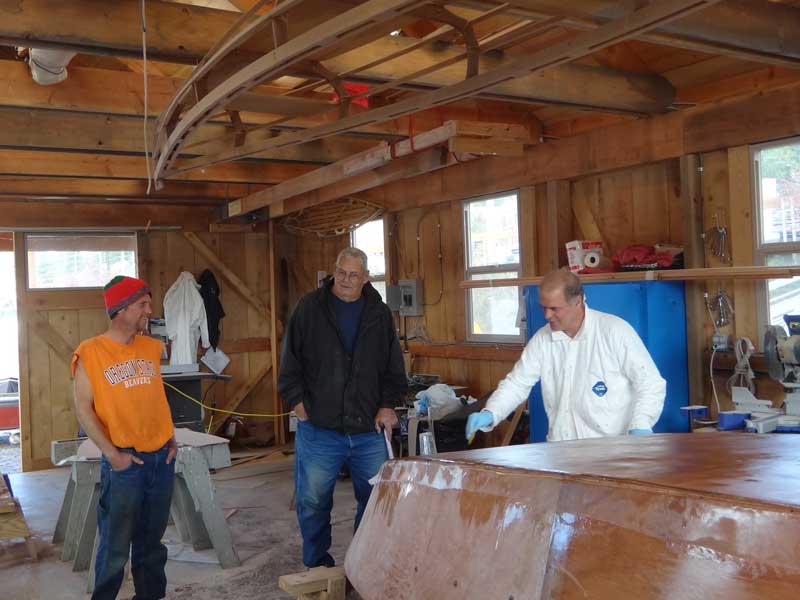
We had some visitors on Saturday - I can't remember the name of the gentleman with the cane, but the guy in the hat is Eric. He came over with John K. who also took these pictures.
'Glassing large, flat pieces is not a lot of fun. The good news is, with those large radius corners, the fiberglass lays down nicely - we only had to cut it at the hard corners at the bow and stern.
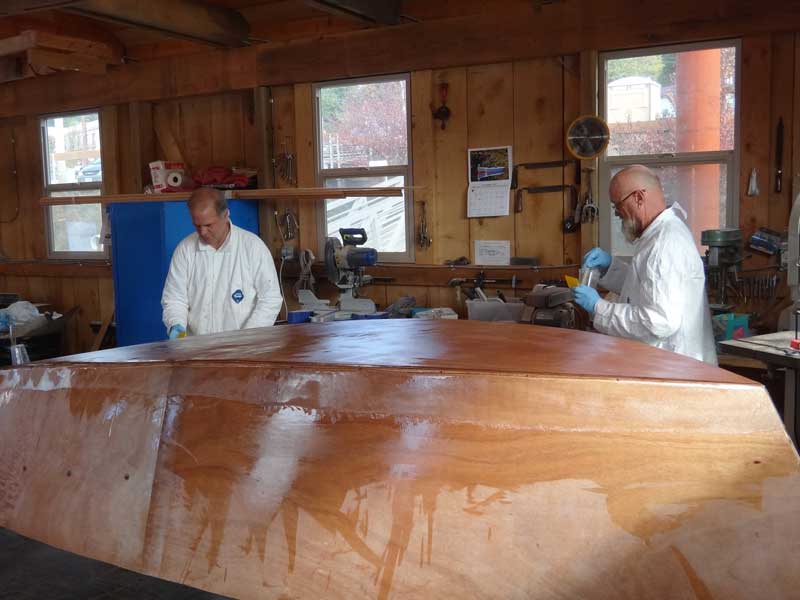
And there we go. We are so close we can almost taste it. Just taping the seams with 12oz, and two more coats of epoxy and the exterior is done. With a little effort and planning, we could be done by Thanksgiving - Christmas at the latest.
|