|
Clark Fork Drifter Build Session
10 When last we left our build, we had given her one coat of primer. Now it was time to get to paintin'. The build process slows considerably when it gets time to paint. Depending on how detailed you want to get, you can paint a boat in as little as 20 minutes, then you have to wait a day for it to dry. I have to try to plan for other activities to keep everyone busy or we we'll just devolve into a place where a bunch of old Coots come to sit around an complain about the gub'ment.
I'm a big believer in primer - I believe the boat should be primered brilliant white, then painted so no white shows. The problem with white is scratches, so some people use 'tintable' primer colored to the topcoat. You can even get pigment to add to your epoxy from various places - Duckworks has a nice, inexpensive selection.
I found some marine spar varnish made by Rust-Oleum, at the local Ace Hardware store and man, that makes a purty finish. I really like Rust-Oleum products - the boats I make rarely rust.
Primer inside, primer outside. Paint paint paint.
Painting and varnishing were done in a half hour or so, but instead of just wandering over to the Twisted Snout for a beer at 4:30, I thought I'd introduce Curt and Bob to the project I'm planning for the Family Boat Build this coming Spring Break. Remember our last Family Boat Build? It's like that, only doing a Michalak QT Skiff powerboat instead of a Dave Gentry Ruston IGO canoe.
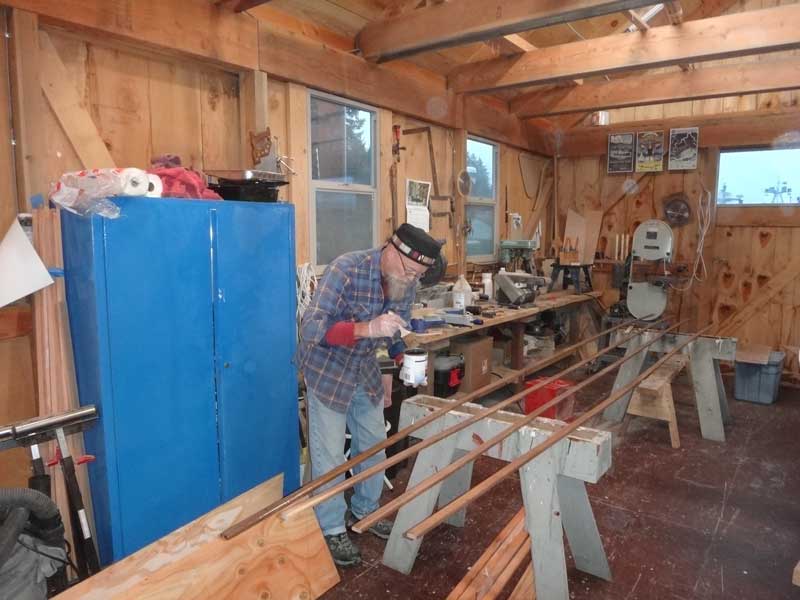
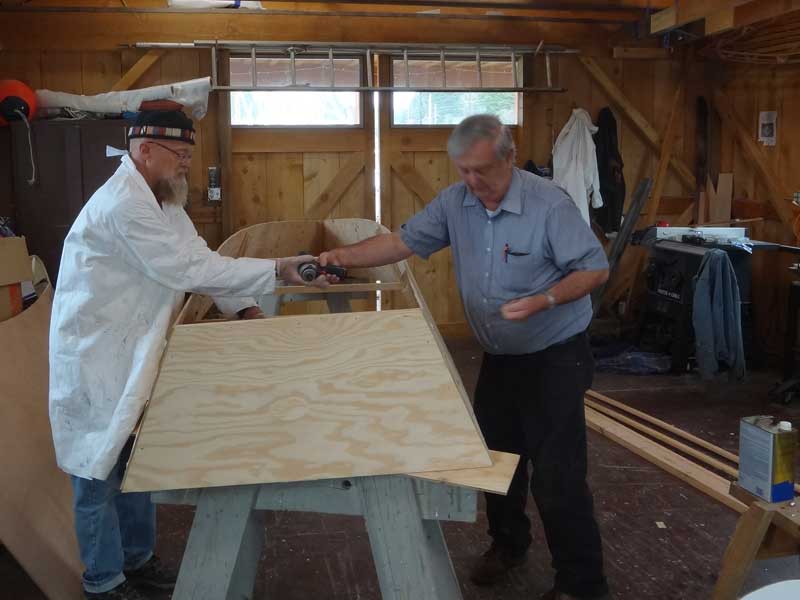
I've made a few alterations to Jim's perfect plans, and I needed to see how badly I messed everything up before I forced this on the innocent families. Who better to test on than volunteers? I'd prefabbed most of the parts at home - I'm planning on prefabbing as many parts as possible for the families - and wanted to see how well things worked with Curt and Bob putting things together.
I'd wanted to dry fit the boat together, see how it all looked, then take it apart and use the pieces as templates, so we are doing this without glue. It's fun watching the build from the outside - 14' long 1/4" thick plywood is pretty floppy.
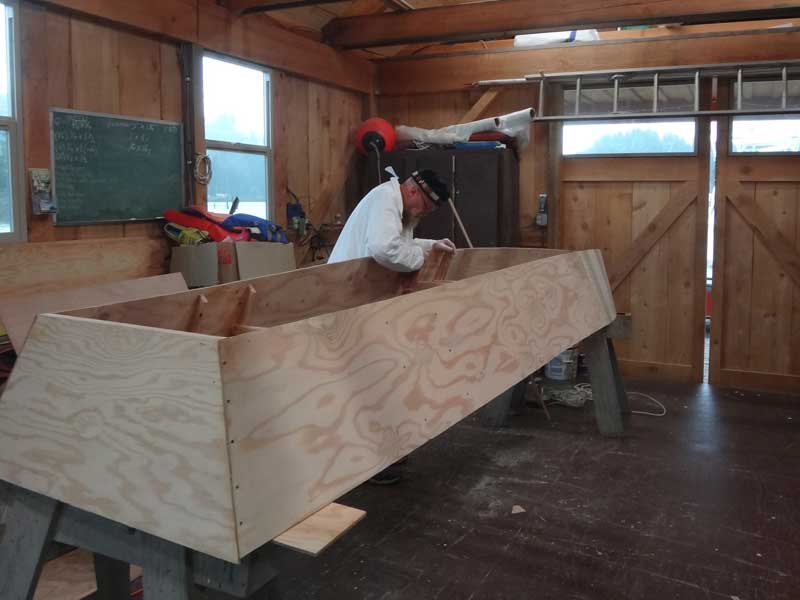
My biggest modification is not using temporary frames - I use (4) frames that will become seat supports once the braces across their tops is removed. My math didn't come out perfectly, so this boat has a wee bit of a 'sexy waist' to her, back at the aft seat - not a big deal, but I will correct it. What you can't see here is that the frames don't come all the way to the very edge of the plywood - there is a 1/2" space. I decided I wanted a free path along the bottom of the boat so water won't collect in specific spots. I figure it'll make mopping out the water easier and maybe prevent some rot.
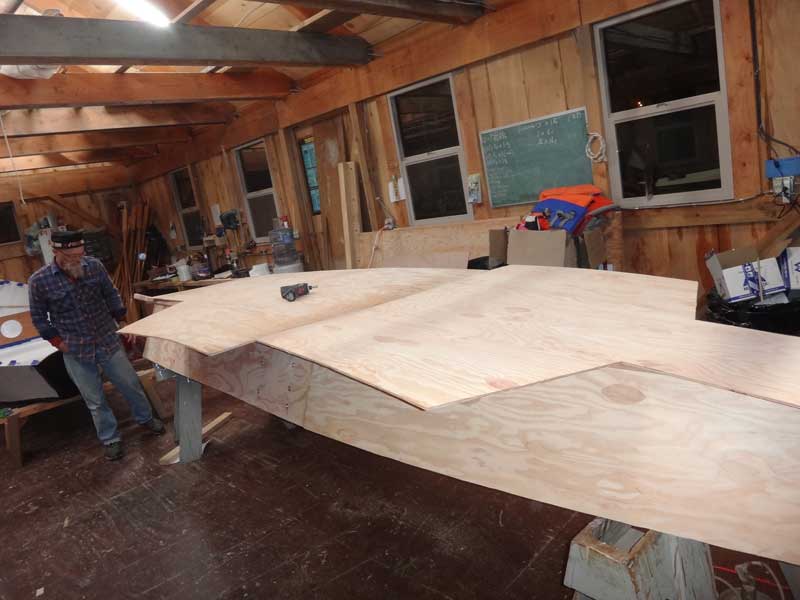
This design calls for (3) sheets of plywood with the bottom being cut from the excess after you cut out the sides and transom. Because of variations in the bending of material, you really can't make a good guess as to the exact shape of the bottom, so you have to place it, mark it out, cut it, fit it, and trim it during assembly. I have lots of fear and trepidation about this step of the Family Boat Build - but that's why we practice, ain't it? That's enough for one day. Let's go have a beer.
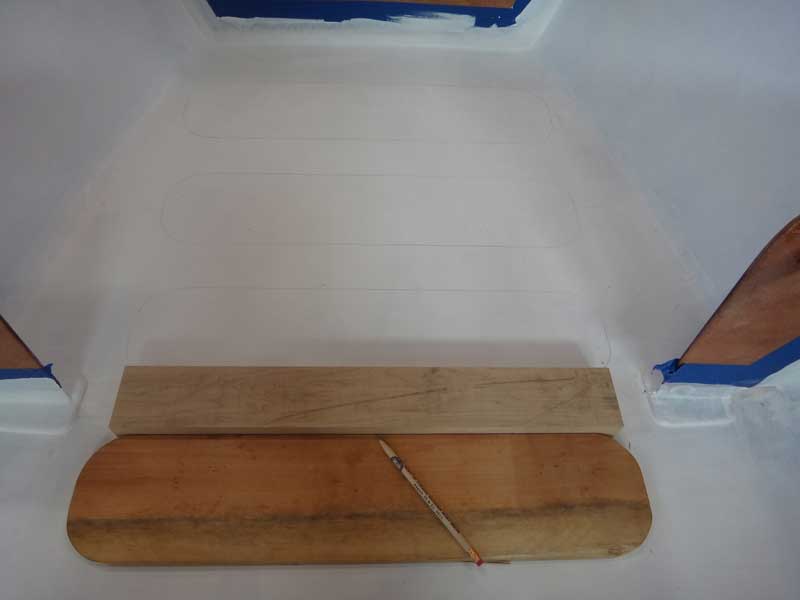
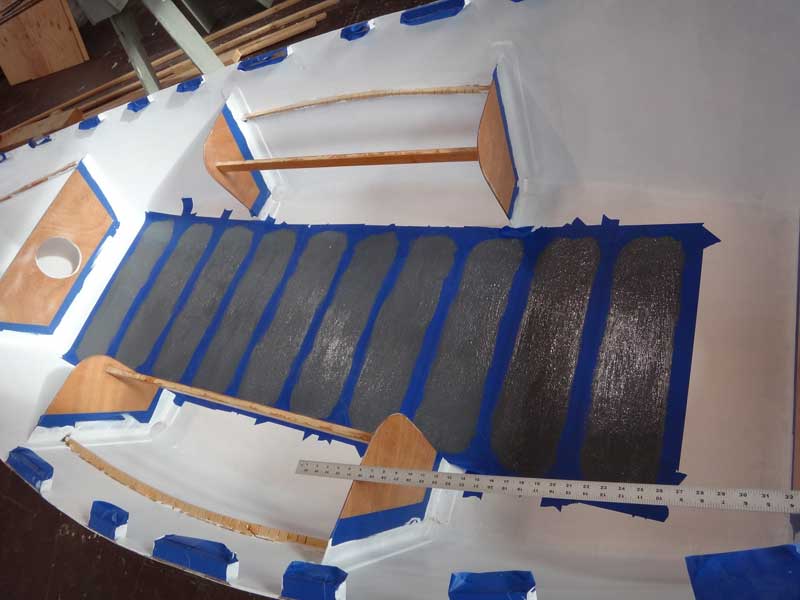
It's time for the topcoat on the Clark Fork Drifter. A drift boat is a fishing boat, intended for fishing fast-moving rivers and streams. If this boat is lucky, it's interior will be awash with fish blood, guts and scales. I wanted to put some non-skid on the floor to help our future owner when he's trying to land 'the big one.' Rather than just cover the entire floor with nonskid, I wanted to make treads. I made a template for how I wanted the treads to look and used a piece of scrap for a spacer. Look close - you can see how I'm laying this out.
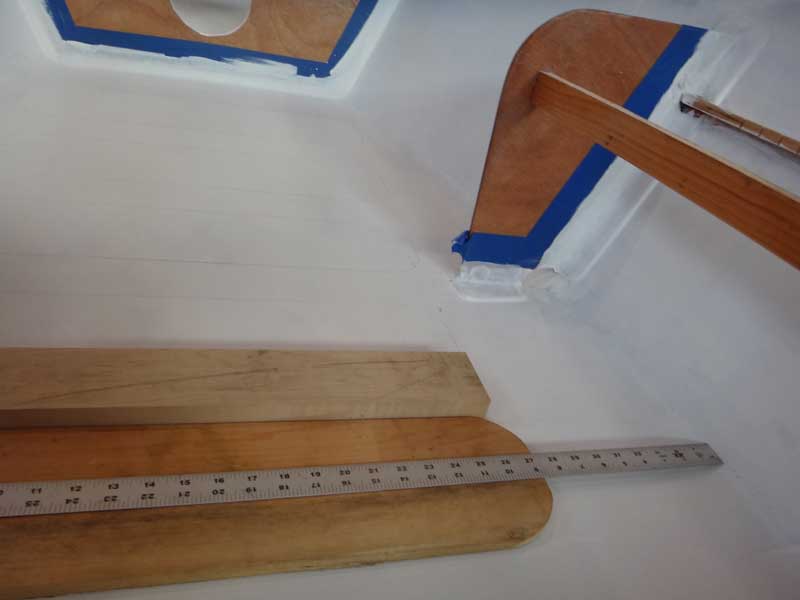
I found it's very easy to wander left and right down the length of the boat, so I took to measuring to keep things centered.
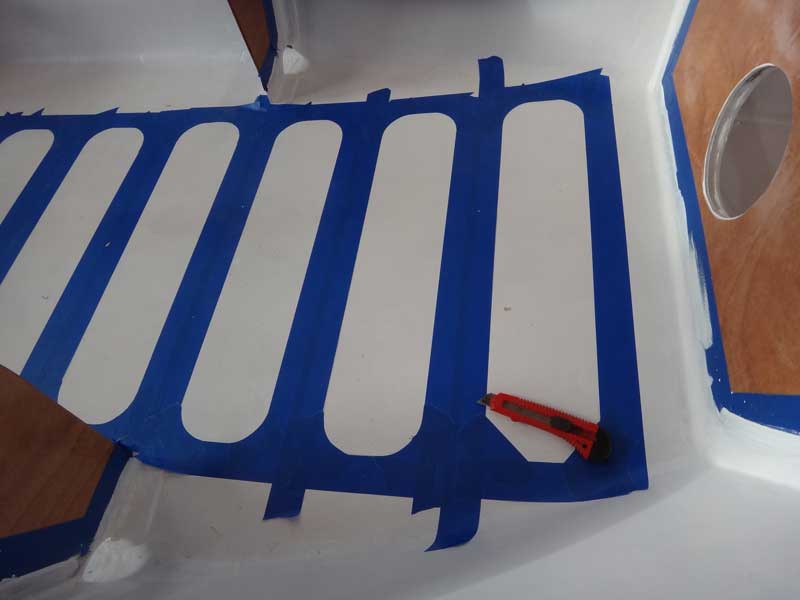
Next step was to tape off the non-non-skid areas and trim the taped-off areas to shape.
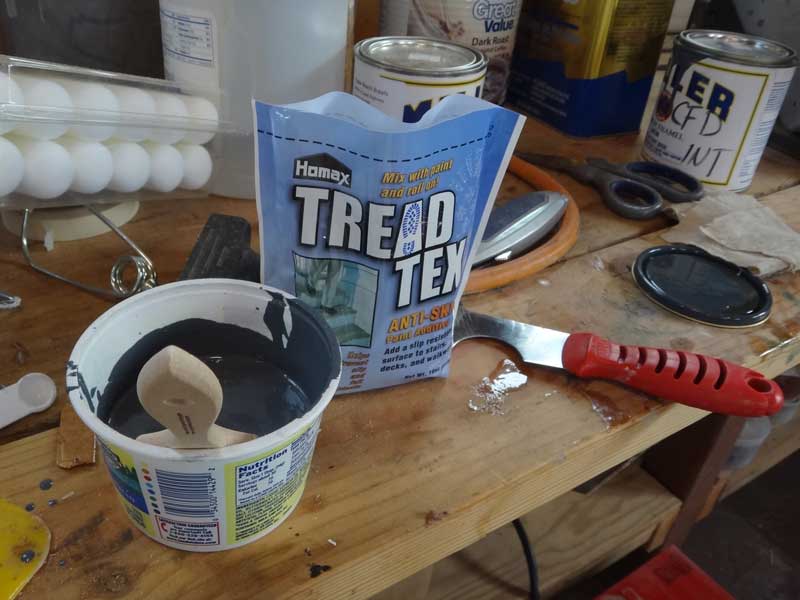
Mix the anti-skid with the paint. The instructions said "1/2 cup to a quart" but I'd only purchased a quart of paint for the interior - it wasn't all for anti-skid. I poured a bit of paint into a separate container, guestimated how much Tread-Tex to add, and continued . . .
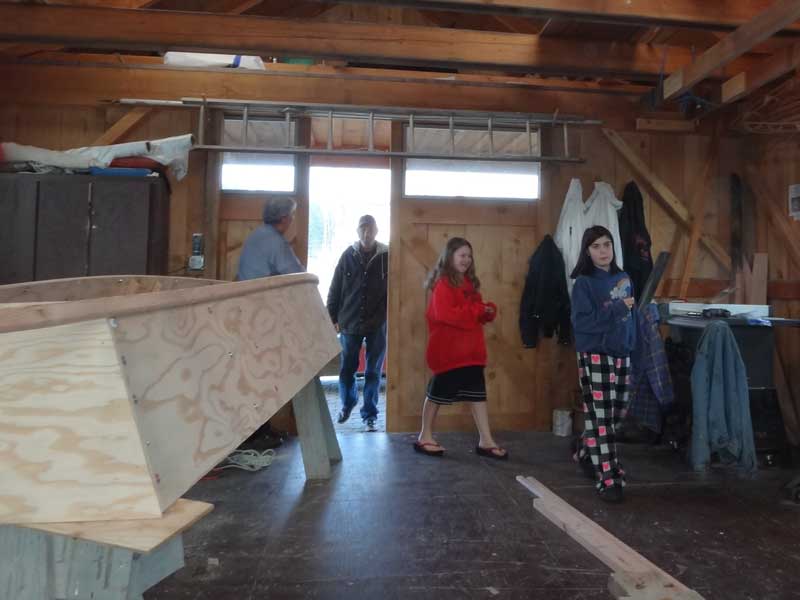
Hey, Visitors! Mel brought by his daughter and her friend to see what was happening at the Boathouse. I tried to talk them into painting with me, but they were reluctant. We talked for a while, I told them about the Family Boat Build, and I hope they apply.
There's the anti-skid on cockpit sole. The rest of the interior will be that dark gray.
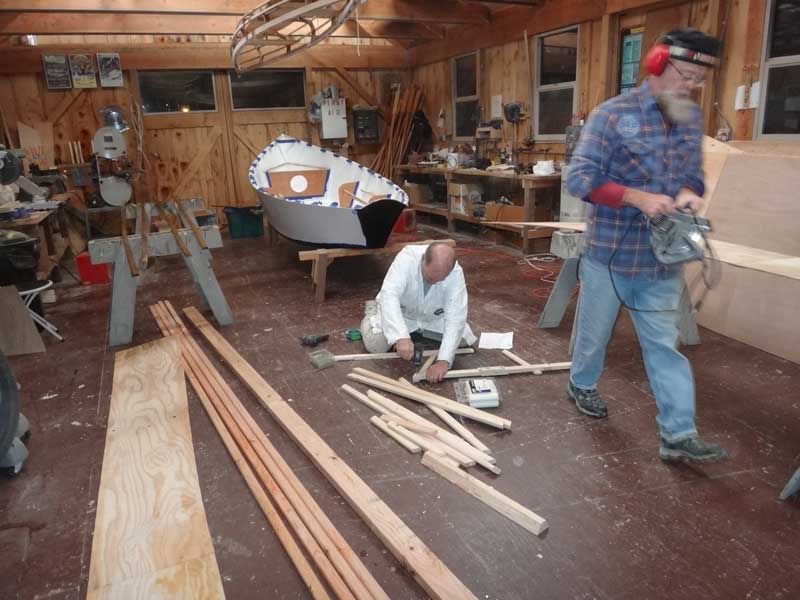
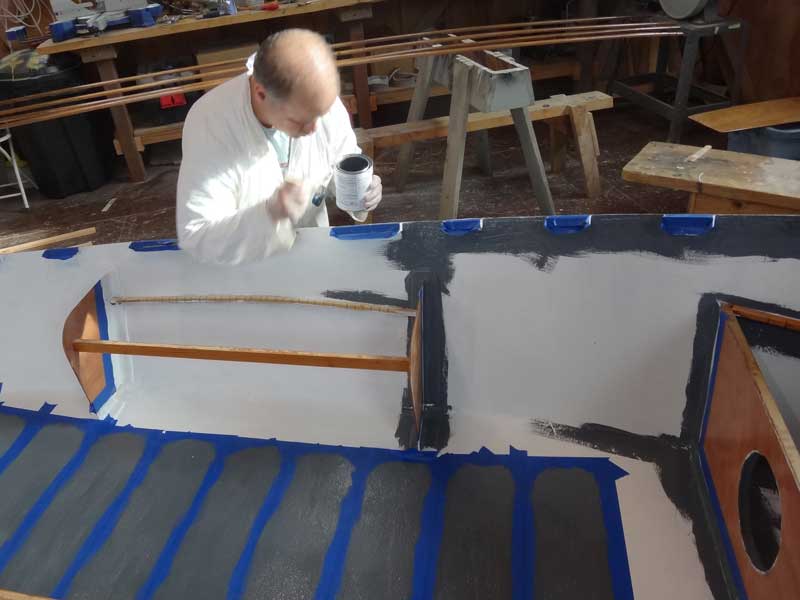
Since I couldn't paint the entire interior, I decided to do the detail work - I'll hit it with the roller next week.
Details, details. This is why I like canoes, people!
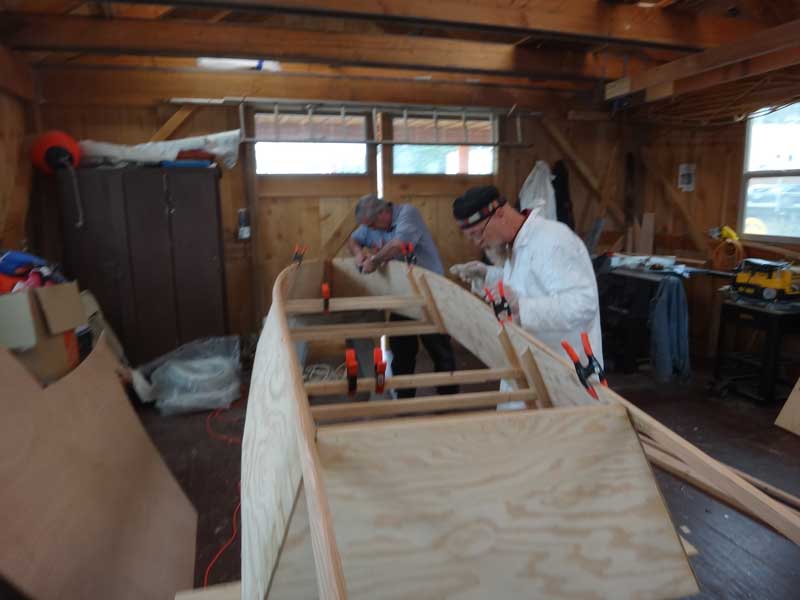
All that interior/detail stuff could easily be done by one person, so what was I to do with Curt and Bob? I decided to have them actually assemble the QT Skiff into a boat. They had to take it all apart, then glue and screw it all back together. We are using PL Premium for the glue, 1-1/4" Grip-Rite Deck Screws from Rust-Oleum for screwing into timbers, and 3/4" stainless screws for attaching the chines and wales.
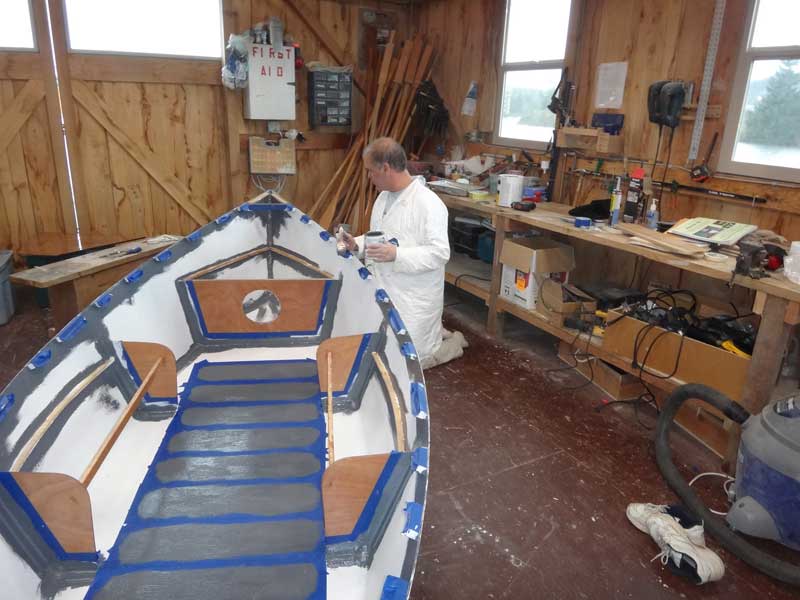
Oh, I like the look of this boat - nice and utilitarian, just my kind of project.
The final step for the day was attaching the chines. We suffered one chine breaking at a knot in the wood, but recovered nicely with glue and clamps - it'll barely be noticeable. Remember: It's not the mistake, it's what you do about it.
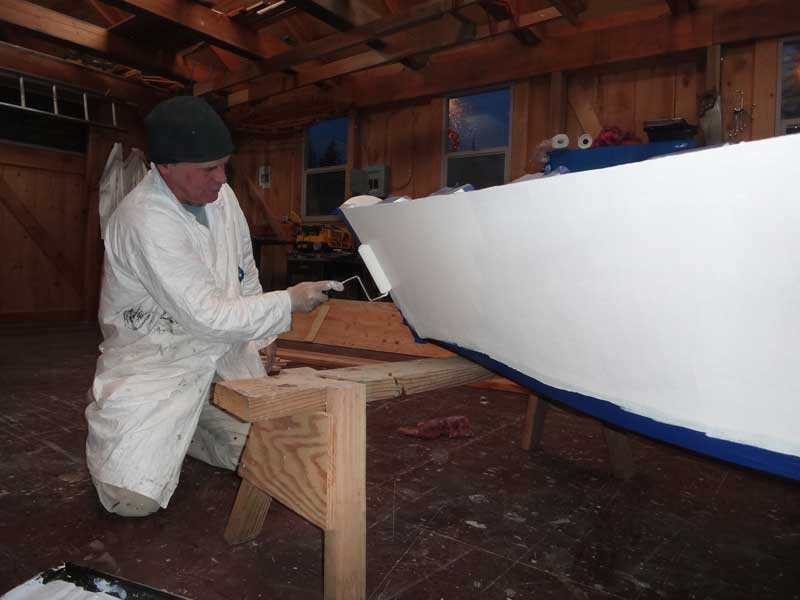
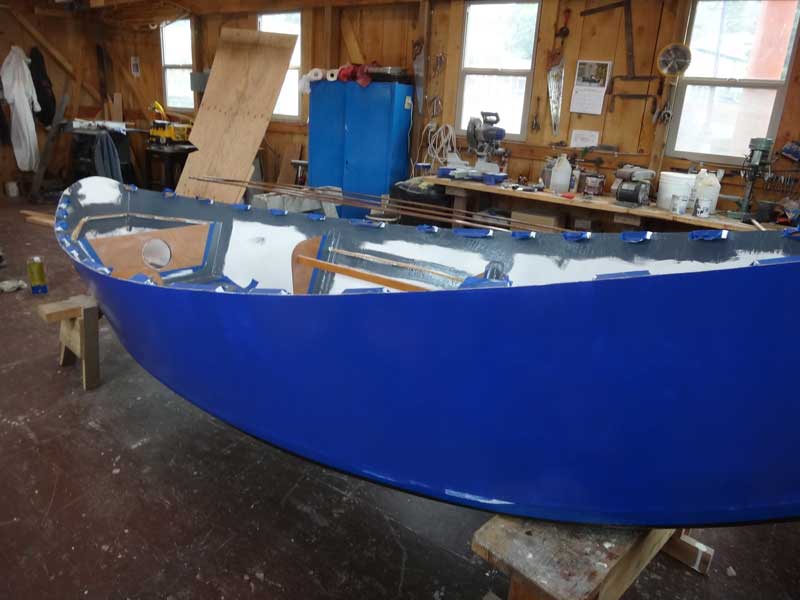
And while they worked on the QT Skiff, I kept painting. Oh, my! That's a very blue boat. Next week: Finish painting and install the seats. |