|
Clark Fork Drifter - Session 11
(not really - we barely did anything on it) we are in the painting phase of the Clark Fork Drifter - nearly done - and I allowed myself to get distracted. Don't worry, we'll get it done (by the time we sell it at the Depoe Bay Boat Show in April)
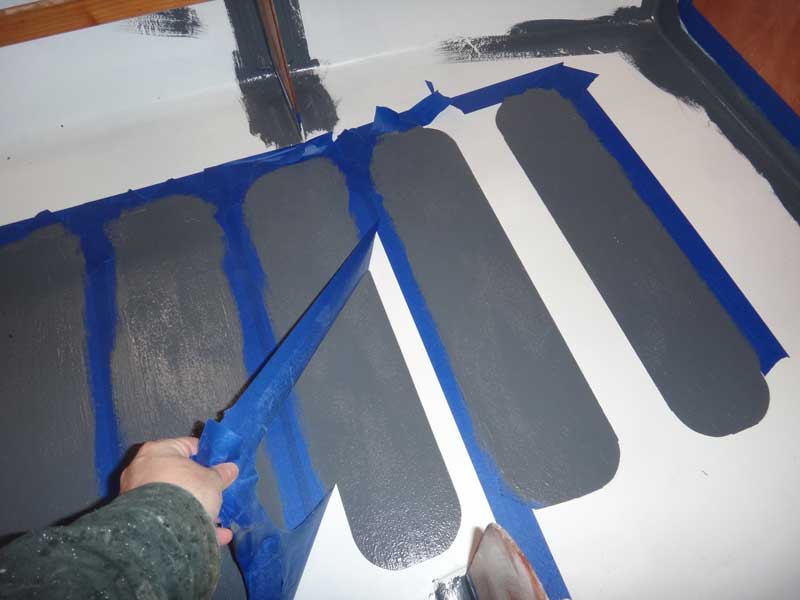
The one thing I did do was pull the tape off the bottom so I could see how my non-skid patches came out - pretty sweet! After that, I got caught up in trying to finish the prototype of the QT Skiff we'll be building at the Family Boat Build next March.
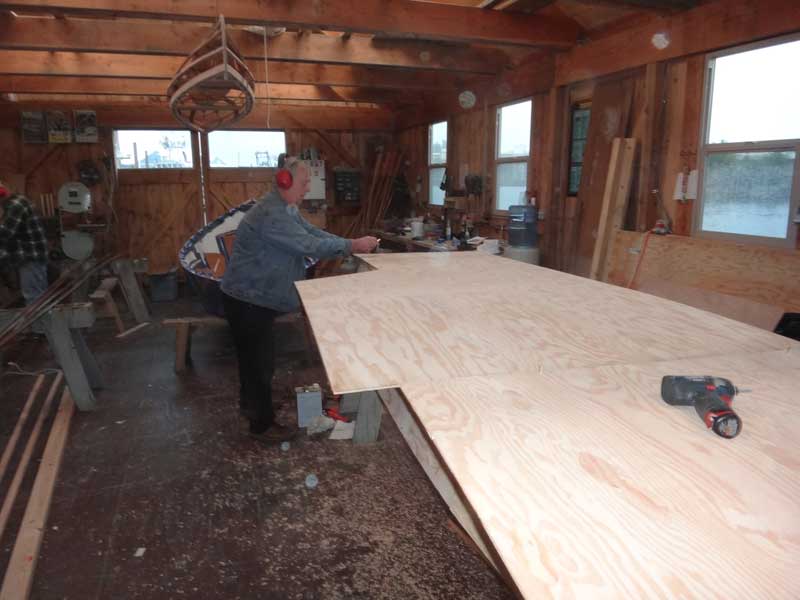
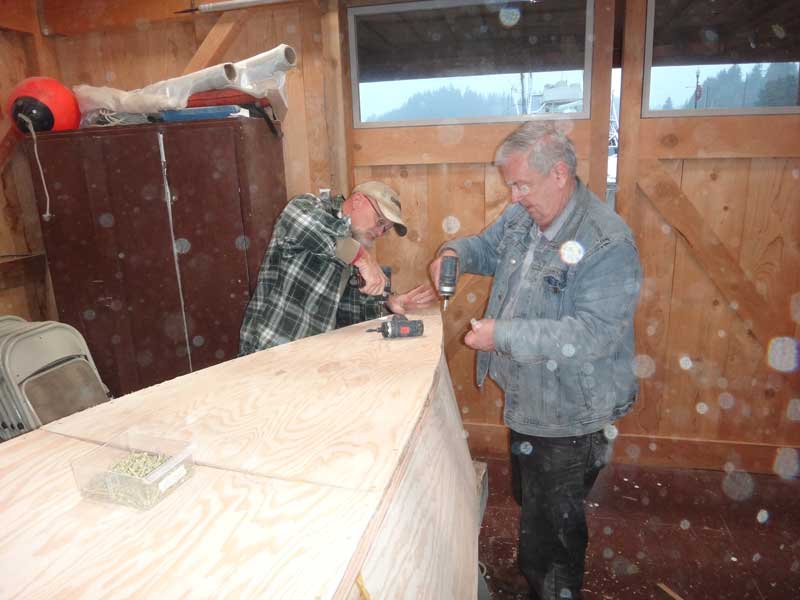
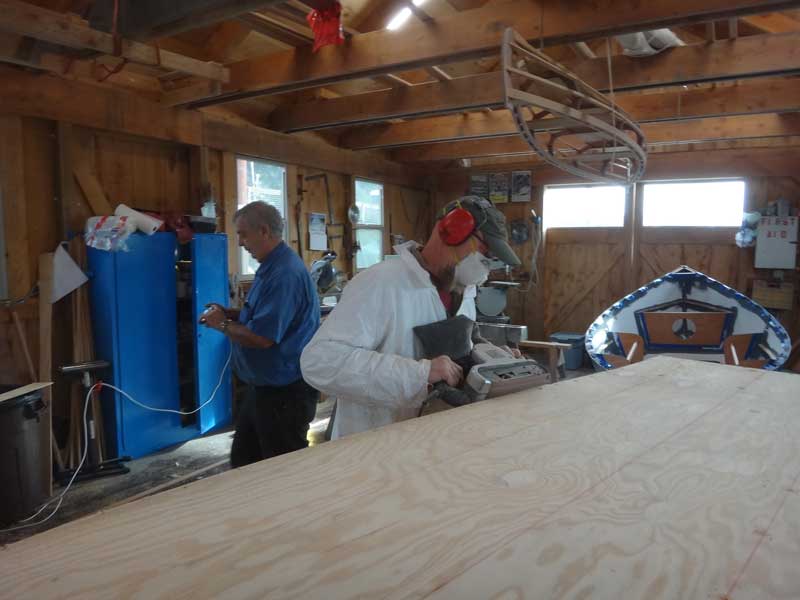
If you remember, we had the sides assembled, but we had to wait for the glue to cure before we could plane the chine logs flat and attach the bottom. Today was Attach the Bottom day. Curt and Bob were there, too, so things went pretty smoothly.
The bottom goes on quick - tack the plywood in place, trace the shape of the hull, cut the ply, glue and screw it down. We were using 1-1/4" Grip-Rite Deck Screws every 4" or so.
When we flipped the boat, I attached the motor mount to the transom while the guys got ready for the wales. The plans call for a 2x6 mounted on the outside of the transom - I don't really like that - it's very heavy. I think I'll switch to a 1x6 on the inside with a 1/2" plywood pad on the outside where the motor clamps on.
It was about here we realized we were out of PL Premium glue - and that pretty much meant we were done. Well, not quite, there's always something to do. Bob insists the boat has to be able to be rowed, so using TiteBond III, we glued a pair of 10" wale spacers centered where the oarlocks should go and then put 4" spacers along the rest of the sheer.
While we did that, Curt made a pair of seats from some of the scrap plywood.
The seats are 12x24 inches with nicely rounded corners.
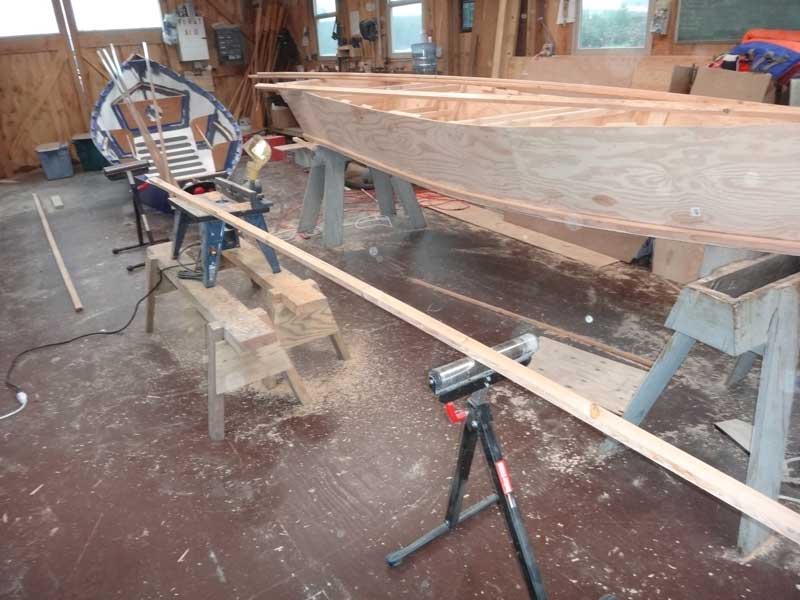
I'm measuring out the wale spacers - Mostly I did it by guess and by golly - whoops! I meant "I laid out the spacers 'by the eye.'"
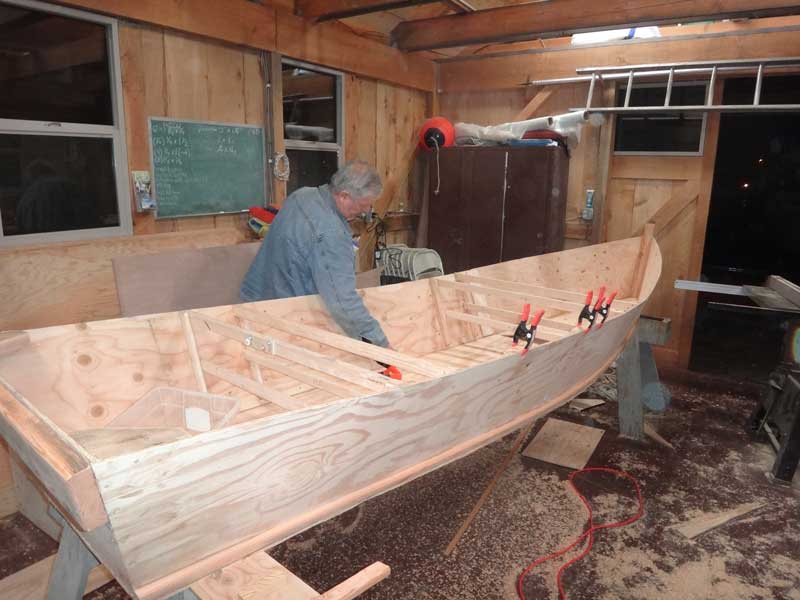
And there we go! A dozen wale spacers set more or less evenly along the sheer - just glued into place because we are going to run screws through them from both sides as we attach the gunnels and inwales. That's enough for the night - off for a beer.
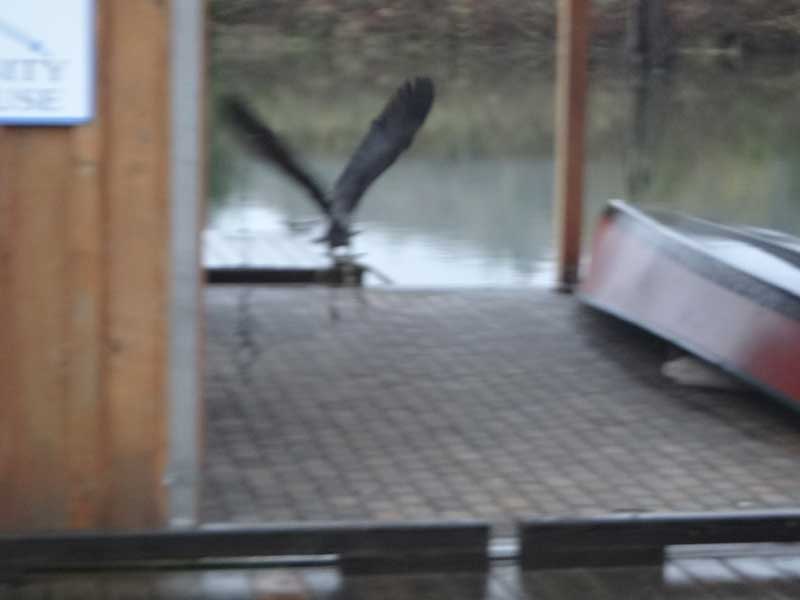
Dammit, Waldo! You should know me by now. There is no reason for you to be so skittish.
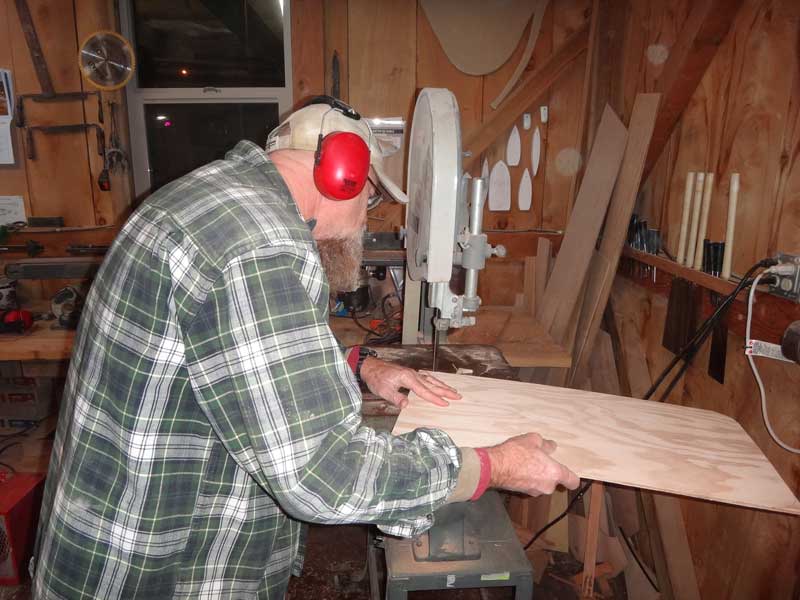
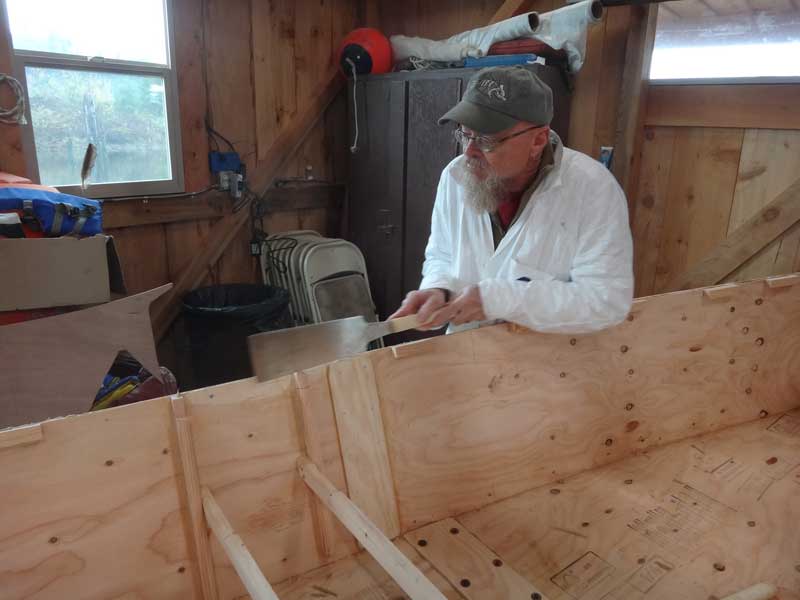
I don't know why - I keep screwing up the transom - it was about 1/2" too high. Feeling a bit like an old-school craftsman, I took a pull saw and shaved off the excess.
OK, enough of that. I finished the trim with my 4x24 belt sander with 40 grit paper.
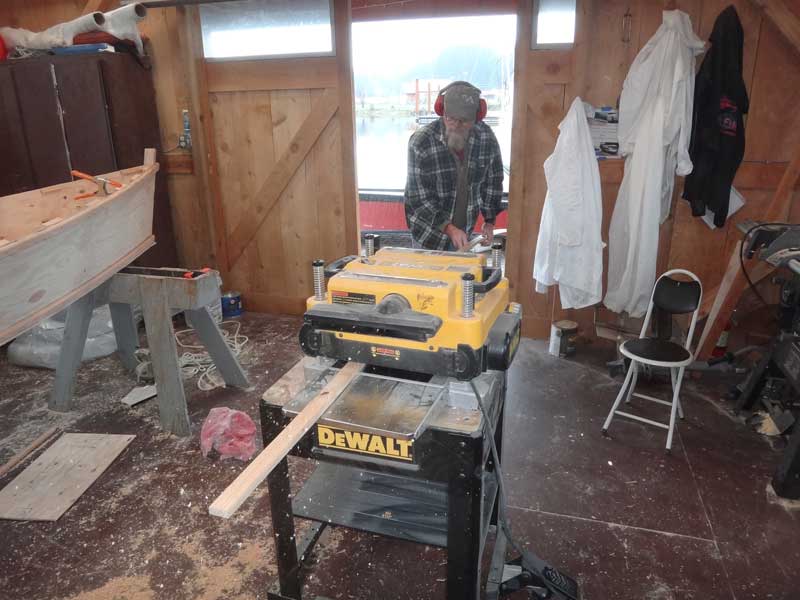
We needed a few more sticks - as I have this boat designed, it'll take (9) 14' 1x2s for all the chines, wales, and skids. That's a lot of 1x2s - especially since I'm not counting seat supports, frames, and wale spacers.
Once cut and planed (I really do like our planer) we ran 'em through the router to knock the corners off. Nature hates 90° corners.
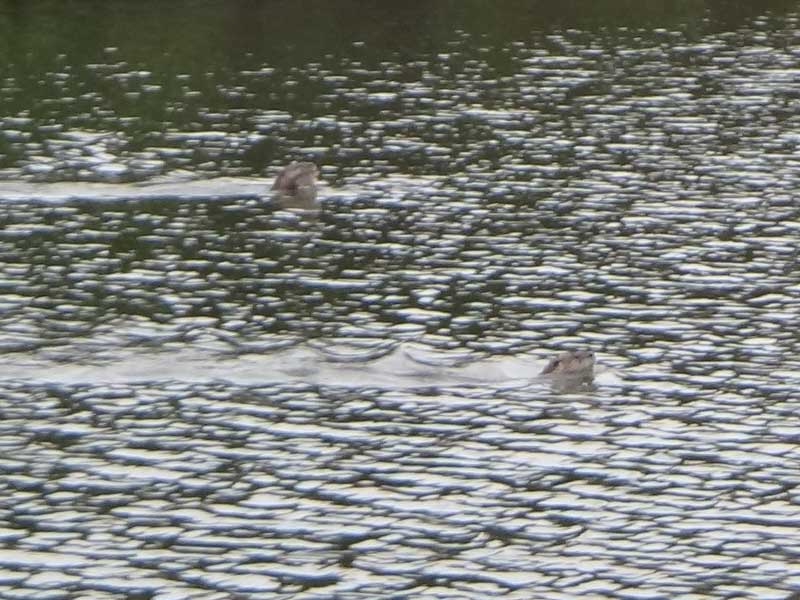
Otter break! Curt heard a noise and looked outside - two river otters were gamboling out in the slough.
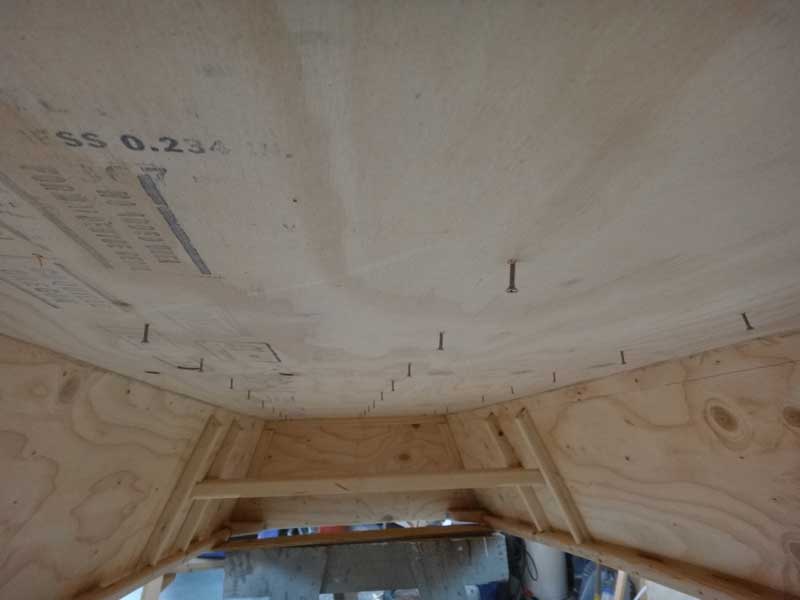
We needed to put a butt-block over the seam in the hull - we coated the block with PL and I crawled under the boat and pushed backer-boards up while Curt drove clamping screws down (once the glue cures, we remove the screws and fill the holes with toothpicks.) This ended up not working, but we made a nice recovery.
We attached the gunnels on the outside and now needed to notch the frames so we could put inwales in. I think this is the best picture I've ever taken of Curt.
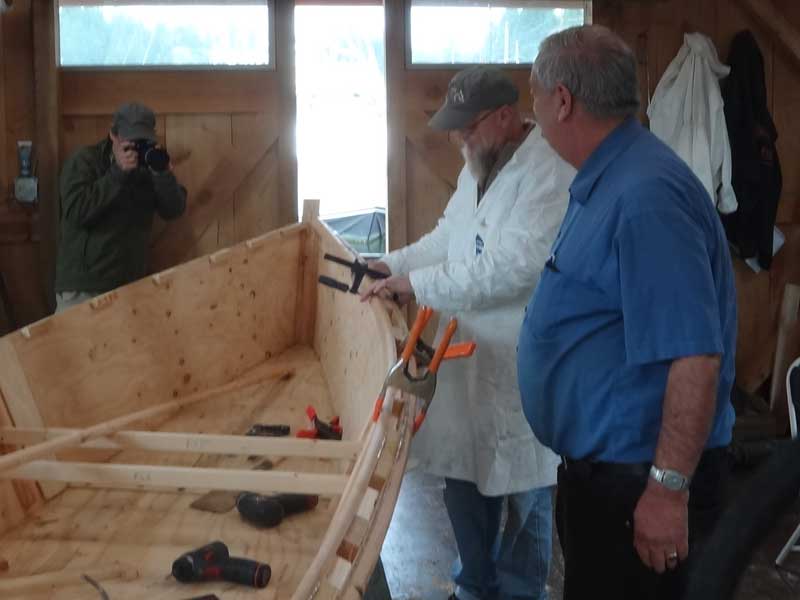
While we were installing the inwales, a photographer on assignment from Via Magazine came to take pictures. He was a heck of a nice guy.
The glue we had applied yesterday when attaching the bottom had cured, and now we needed to trim it up - we are very close to being finished with building the boat. Curt took the belt sander to it while Bob and I went to work on the skids.
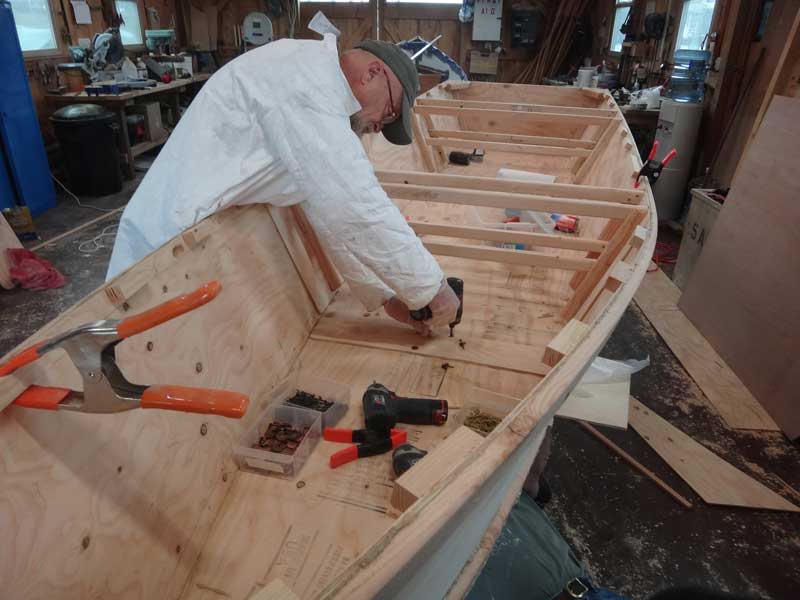
We are using 3/4" #6 stainless steel sheet metal screws spaced every 8" or so (and PL Premium, of course) to hold the skids onto the bottom of the boat. Bob presses the skid down from the top while I drive screws up from the bottom. 3 skids - one down the center and the other 2 9" on either side.
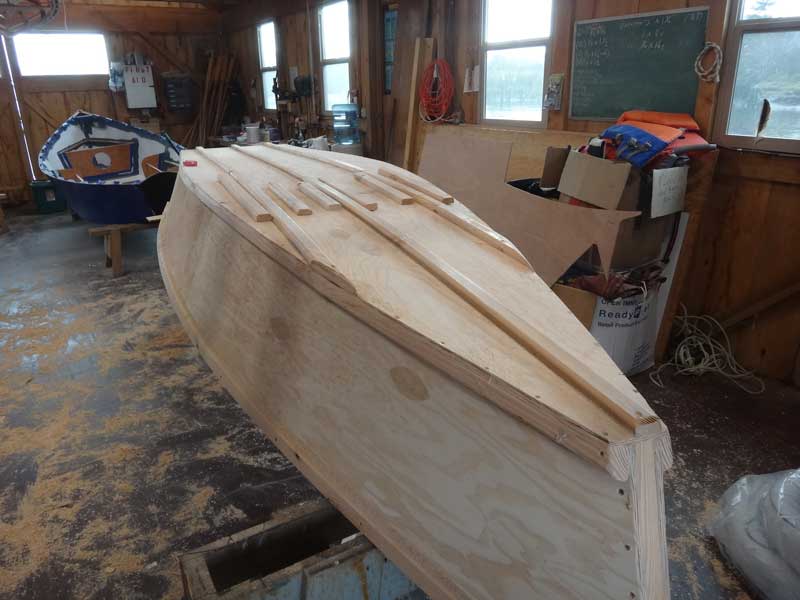
Tada! There she is. Those short pieces of 1x2 are the new 'backer boards' for holding the butt-block to the seam - we'll remove them and fill the holes with toothpicks. The next step is to paint - 2 coats of primer and topcoat - and install the seats (a 5 minute job.) Bob will be doing the painting over the coming week and next Saturday, we are going to toss her in the water and see how she swims.
|