|
Build of the Final Prototype of the QT Skiff for the Family Boat Build, 2013 When last we left the QT Skiff, we'd done some pretty fun testing with a variety of motors. This testing showed us we might be able to streamlining the construction process and make the boat a little lighter. Significant Changes:
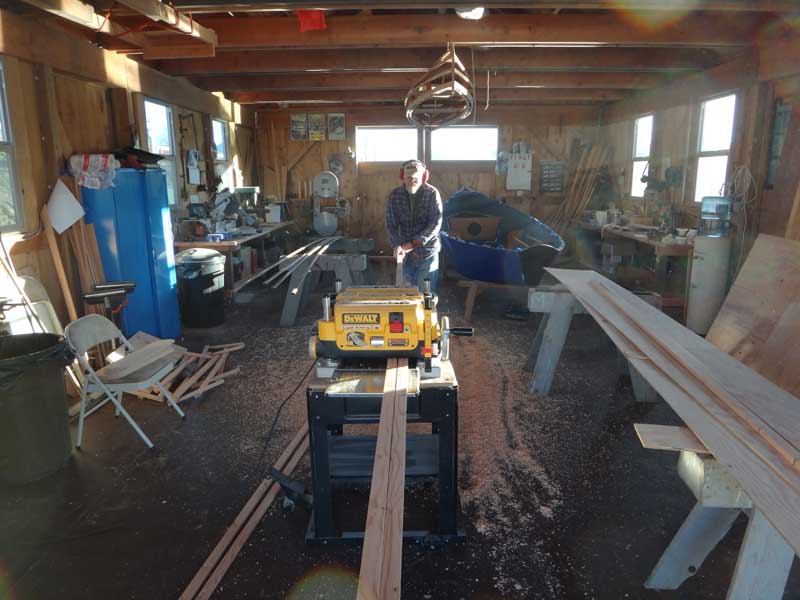
I'd precut the sides, reassembled the frames, and milled out the sticks we'd be using for the wales at home. You can get all the sticks you need from a 2x10 or 2x12. The first step was to plane the wales down to 1/2" thick, then route the corners off. We saved ~7lbs by doing this. (the chines are still 3/4" thick - to give us something solid for screwing on the bottom )
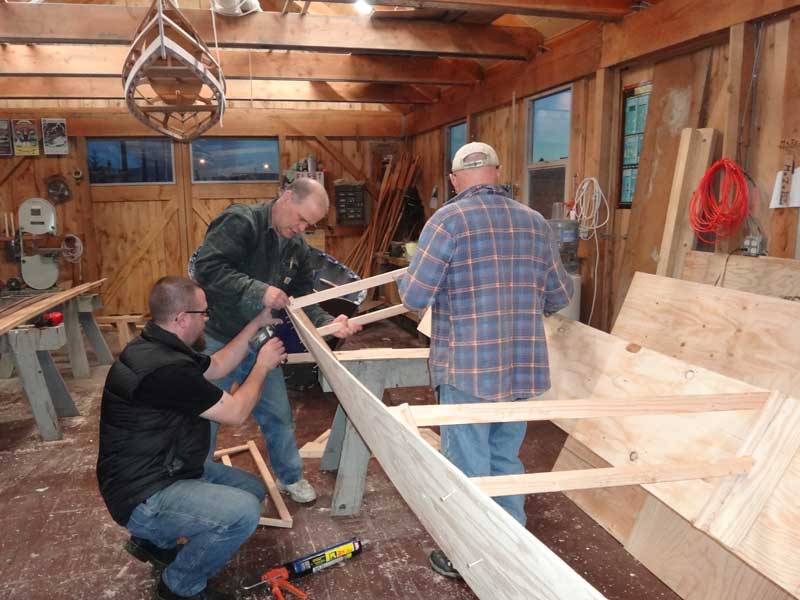
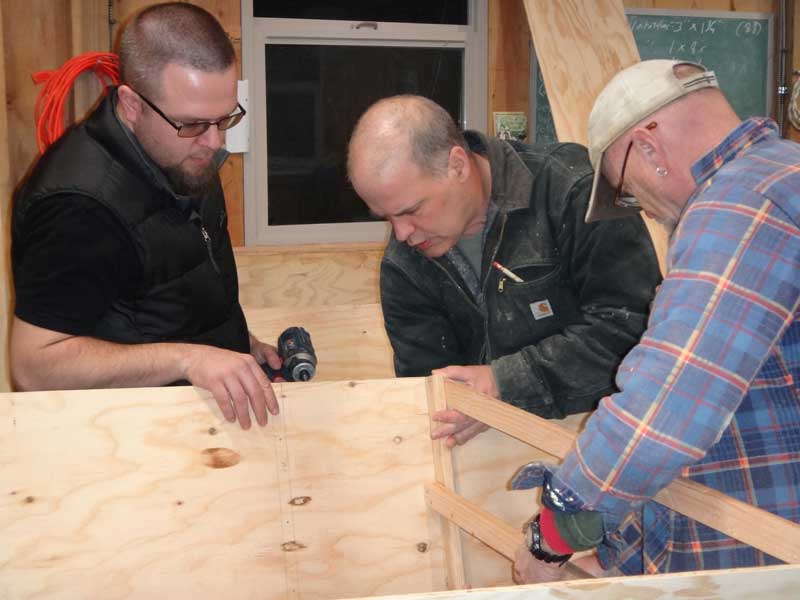
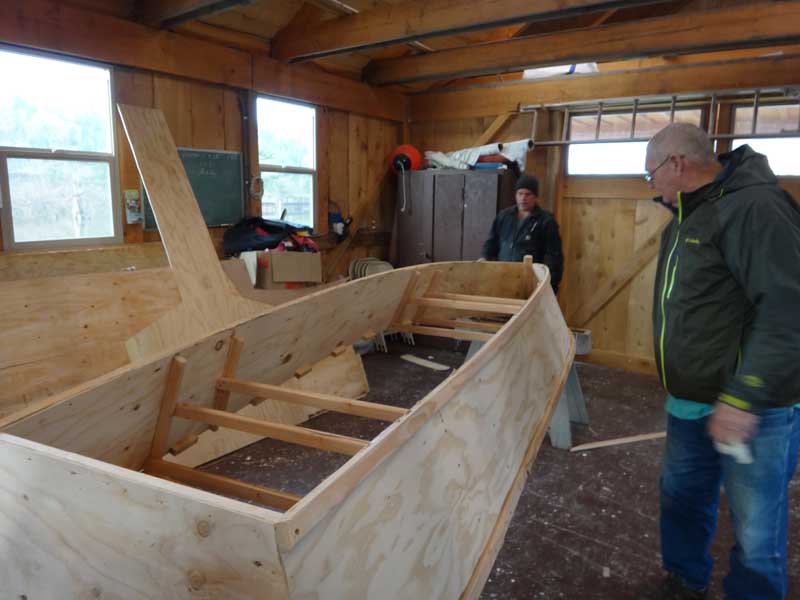
Curt and I had just started attaching the sides to the frames when Greg and Sarah showed up - they'd been vacationing in Lincoln City and thought they'd drop by.
So I put 'em to work - Greg on the screw gun and Sarah on the camera.
To help with frame placement, I clearly marked the identification on each frame, where it was to go, and which way it was to face.
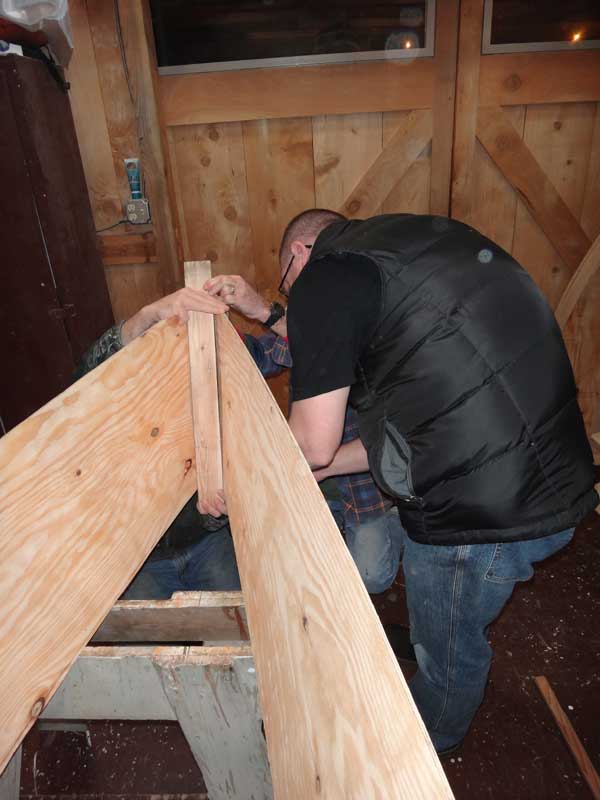
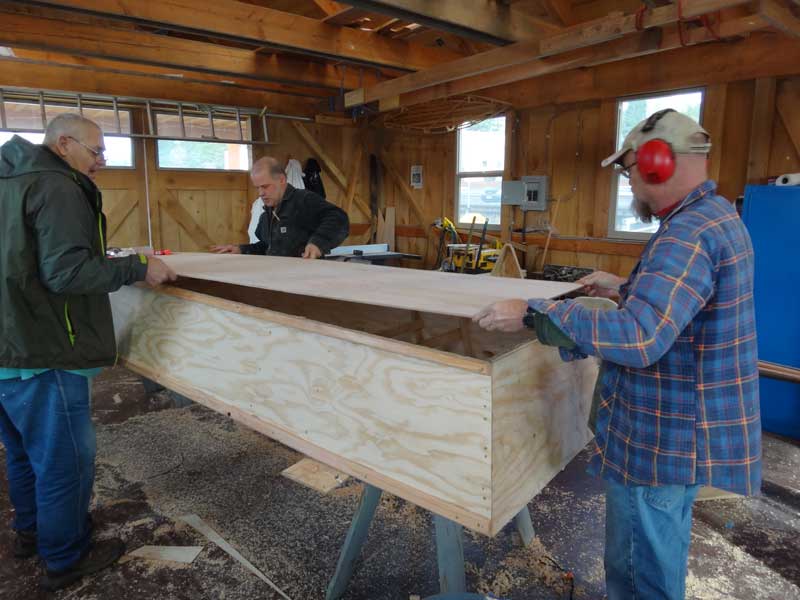
Attach a forward frame, an aft frame, then the transom.
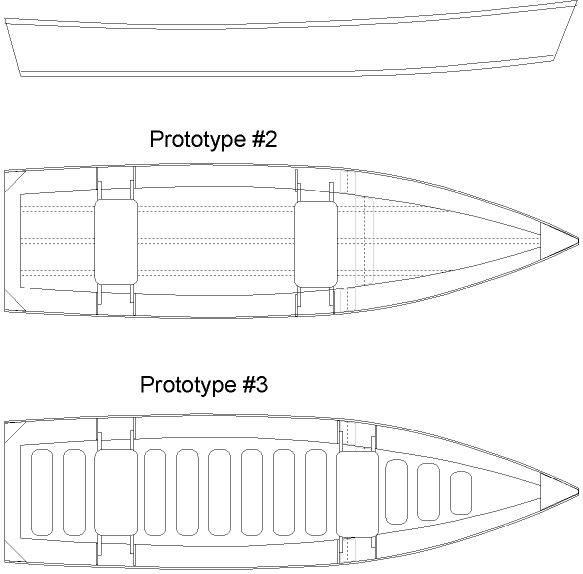
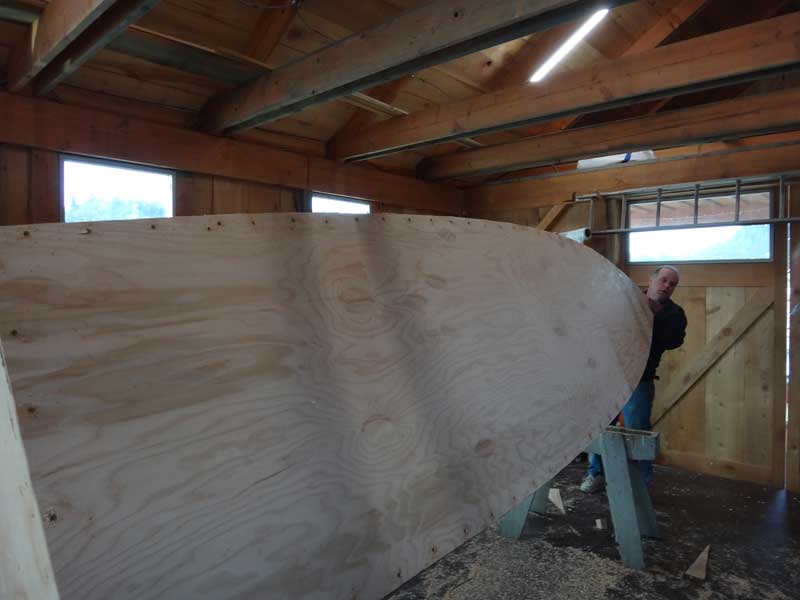
and get our final boat-y shape when we attach the stem. Our bow is a little finer than the one designed by Jim Michalak, he has the stem flared at 30° while ours is more like 25° - that's what happens when you do away with temporary frames.
We'd assembled the boat 'rightside up' because the our frames need to meet the top of the side. We then flipped her and trim off a 1/2" of the frames at the bottom because . . . for some reason I've decided I want water to freely run back and forth instead of pooling in specific areas and leading to rot. I don't know why, but I'm really hot on that idea.
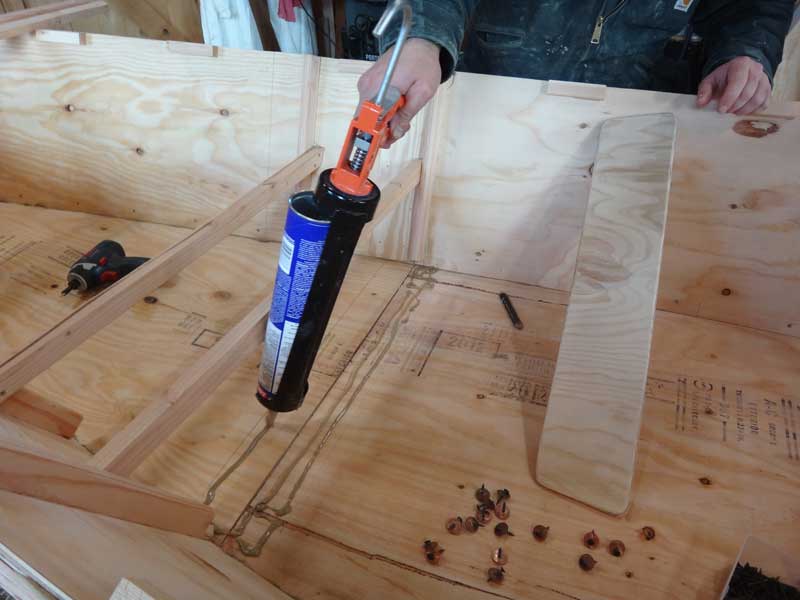
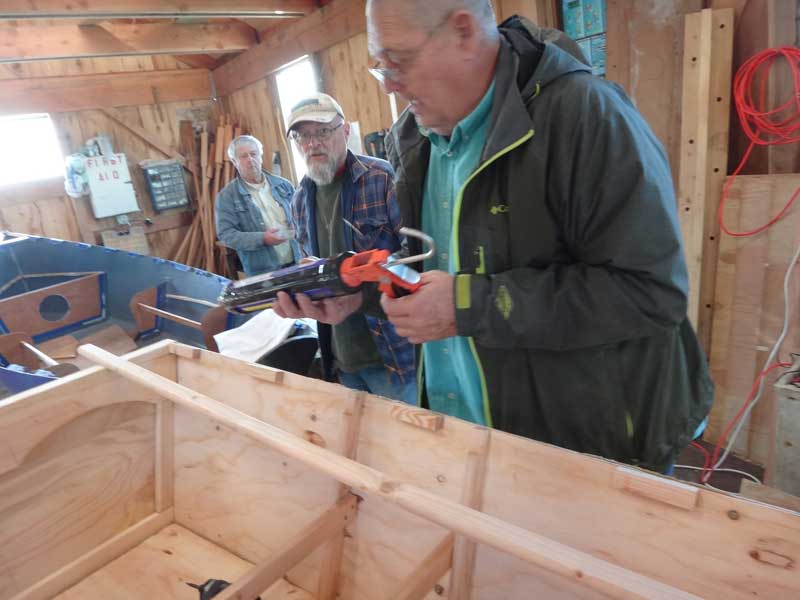
The final step for the night was to attach the chines - which we did with PL Premium and #6 3/4" stainless steel screws.
And there she is for the night - flipped back over because I had thought about starting on the wales, but decided I'd rather have a beer at the Twisted Snout instead. It took us about an hour and a half to get to this point (we'd spent the earlier part of the day in prep.)
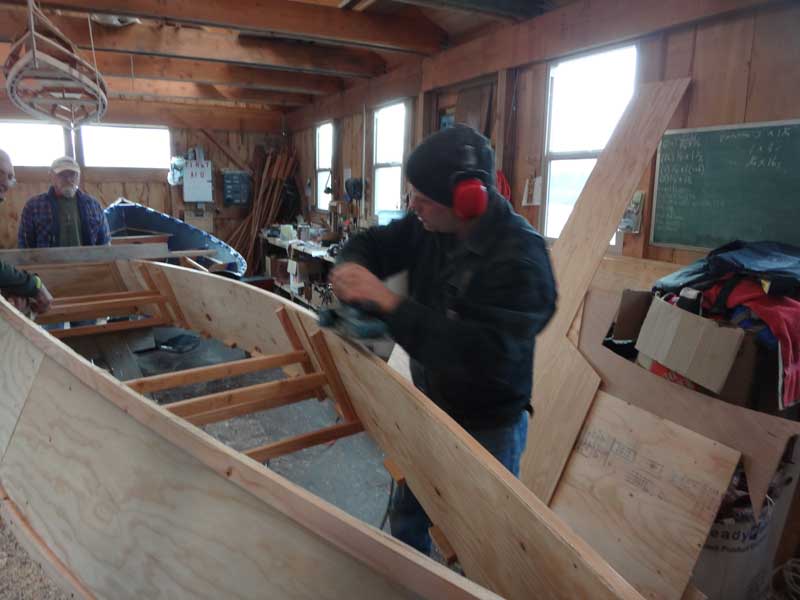
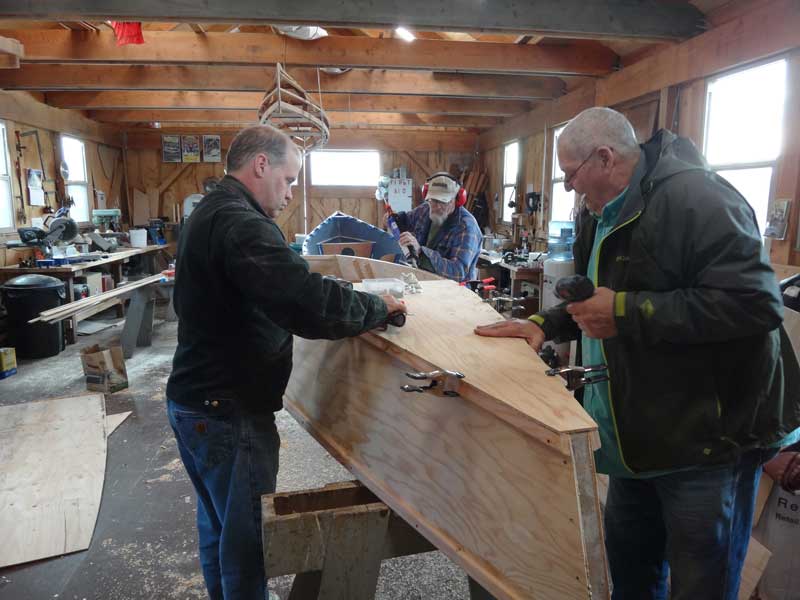
The next morning, I started by attaching the spacers to the top of the sides. Bill came by to enjoy the fun.
I take perverse enjoyment in making sure knots and other 'flaws' in the wood shows - I think it give the boat character. I must be careful not to allow this perversion to put knots where they'll be a structural risk.
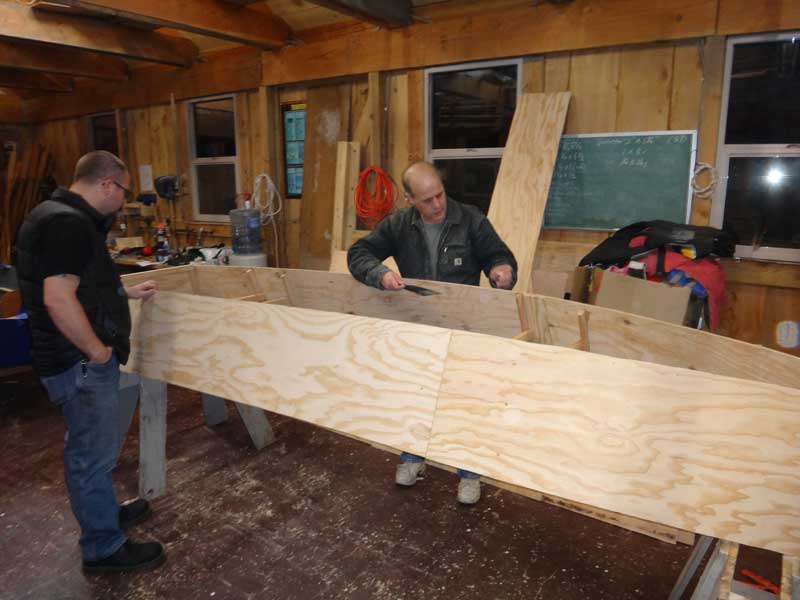
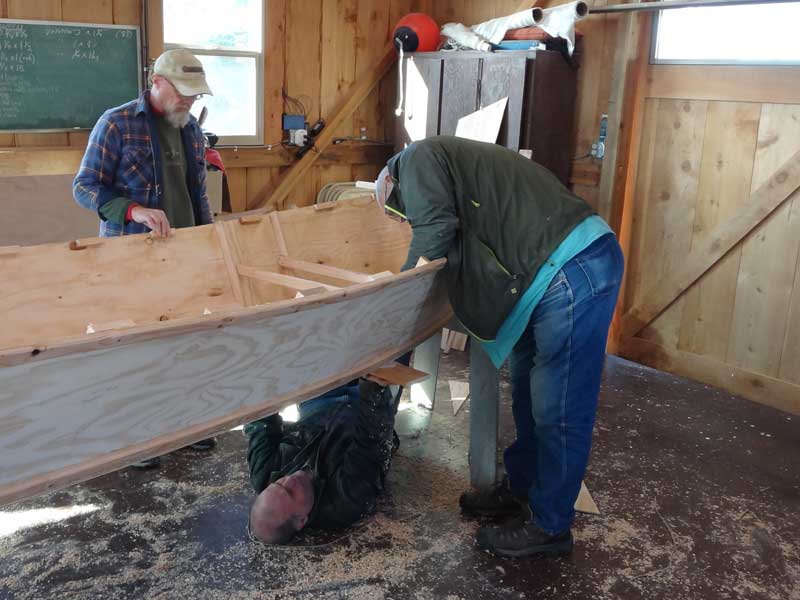
We glued and screwed the gunnles to the exterior top of the hull, running the screws into the spacers, then flipped her. Bob was there, running the camera at this point.
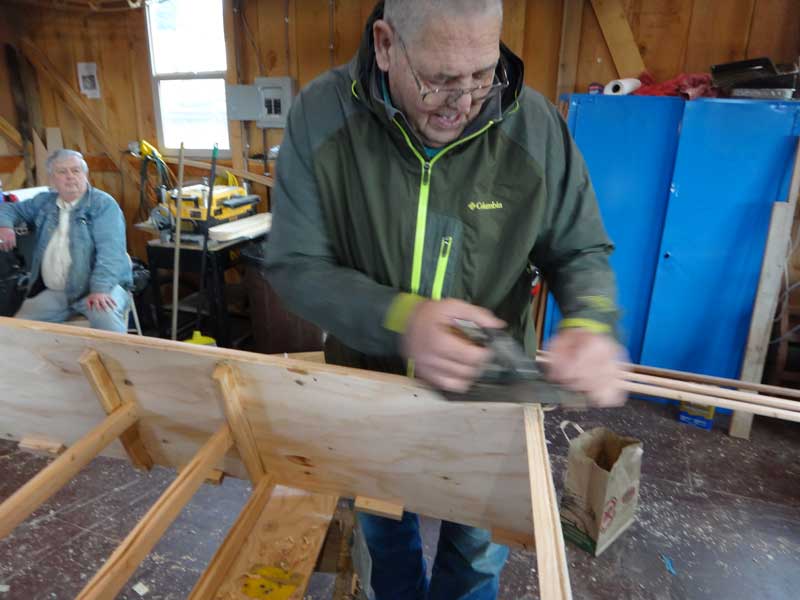
I let the guys play with the hand planer for a while - so they could 'meditate to the feel of shavings curling off the wood."
Then I took the power planer and planed the bottom of the chines flat in a couple minutes - I can meditate at home.
Curt smoothed out any wrinkles with the belt sander.
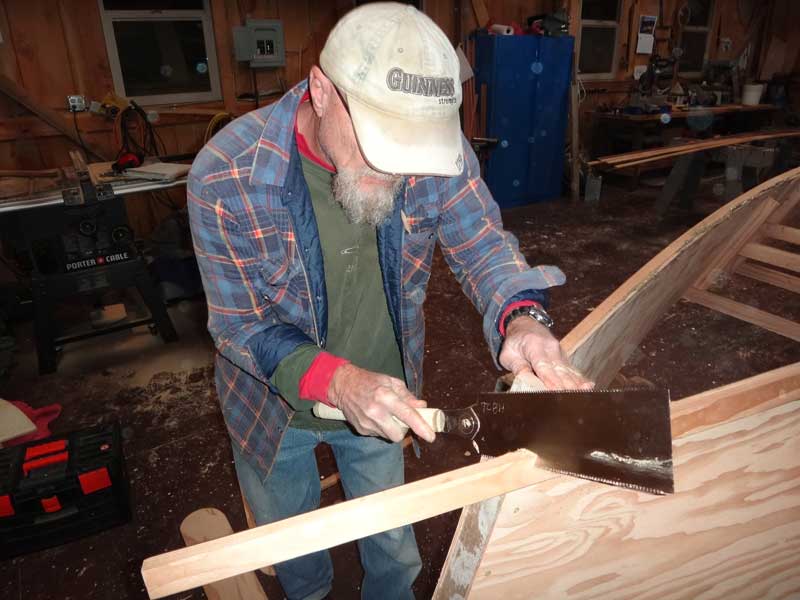
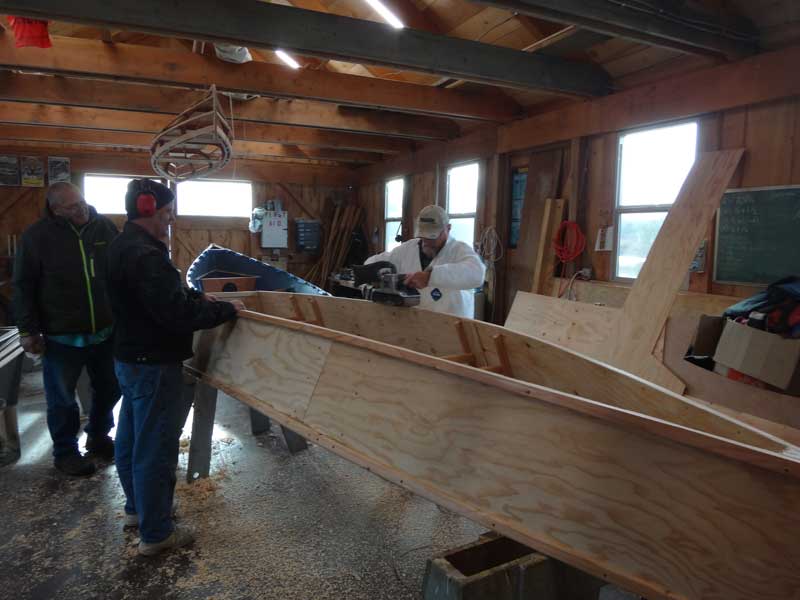
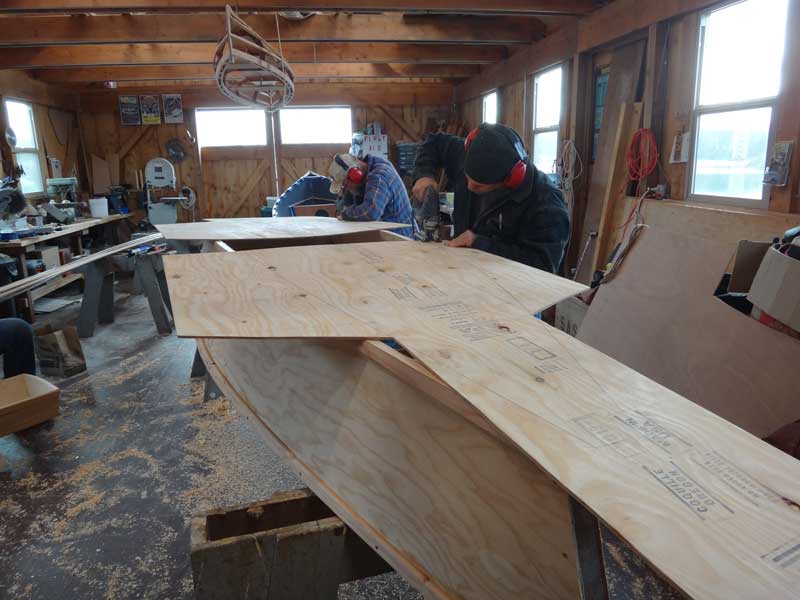
After a bit of fiddling, we got the bottom laid out, tracing the shape of the bottom onto the plywood, then and Curt and I cut 'em out.
We started at the bow - a nice, thick bead of PL and then screwing it down with deck screws.
Again with the PL and then we carefully lowered the ft portion of the bottom on. This is pretty easy with a little help.
And screws every 5" or so.
Flip (she's really gaining weight now)
Lay out the butt-block and glue for the seam
and screw the butt-block down to a temporary backing board (covered in wax paper, of course.) We'll fill the screw holes with toothpicks dipped in glue.
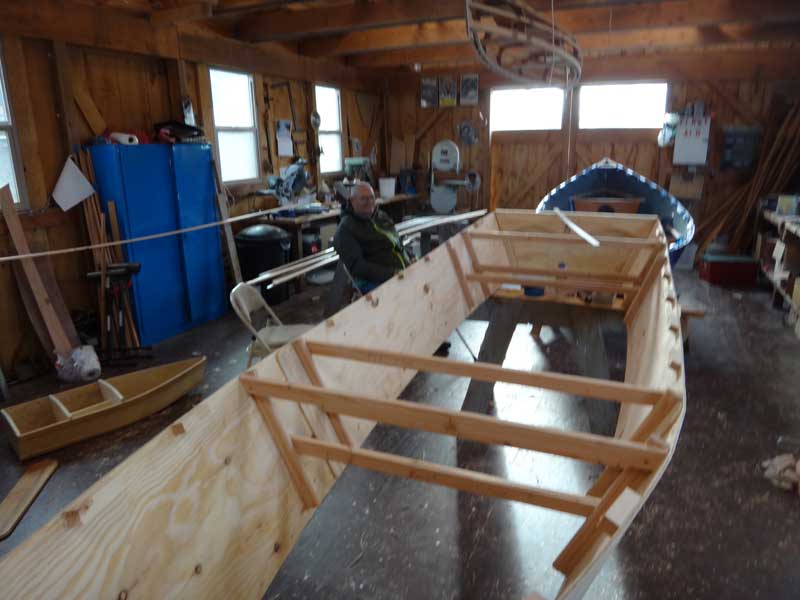
And the final step was to attach the inwales. Why don't I have a pic of the boat as we left her on Saturday? I have no idea. Next week: Sand, scrape off excess glue, and prime.
|