
|
QT-Skiff - Getting her done. We've suffered a wee bit of a blow since our last posting. We'd hoped to host a Family Boat Build over Spring Break, 2013 (March 25-29, to be exact) but the grant proposal fell through. Now . . . Now we are in the rethinking phase. Family Boat Build or not, we have an unfinished hull in the Boathouse and we have to get her done.
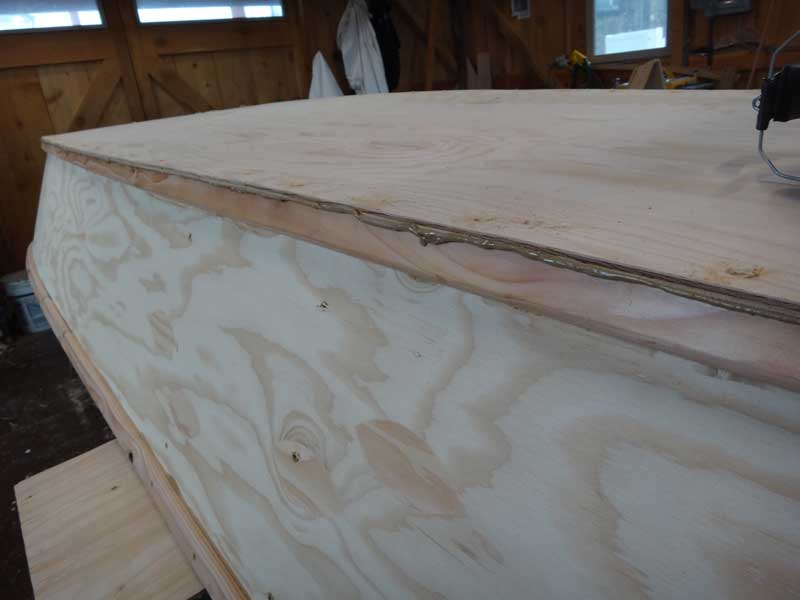
When last we'd left the QT Skiff, we'd attached the bottom, shut off the lights, and let the glue cure. Now it was time to do some dress-up work.
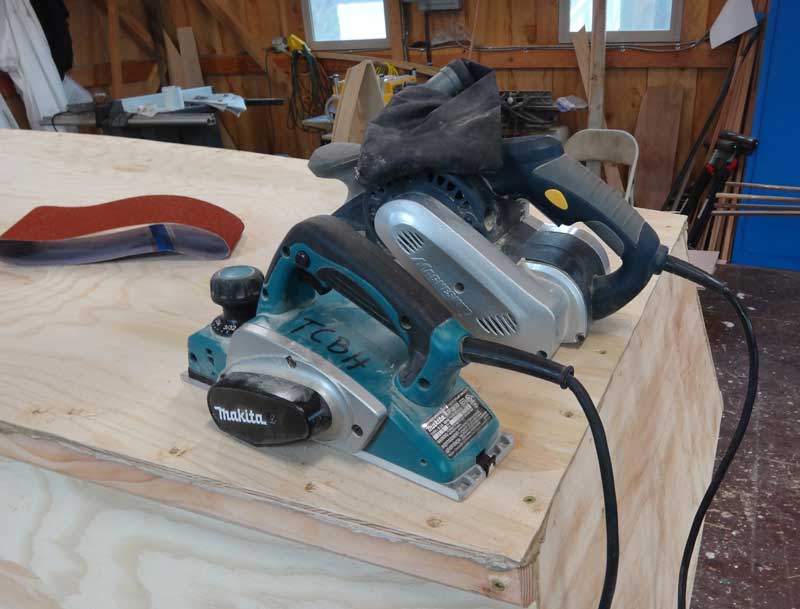
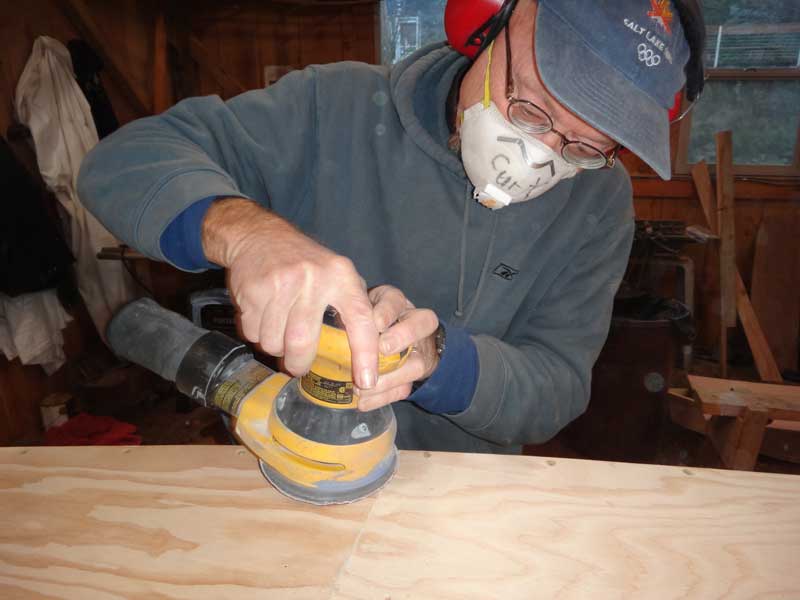
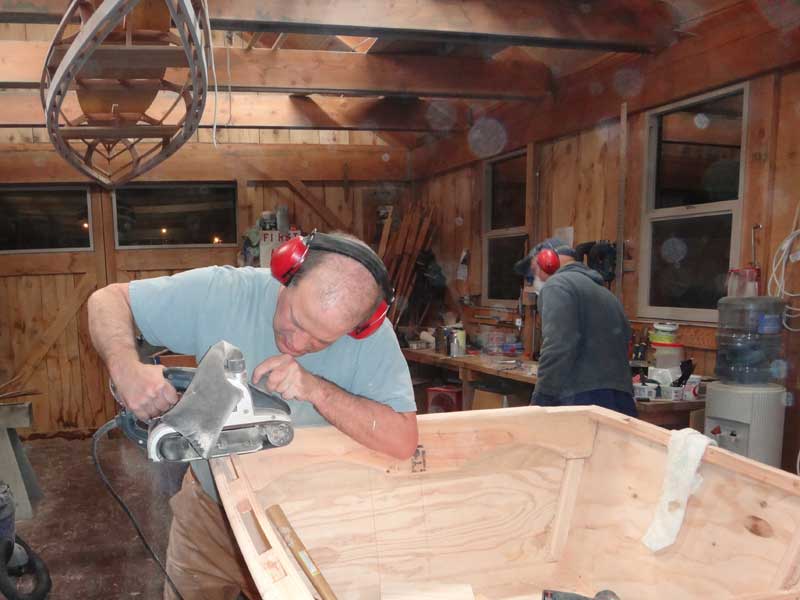
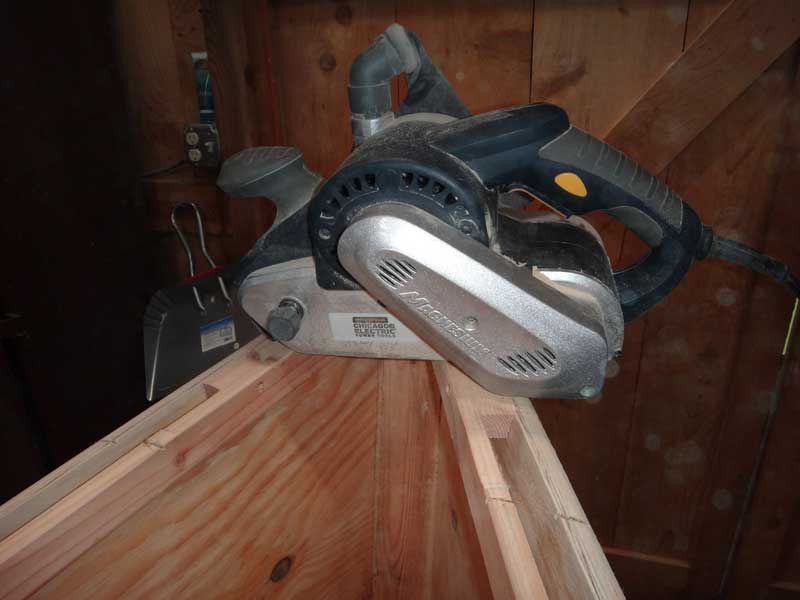
If I were a true boat builder, I'd have a set of obsidian flakes and specially trained beavers to use for shaping. As it is, I'm not a true boat builder, so I use a power plane and belt sander with finish-grade paper: 40 grit.* *that's a joke, everybody knows finish-grade sandpaper is 80 grit
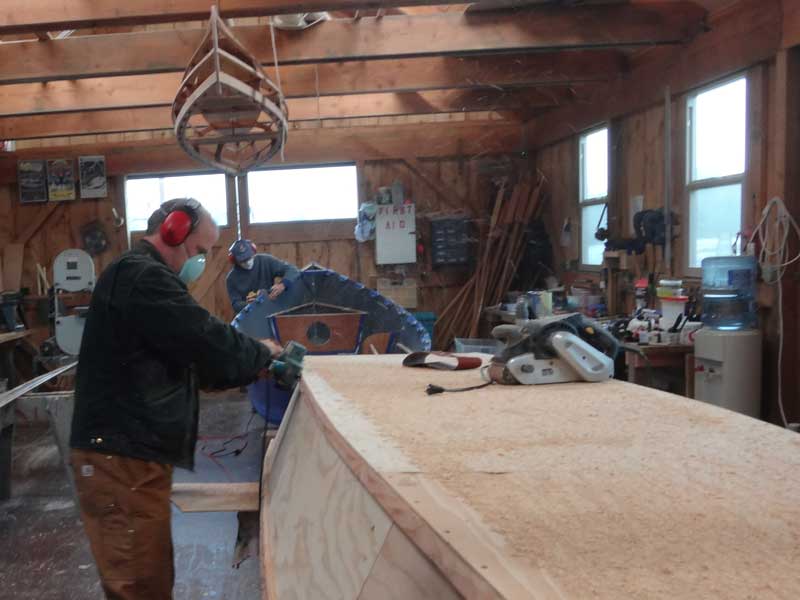
The power planer is a wicked beast - she'll rip off wood you want to keep just as fast as she rips off wood you don't want. She's wicked fast, too. The belt sander is used to flatten out the mistakes.
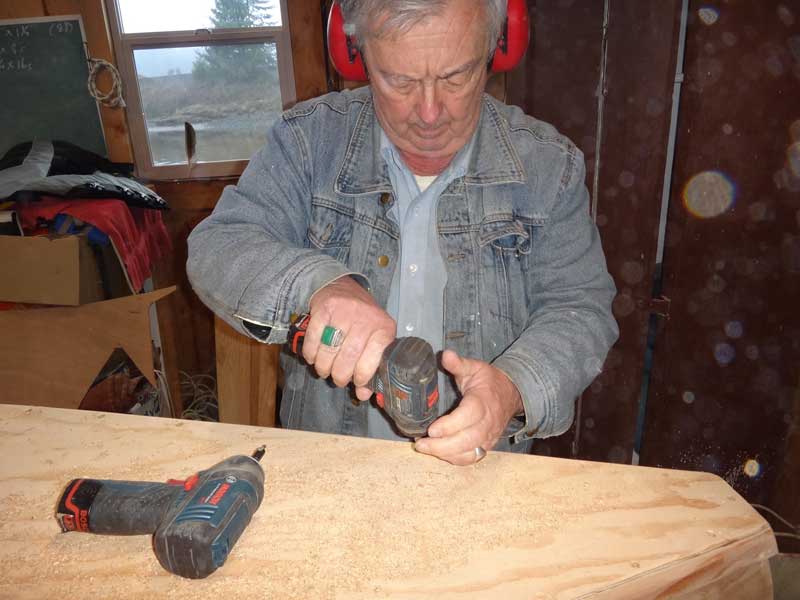
Some of the hadn't seated completely when we attached the bottom, so Bob went along, removed the offenders, countersunk them a bit, and drove them in flush again.
We had good squeeze-out on the glue at the seam across the bottom, filling and sealing the tiny gap quite nicely. Curt made sure the excess was sanded smooth.
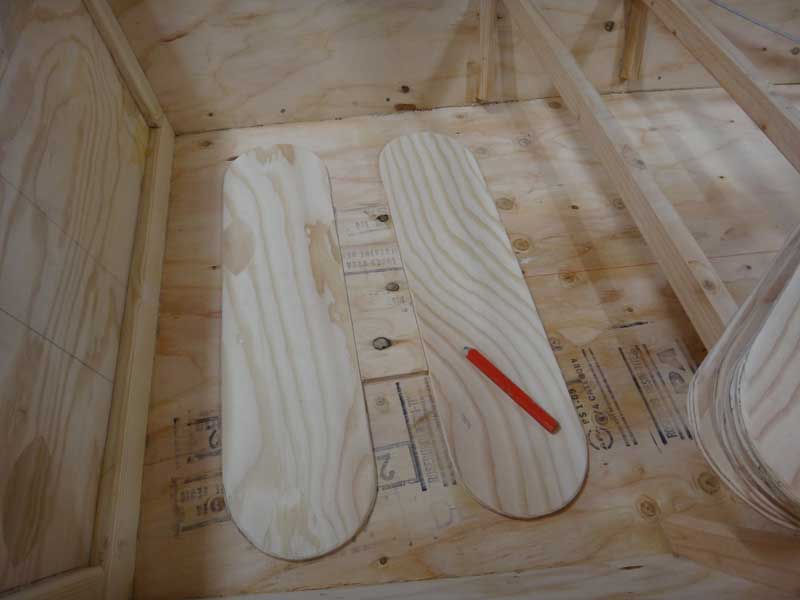
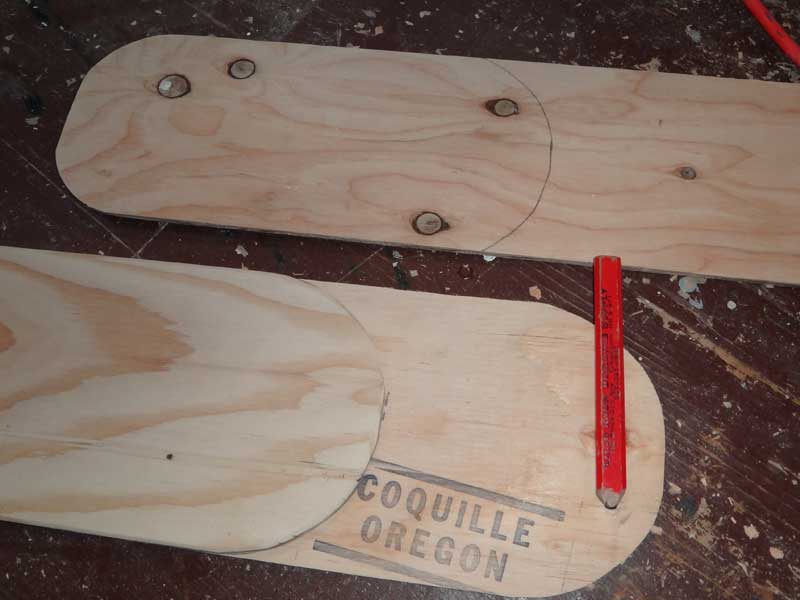
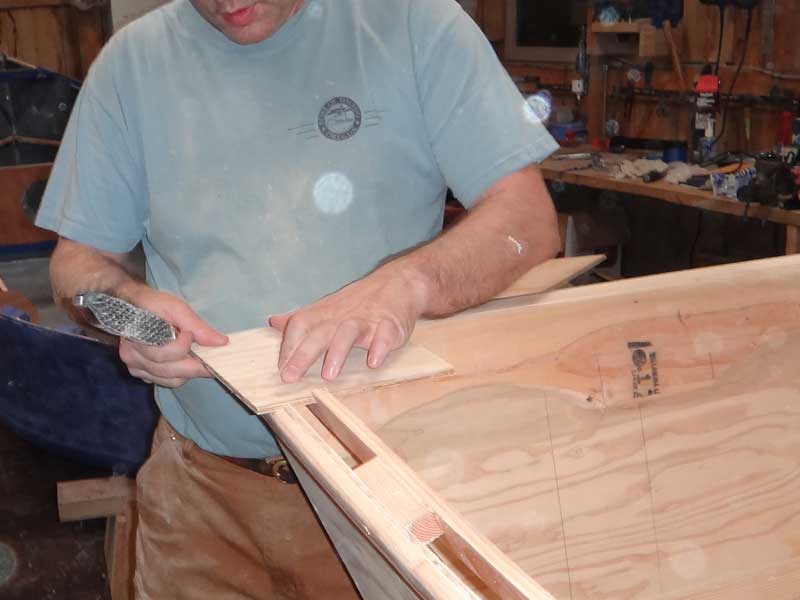
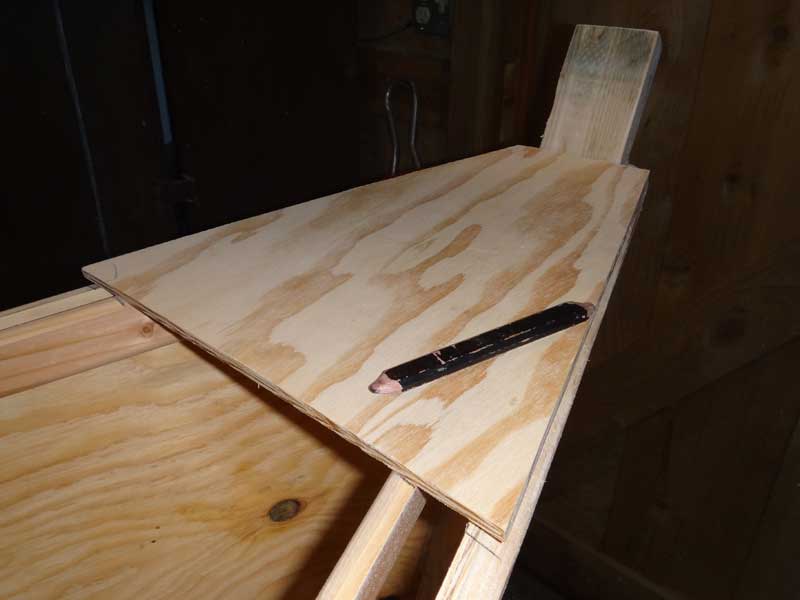
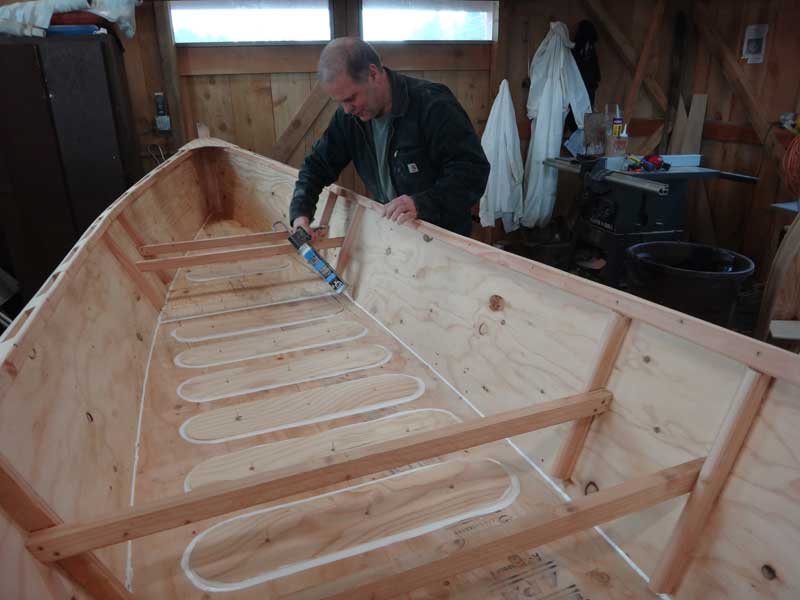
These are the 'reinforcement pads' we are using on the inside of the hull. We are not going to use stringers on the exterior bottom to get stiffness, we are going to get the stiffness with these. They are 6"x24" and will provide both stiffness and anti-skid (we hope.)
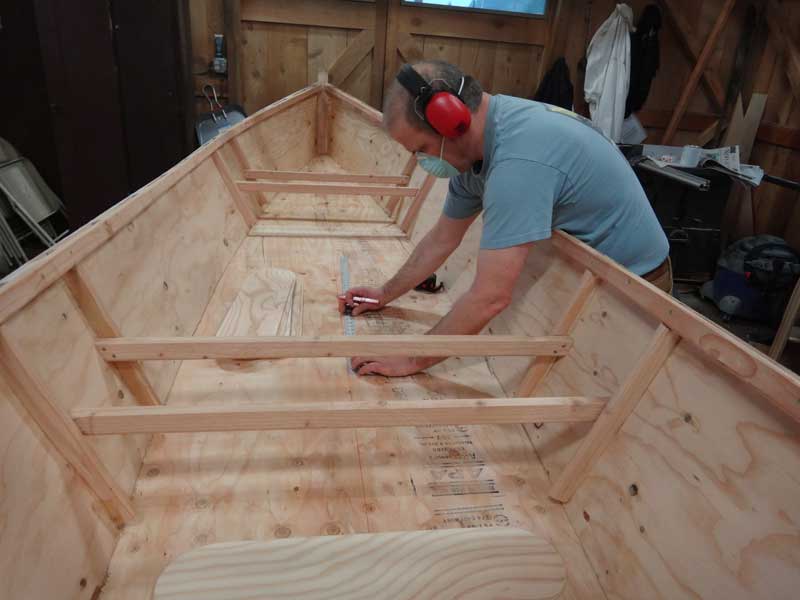
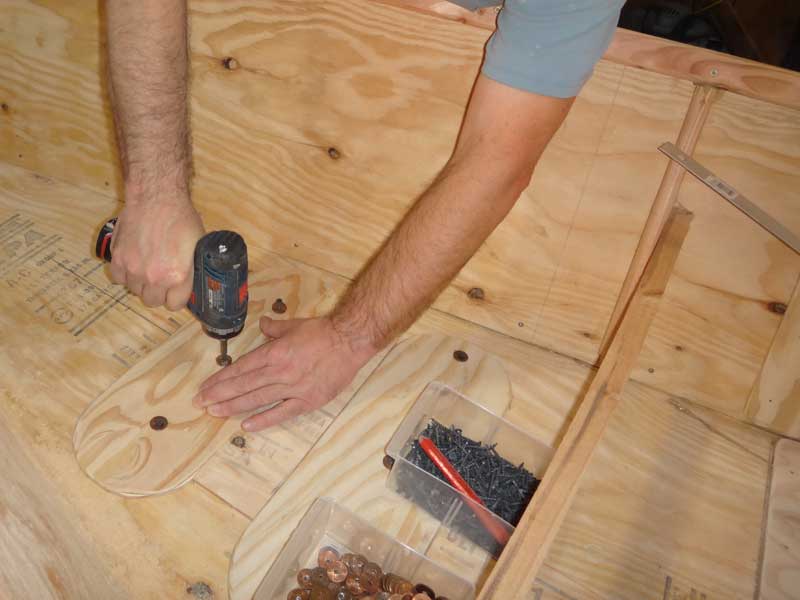
I spaced the pads 3" apart and only put them where we expect people to be walking. The idea is they are too close together for someone to miss them entirely, so whenever someone is standing or moving around in the boat, their weight will be distributed across at least two of them. If you look closely, you can see I have a piece of scrap plywood I'm using as a gage to get the spacing right.
Doing layout in the cockpit was a bit trickier - no pads needed under the seats and I had to make sure they were spaced more or less evenly. This required math. Kids, stay in school. You really do use that stuff later in life.
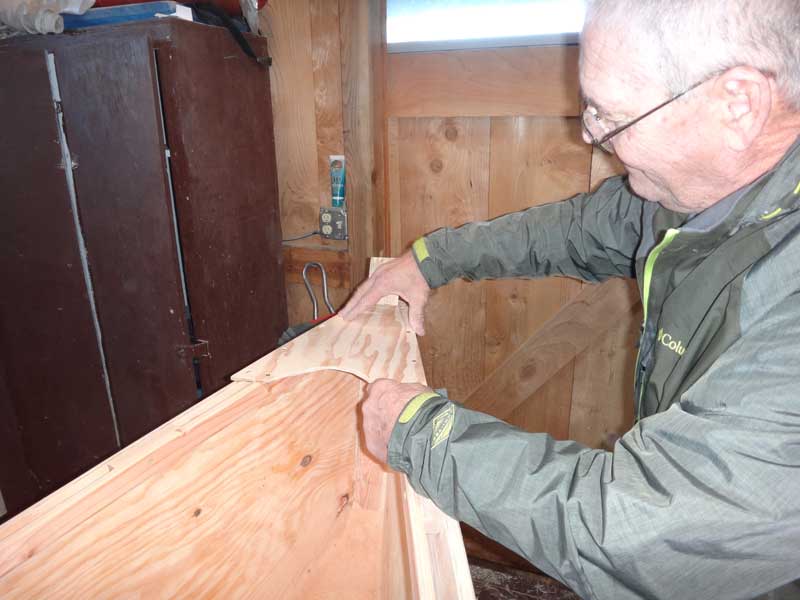
Up near the bow, the sides pinch together so we had to shorten the pads up a bit. I wanted to keep everything visually similar, so I used the pads as templates for themselves.
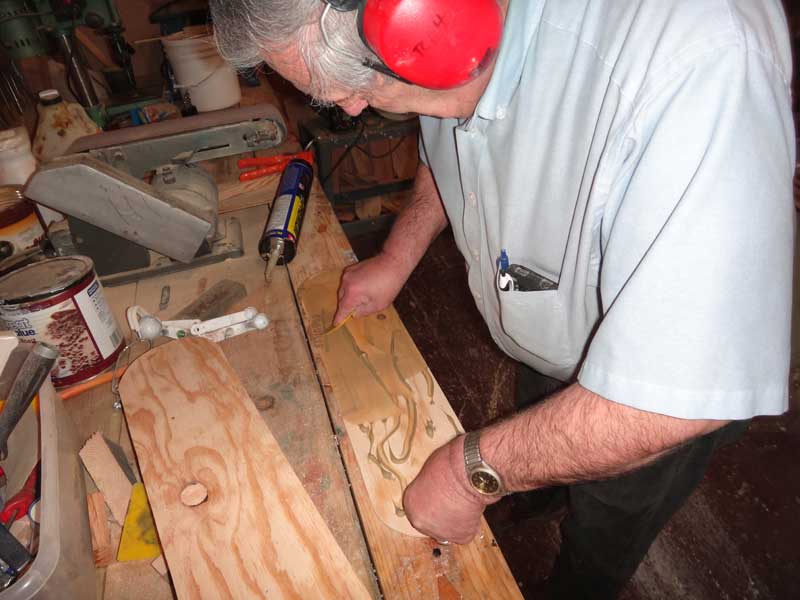
We used PL for the glue, on the expectation it would expand as it cured and fill any voids under the pad. Water is sneaky and persistent and will rot your boat if given the slightest chance.
And this was the sketchiest part of the operation - holding the pads down while the glue cured. A smart man would have run his screws through the pad, through the hull, and into a backer board to get the maximum pressure - and minimize any voids. I am not a smart man, and didn't use any backer boards - I just ran the screws through the hull, using just enough torque to give good pressure, but not allow the screw to spin out.
After the pads were placed, it was on to the knees and breasthooks. This is trickier and more time consuming than I'd like. The sides and wales are angled and the knees/breasthook lays flat. To get it right, you need to remove some wood. Sometimes a lot of wood.
I started on the knees - they were smaller. I did the rough work with the belt sander and planer.
When I got close, I switched over to the rasp. Those Shinto Saw Rasps from Duckworks are GREAT.
Final fitting took a wee bit more time. This is getting close to cabinetry work. I don't like cabinetry work.
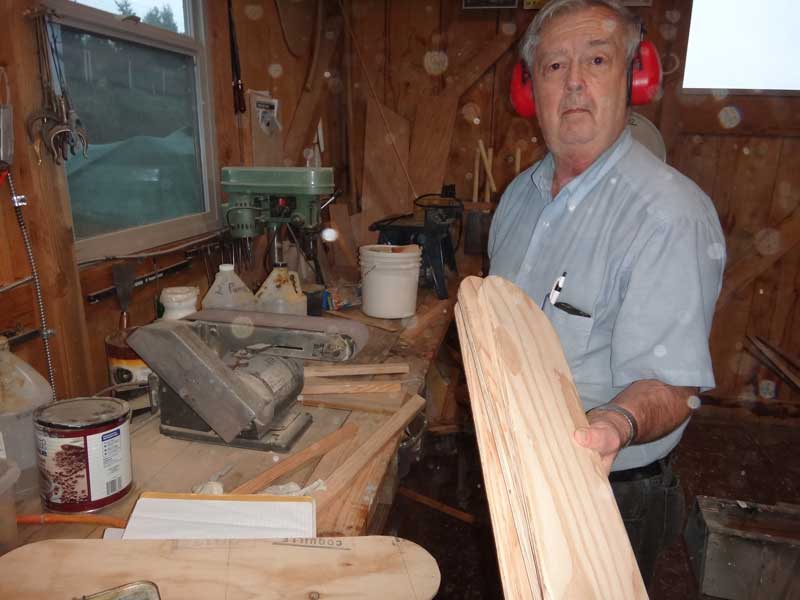
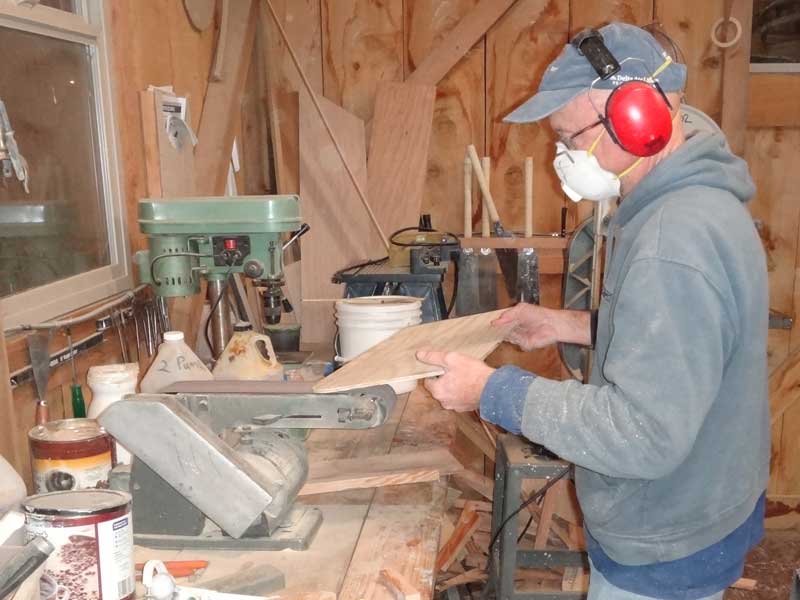
While I was diddling with the knees and breasthooks, Curt was using leftover ply to make the seat tops. 1/4" ply is fine for seat tops as long as the supports aren't too far apart - this is especially important in 'work boats' as people tend to put their feet anywhere. I try not to have the supports more than 9" apart.
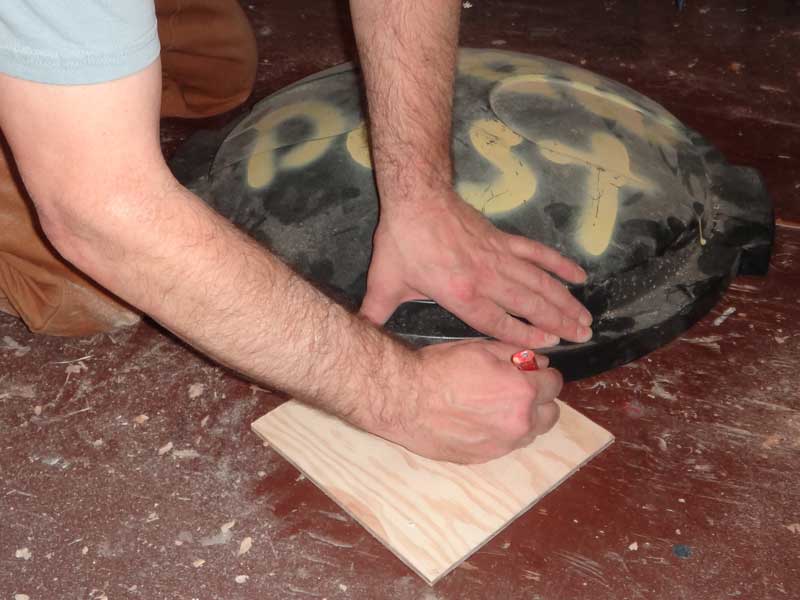
We wanted an arc on the knees and ended up using the lid of our sawdust container (a garbage can only used for collecting sawdust) as the template.
Breasthooks - more cabinetry work. See that excess stem up there? Most people cut that off, but ever since I read Moby Dick and learned whalers would wrap their harpoon lines around a newel post at the stem to increase friction on the line as the whale sped away, I've been keeping 'em. I round off the edges and drill a hole through it for the painter. I think they look cool. You can see what I'm talking about here: http://toledocommunityboathouse.com/2012/121215_tests/11float.jpg If a person were to get fancy and plan ahead, they could make something pretty fancy.
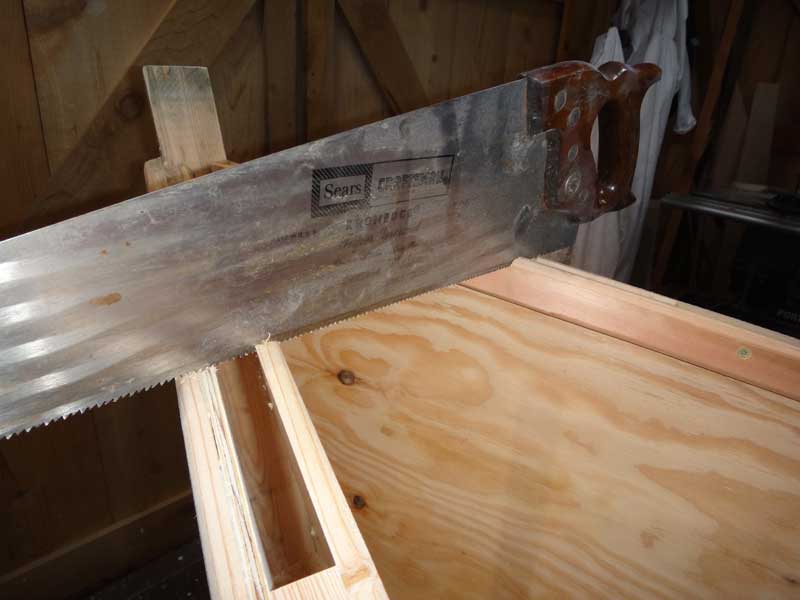
After my experience on the knees, I decided I needed a clearly defined edge where the breasthook meets the wales. The saw made for making a clearly defined edge at the depth I wanted.
Belt sander back in play again. The planer does not do well going across the wood like this - it really rips out the wood.
See the arc we put in the breasthook? People are going to try to lift the boat by the breasthook, so we shortened the span a wee bit. Physics, don't you know? Another subject I neglected in school.
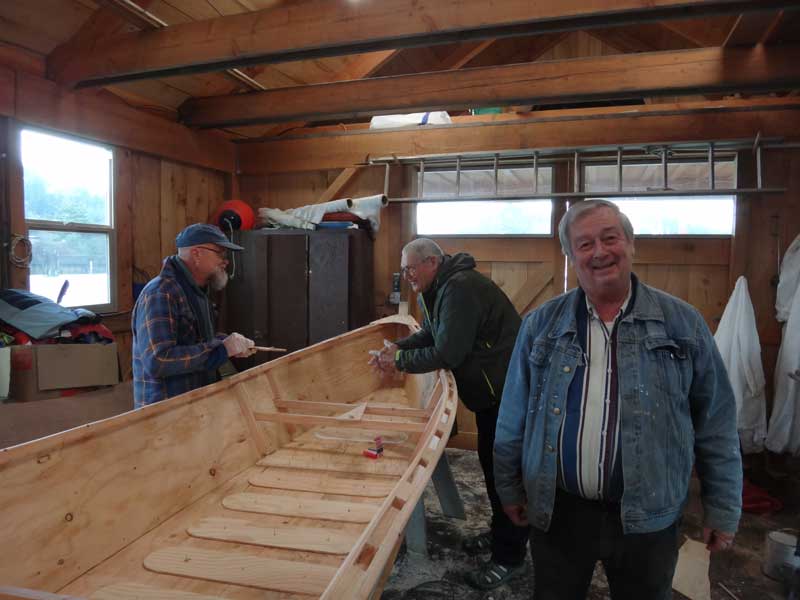
A happy volunteer work crew is a good volunteer work crew. Sure do wish I could get some local kids involved. Look closely and you can see we've removed the screws from the reinforcement pads and filled the holes with toothpicks dipped in glue. When the glue cures, we'll slice 'em off and the holes'll be nearly unnoticeable.
Water is persistent, sneaky, and will rot your boat. The worst thing you can do to your boat is expose it to water. We caulked all the seams and joints (inside and out) with paintable caulk. Of course, it took just over one tube. Nothing is cheap.
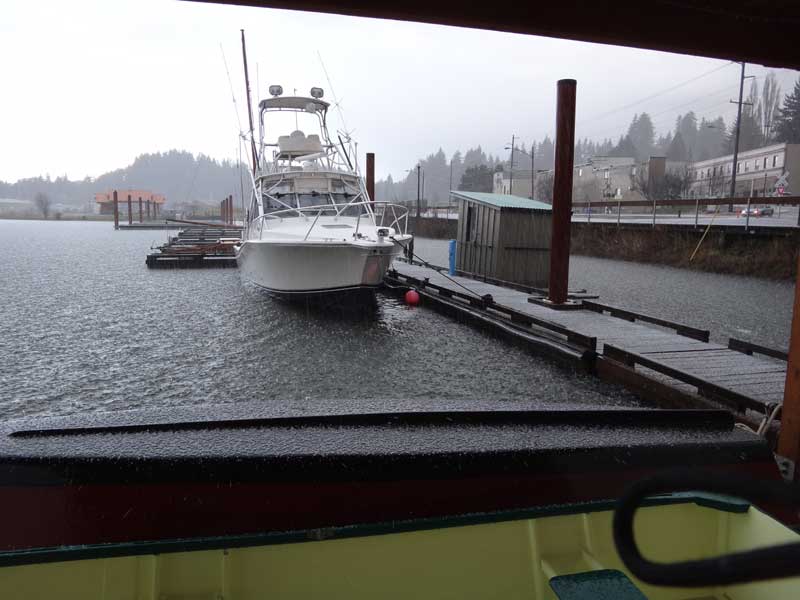
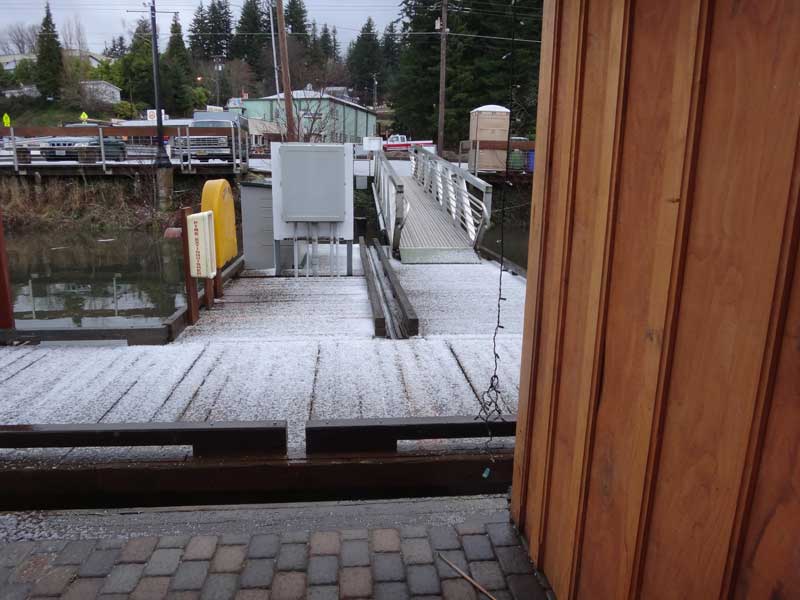
All of the sudden, it got too loud to talk, and even the sounds of the tools was drowned out. We were hit with a hail squall that made the metal roof of the Boathouse ring like a kettle drum.
That's an impressive amount of hail for Toledo. I'm glad we weren't at sea.
Caulking done and the Clark Fork Drifter freshly painted, it was time to get ready to head out. There is a Sportsman Show going on in Eugene next week, and some of the Coots wanted an example of the kind of stuff we do at the Boathouse to display, so we decided one of the QT Skiffs would be nice. Bob is the proud owner of this one, which we are calling QT Skiff Rev B (rev A was built exactly to Jim Michalak's plans, but I made it out of inferior plywood, so it was burned, and Rev C is what we are working on now.)
The Coots were having a messabout in Albany between now and the Sportsman Show, so I dropped the boat off at Dennis' place on the way home. It was picked up and taken to Eugene where it will be displayed with pride. I don't think anyone has talked about how it gets back to Toledo, though . . . . |


