|
Clark Fork Drifter - Getting Close
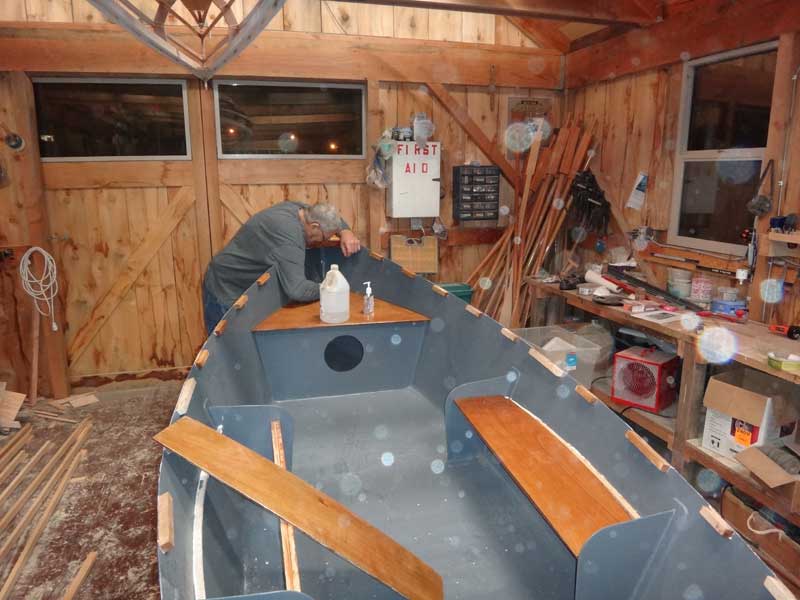
to Done When last we left the Clark Fork Drifter, we had taped her up in anticipation of getting her final paint job done. Now, it was time to get moving on finishing out her interior.
We flipped her back over and made a nice fillet of epoxy and sawdust from the random orbital sanders, and set the seats. The stuff squished out all over, so we had to do some extensive cleanup. We were going fancy with this build, so we used bronze silica screws to hold the seats down.
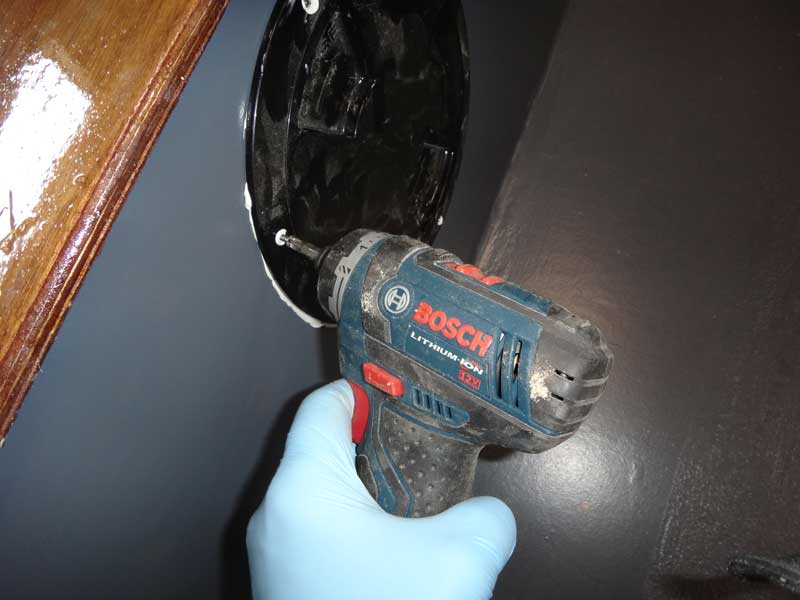
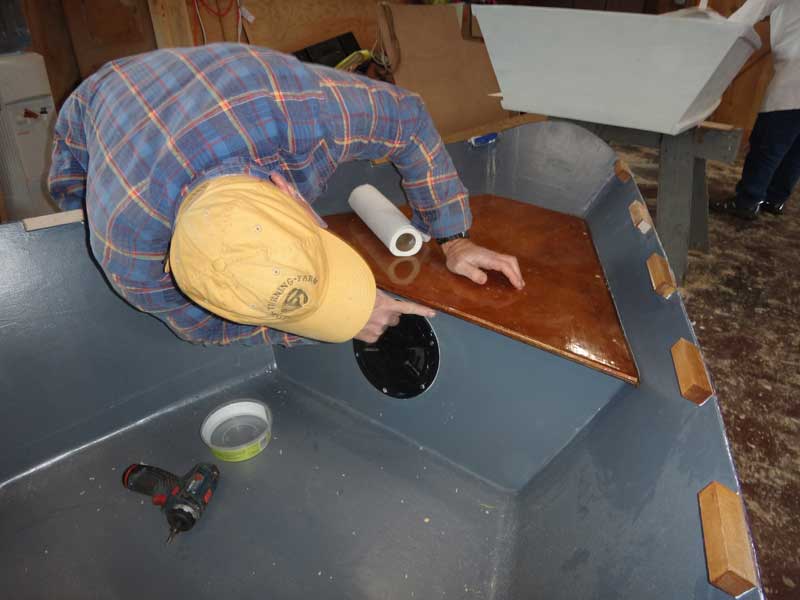
Next were hatches. We use 1/4 Turn Deck Plates from Duckworks. Every enclosed space needs some kind of access so you can get in there and dry it out. If the space is big enough, use a hatch big enough people can stow things in the space. We smeared the flange with caulk and screwed it into place with stainless steel screws. People make 3 primary mistakes when installing hatches which make them almost impossible to use:
I did the forward hatch (to remember how it was done) then had Curt do the aft hatch. It's important to use enough caulk to get a good squeeze-out all the way around the flange, then clean up the squeeze-out quickly so it doesn't dry into an unremovable glob. Another thing to remember when installing hatches is aesthetics. Try to get the screw holes to line up the same on all your hatches - it looks more professional that way.
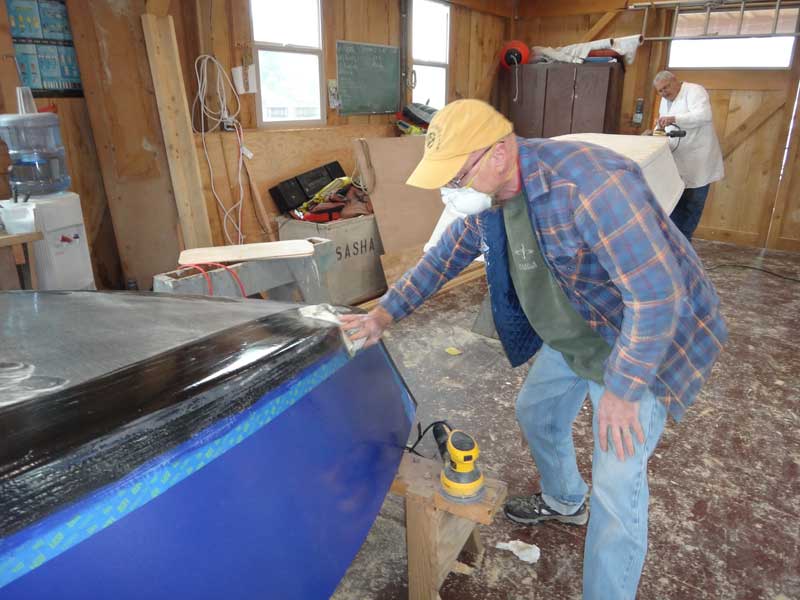
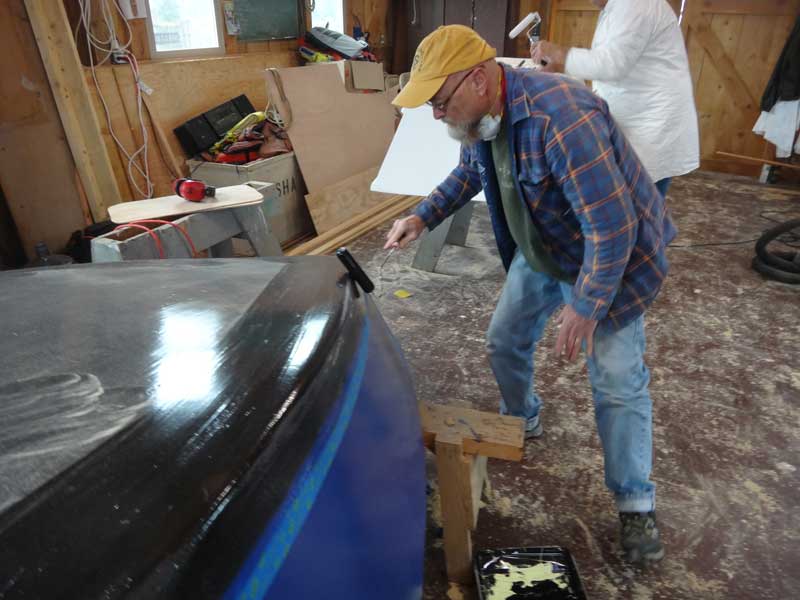
Flip the boat back over to do the trim paint. We needed to do a wee bit of sanding before we got to painting.
If you remember, the bottom is coated with epoxy impregnated with graphite - to make it slick as it slides over rocks. We didn't want to paint the bottom, but we did need to do our trim work. We chose Rustoleum's Gloss Black and I think it matched the epoxy/graphite pretty well. Next week: Flip her over for the last time, finish out the seat installation, attach the wales, and we are done. |