|
Maintenance Weekend Owning boats is much more labor intensive that building boats. Maintenance is a must. We'd keep our Mollyhawks in the water all last summer, then stored them upside-down but exposed all winter. It was time to spruce them up for the new season. but first . . .
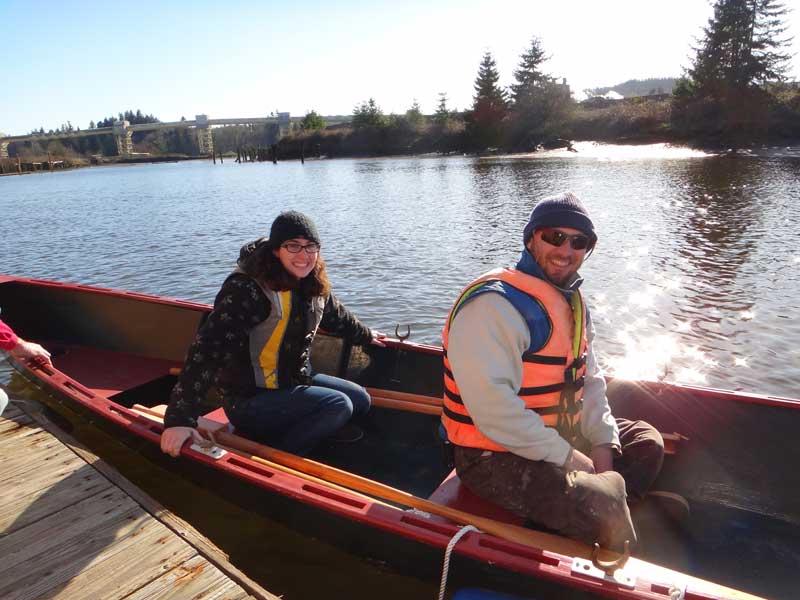
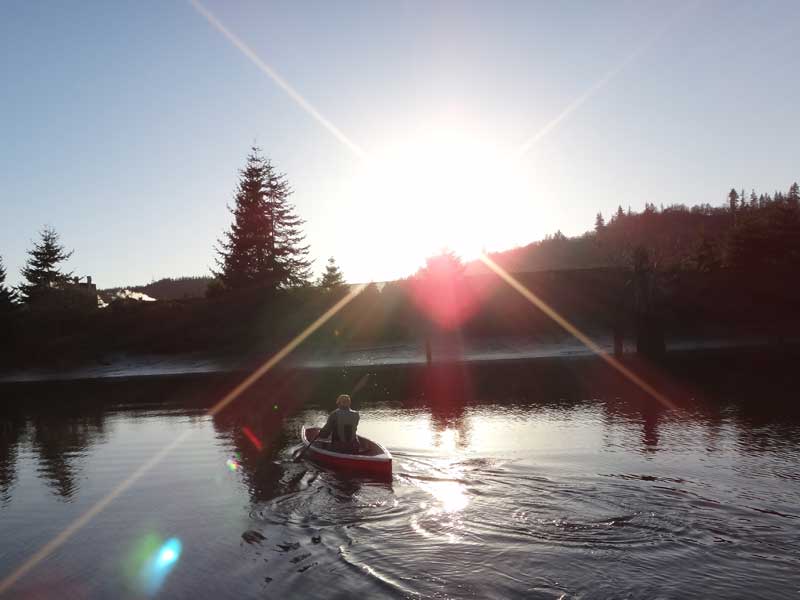
Eliza and Jesse showed up - they live in Newport and just happened to be by to look at boats on the docks. I more or less forced them into life jackets and into a Salt and sent them out for a row. They didn't have their camera with them, so I gave them mine "It's waterproof and shockproof, but it doesn't float. Do you understand?" Eliza said "Yes" and off they went.
It was a beautiful afternoon on Friday - as lovely as lovely can be. A perfect day to be on the water.
Did I say perfect? I meant PERFECT.
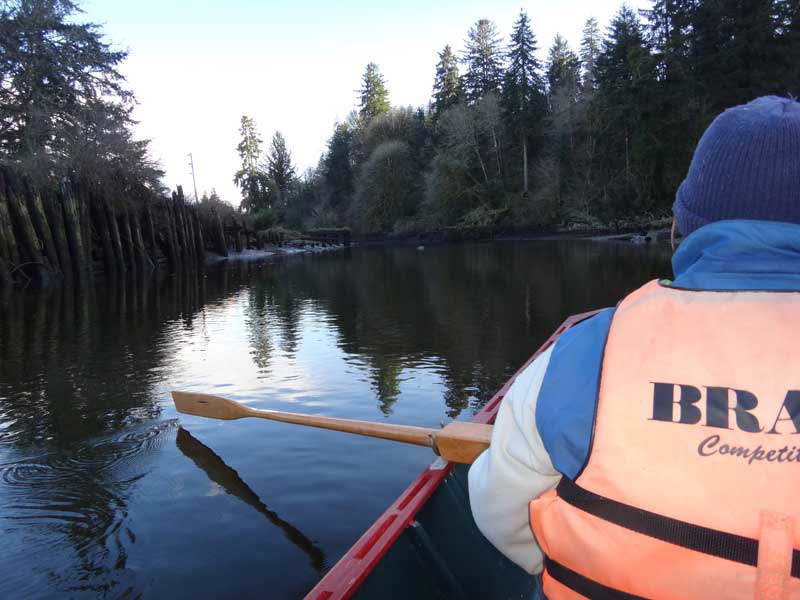
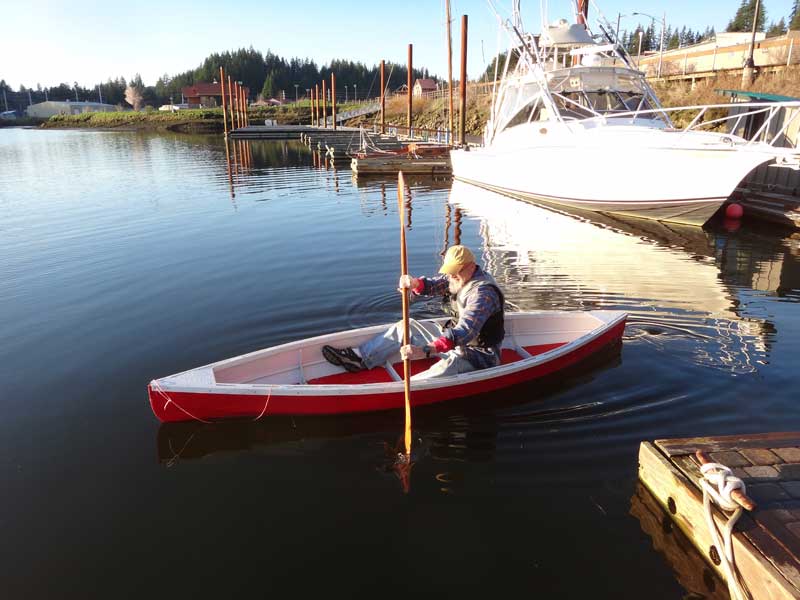
While Jesse and Eliza were out, Curt and I were testing some paddles I had made. That little 12' Yaquina canoe is really a handy test platform.
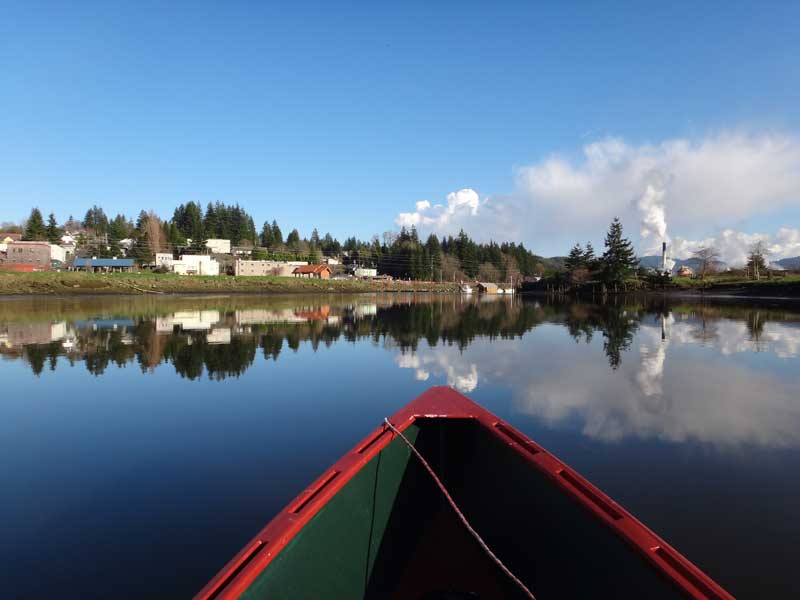
Now that's a nice picture.
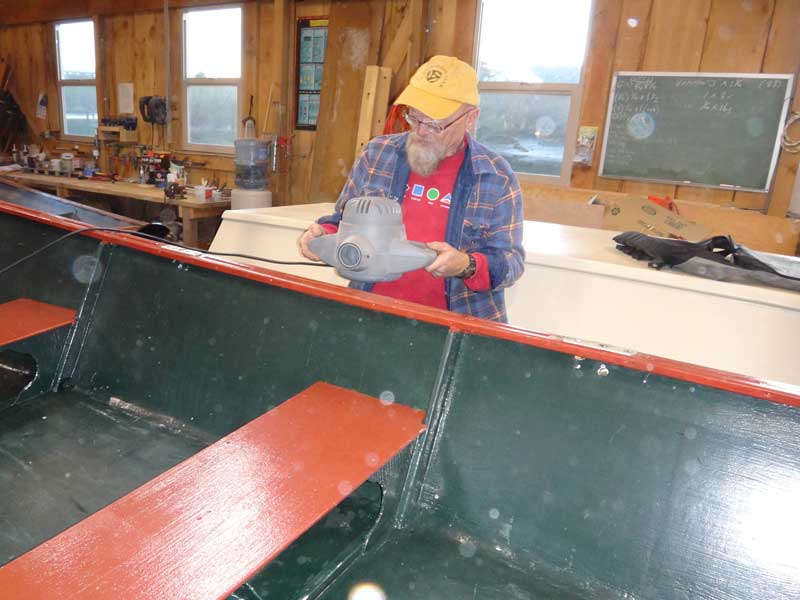
Back in the Boathouse, we washed the Mollyhawks and scrubbed 'em good so we could get them nice and fancy-fied for the coming rowing season. They were still a little damp, so we tried blowing the water dry with our shop vac, then decided to simply wait and let nature do all the work. We took a short beer break at the Twisted Snout, came back, and got to work.
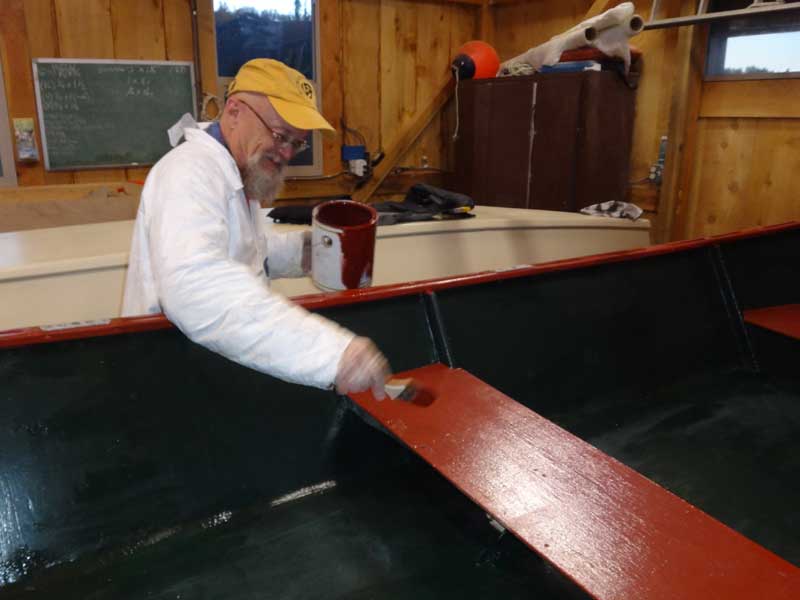
It was a pretty easy day, really - scrub the boats, bring 'em inside, dry 'em off, and touch up the scuffs they'd gotten the previous year.
The next morning, I decided to address the issue of the oarlocks. When making the Mollyhawks, I mistakenly decided to make the wales flat across the top when they should have been angled This made it so the oars were just a wee bit low and occasionally struck my thighs on the backstroke.
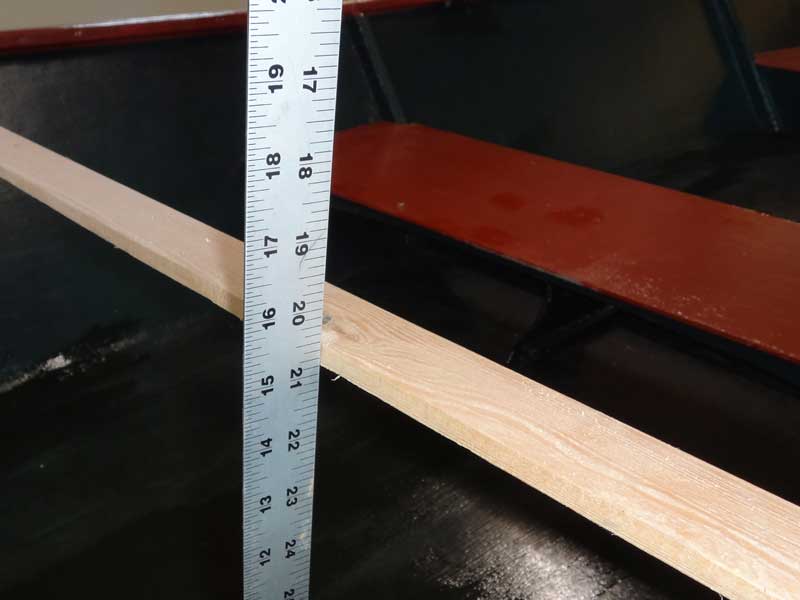
The seats are 7 1/4" above the sole
. . . and the locks are 15 1/4" above the sole, giving an 8" difference - right at the lower end of what I'd call comfortable rowing ergonomics - again, had I installed the wales correctly, there would have been no problem.
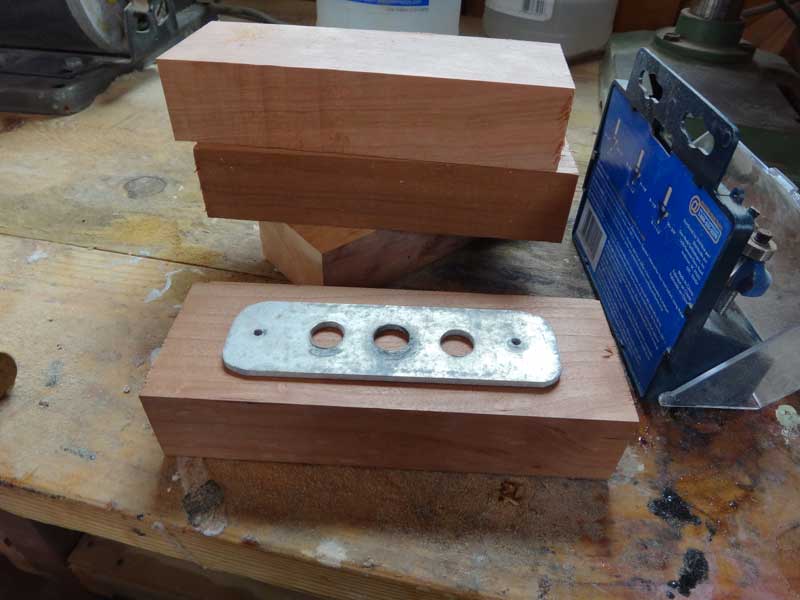
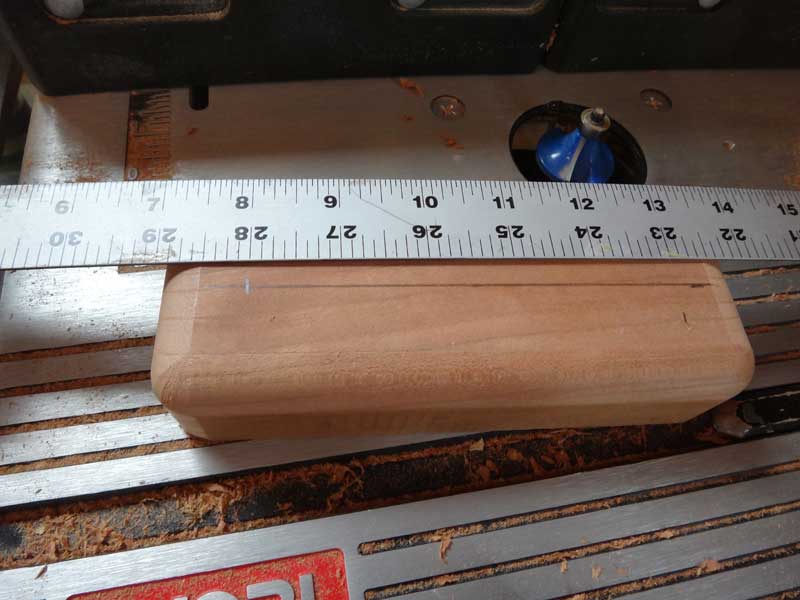
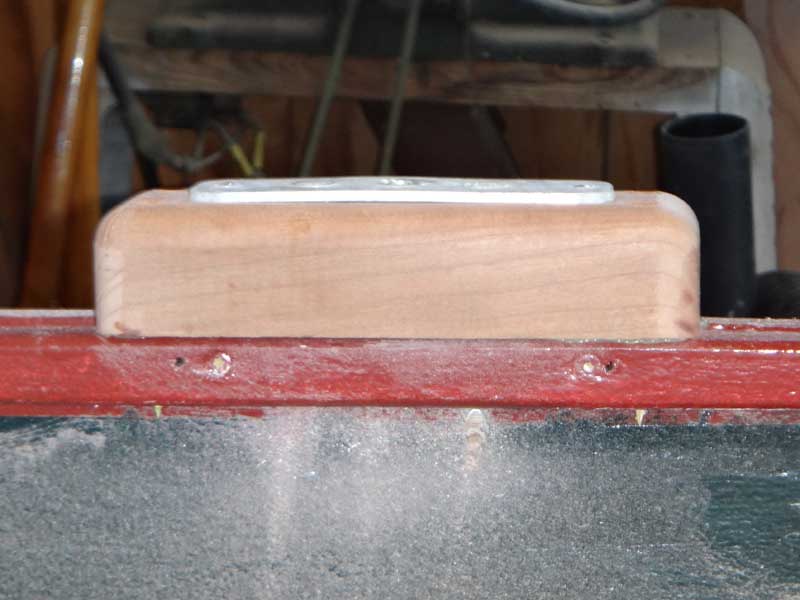
The easy solution is to install some blocks under the locks. We had some hardwood laying around, so I cut it to the right width for the wales and made them 1 1/2" high - just a guess.
I grabbed the first block and rounded off the corners on the router - then remembered I need to center the lock plate. It is much more difficult to get an accurate measurement after you've rounded off the corners, a smart builder would . . .
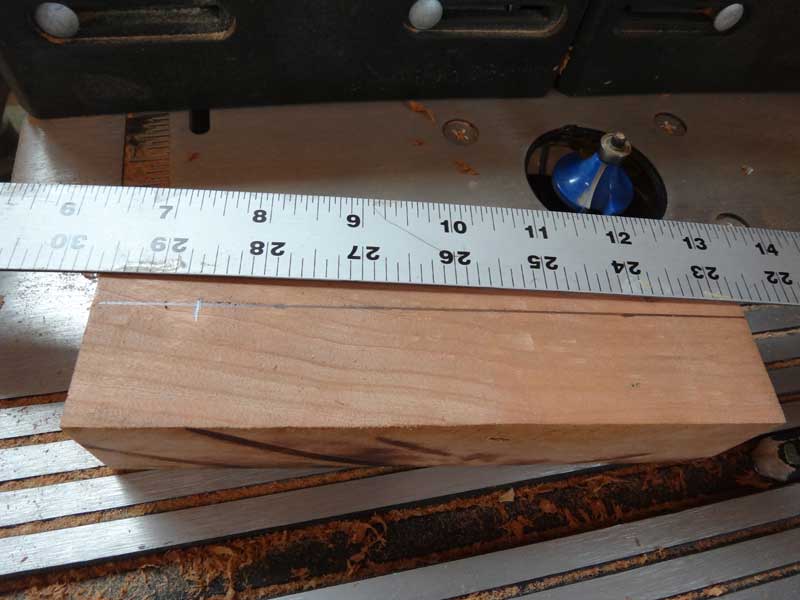
. . . do the measuring when he has nice, clean, straight edges to measure from.
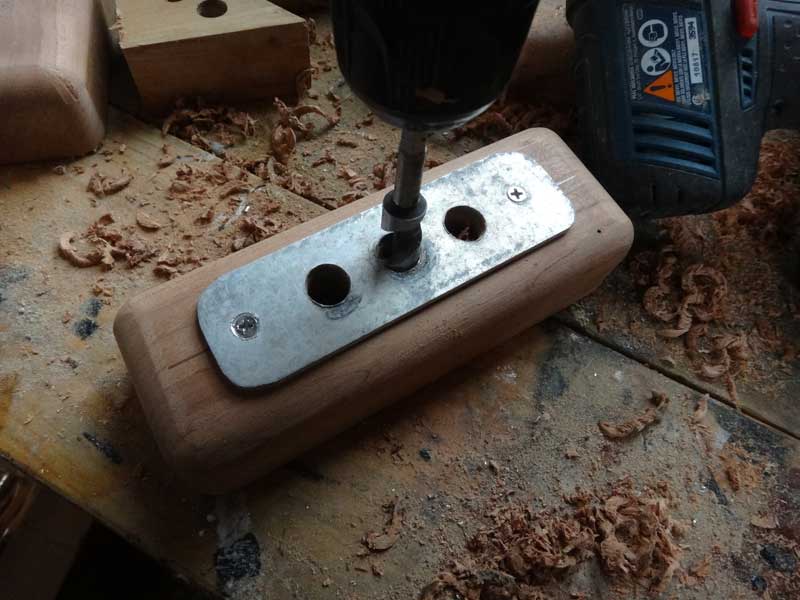
Next, after screwing the plate down - was to bore the holes for the oarlocks. We are using bronze, ribbed oarlocks from Duckworks and the shafts are 1/2" in diameter. I couldn't find my 1/2" spade bit, and that auger bit REALLY digs into the wood - slow was the best speed.
It's only taken me 20 years to figure out the need to counter-bore so the bit doesn't rip the backside of the block to shreds as it exits. The trick is to bore a pilot hole all the way through (or run your bit until it just barely pokes out the backside - lots of potential for mistake with this method.)
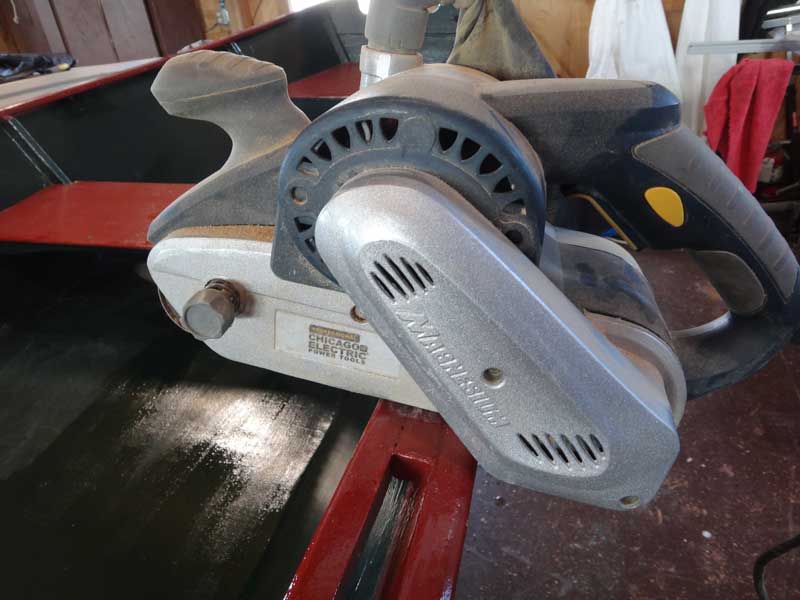
The wales had been painted and I'd decided to use both screws and glue to hold the blocks on. The old adage of "Paint sticks to glue but glue does not stick to paint" holds true, even today, so I sanded off the wales where the blocks would go. (I really like Harbor Freight's 4x24 belt sander with a 40 grit belt from Gator Finishing Products- it makes short work if this kind of task.)
A little PLP for the glue (thickened epoxy would probably be better, but I might need to remove these blocks if this doesn't work.)
and screw it down with 2 1/2" deck screws. The screws protrude 1/4" through the inwale and I'll need to saw off the points with a Dremil or some such. These modifications will be tested next week. Until then, happy building.
|