|
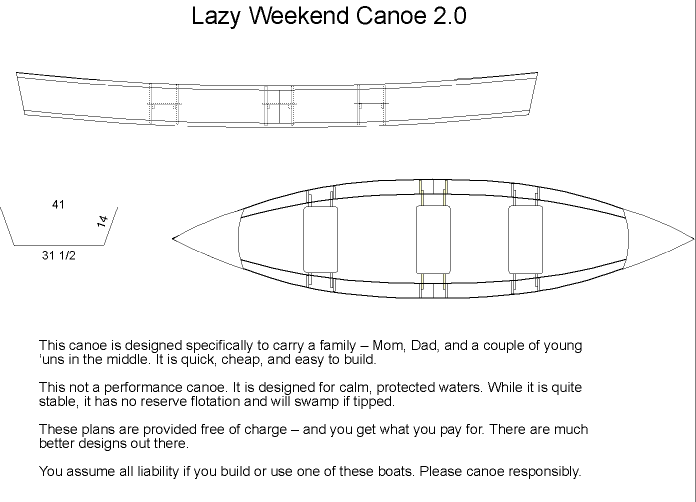
Lazy Weekend Canoe - Redefined I designed the original Lazy Weekend Canoe to be built quickly, cheaply, and haul a lot of weight.
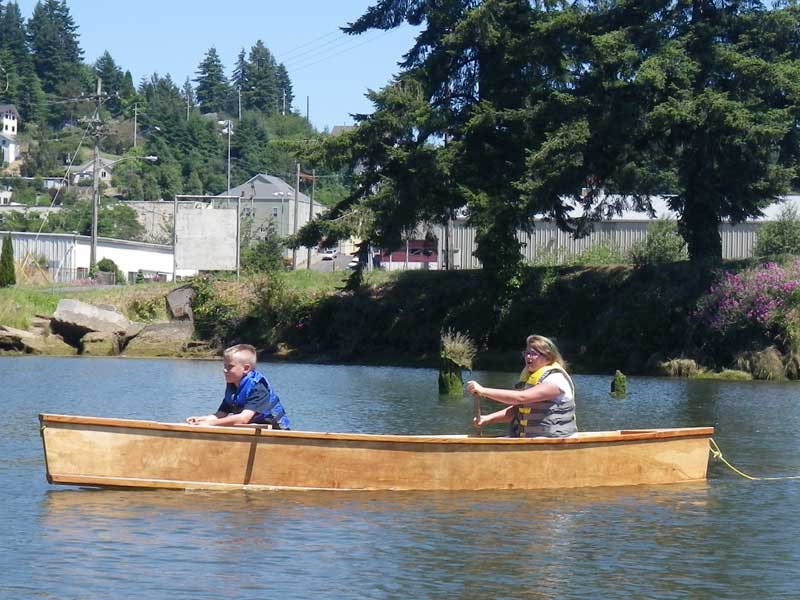
We used them with great effect in our first summer of operation, but we learned that when working with kids, they REALLY like to be together in one boat - families, too. The excess people would have to sit on the bottom, they'd get wet, then get grumpy.
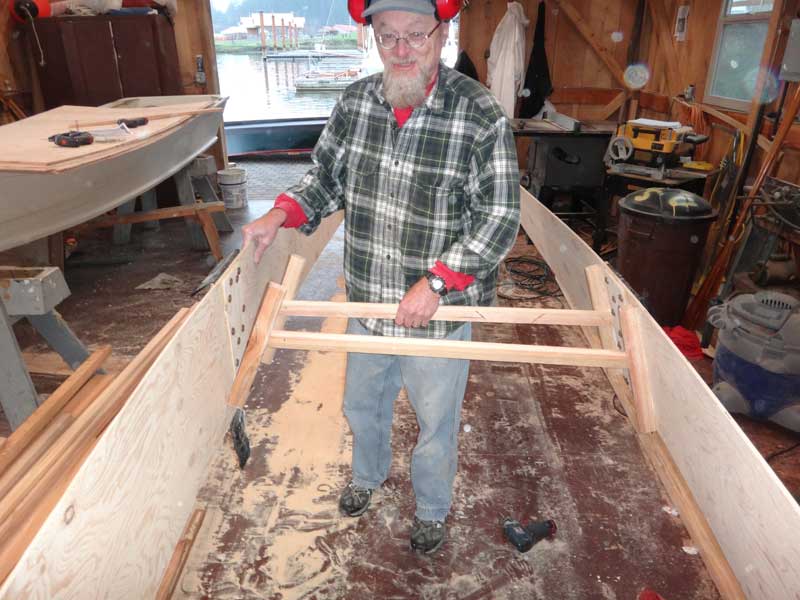
We did some noodling and decided to try adding a third seat - dead center. We are also changing how the seats are mounted, using frames instead of cleats like in the first design. Looks good on paper, don't it? Let's see how it look in real life.
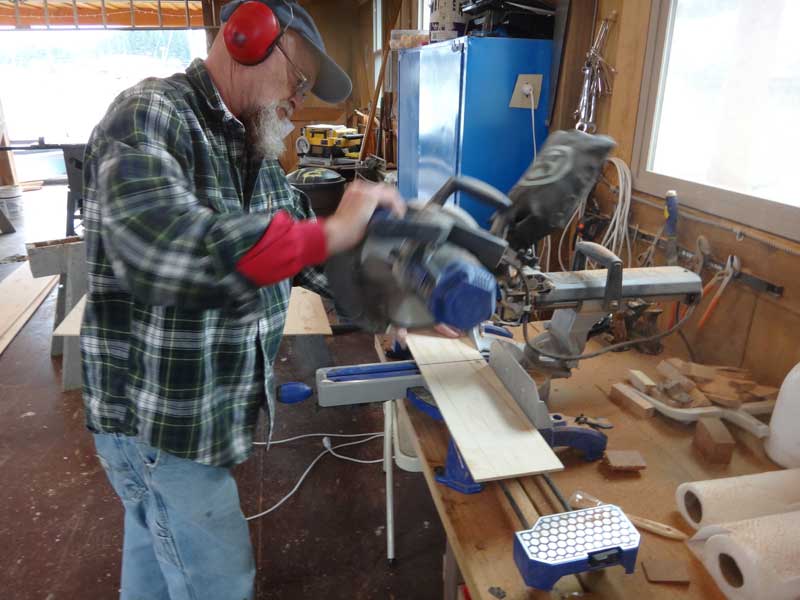
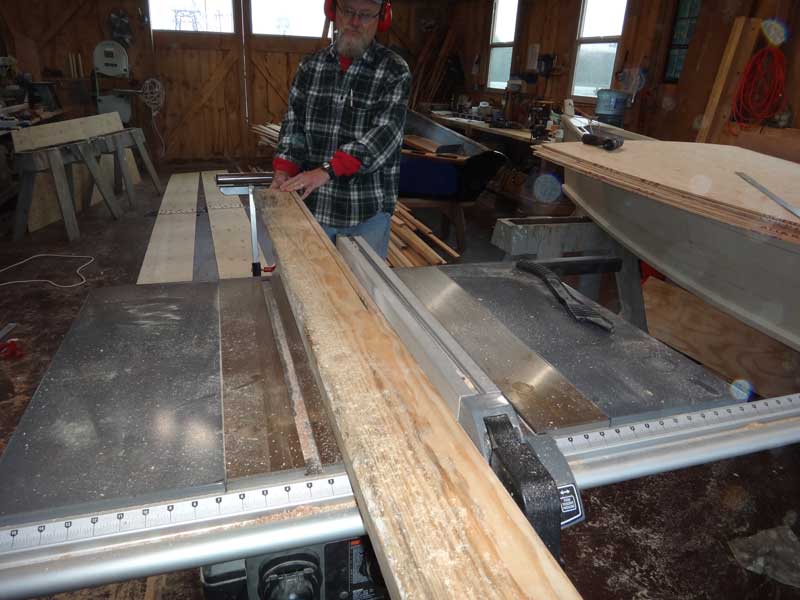
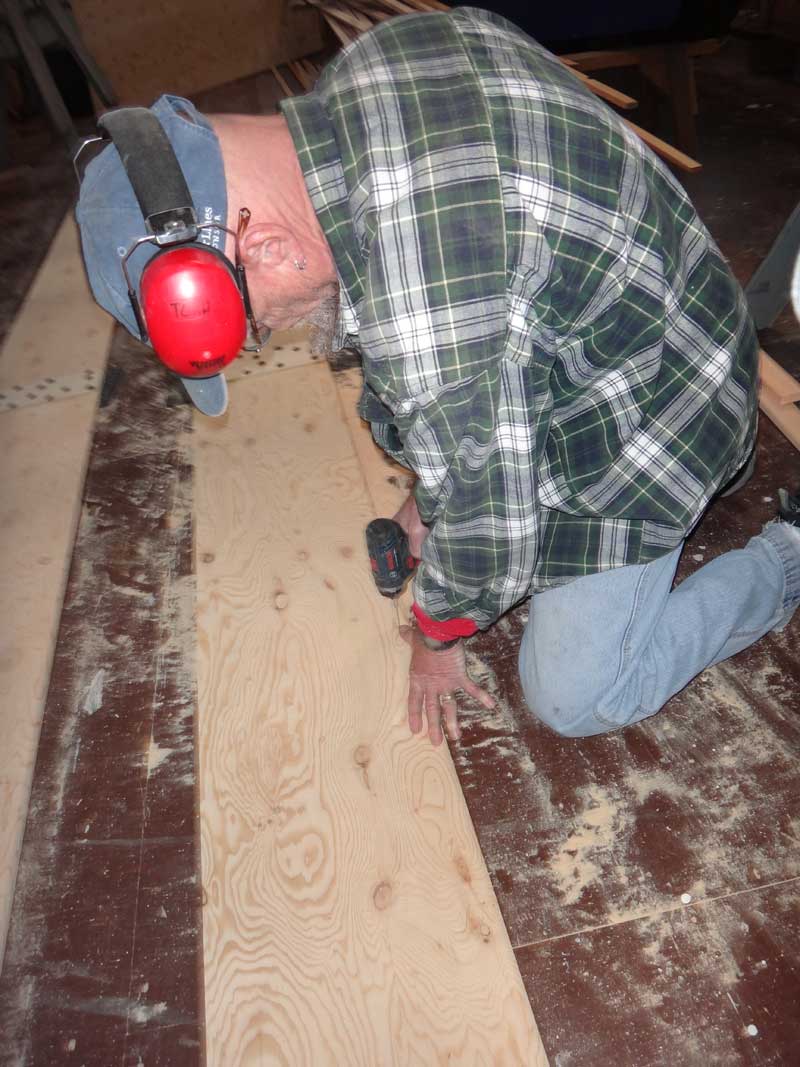
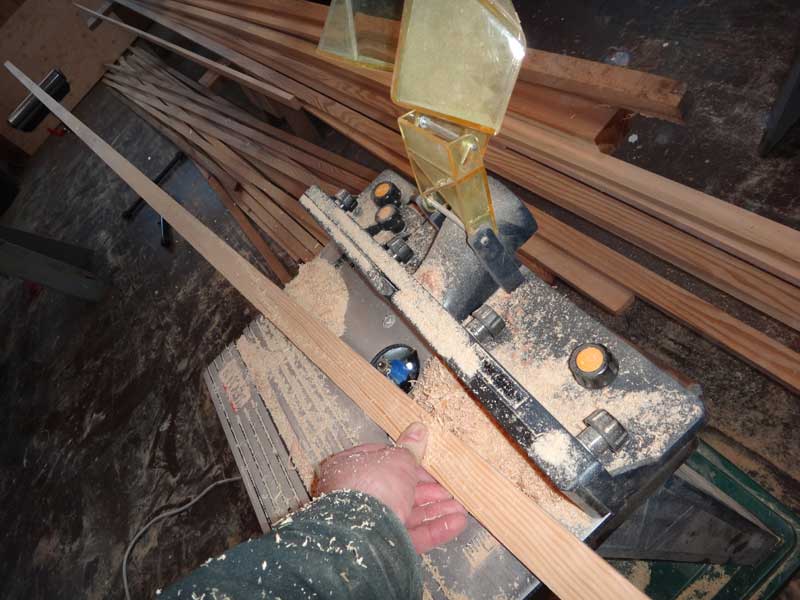
Step 1 was to convert plywood into planks. We decided to use 14" wide planks for the sides so we could have a wider butt-strap (5 3/4" instead of the original 4")
The planks are all the same shape: Dead flat cuts with a 4" rake on the stems. Rather than cut each stem individually, we just clamped everything together and cut 'em all at once. This is a real time saver - it allows us to make all our mistakes at the same time.
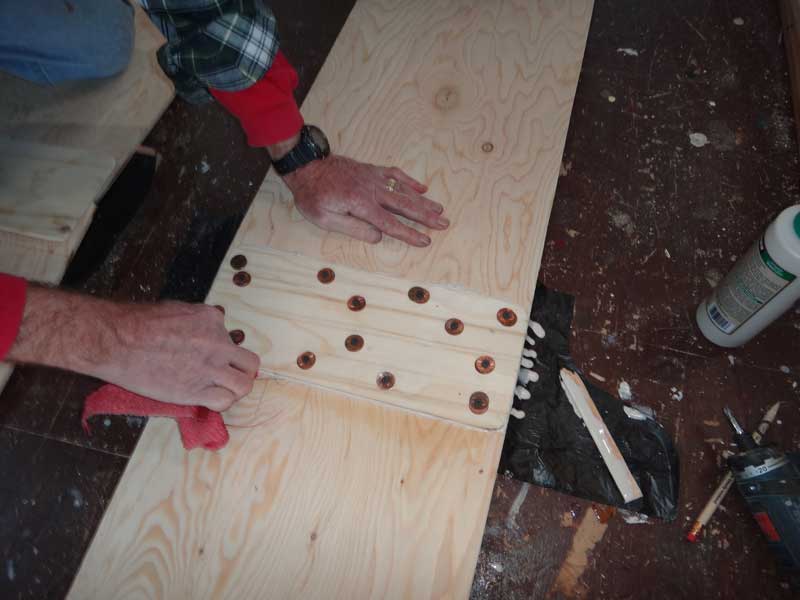
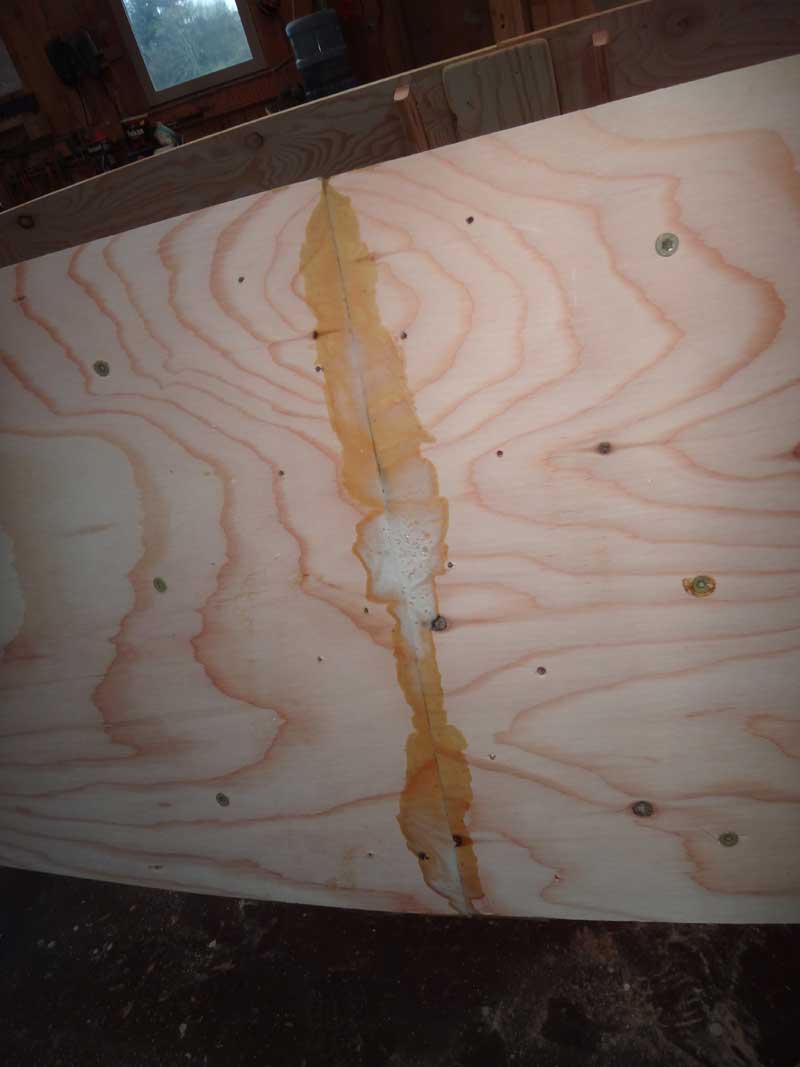
The wider butt-straps have two purposes: Hold the joint a little stiffer and also allow us to work with the planks while the glue is curing on the joint (you'll see)
We are working fast - assembling the canoe while the glue is still curing. We wanted the join to be held tightly, so we used a lot of screws down into a backer block. We are using TiteBond III as the glue for everything except the bottom - for that, we'll use PL Premium.
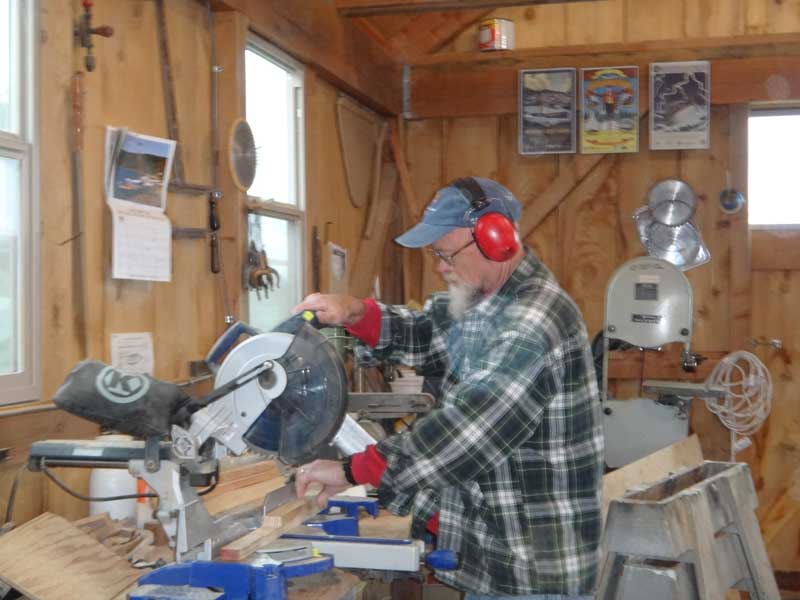
We did want the glue to set for a while before we started bending the planks into shape, so we used our time to rip a couple of 1x2s from a 2x6 - we needed the pieces for the frame and seats.
We cut the frame pieces to 13 1/2", 1/2" shorter than the side height - this is a personal affectation of mine I can explain if needed - then ran them through the router to know the corners off the side that will face into the cockpit.
For the center seat frames, the back edge is not beveled. The top of the seat will be 6 1/2" down from the top edge of the side. Measure and mark on all four frame pieces.
The supports for the seats are made from 1x2s and are 36" long on the long side. The sides flare out 20°, so cut the ends to 20°, then secure them to the side pieces. Because you are working so close to the end of the board, it is a very good idea to countersink the pilot holes and drive the screws carefully.
Time to go outside and look at the Greebs as they paddle past.
We marked and pre-drilled the centerlines for the frames . . .
. . . and while we were at it, we drilled pilot holes for the chines and wales (something we could have done much faster when they were all clamped together.)
Glue the edge and screw the frames to the sides. REMEMBER: The frame is even with the TOP edge of the side (you only make that mistake 10 times or so before you learn.)
The final step for the day was screwing the ends to the stems. I'd hoped to get the chines on tonight, but we'd burned through our 3-hour work session and it was time to go home.
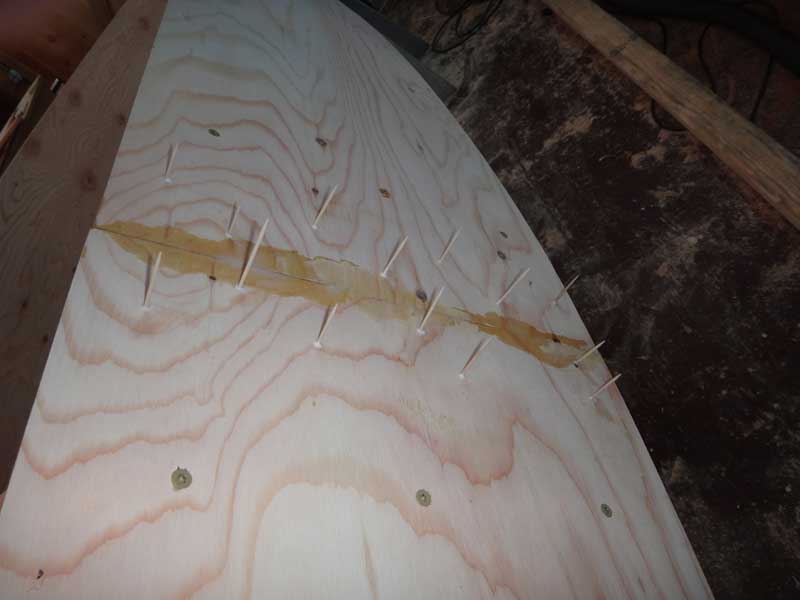
In the morning, I removed the screws from the butt-joint and pulled away the backer board. This, boys and girls, is why you ALWAYS use a glue barrier when making butt-joints.
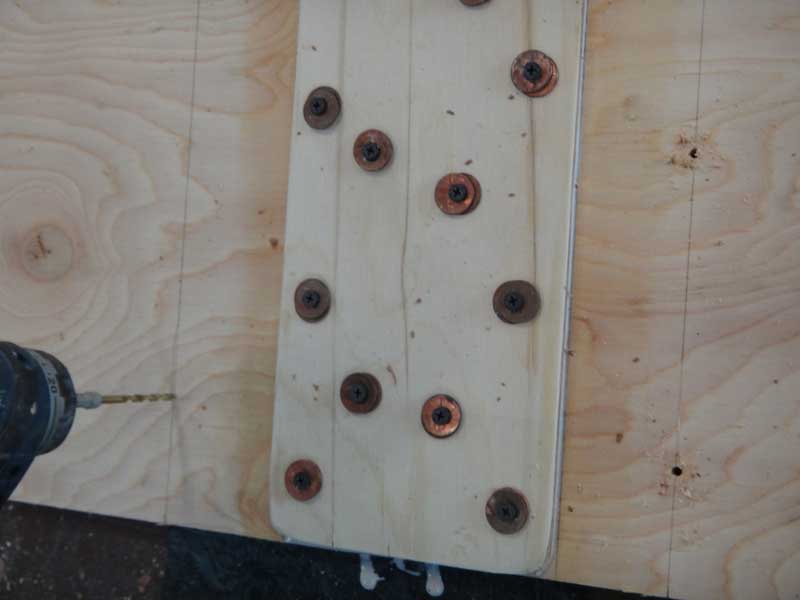
A couple minutes with the scraper to get most of the glue off and then it was time to fill the screw holes with toothpicks dipped in glue.
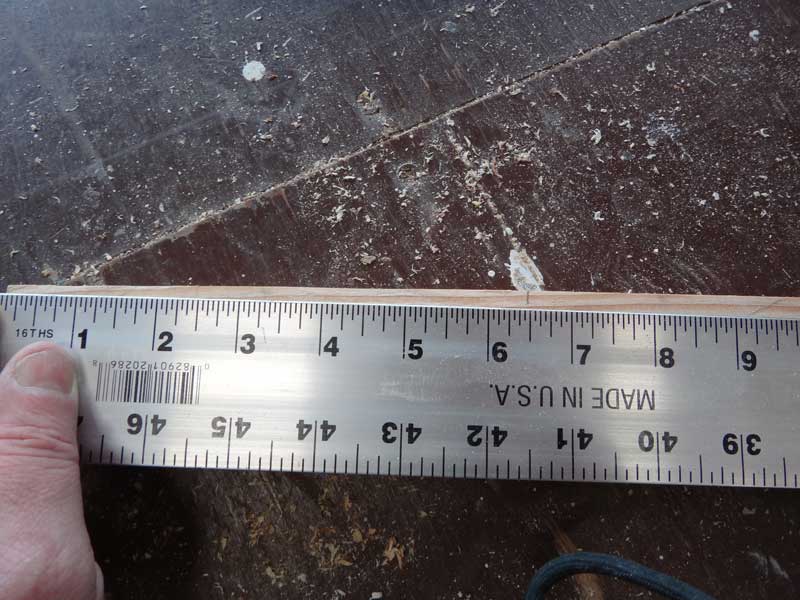
Our chines needed to be at least 15' 6" long, so we found suitable candidates, then routed the corner off the top edge - don't want water sitting there, causing rot.
Time to attach the chines - match the inner edge of the chine to the outer edge of the side and you will have a minimum of planing to do to get the bottom on.
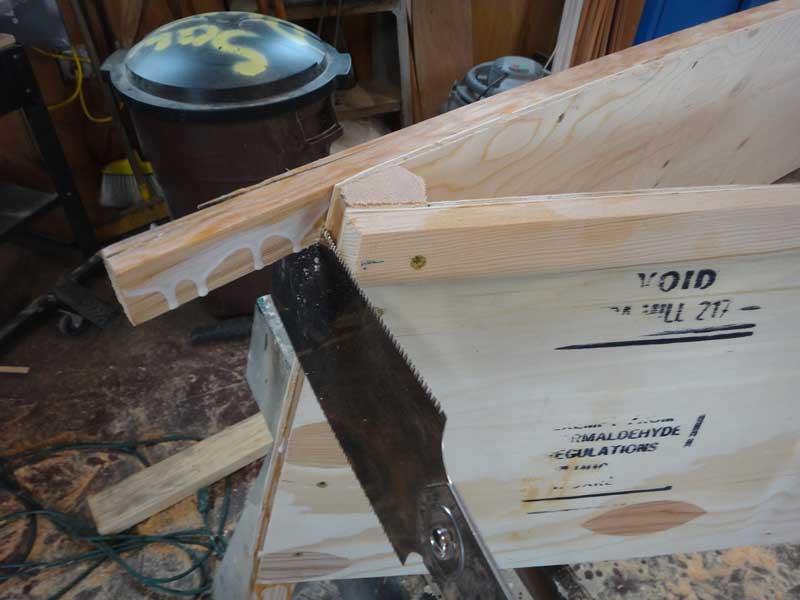
Those pull-saws make cutting the chines off simple and quick. We cut them flat to the face of the stem to so we can use the belt sander to shape them after the bottom is on. You'll notice we used a deck screw to attach the chine through the side and into the stem.
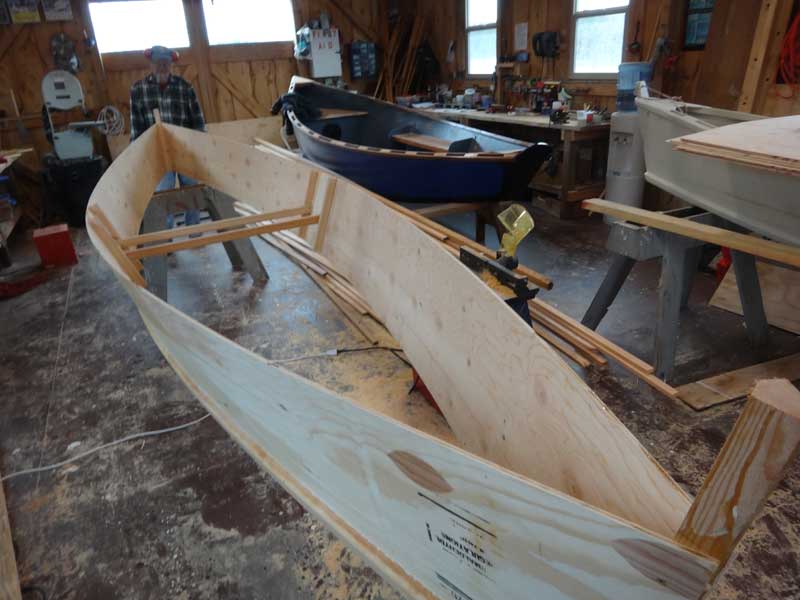
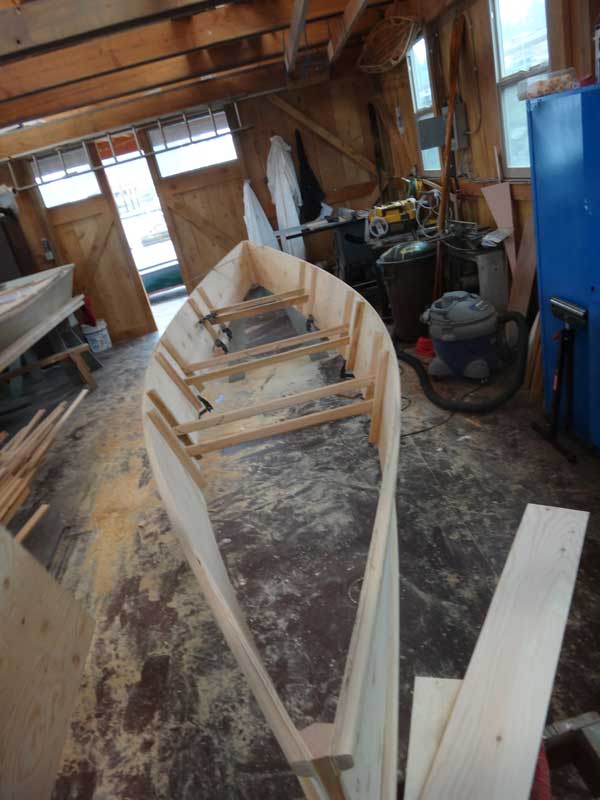
With the chines on, it was time to flip her over. That's a nice shape.
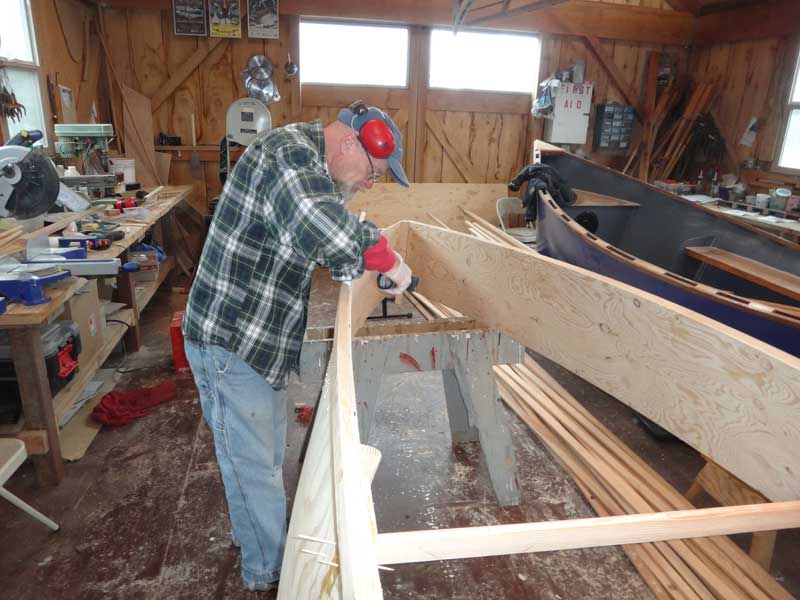
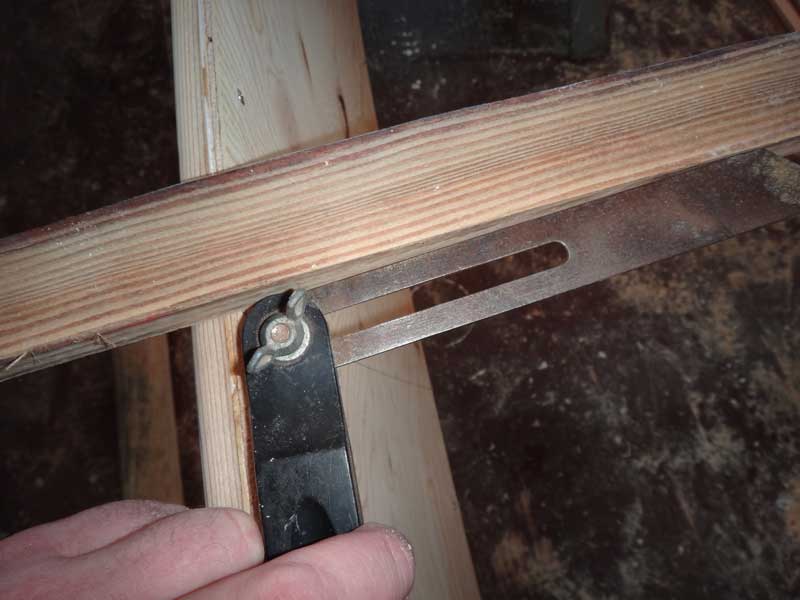
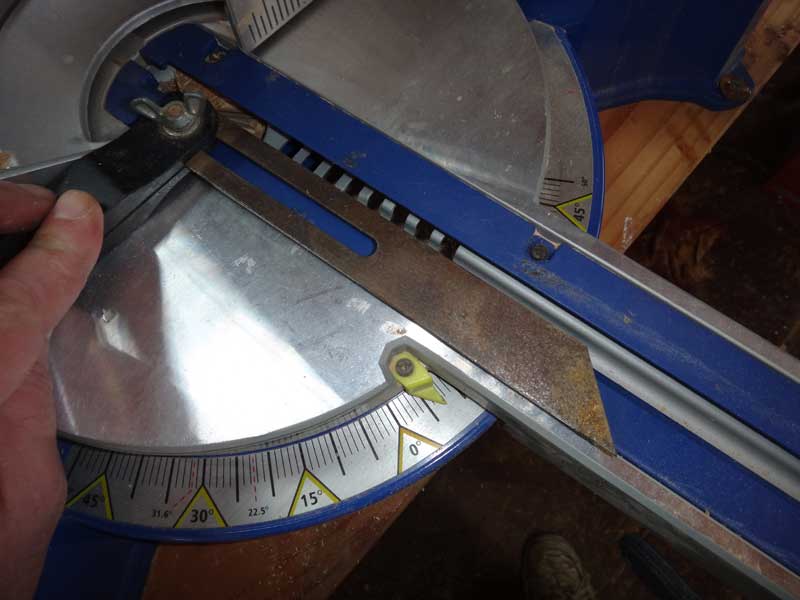
A thinking man would have had the angles and bevels for the framing for the fore and aft seats figured out in the software and had the frames built before attaching the sides. I had to do it the old fashioned way. I laid a board across the centerline where the frames will go . ..
. . . then got the angle with a bevel guide . . .
. . . then used the chop saw as a protractor to get the angle needed for the bevel. This process was repeated for each frame and also to get the angle of the flare. Tip: Get in the habit of naming your frames and marking which end is the top and which edge is the long edge of the bevel.
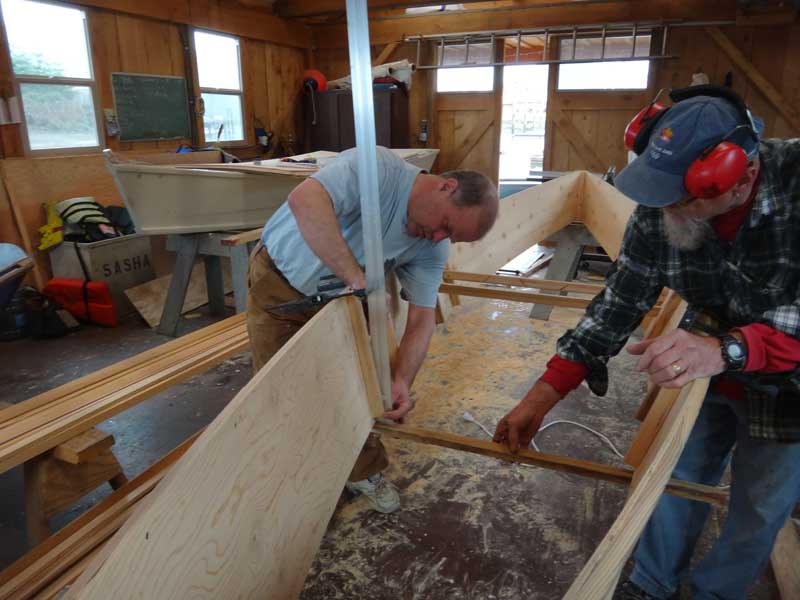
Here we are, trying to determine how high to make the seat tops so the seats would be level when the canoe was in the water. I don't know why we spent this much time and effort - we already knew the measurements from the original plans:
Again: A SMART man would have had the frames all made (and named) before starting the build. By trying to build the frames in place, we burned through the whole 3 hour build session. We were scheduled to go for another hour, but I didn't have any PL Premium for the bottom and we were running low on screws. Plus, our brains hurt. It was time to call it a day and go home. |