|
Lazy Weekend Canoe, final rev. These canoes are designed specifically to get people on the water. They are designed with stability in mind first, then easy of building, then economy. To this end, I did some fiddling with the spread of the fore and aft seats to try to maximize the width at the bottom, increasing stability.
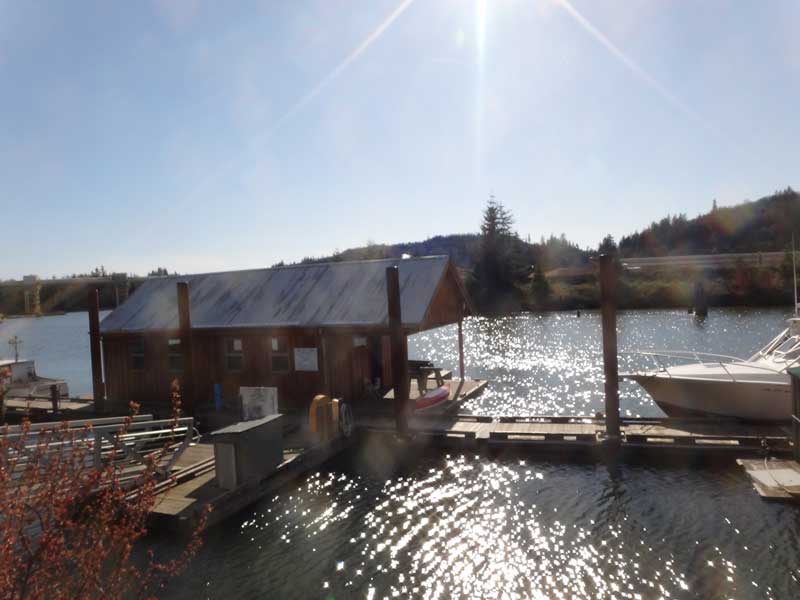
Oh, it was a beautiful day at the coast.
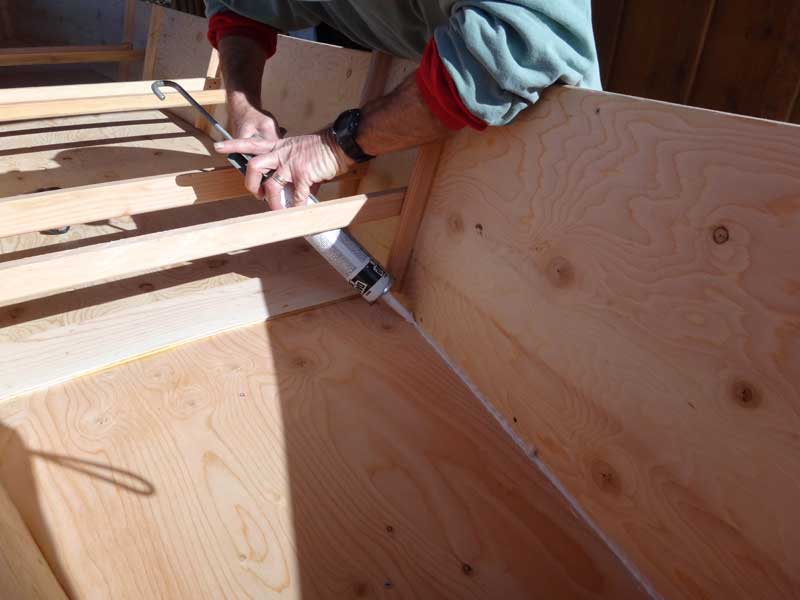
Curt started caulking the Lazy Weekend Canoe we'd built last week . . .
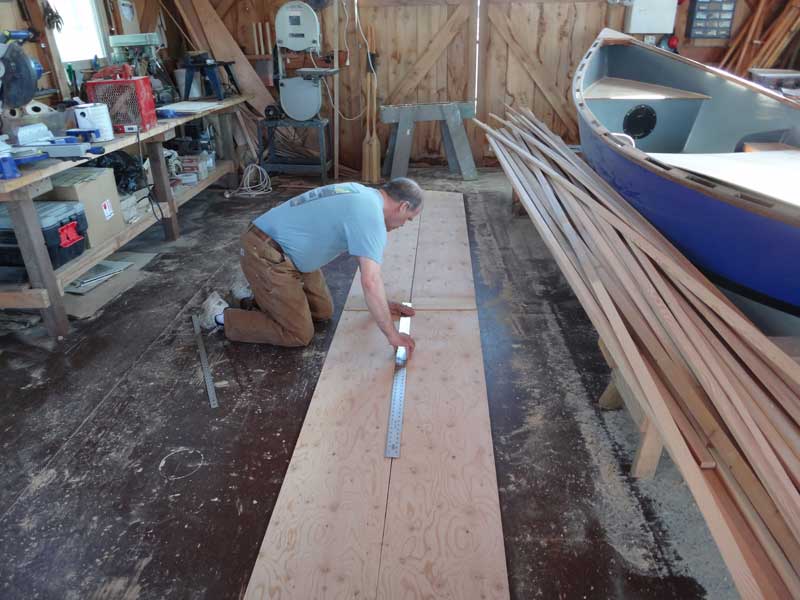
. . . . while I measured out where the frames would go.
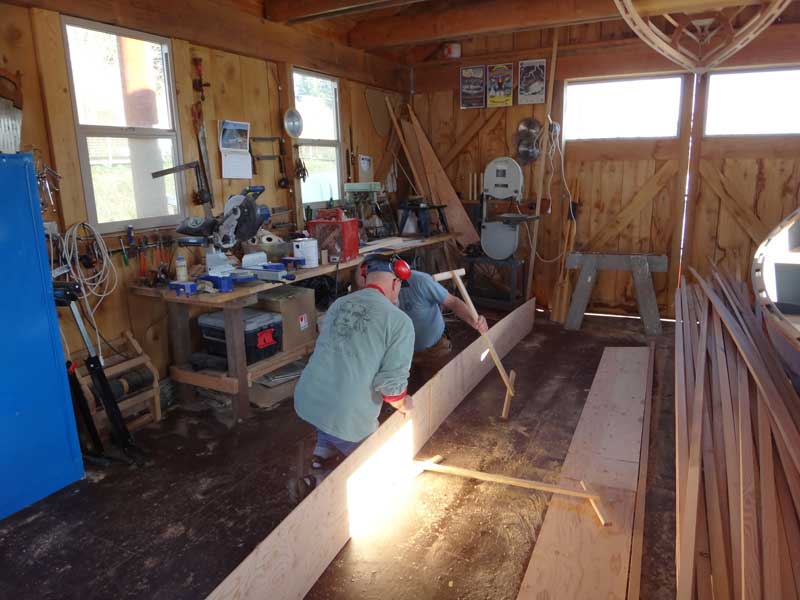
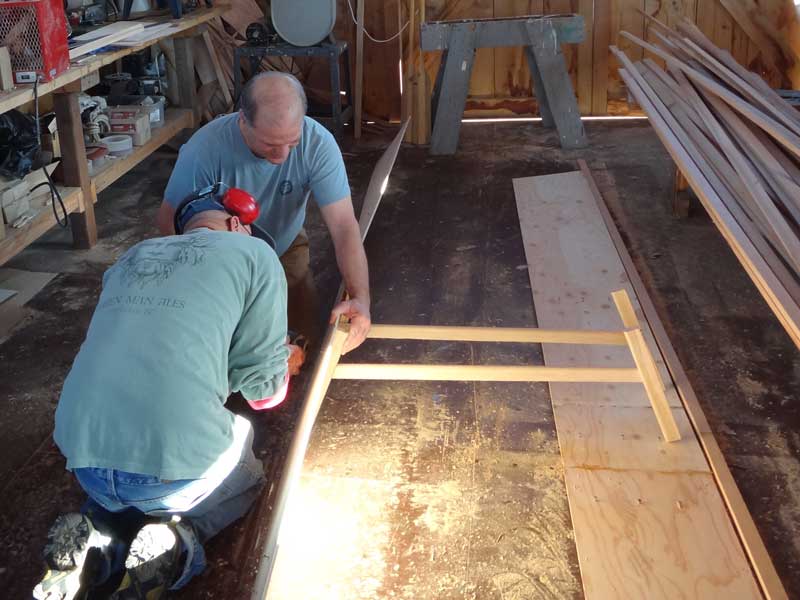
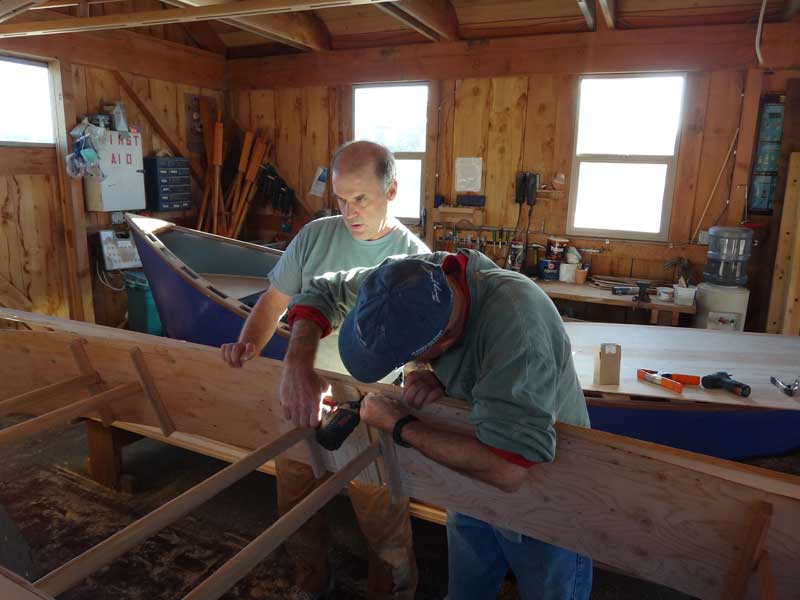
At 5:04pm, we started attaching the pieces together - starting with the center frames.
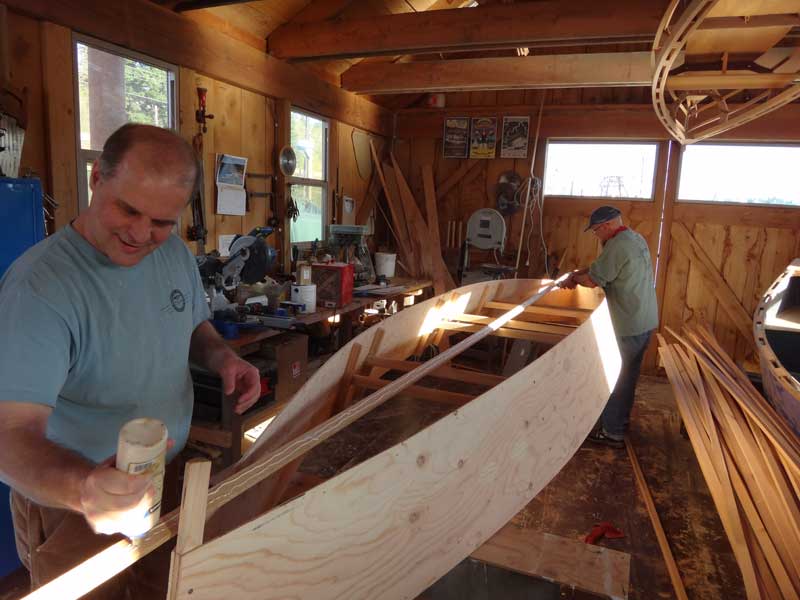
While I have done this solo, it is much easier to have a second person help when you are fighting to line up a frame on a wobbly 16' long piece of 1/4" ply.
With both frames attached to one side, we lifted it up onto sawhorses and attached the other side.
And so it went, attach two frames to one side, then attach them to the other. Glue and Screw as you go along. We are going to be using about a quart of TiteBond III glue on this boat - no additional glue, just a tube of caulk to seal the seams.
Curt needed last week's canoe flipped so he could caulk along the keel.
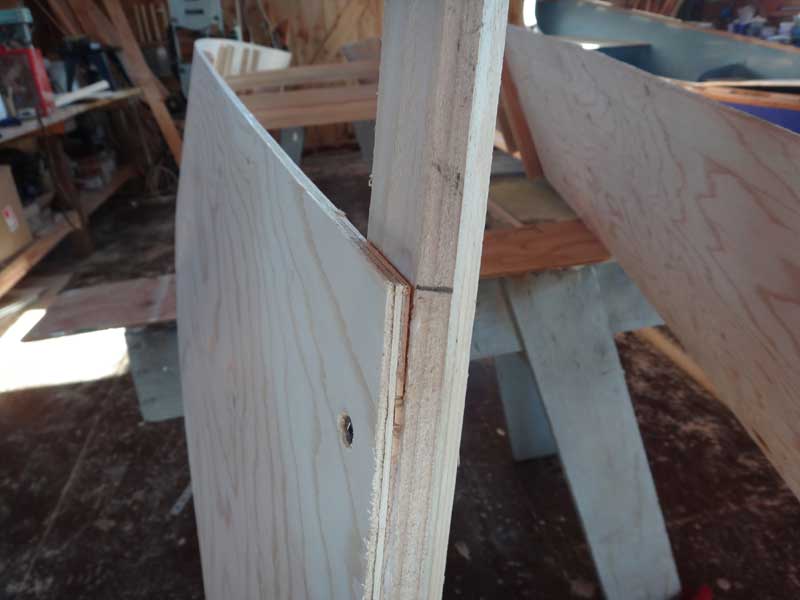
To make the stems I take a 24" piece of 2x4 and rip it in half, then shave a 22° bevel on each side. See that little line there? That's the single easiest trick I know to get the sides to line up perfectly: Match the corners of the sides and your boat will (usually) come out square and even.
And there's me matching the corners.
Slather the chine with glue. Don't be cheap.
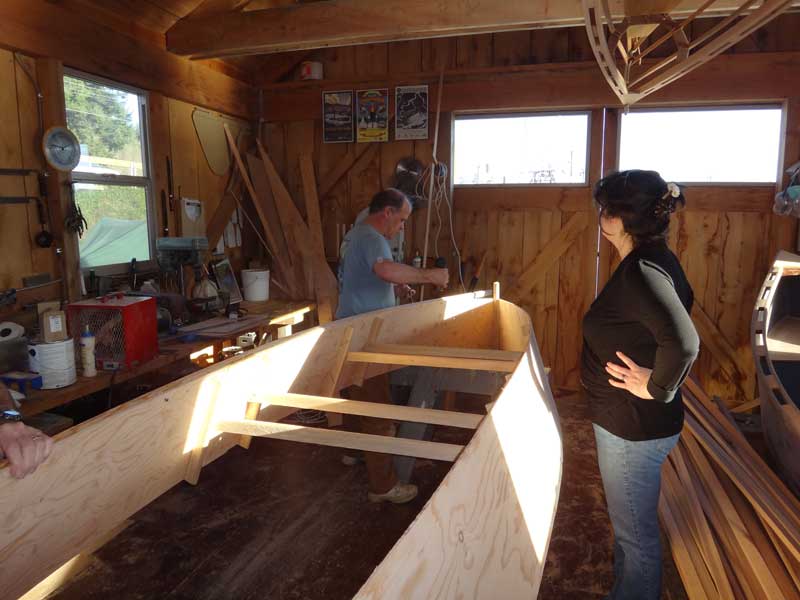
TiteBond III skins over quickly, so work had to continue even when we had visitors. This lady runs a local candy/confection shop and came down to see the fun.
Now for the other chine.
I have no idea what I'm looking at. Something boat-y, I'm sure.
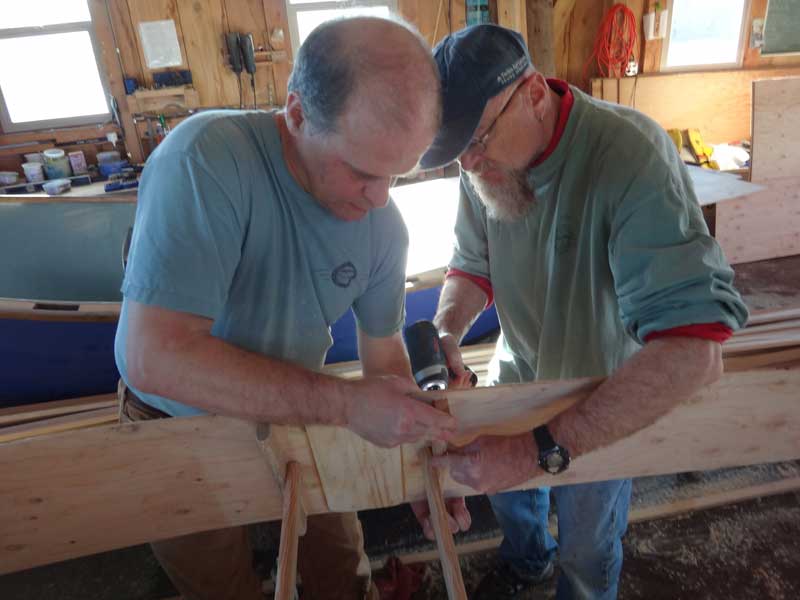
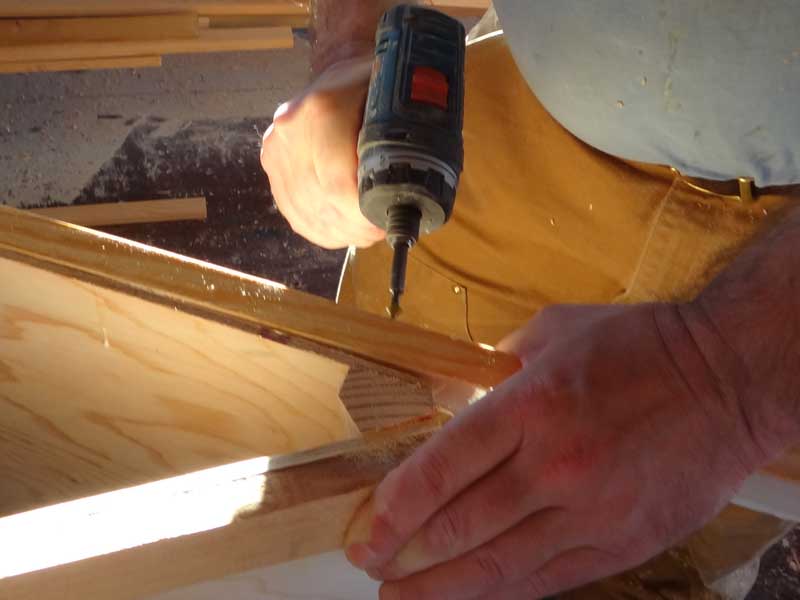
Zip zip zip. Screws about every 8" or so.
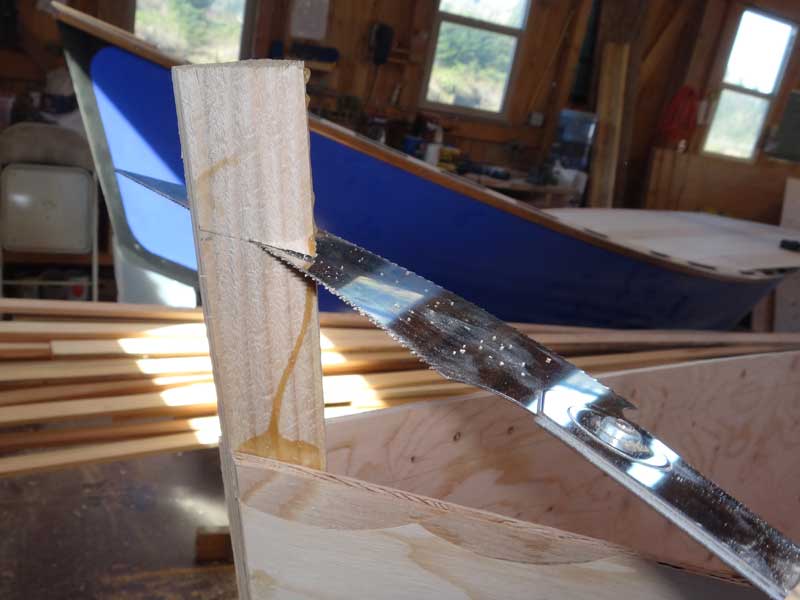
The final step is to drive a longer deck screw through the chine, through the side, and into the stem. We were using 1 5/8" on this.
We finished up by lopping off the chines and stems flush with the sides. This picture was taken at 6:30, an hour and a half after we started. We very easily could have taken another 2 hours and been done. Instead, we closed up and went home.
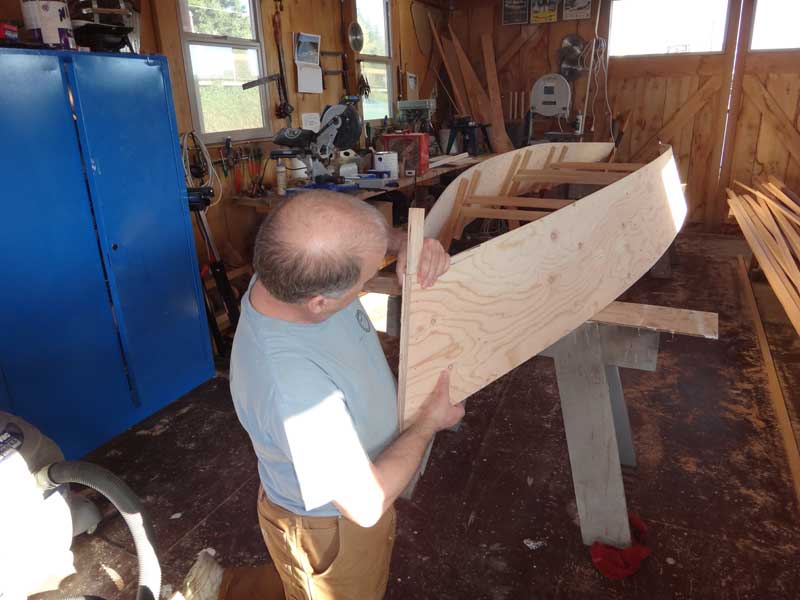
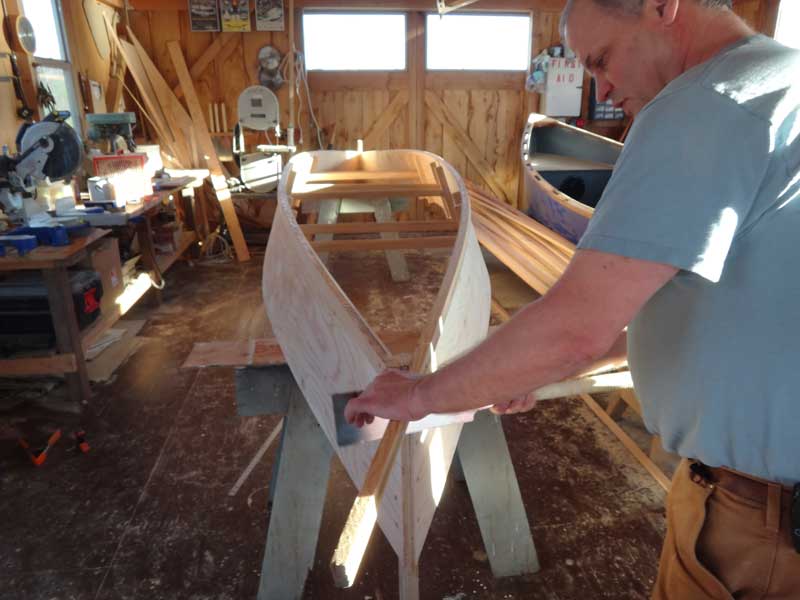
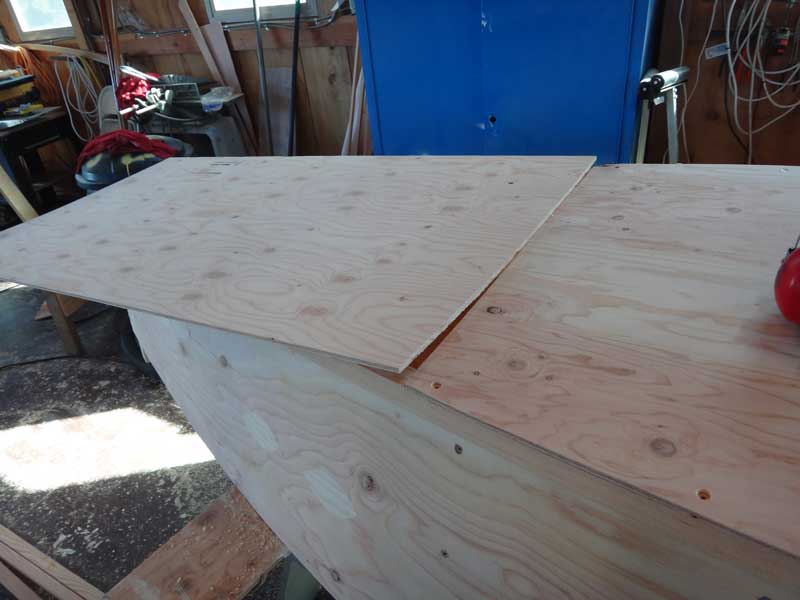
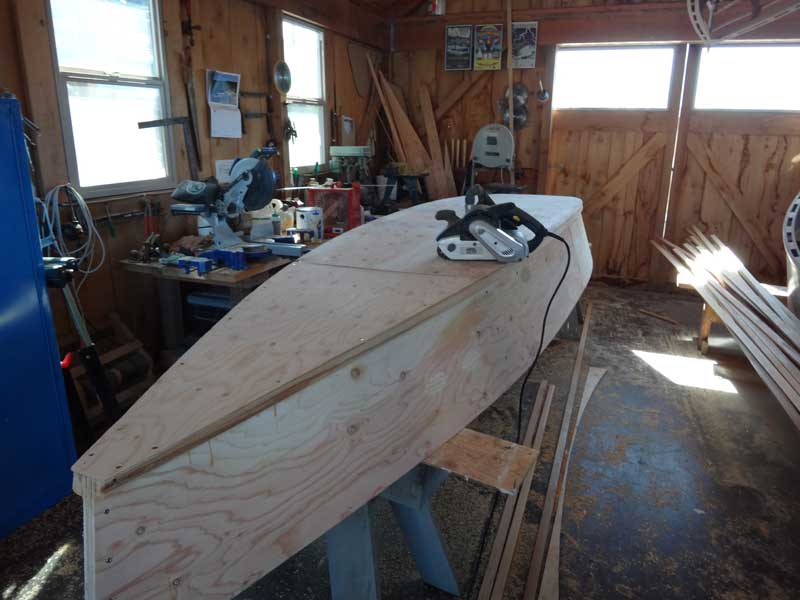
At 9:40a the next morning, we were back at it, attaching the bottom.
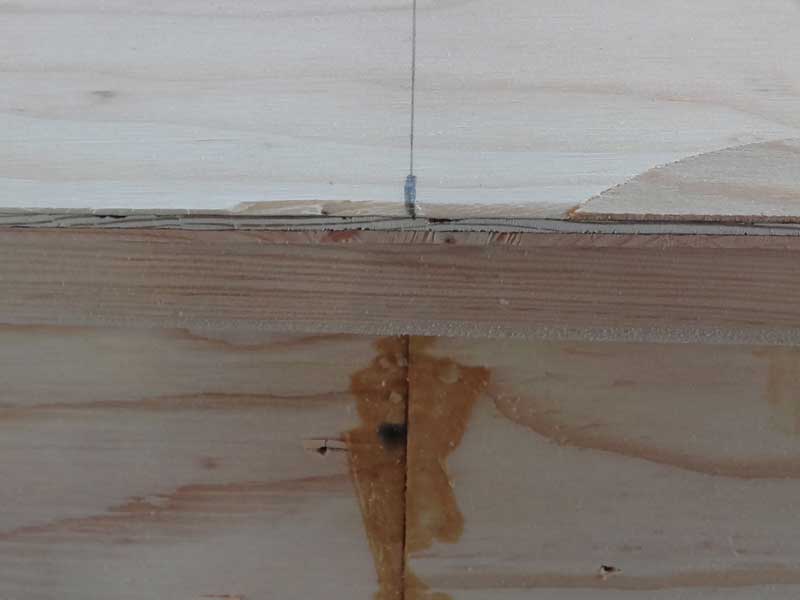
Line up the center of the bottom board with the join in the sides: Makes it perfectly square. Remember, we are trying to maximize the use of plywood, so the bottom board only extends past the chines by about 1/2" on either side. Why 1/2"? Because you always need enough to cut off.
Plus,you can never trust wood to bend uniformly all the time. There's not much excess after the cut is made.
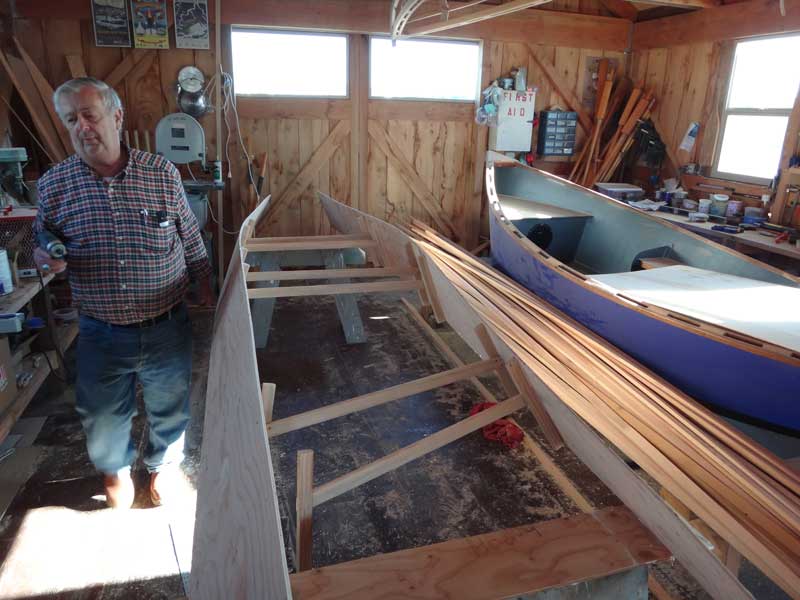
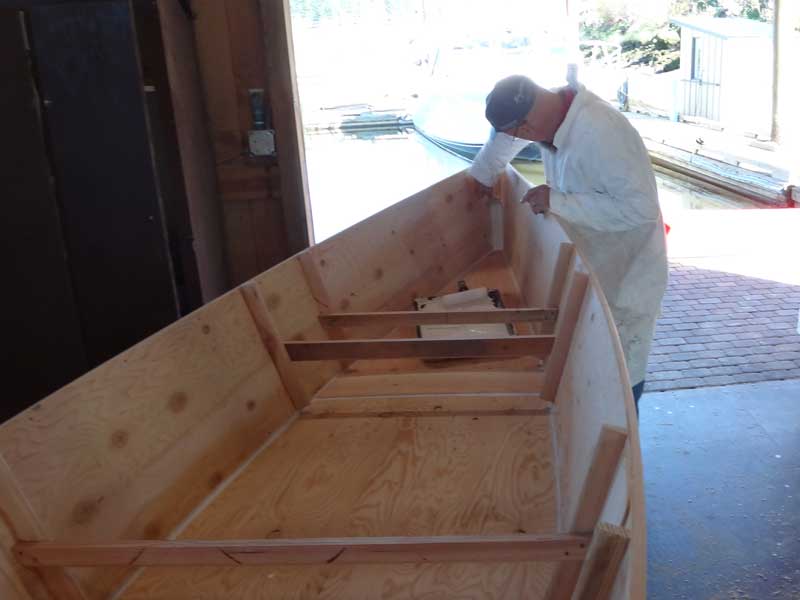
I was working on the new canoe solo while Curt primered last week's canoe.
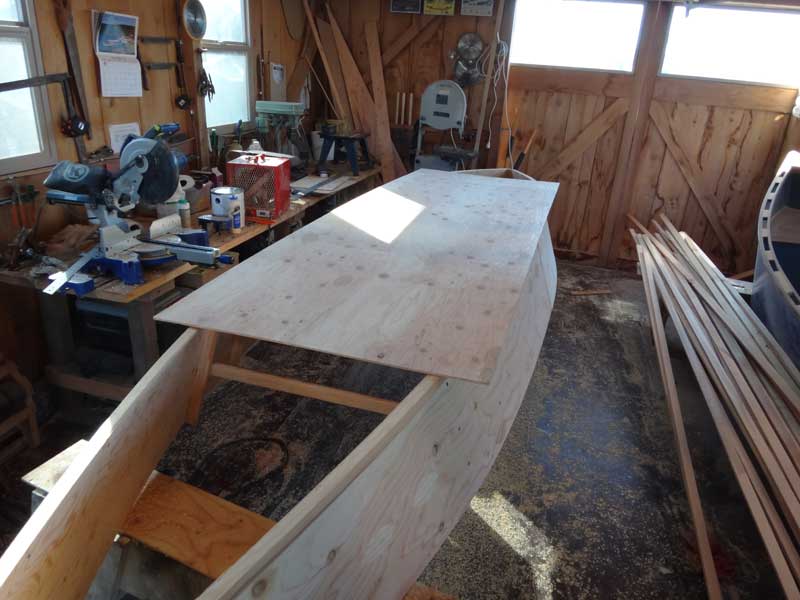
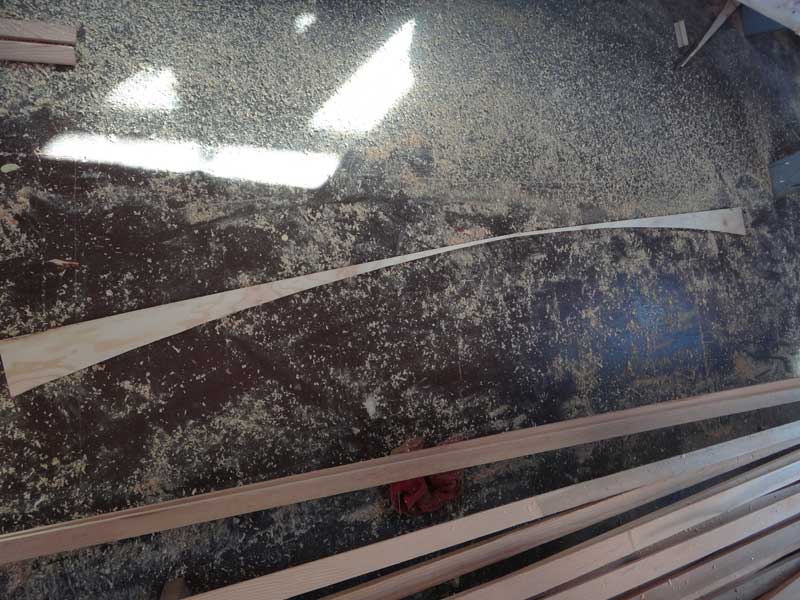
These canes are cut from 3 sheets of plywood: 2 sheets are used for the sides and the center bottom board, the 3rd sheet is used for the fore/aft bottom boards and seats. Rip a 26" wide plank from the last sheet of ply, then cut it in half - one half for the for'd plank, one for the aft.
All bottom pieces attached, it's time for planing and sanding any excess down flush with the chine.
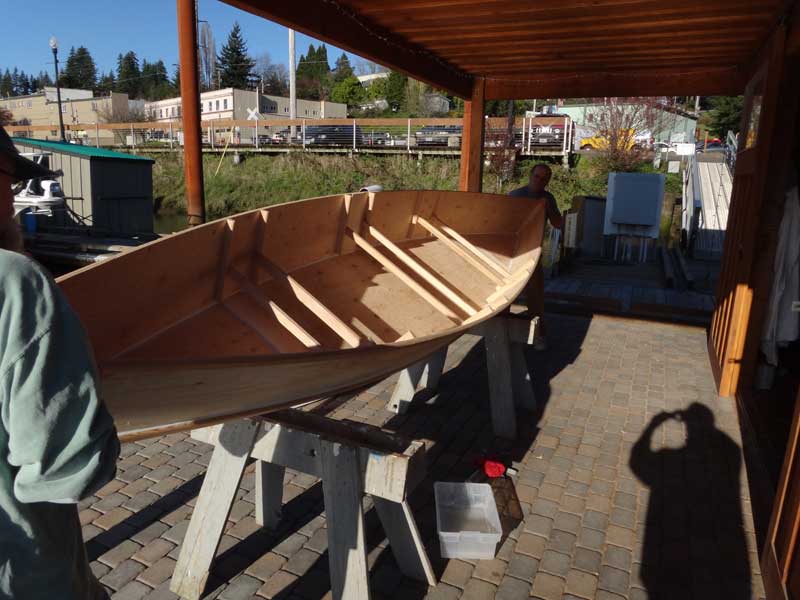
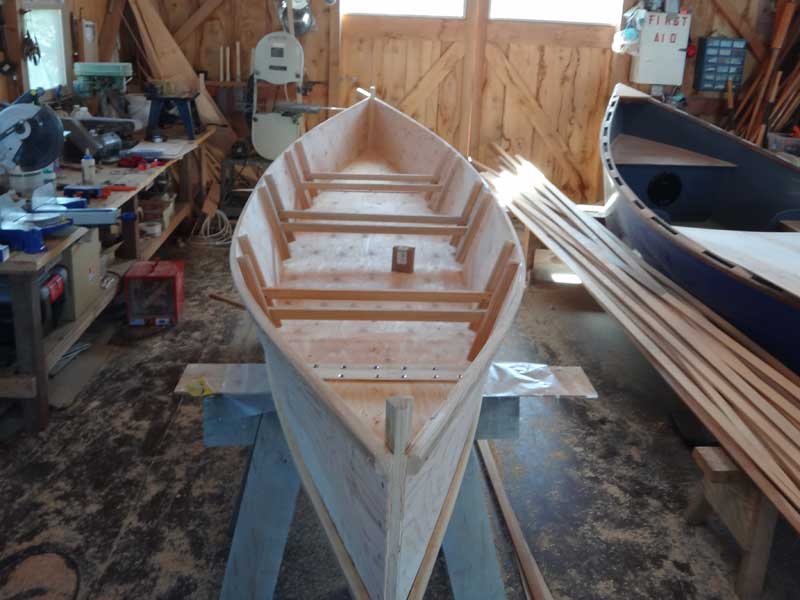
We rolled the boat upright and decided to leave a 3" newel post on the stems. We think they look stylish.
At 12:40 (I was working solo,) we were done for the day. All that's left is to pull the screws from the butt joints, fill the holes with toothpicks, sand, and paint. .Done with the boat, but we still had time to play. We decided to check out my new dry suit. |