|
Spindrift 11: Going 3D When last we left the Spindrift, the two 'wings' had been made and she'd been zip-tied together. The next step was to see if we could make a boat of her. NOTE: A much smarter, more patient man would have pre-coated all the parts with epoxy and allowed them to cure before gong 3D. 2 coats on every part that will not eventually be covered with fiberglass (most of the interior,) 1 coat on parts that will be covered with fiberglass (most of exterior.) Why? Because it is MUCH easier to get a nice, even coat when the parts are lying flat. Once it is 3D, you'll have to contend with runs and drips and digging around in corners. NOTE NOTE: I forgot my camera this week - everything you see is from my iPhone. I don't have any pictures of the start because A) I hadn't thought of using my iPhone and B) we - the 3 of us - had 11' of wibbly-wobbly 6mm plywood to stand on edge and stitch together, kinda tough to be taking pictures when you are worried about catastrophe.
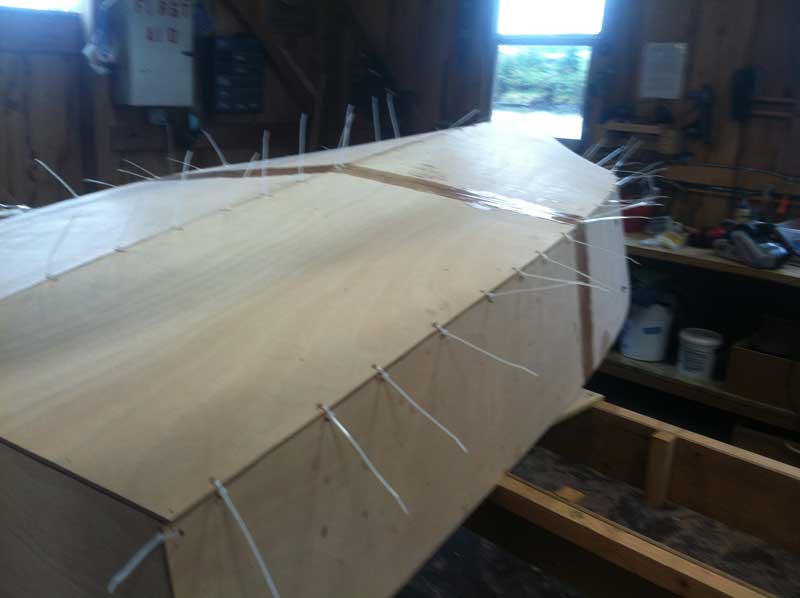
If you remember, the strake and garboard were fiberglassed together at the bow prior to going 3D and we'd drilled all our holes along the edge of the garboard, but not the strake because we didn't know how the wood was going to meet up in it's final form. Bob steadied the stern while Curt and I matched the edge, drilled the hole in the strake, and inserted the zip-tie.
Son-of-a . . . . THAT was EASY. Drill, zip, drill, zip, and all the sudden, it's boat shaped.
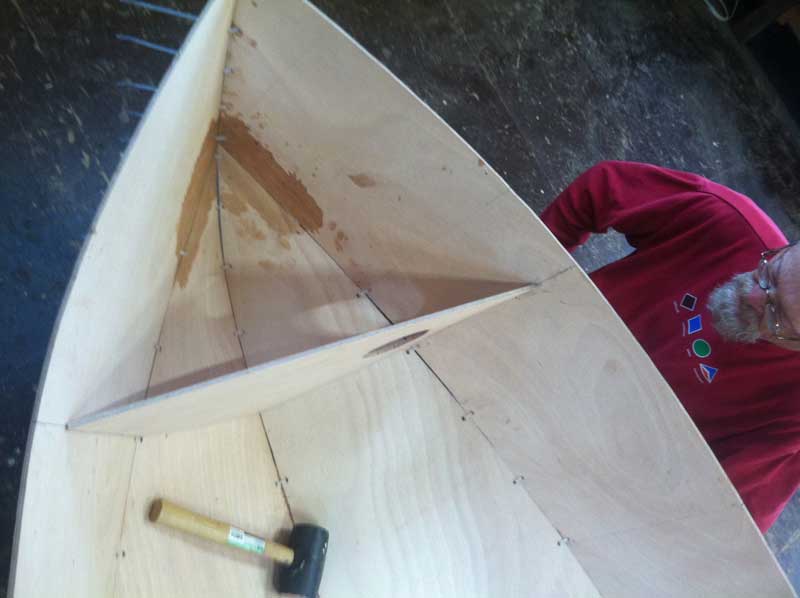
I didn't get a shot of placing the transom, you'll see that later. Things were pinchy at the bow and we had to play "Whack-a-Bulkhead" to get it into place. We'd pre-drilled small holes on the line for the bulkhead, then carefully drove drywall screws into the plywood on edge to hold it in place. This method worked great.
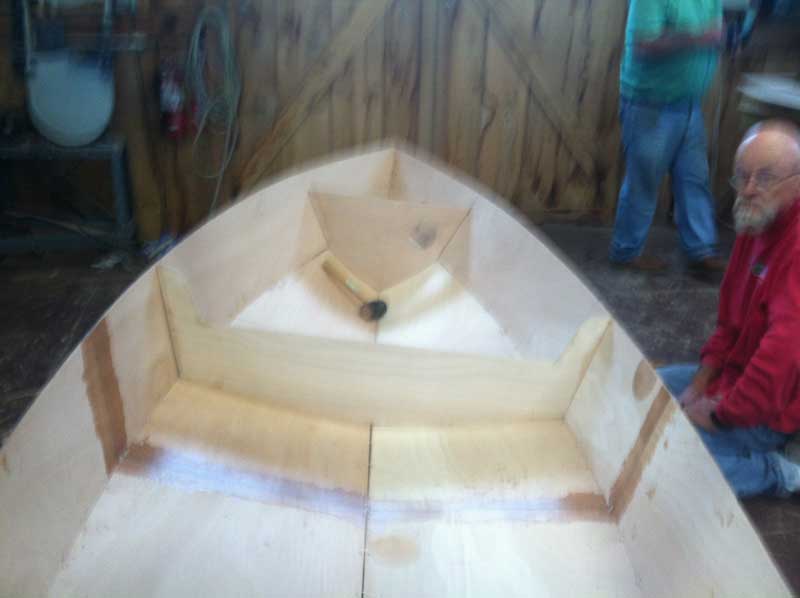
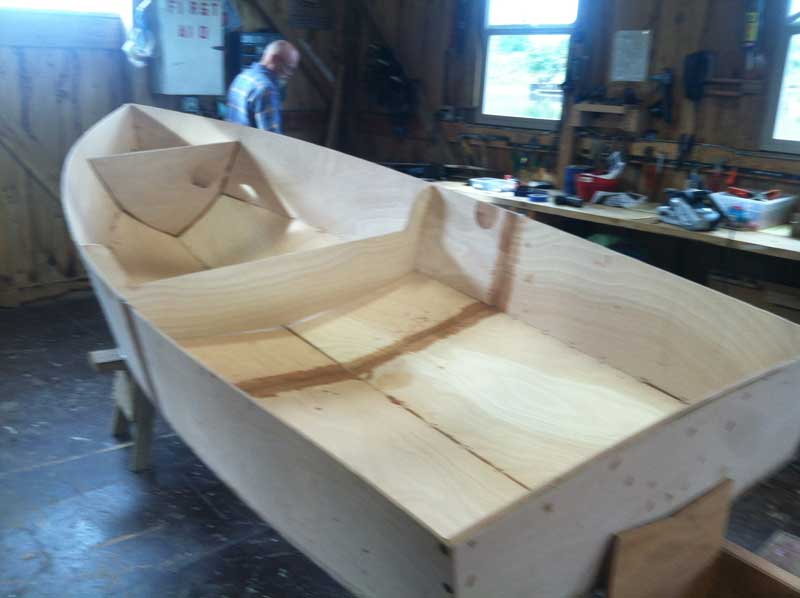
At the last minute, I decided to not make the nesting version of this boat, mainly because, even nested, it wouldn't fit inside my Subaru. What would have been one of a pair of interior bulkheads is now a temporary bulkhead.
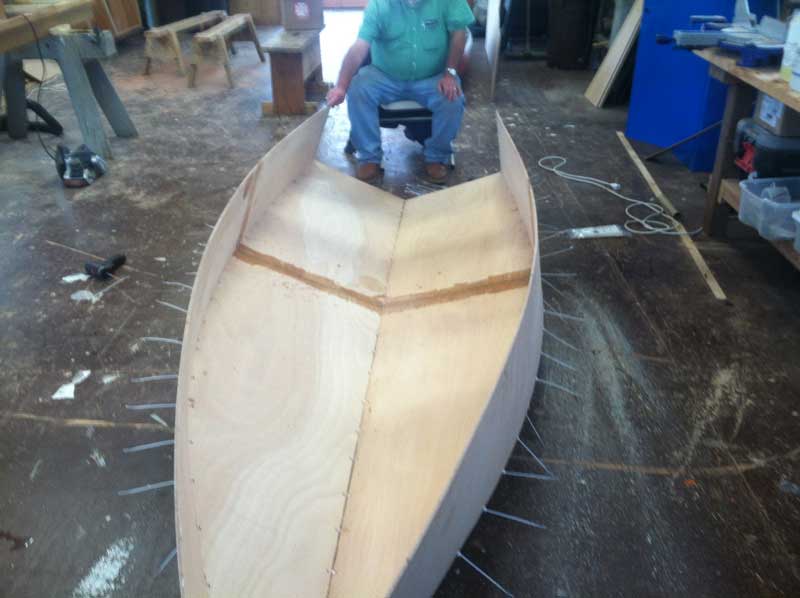
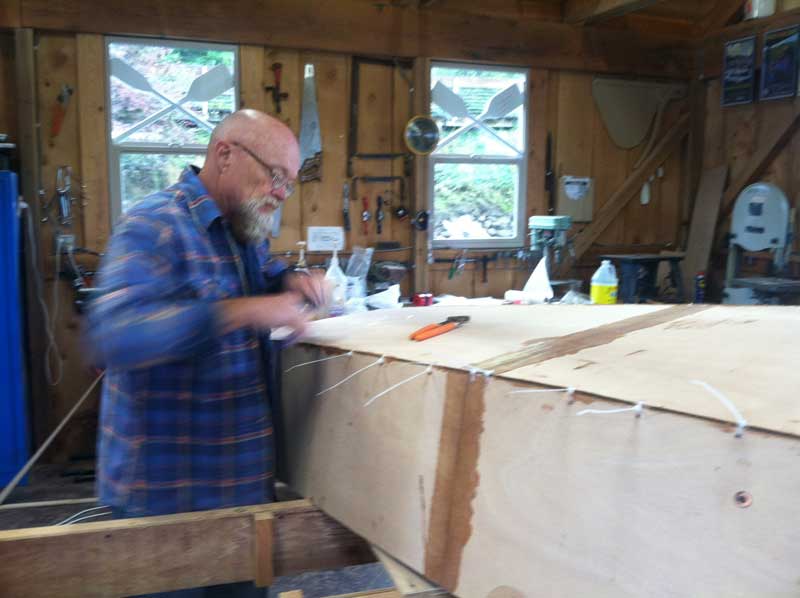
We needed to tighten the zip-ties down the centerline, so we flipped the boat over. Proper procedure? I don't know. It worked, so, yeah, I guess it is proper procedure after all. Look closely at the corner at the transom: See how the edge of the bottom overlaps slightly? That's called "poor measuring on my part" and is a hallmark of boats I've built. Don't worry - a few seconds with a belt sander and we'll be right as rain.
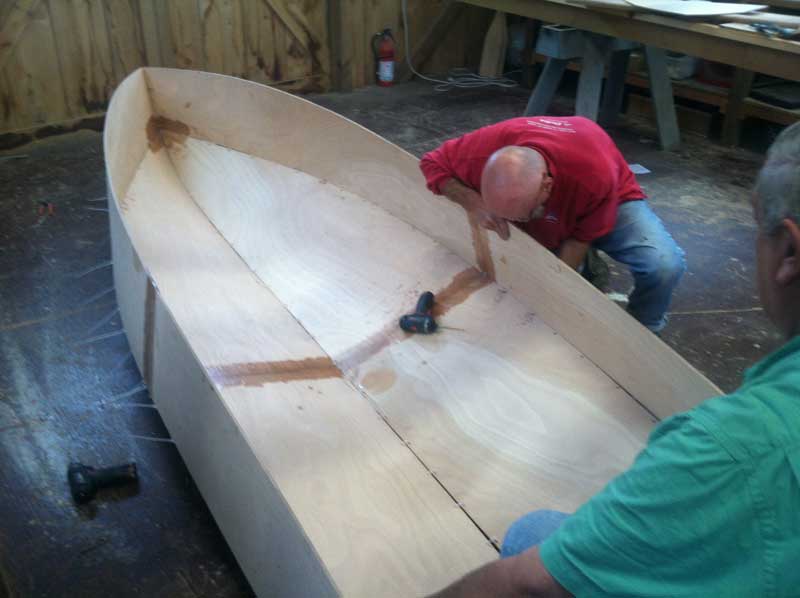
My 'toothpick dipped in glue' (patent pending) method of filling screwholes. We finished out the evening by putting a tiny bead of thickened epoxy along all the seams - tacking the boards together.
Saturday morning, we cut the zip-ties and got a good look at our handiwork.
Oh, that's a purty shape.
We spent the rest of the morning making fillets with wood flour and fiberglass tape. I took out the temporary bulkhead as it made little difference in the shape. Next time: Cover everything with epoxy and add seats. |