|
Back to work on the Spindrift and
Stripper We took a week off and went to Sail Oklahoma, where I met Graham Byrnes (and his wife - the lovely Carla) of B&B Yacht Designs, the designer of the Spindrift. I got to sail a Spindrift 12, and MAN, is that a fast boat.
In the two weeks since I'd seen him, Geoff had grown a beard! He was still working on his kayak, but he'd grown a beard.
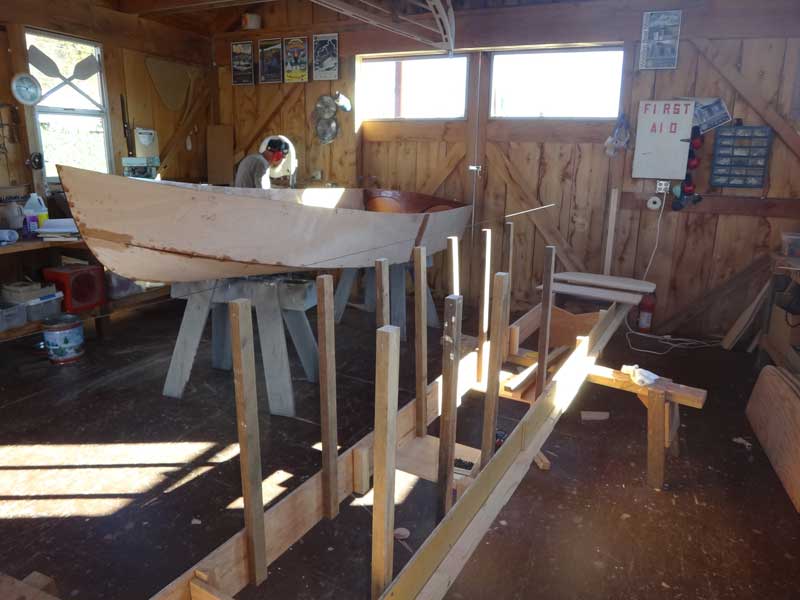
Curt started on the Spindrift while I took apart the forms for the stripper. I'd set the forms up for a ~14ft canoe, rather than a 16ft.
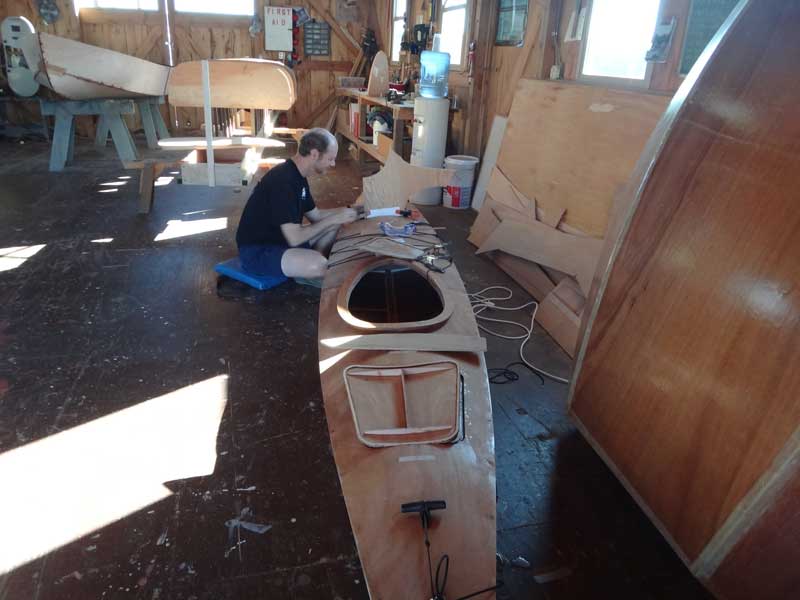
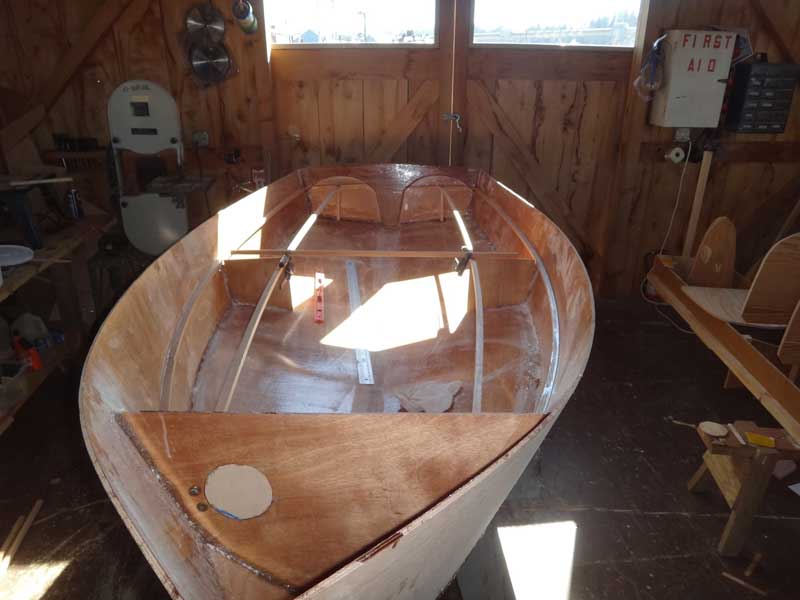
Changing over from a Spindrift 11N to a Spindrift meant adding full length seats, which would now interfere with the inspection port I had planned for the forward bulkhead. Step 1 was to plug the hole.
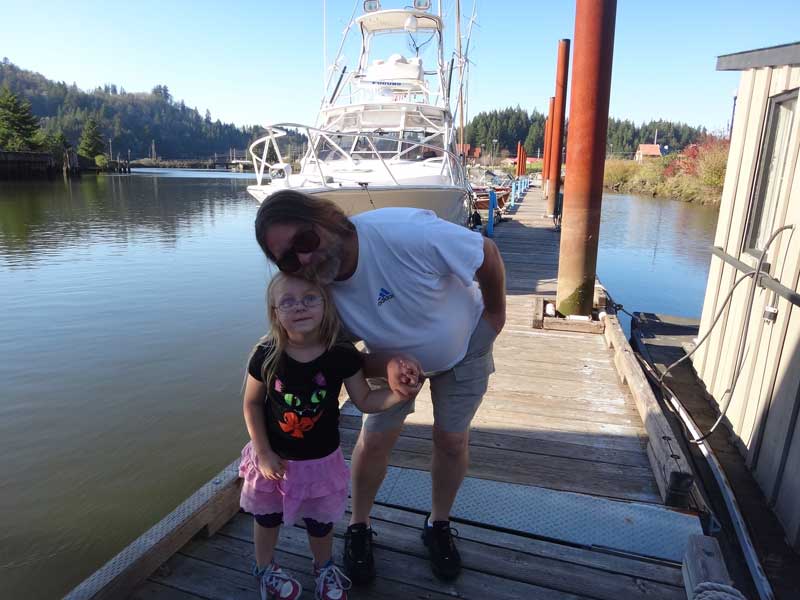
We had visitors! Little Keely was down on the docks with her grandfather. I couldn't talk them into going canoeing (Keely wanted to, but Granddad had a schedule to keep: Schedules are the bane of boat people.)
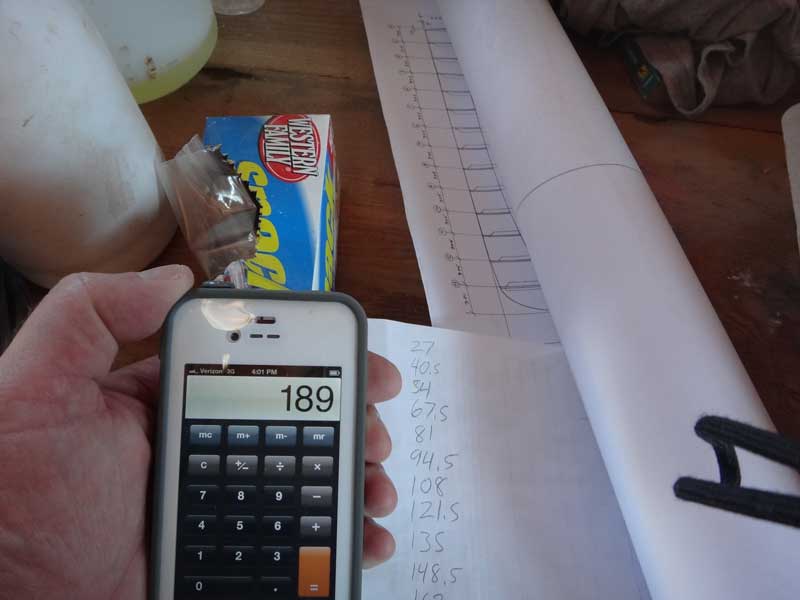
Let's see, 16ft is 192 inches. We have 14 stations (0-13) so if we put them 13 1/2" apart, we'll get 189", which is close enough. iPhones are handy.
Fuzzy picture of our 3rd coat of epoxy. We've decided to leave the exterior for last.
Another visitor - Brett. He'd come by during the Toledo Boat Show and remembered we were open on Fridays. He had some spare time before dinner and thought he'd like to borrow a canoe.
After paddling around for a bit, he came back, so I put him to work on the stripper's forms. I love putting people to work
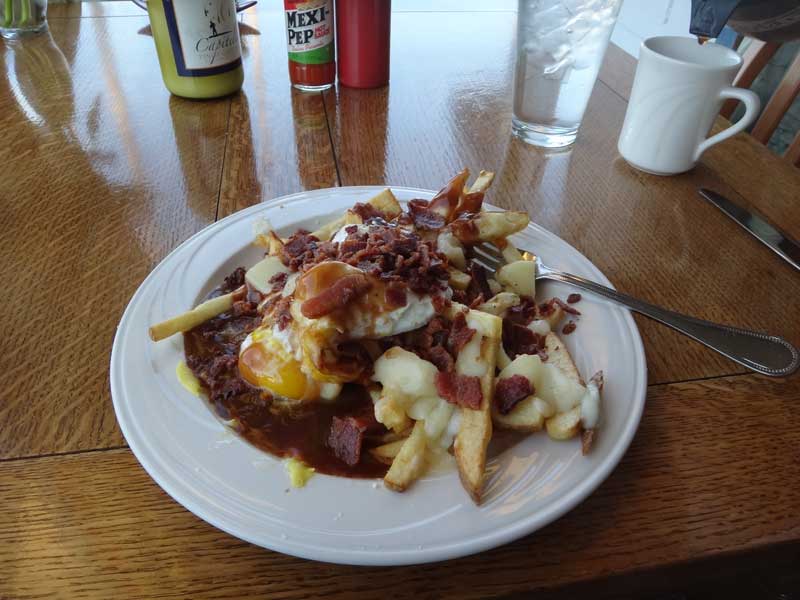
Next morning started with a GREAT breakfast at Zach's Bistro in Newport. Now that, my friends, is a plate of poutine. We have much to learn from the Canadians.
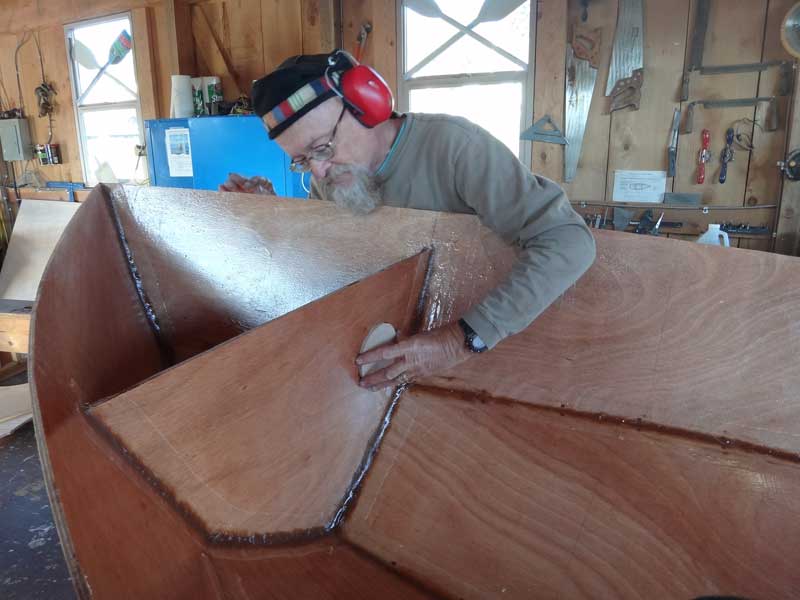
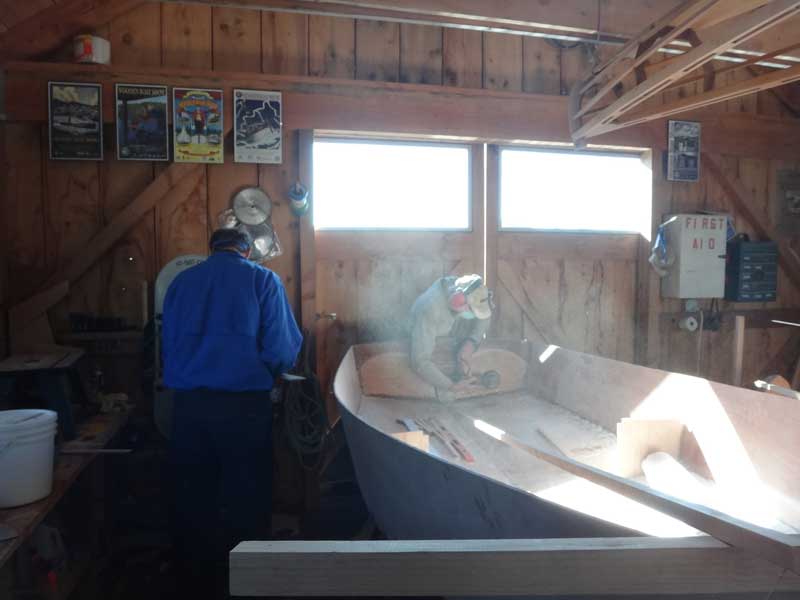
Here's an example of my new favorite sanding technique, learned from John Welsford of Welsford Small Craft Design: Use an angle grinder with a 40 grit disk to whisk away pesky epoxy drips and feather out fiberglass edges.
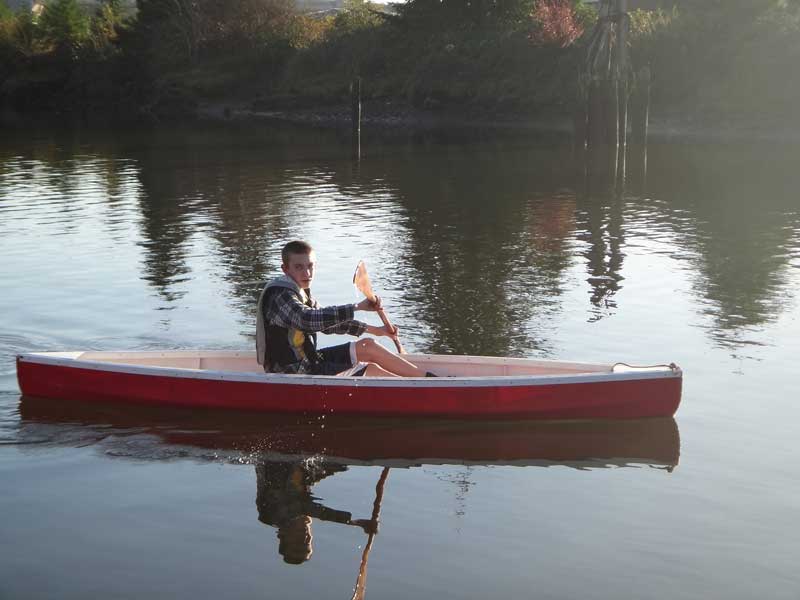
Wheee!
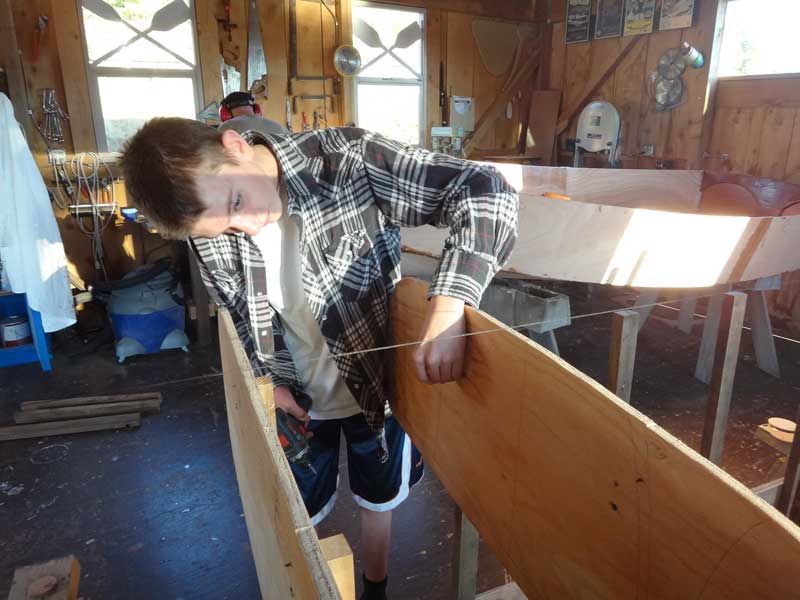
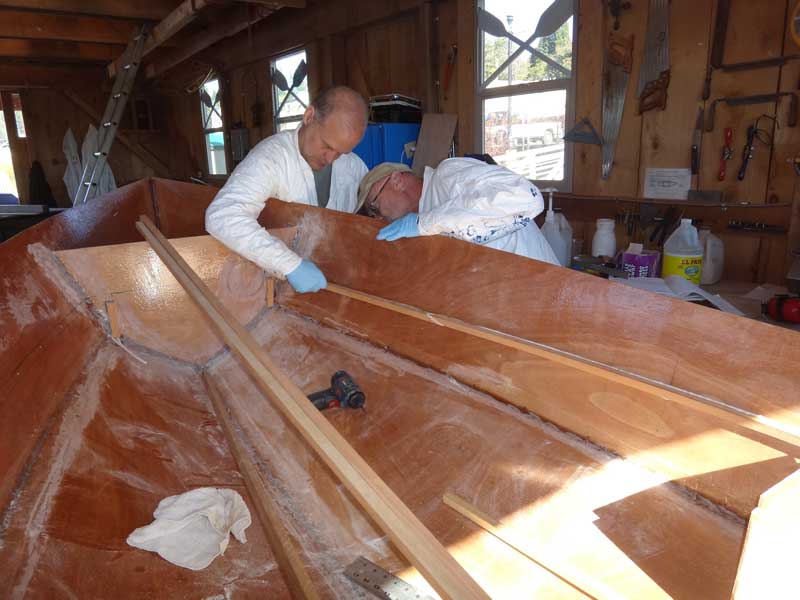
Our big goal for this weekend was getting the seat cleating installed. Full length, side airboxes make for a nice, stiff boat - and make capsize recovery easy, too.
OK, nice, artistic, swoopy cleating installed. Now we just need to figure out how to install seats. You can see we've filled in the inspection port hole in the forward bulkhead - I'll move that up to the seat that'll go on top. I got a very nice 6" polypropylene screw-out hatch by Sea Dog as a door prize at Sail Oklahoma. It'll make a perfect bow airtank hatch. |