|
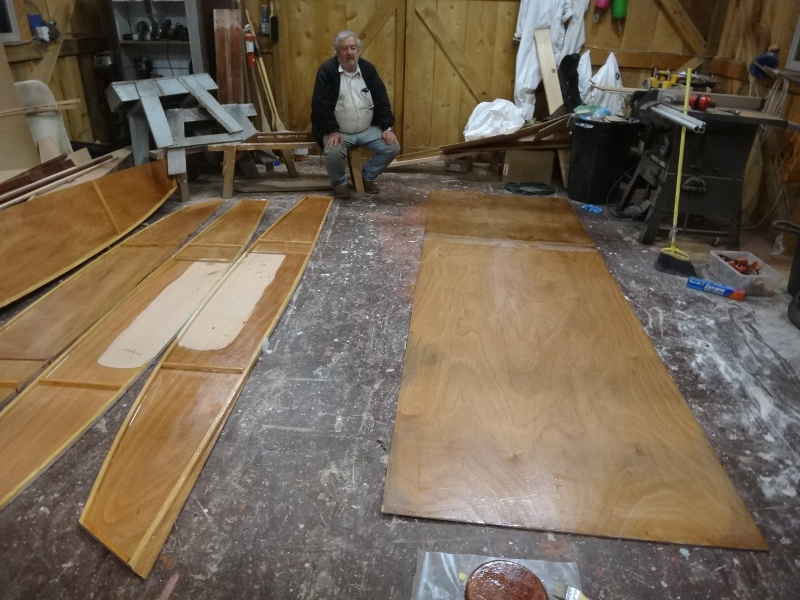
Going 3D! When last we left the Goose, she was just a pile of parts. The largest being her bottom.
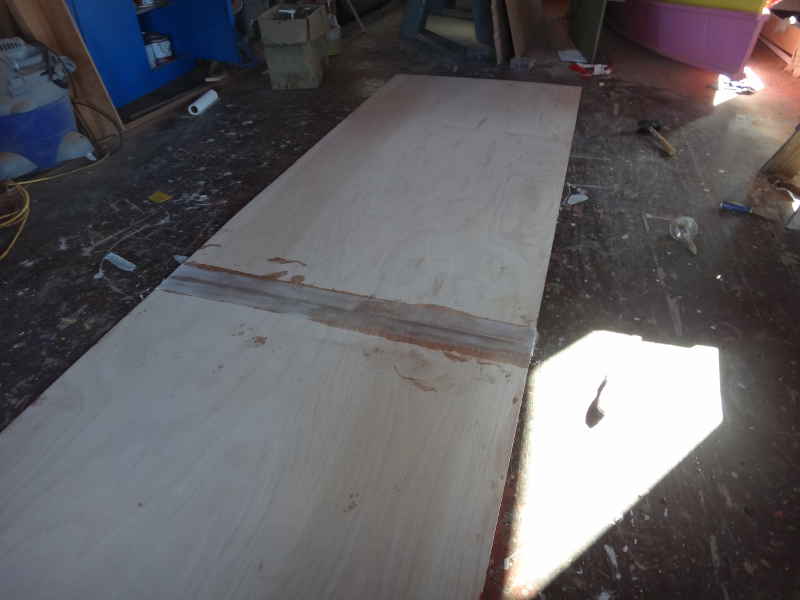
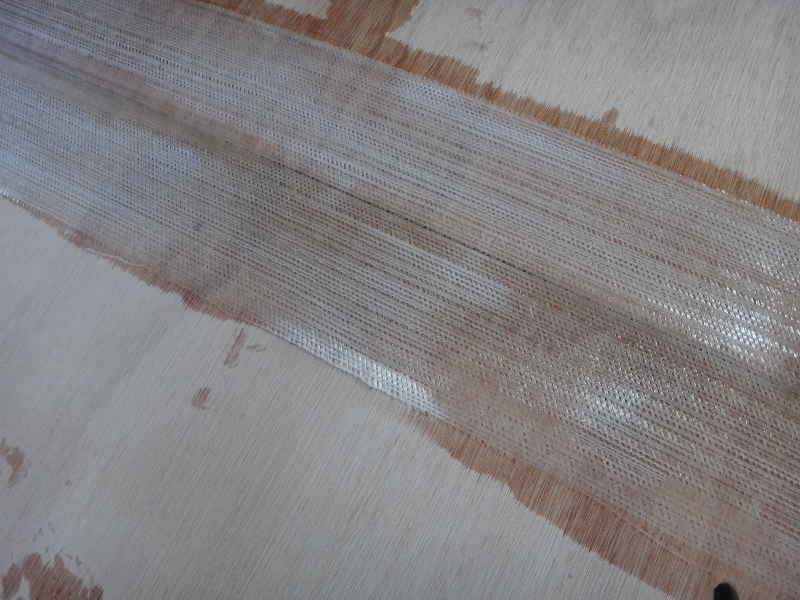
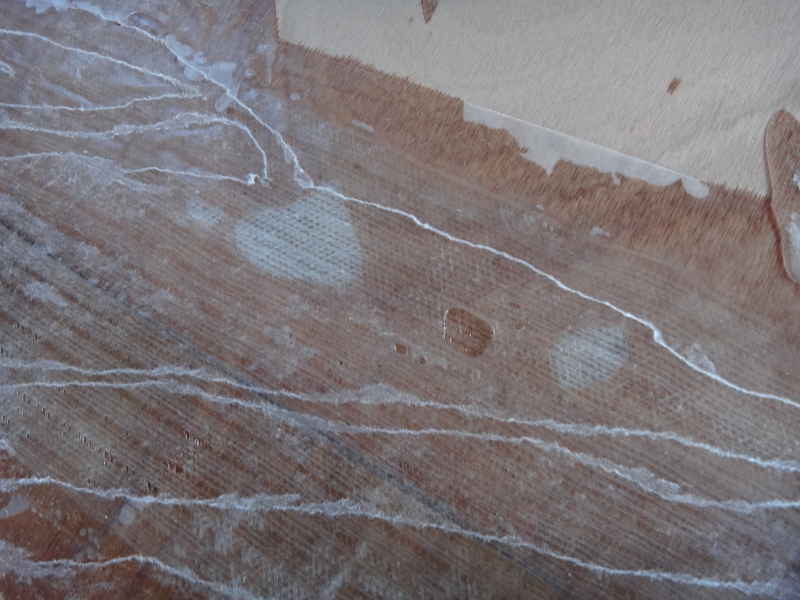
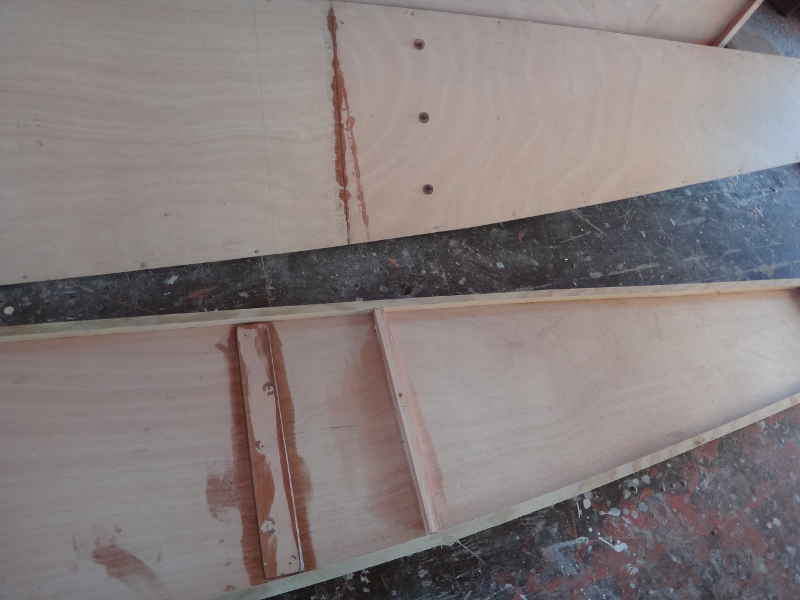
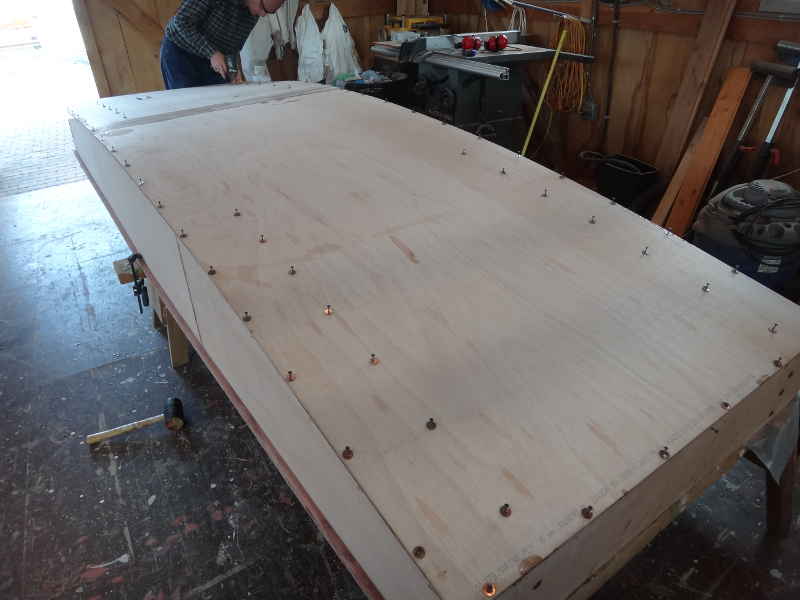
Here is our Payson Butt Joint after the epoxy has cured. I have never had one of these come out perfectly, and this was no exception.
The top always looks the best - here you can see one little bit that was starved of epoxy - that'll be an easy fix.
The underneath side is where I ALWAYS have problems., There were a couple bubbles (none at the seam) that I had to grind out and a void or two I will have to fill. That streaky looking stuff is wax paper that didn't want to come off. A sharp scraper took care of that.
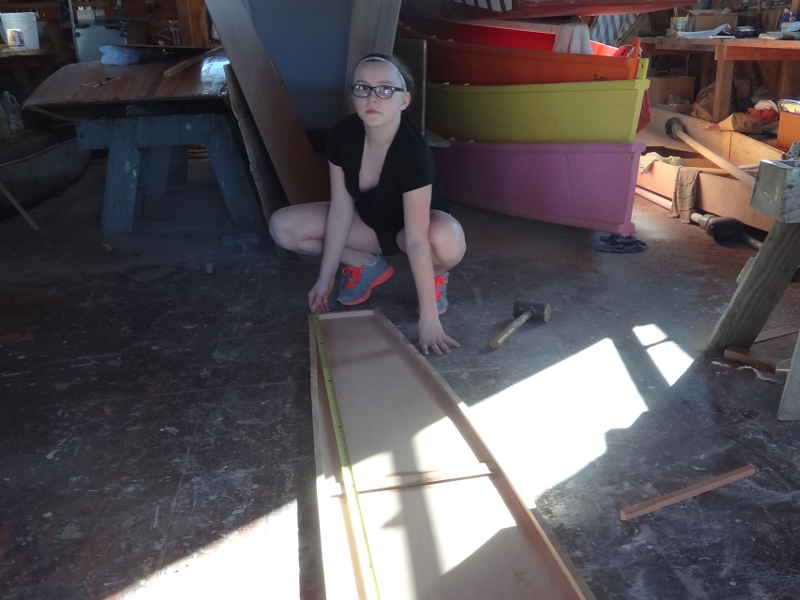
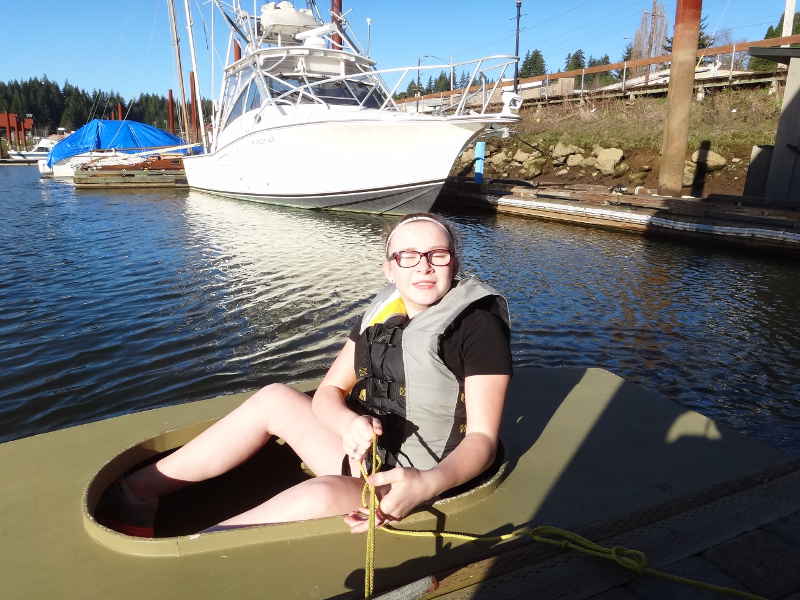
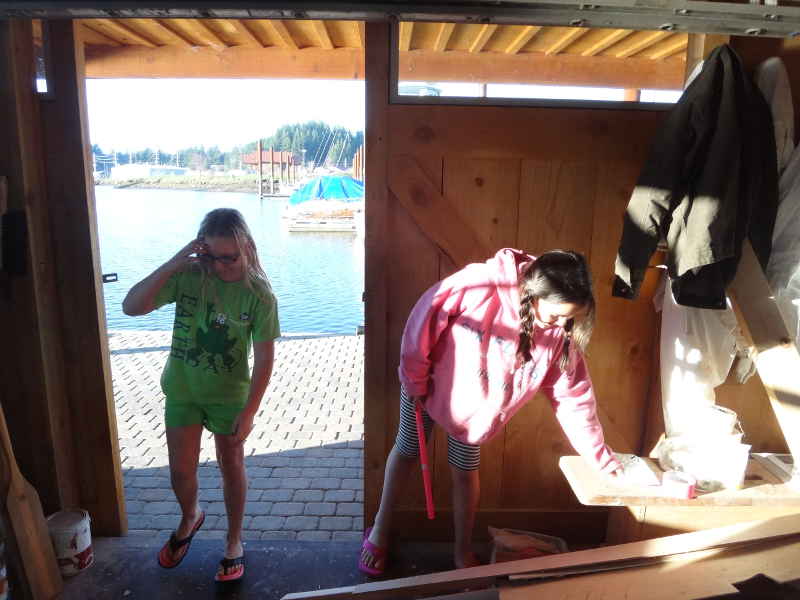
Abby, one of the local kids, came down to soak up the sun, so I put her to work as a helper.
Then she wanted to sit in, but not paddle, the Tik Tak. After that, she soaked up sun on the docks.
I got busy installing the cleats for the airboxes.
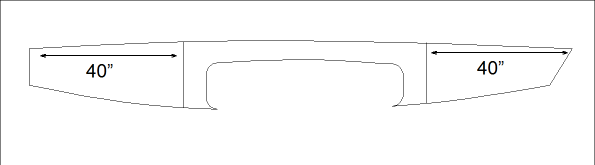
Here's my plan for the inner bulkheads: The sealed airboxes (with access hatches, of course) are about 40" from each end, giving me lots of buoyancy should my boat become flooded. The middle is open so I can stuff things out of the way - most especially water jugs. I have it open on the bottom so water does not get trapped. I will have cargo netting to hold things in place.
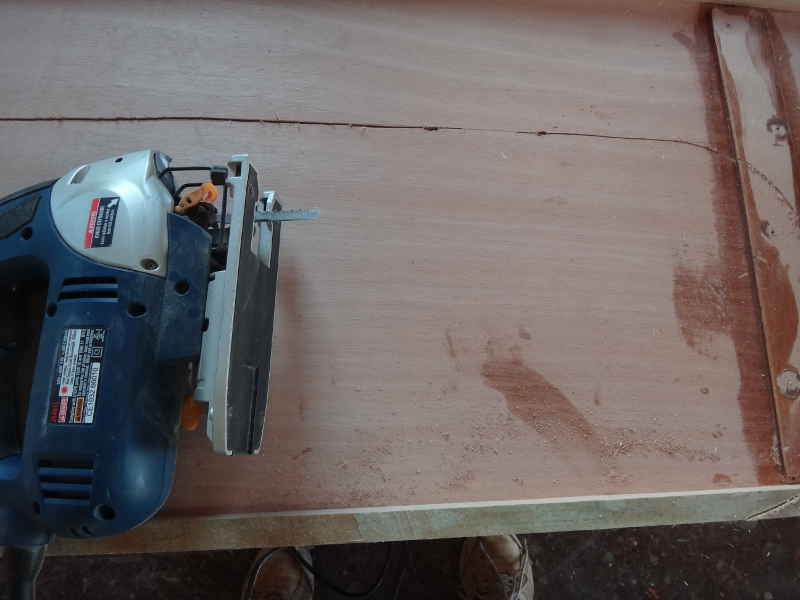
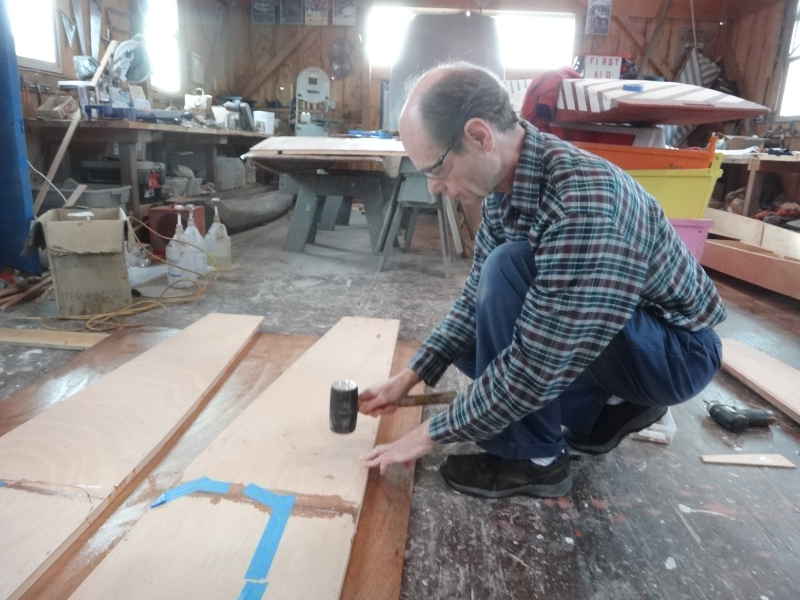
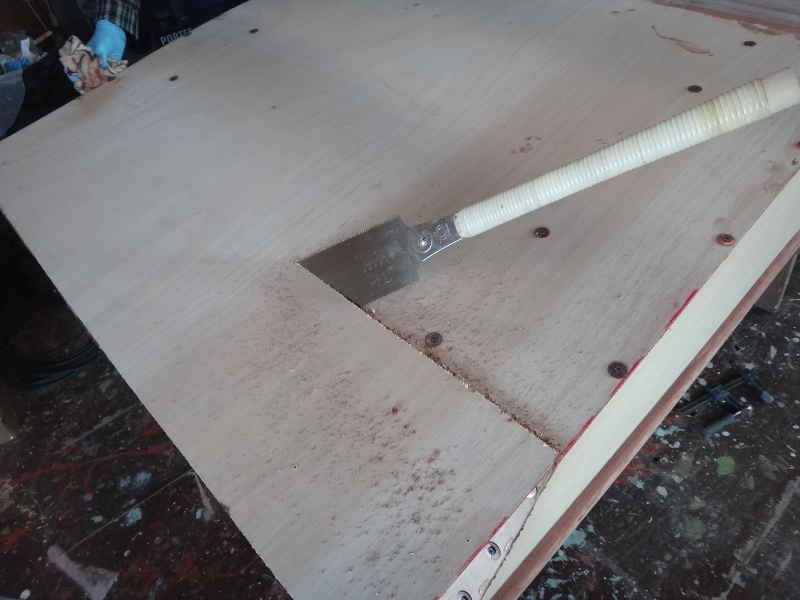
Sometimes plywood flattens when bent over a curve, so I wanted to keep the cutouts in place while we attached the bottom. I cut through most of the shape, but left little tabs that can be easily sawn once everything is set.
Connie brought Patience and Brittany for a visit. As Patience is having a birthday party soon, I had a task for her.
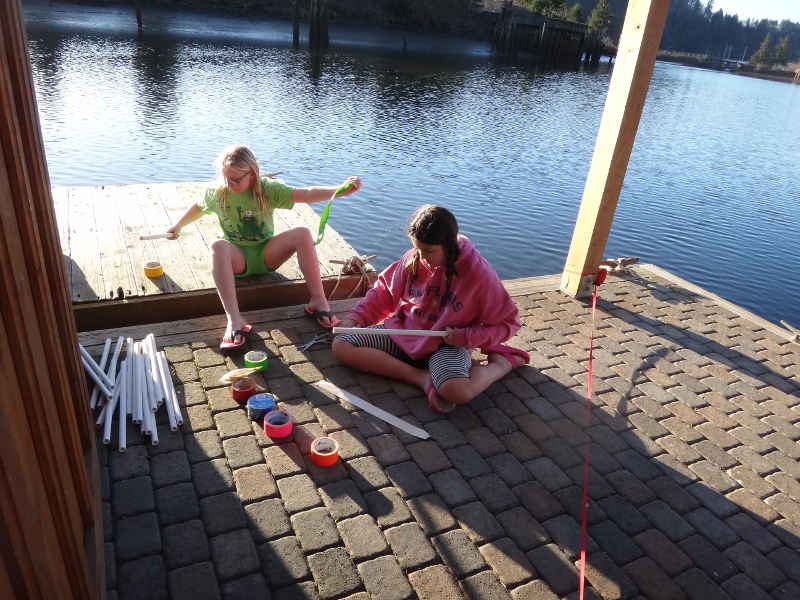
1/2" PVC tubing makes perfect blowguns for mini-marshmallows. I'd cut up a bunch of 20" sections and set the girls to decorating them with colored Duct tape and stickers.
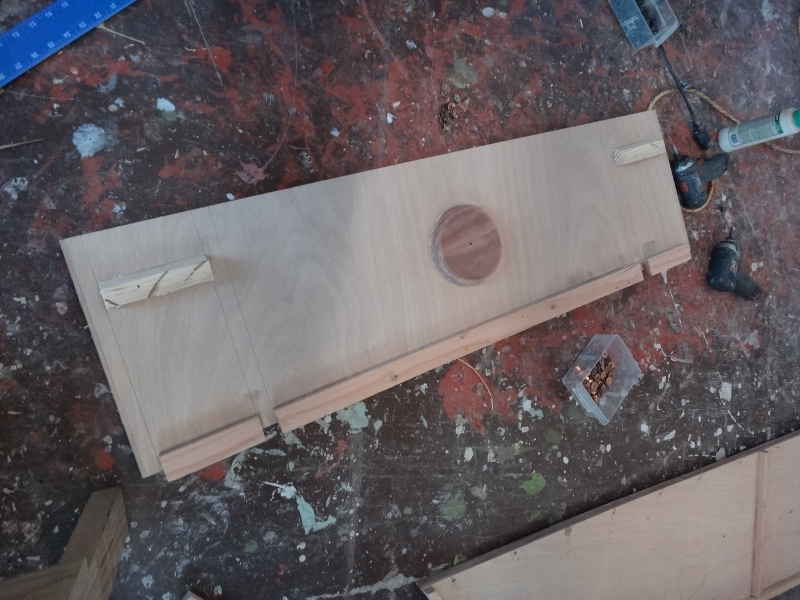
While they were distracted, I prepared the bow transom. That round thing in the middle is support for my bow eye.
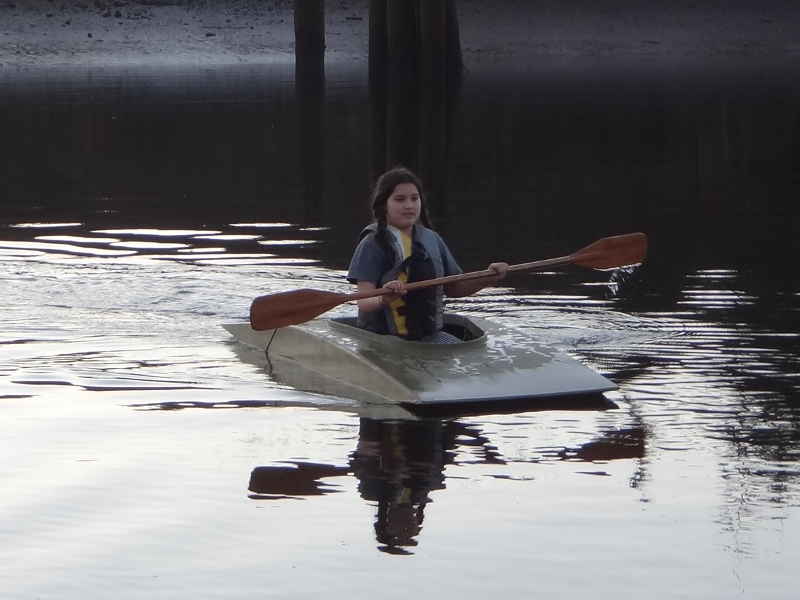
It was a fine day - clear and high 50s at least - but the sun was starting to go down and there was a chill in the air. Still, the girls wanted to go paddling. That little 8' Tik Tak is delaminating pretty bad, so the bottom was leaking cold water, they still had fun.
Brittany had never paddled before - her dad didn't even want her playing in mud puddles. Connie said she needed to go solo.
After the girls left, Bob stopped by with some ribs from Pig Feathers - very nice - and I finished out the evening coating everything with epoxy. Since I don't know what I'm going to do with the cutouts of the interior bulkheads, I didn't put any epoxy on them.
Connie had dropped by with the finished blowgun tubes. I took a couple minutes to sand off the excess Duct Tape, smoothing the ends at the same time.
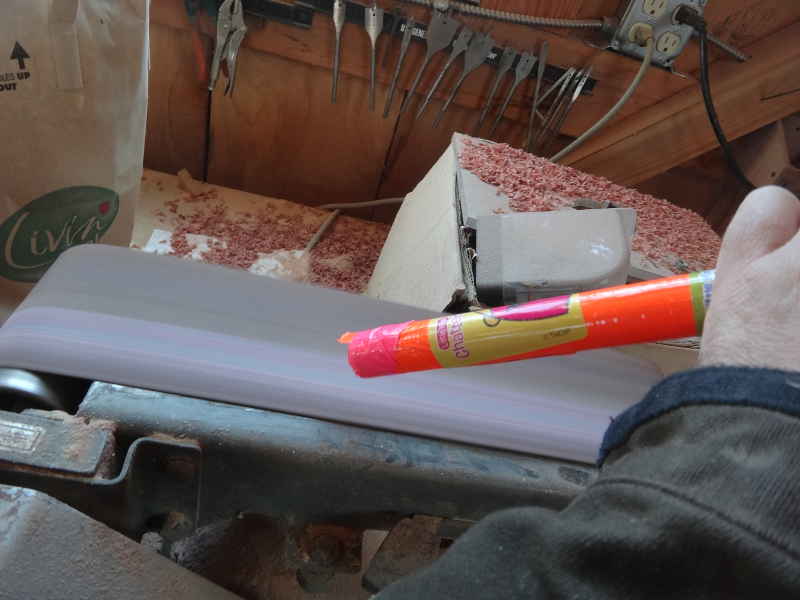
Geoff was there to help fill all the screwholes with toothpicks dipped in glue. We were moving fast today, so rather than wait for the glue to cure, we were giving the toothpicks a whack to set them tight, then shaving them off with a chisel.
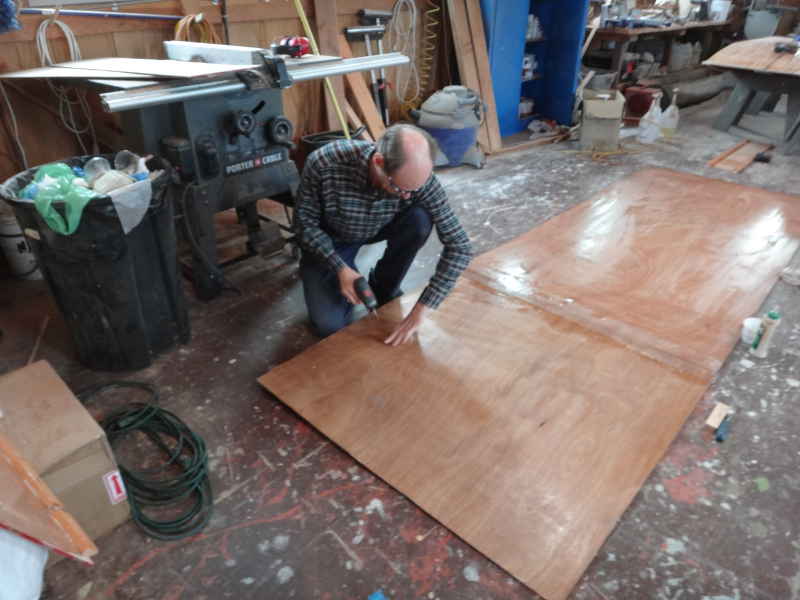
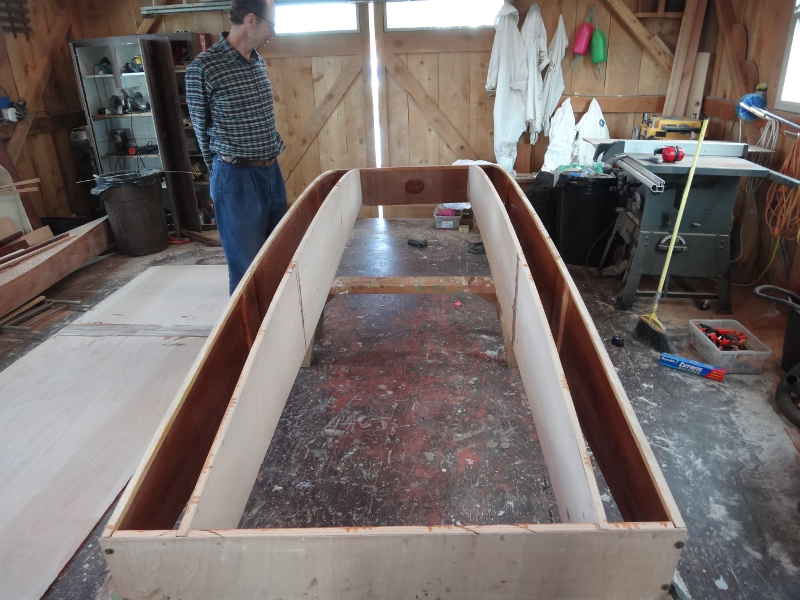
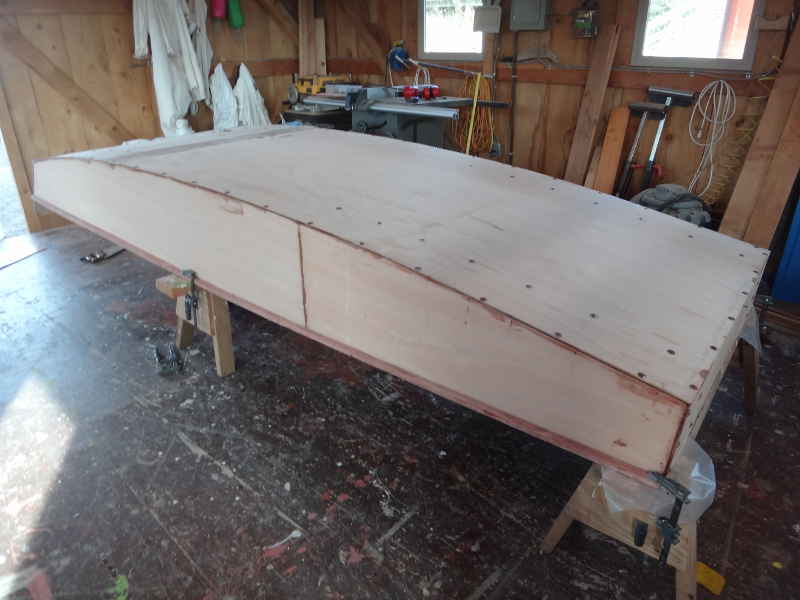
Geoff pre-drilling the bottom. We were moving fast because we wanted to go 3D today - attach the sides, transoms and bottom. Why was today important? because Gooses get their hull number based on the date they go 3D in YYMMDD format. Today was 150131 - a prime number, very auspicious.
We dryfit the pieces together to make sure things would go smoothly. Practice makes perfect.
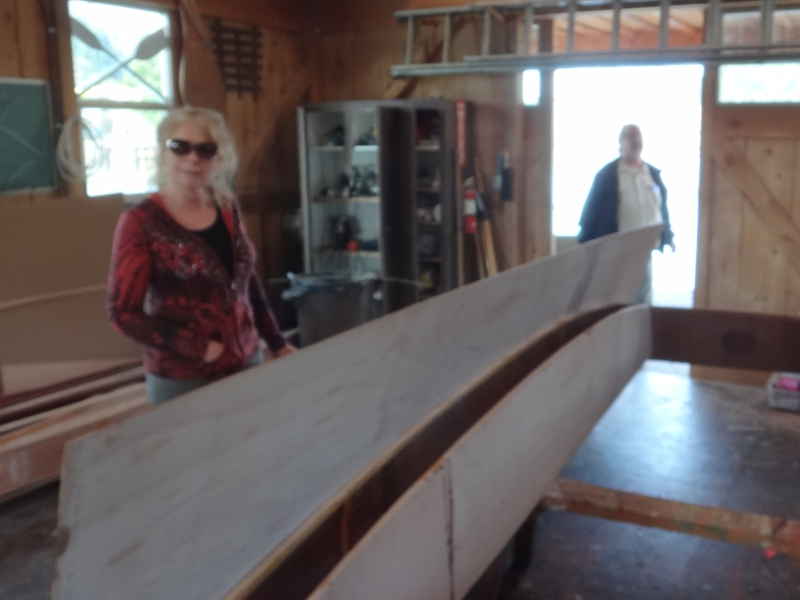
Short interruption as we had a visit from Mary, a science teacher and paddler from Corvallis, and Bob, who wanted to put his unfinished kayak into storage.
Geoff placed the screws and fender washers into the bottom while I prepped the stern transom for assembly. If you look closely, you can see we have the sides clamped to the sawhorses.
We glued and screwed the stern and bow transoms, then did a final squaring of the bottom before actual gluing. It'd would have been smarter for us to square from the bow than the stern, you'll see why in a minute.
We were using epoxy thickened with sawdust (wood flour) for the glue. Once thoroughly mixed, I transfer the epoxy into a zip-locked sandwich bag, cut the corner off the bag, and squeeze the epoxy out. I made this jig to hold the sandwich bag open while I dump the thickened epoxy into it - helps when working alone.
It's easier to saw off the excess on the stern than it is on the bow - that's why we should have squared from the bow rather than the stern.
Done. Glued and screwed bottom to sides and transoms. We are officially 3D on 150131. My original plan had been to name the boat Toledo Star in honor of the ill-fated Yaquina Star I and II, but I might have to name her Optimist, (as a shout out to Optimus Prime of Transformers fame) instead.
|