|
Interlude: Prep for a Tik Tak Build I don't know what got into me, but I decided there could be some activity at the Boathouse over Spring Break. I figured if I could get all the parts and pieces of the Tik Taks ready and painted, I could get a group of very young kids together and all they'd have to do is glue and screw the pieces together. That part shouldn't take more than a couple hours. Once assembled, they could spend the rest of Spring Break decorating the boats. Easy, right? Except it's not - the easier something looks, the more work went into prep. Prep is the responsibility of the staff at the Boathouse. I ordered the plywood - 4mm Okume marine ply - from Crosscut Hardwoods in Eugene. These guys are fantastic, they really are the Woodworker's Candy Store. Overview:
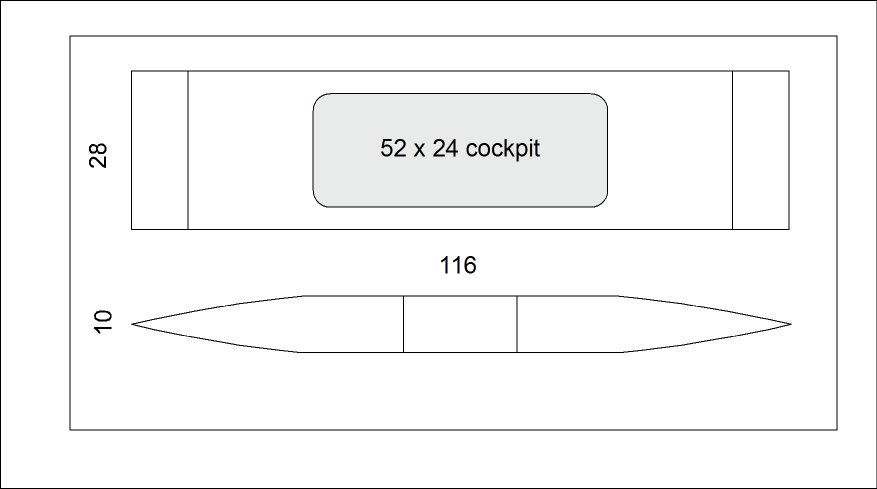
In this design of the Tik Tak, the sides are 10" tall and the hull is extended 20" in length. This gives us a little lot more boat from the same amount of plywood. The cockpit is big enough to fit an adult, adult and child, or two (or more) children. The boat will displace 300lbs with a draw of 3.5". Cut 1
Cut 2
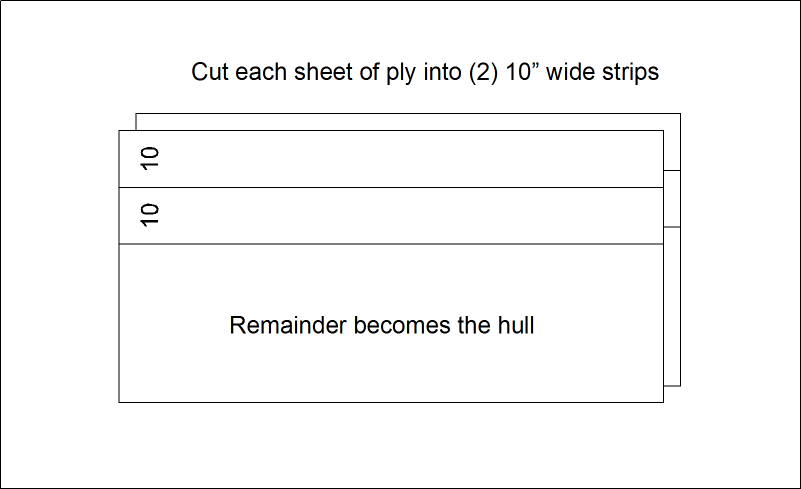
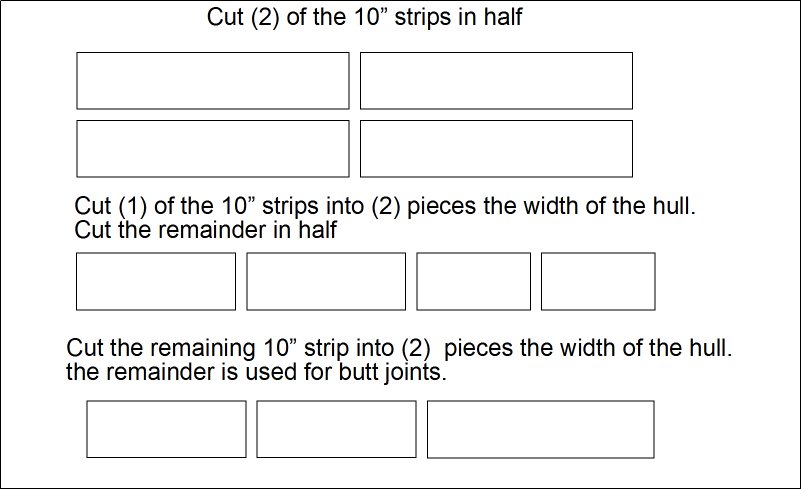
Cut Plan Note: The drawings don't take kerf into account - mostly because people use a variety of saws which can have different width blades. Also, marine ply is 98.5x48.5, rather than the normal 96x48. Rather than getting hung up on specific widths and lengths or worrying about kerf, just cut to the widths specified and it'll all work out. Trust me. Cutting the Parts
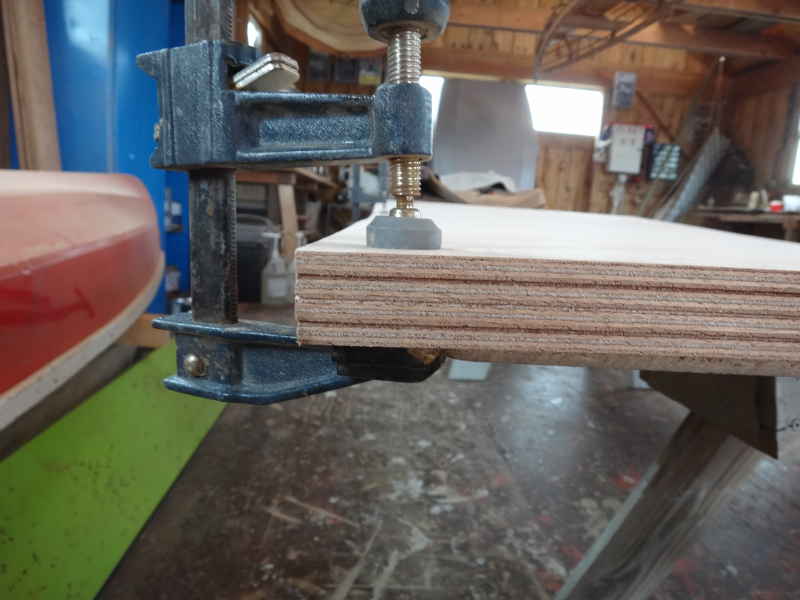
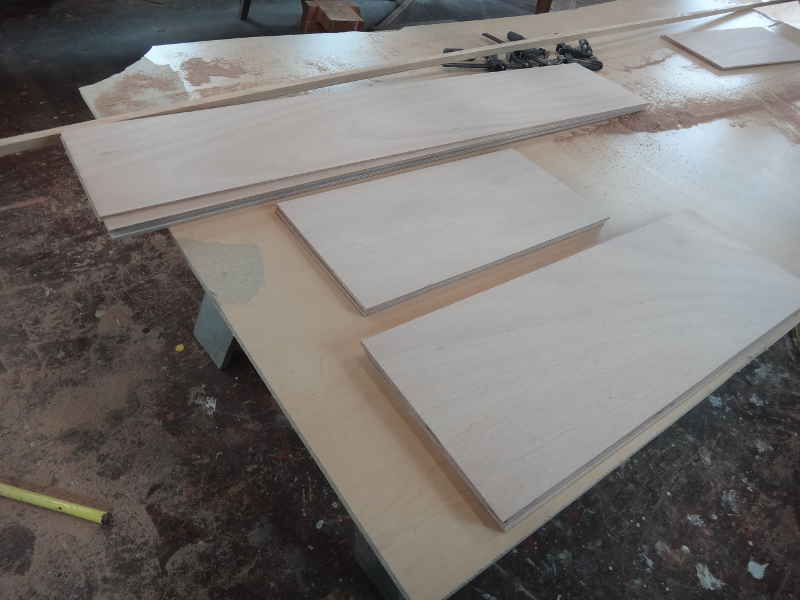
When I make mistakes, I like to make them all at once so I can either scrap the entire project or figure out a standard method of fixing it. To this end, I stacked all four sheets of plywood, lined them up, and clamped them together.
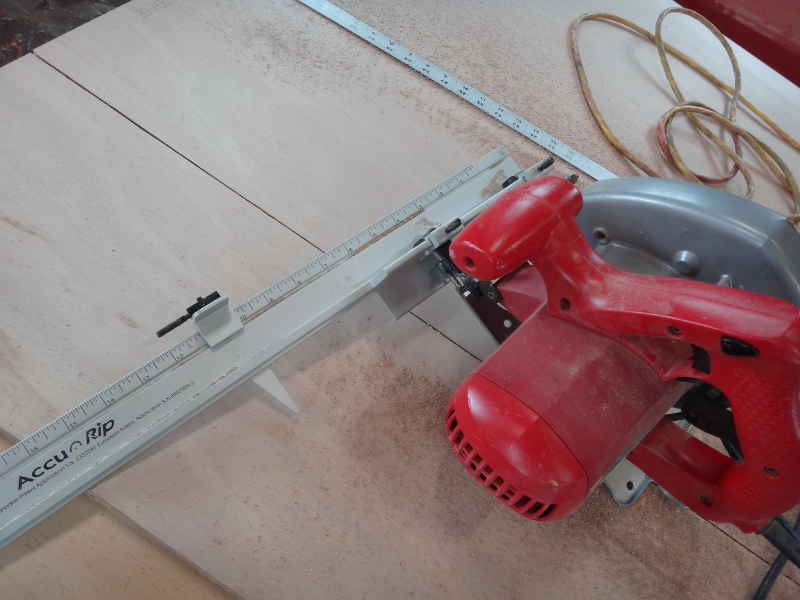
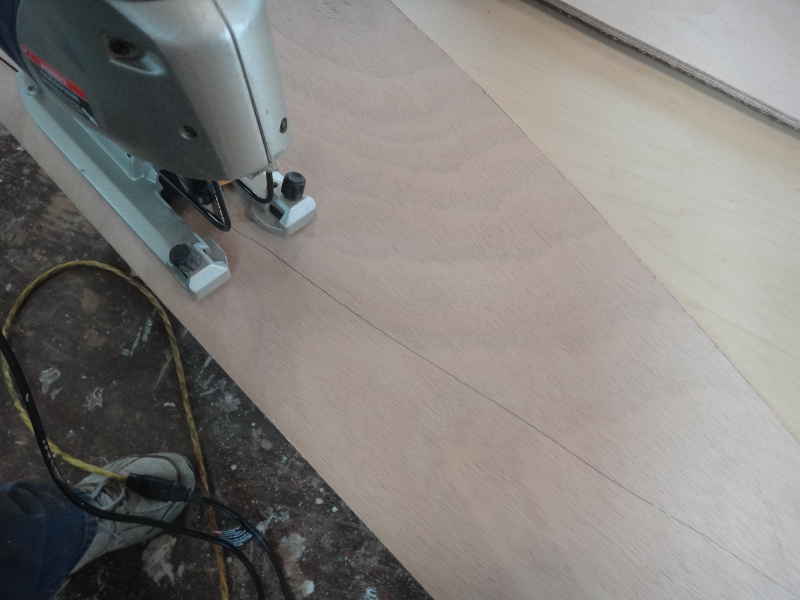
I'm a big fan of this guide for my circular saw - it does pretty well on maintaining a width and I don't have to wrestle with floppy plywood on a table saw. I like it so well, I use it for ripping chine logs, too.
Choppity chop chop chop. Nothing like making sawdust. Drawing the Curve
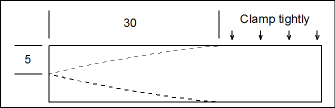
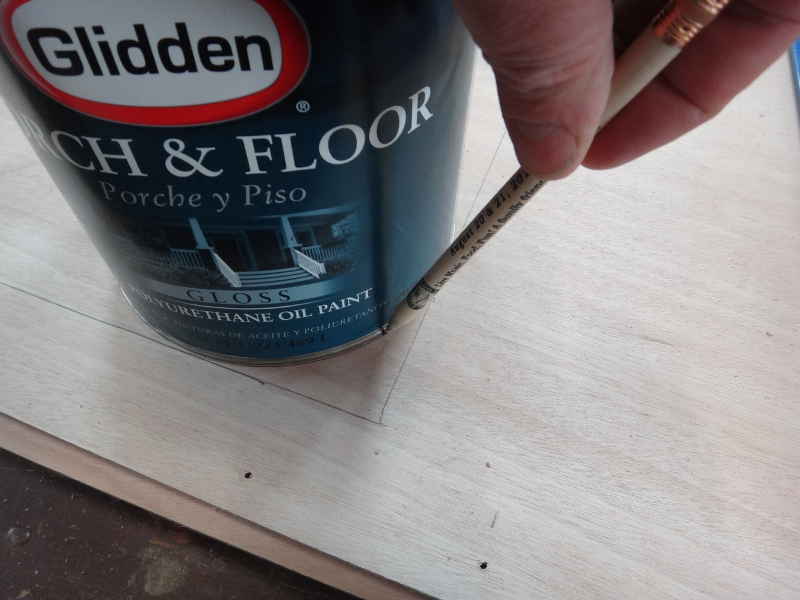
To get the points on the sides, take (1) of the 10x48 pieces and clamp a batten very tightly at the 30" mark. Bend it down to the centerline on the end.
You wouldn't think bending a chine log 5" over 30 would be all that difficult, but it is.
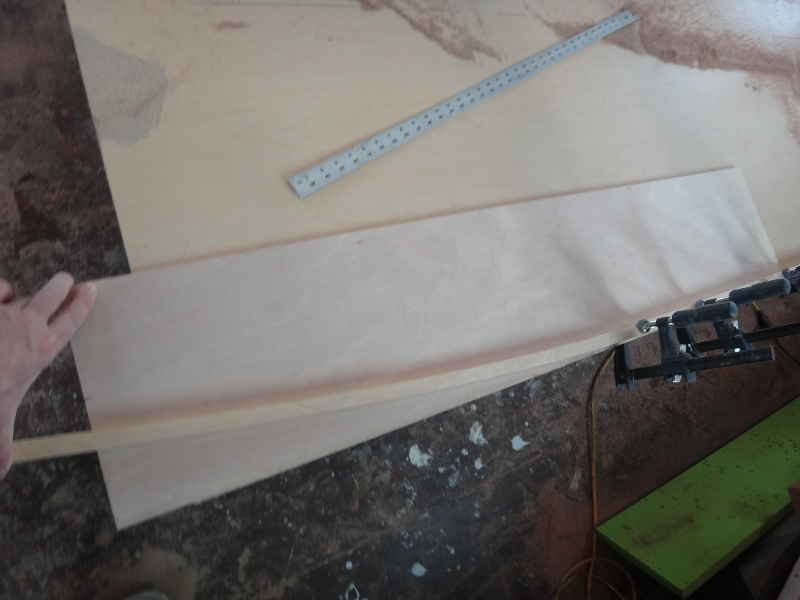
Once you have the curve for the point drawn, cut it out. Use this end as a template for the others. I don't stack the pieces and cut them when using a sabersaw - I've tried and it never comes out good.
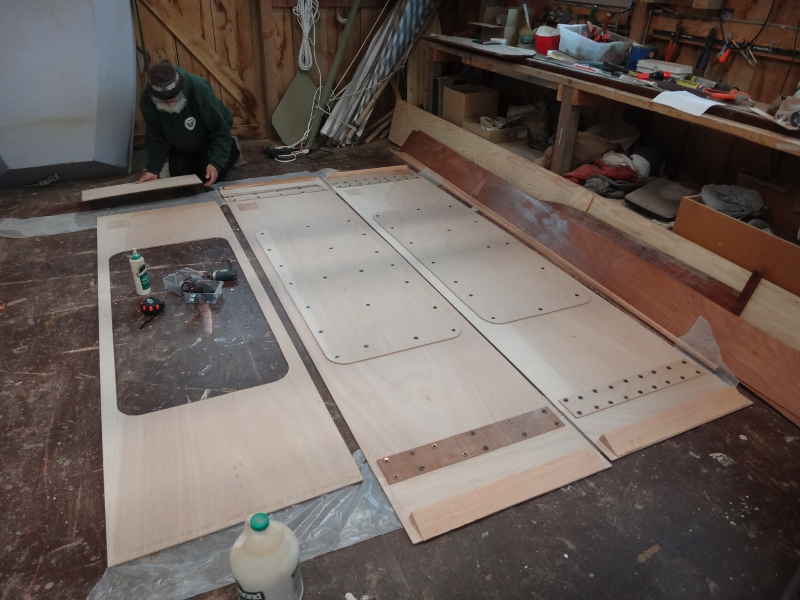
The hatch is centered on one of the hull pieces. I made them as big as I dared - 24" wide by 52" long. Rather than have square corners, I give them a little radius using what ever round thing is handy. Use care cutting these out as they become doublers on the cockpit sole. I usually use a small drillbit and drill 3 or 4 holes on the cutline, very close together, then jam the sabersaw blade in there and start cutting.
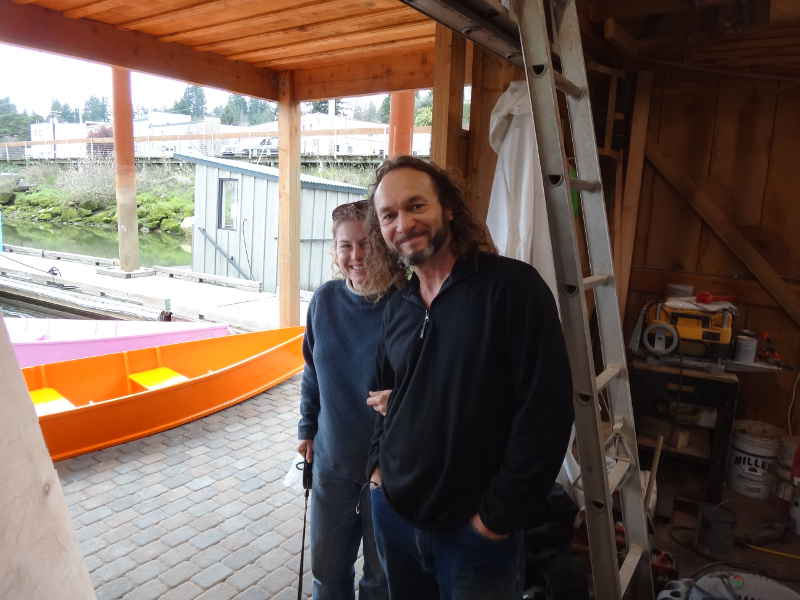
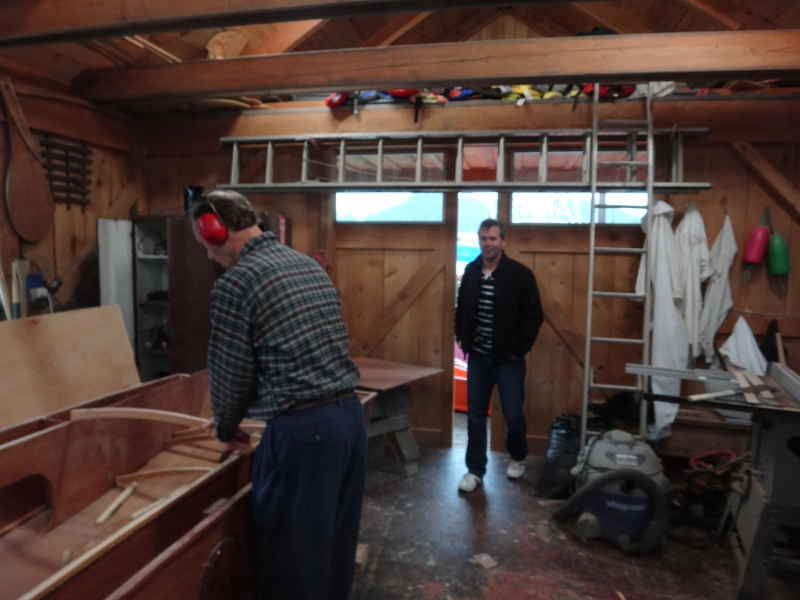
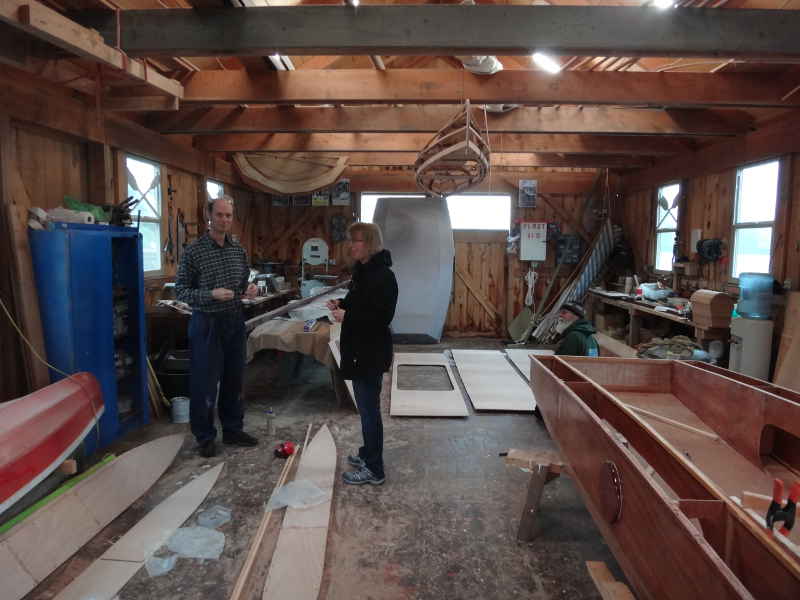
Visitors! Dave and Heather came up from Newport. They hope to be able to come out and do some events with us later in the summer.
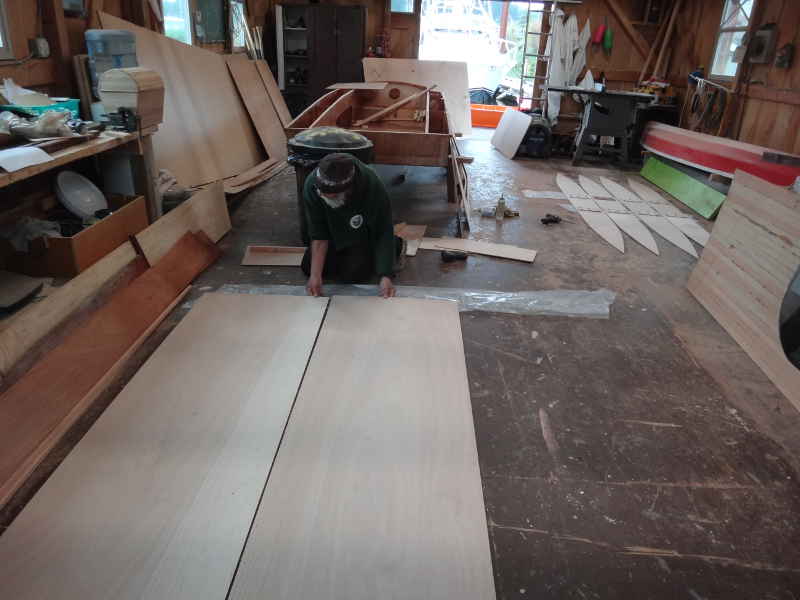
Here I ran into a timing issue - I had hoped to get the chine logs attached today, bout I'd forgotten I needed to butt joint the sides together. I can't do anything while the glue cures, so Dave W and I just butted everything together (Dave is working on the hull, you can see the sides in the background).
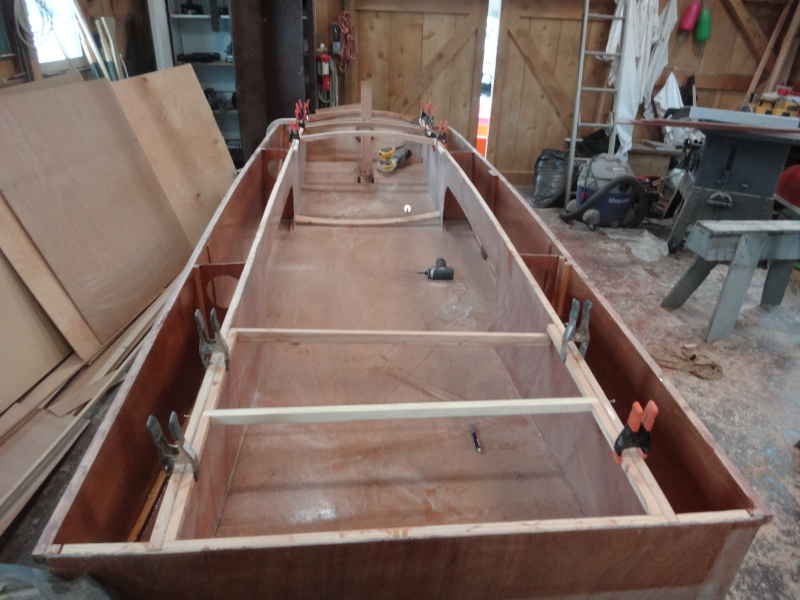
There's the hull bottoms all butted up. You can also see how we took the hatch cutouts and used them as doublers for the cockpit sole. This should help prevent people from putting their foot through the bottom of the boat. You can also see the jug of TiteBond III we are using for glue - laminating the doublers onto the hull takes a lot of glue (skimp at your peril.)
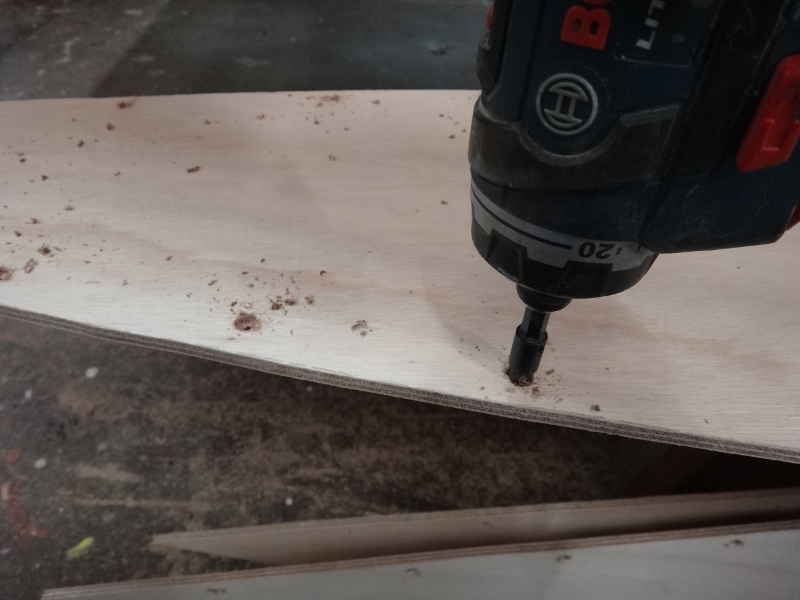
Next morning - I'm getting ready to attach the chine logs to the sides. I thought it'd be nice to countersink all the screws. There's roughly 40 screws on each side, so that was a lot of counter-sinking.
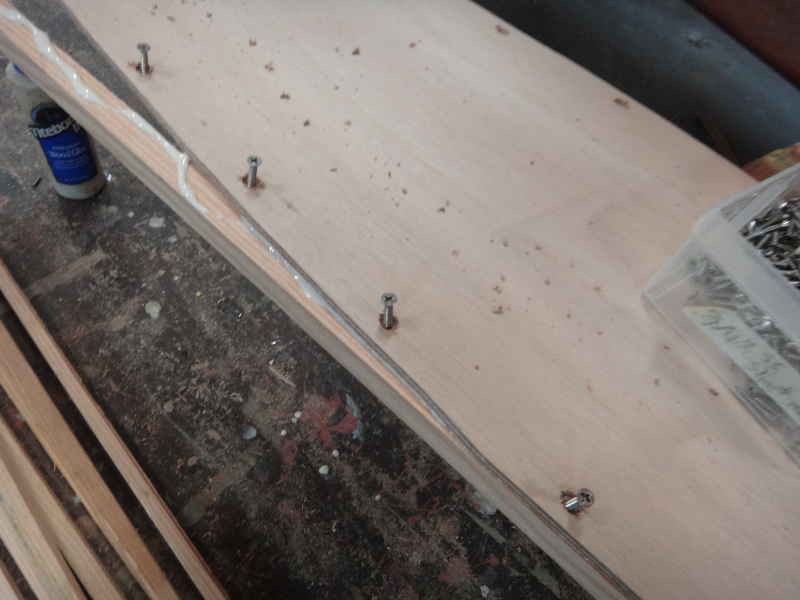
Attaching the chine logs using #6 3/4" screws and TiteBond III. For this build, I am leaving the screws in.
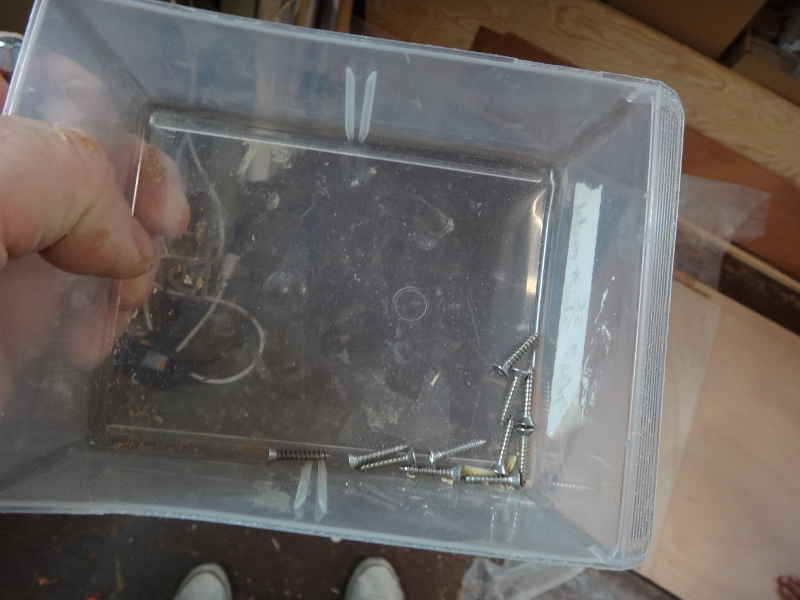
Speaking of screws, by the time I'd gotten done, I was running low. Good thing I'd placed an order for more at Duckworks. If I order 300 or more, it is cheaper for me to get them from Duckworks than it is for me to get them at Fastenal - even with shipping.
Visitor! Matt stopped by on his way to Newport for a fishing trip. He was impressed with the Goose.
Visitor! Geoff's wife, Vivky, stopped by to bring some safety glasses for him. It was a REALLY wet and rainy day, so no one came down to borrow a boat.
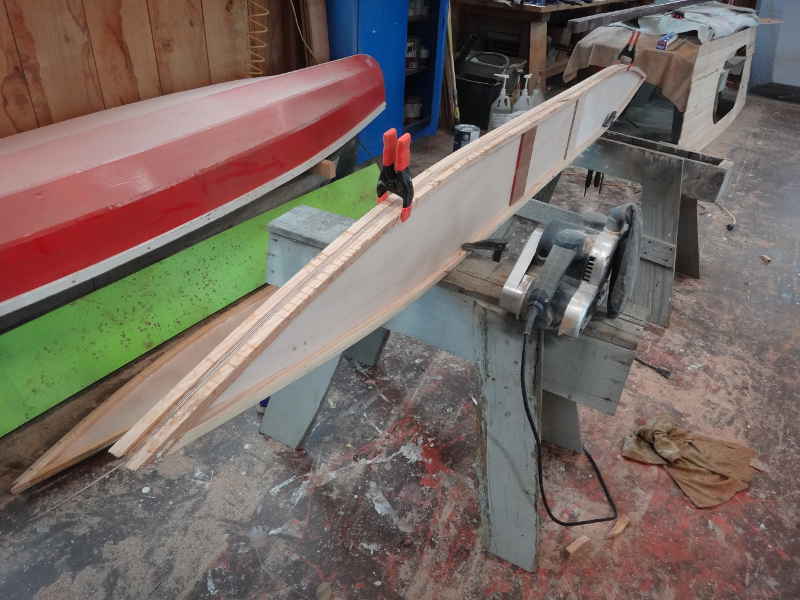
Once the sides are assembled and the chine logs attached, they need to be shaped into matched pairs. Nothing a few clamps, a power planer, and a belt sander can't do in a couple minutes. That's it for the Tik Taks. Dave W said he will come in and paint them over the next week. We'll be painting them with Porch and Patio, inside and out, using the whole gallon on the two boats. The only parts that won't be painted are the gluing surfaces.
With all the attention being paid to the Tik Taks, there wasn't much progress on the Goose. Geoff got the last of the deck beams figured out and the last thing we did was epoxy them into place.
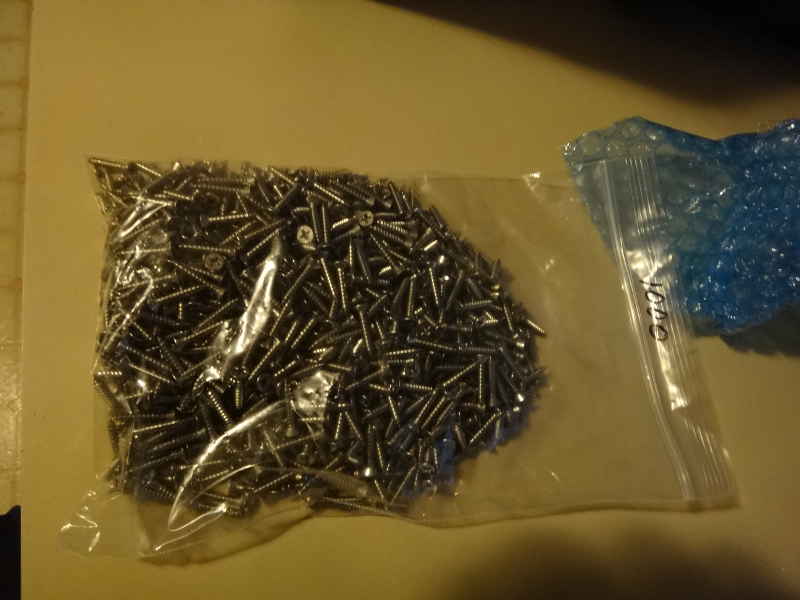
ha! Look at what was waiting for me when I got home: The screws I'd ordered from Duckworks on Thursday. That's service. That's it for this week - next week: A rapid Boat Build using teams of 2nd graders. It should be exciting.
|