|
Decking the Goose and Coracle Paddles The Depoe Bay Boat Show is on April 18 this year, and that is when the Goose is supposed to hit the water. It is time to get 'er done, but little things, like the Tik Tak Build and now, these coracle paddles, keep popping up. Coracles are an ancient boat that was used by any culture that developed the ability to weave baskets. They are just round-ish bowls that exist for the sole purpose of getting people on the water - a perfect project for the Boathouse. Plus, having Coracle Races at the Toledo Boat Show in August will be hilarious. I found an excellent set of instructions for making a coracle using modern materials - 1/8" plywood and polyester covering, to be exact. We will be doing the build on May 2, 2015. In the mean time, I decided to try my hand at making some paddles.
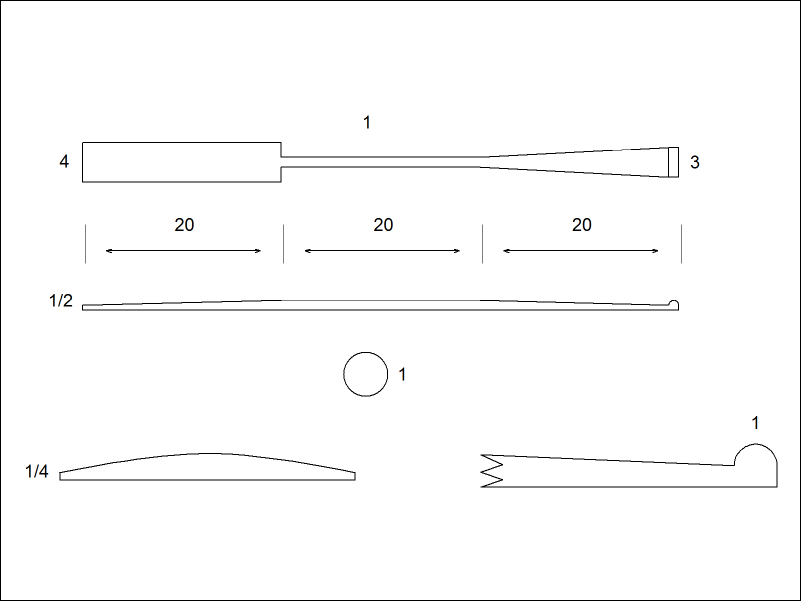
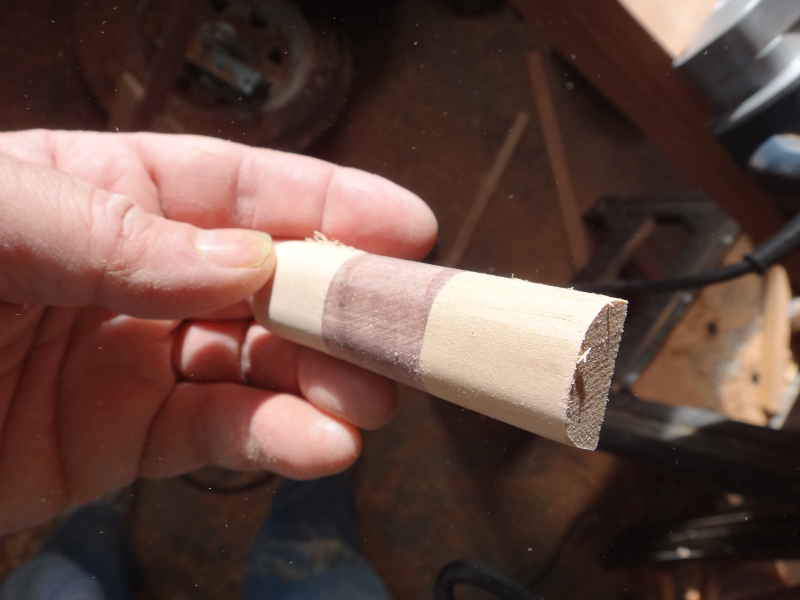
This is the overview. The paddle has a remarkable resemblance to a claming shovel, and I strongly suspect that's what they might have been.
To save wood, I came up with this plan of starting with a 60" piece of 1" thick stock and rip it into the sizes needed. I think traditional coracleers carved their paddles from driftwood.
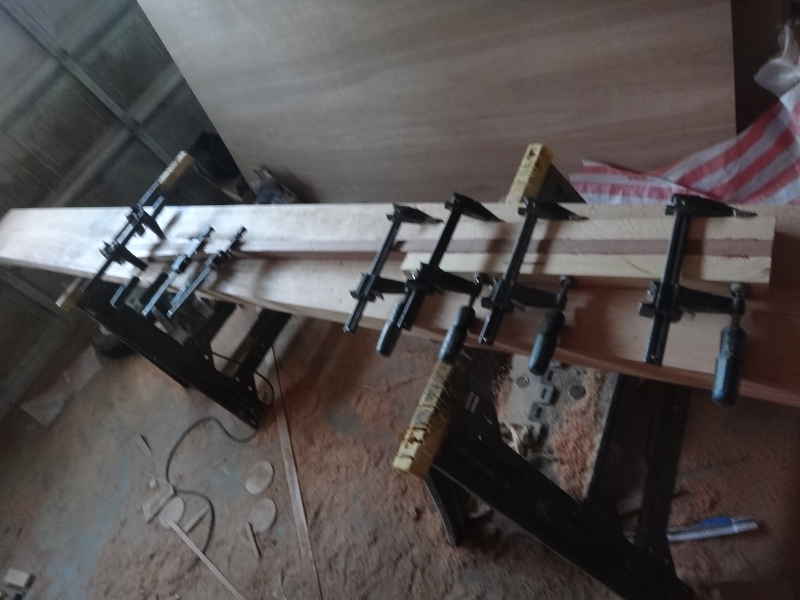
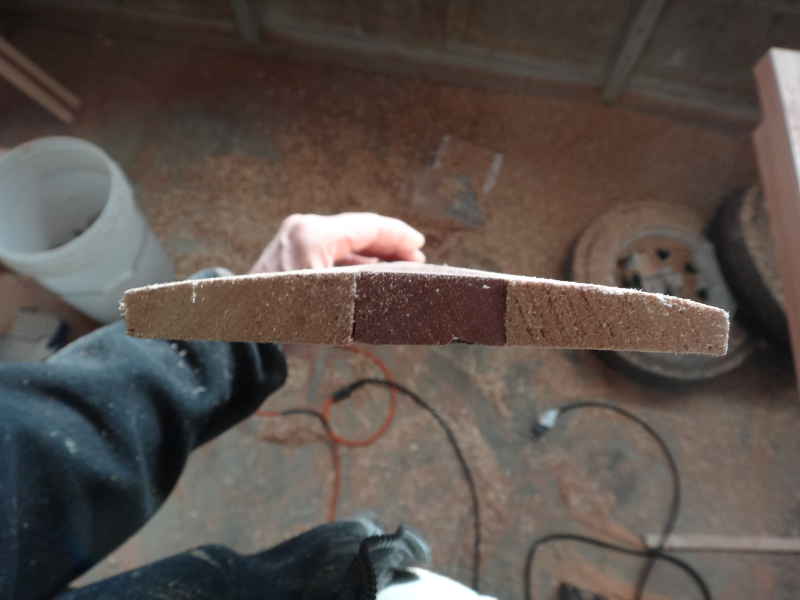
Here's the glue-up of one of the paddles - I was using Alowood for the shaft and Poplar for the blade. Why those woods? For the same reason the original coracleers used driftwood: It's what I had.
Glued up paddles.
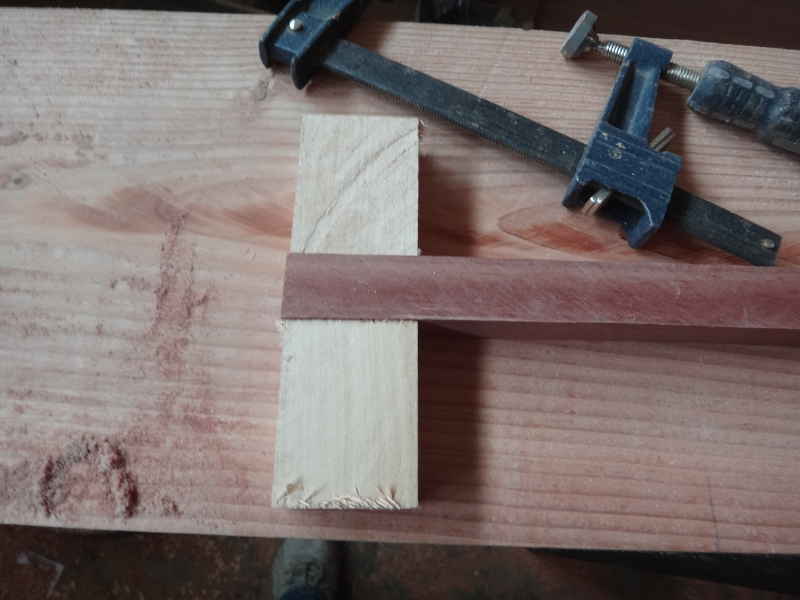
I don't know what to call that little bump across the top of the handle, but this is my glue-up of that. Let's start there with the build.
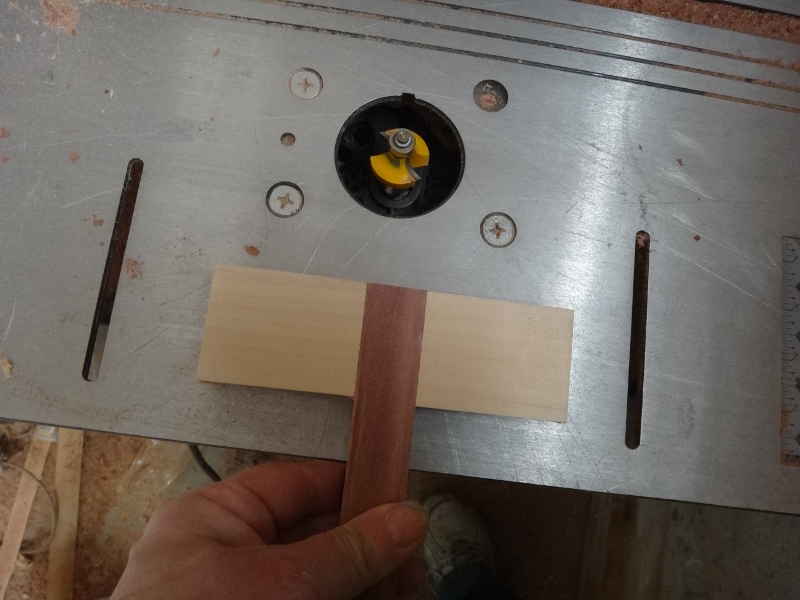
Step 1 was to run it through the router. It is 1" thick, so a 1/2" roundover bit would have made a nicely rounded end, but I only had a 3/8 roundover and decided that was good enough.
Once rounded on he router, I sliced off the rounded bit resulting in a 1/2" thick piece.
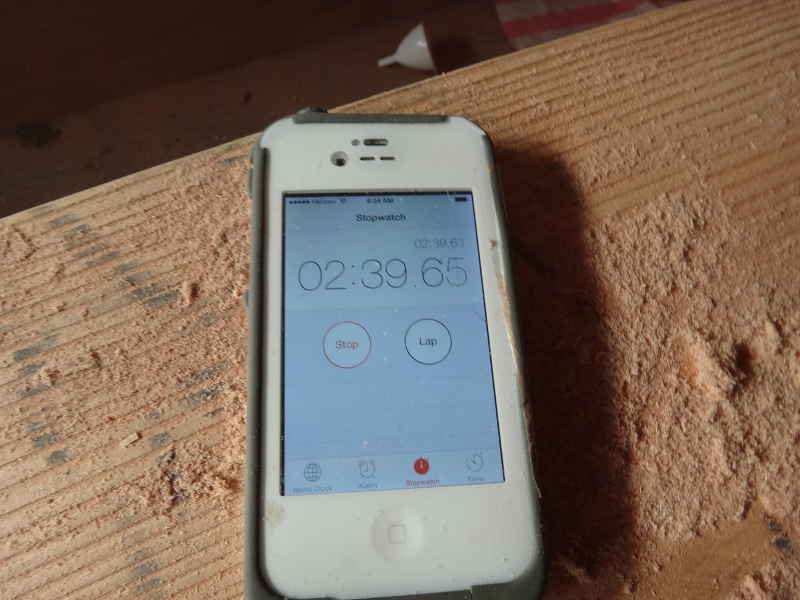
And there it is. 3 minutes work? 5? Let's call it 5, just to be generous.
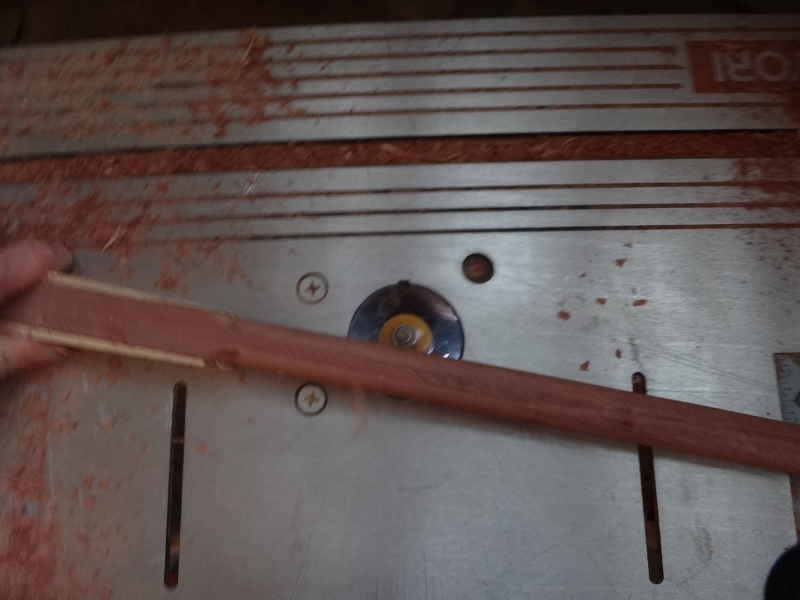
To round the shaft, I just took it to the router. Again, because my roundover bit is only 3/8, the resulting shape was more square-ish than roundish, but round enough. This step took about a minute.
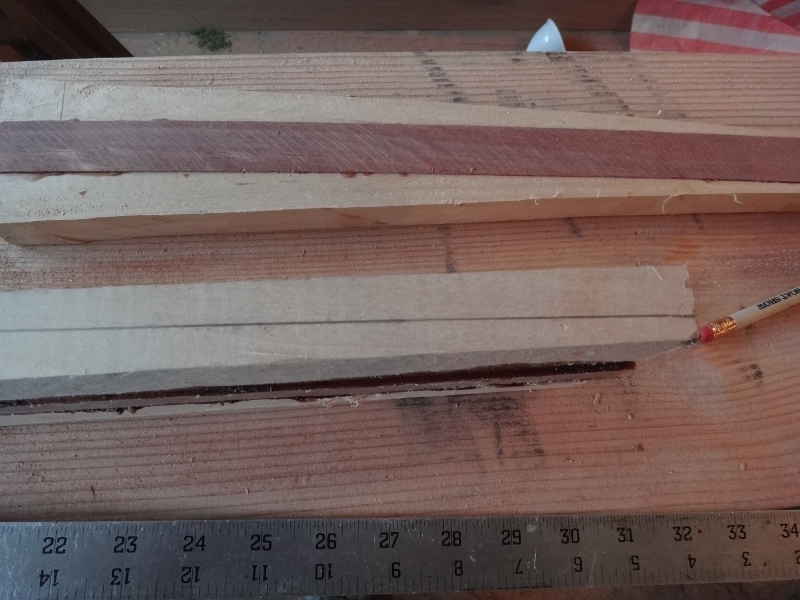
The drawing of the lines took a little longer, maybe 5 minutes. It's pretty unnecessary, but this was my first time, and I wanted a guide.
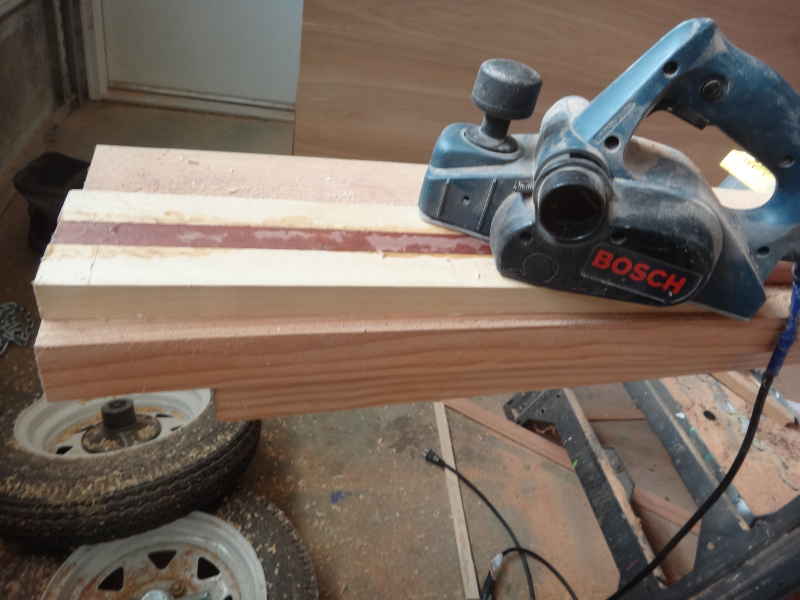
Time to taper the handle. A power planer works wonderfully for this, finished off with a belt sander using 40 grit paper.
Call it 3 minutes to include the time it took to clamp the paddle to the work surface.
The blade - tapered top to bottom, left to right.
Needs a wee bit more shaping.
Call it 5 minutes shaping time. That looks like about 19 minutes of shaping.
I glued on the little rounded over bit on the handle (1 minute) and let it cure over night, then took it all to the Boathouse for final sanding. As sanding is a personal preference, I did not count the time. My point is: Coracle paddles are ridiculously simple and quick to make.
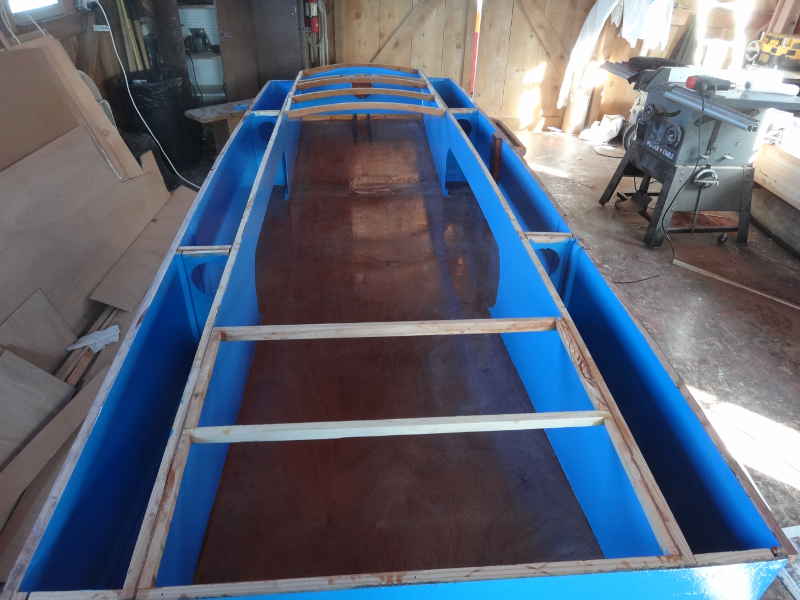
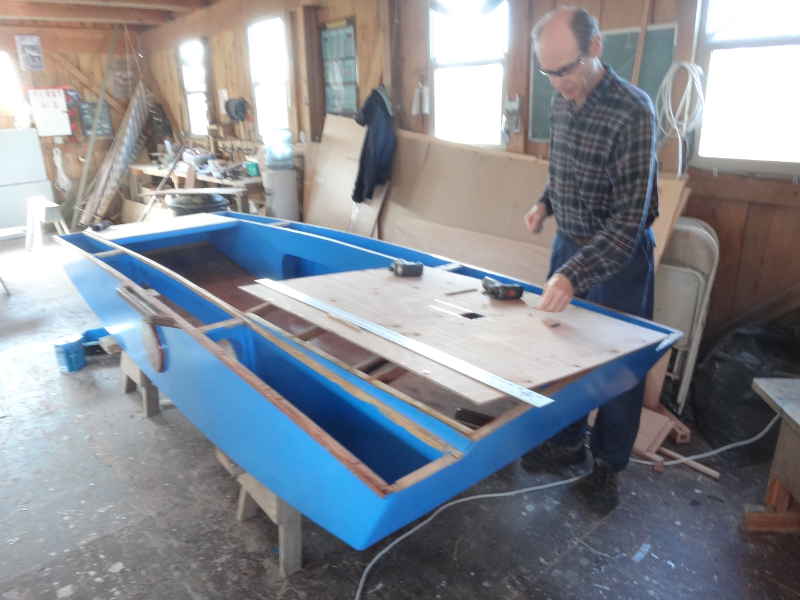
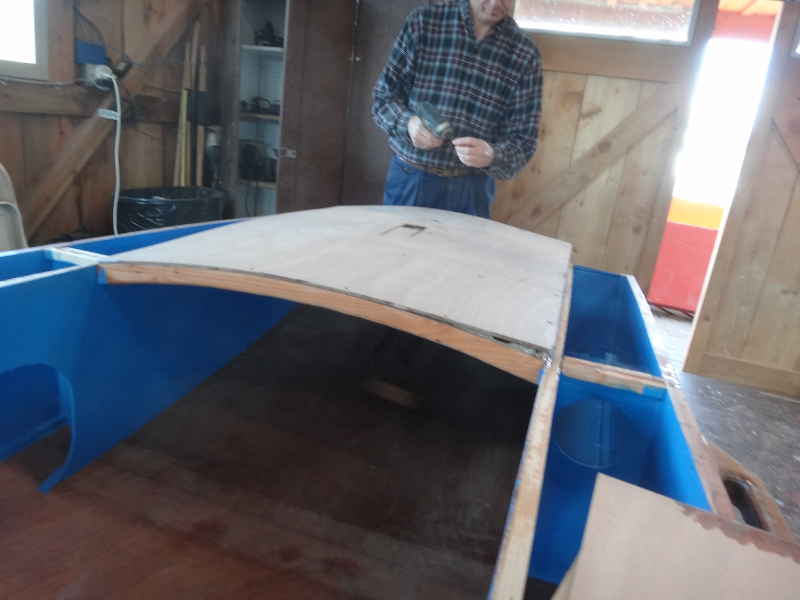
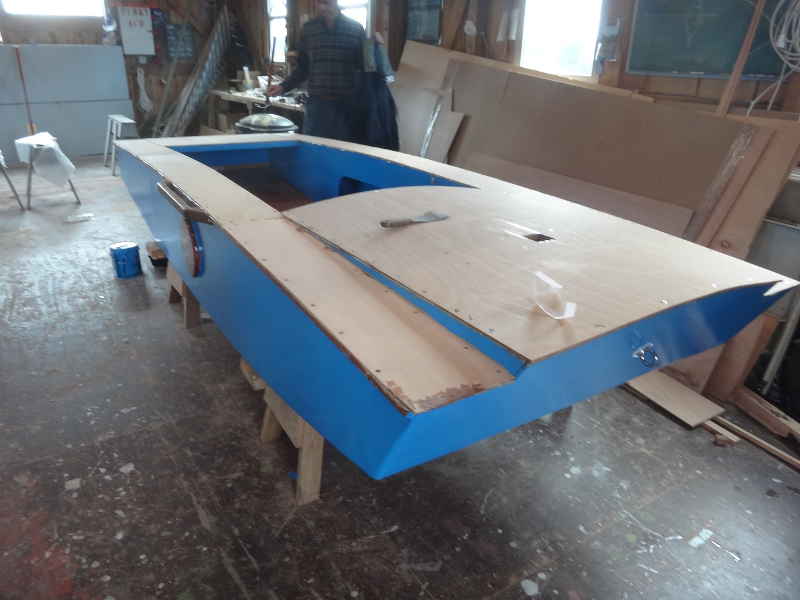
At the Boathouse: Geoff had fitted the side decks last week, but they were not yet glued in. She needs another coat of paint and some fiddy bits before we can do that.
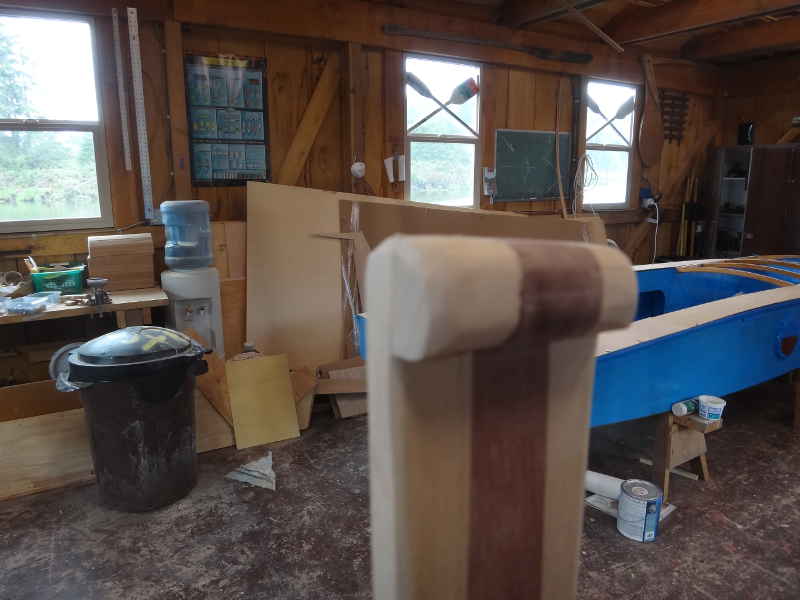
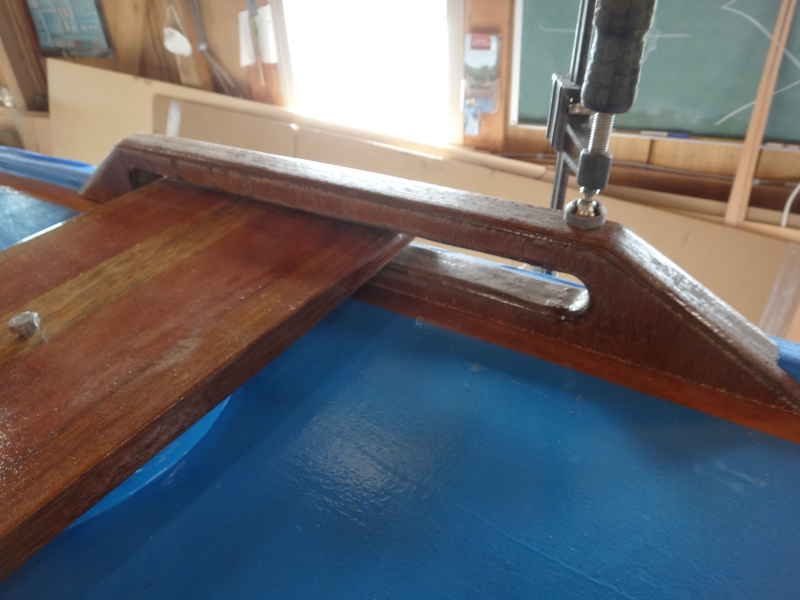
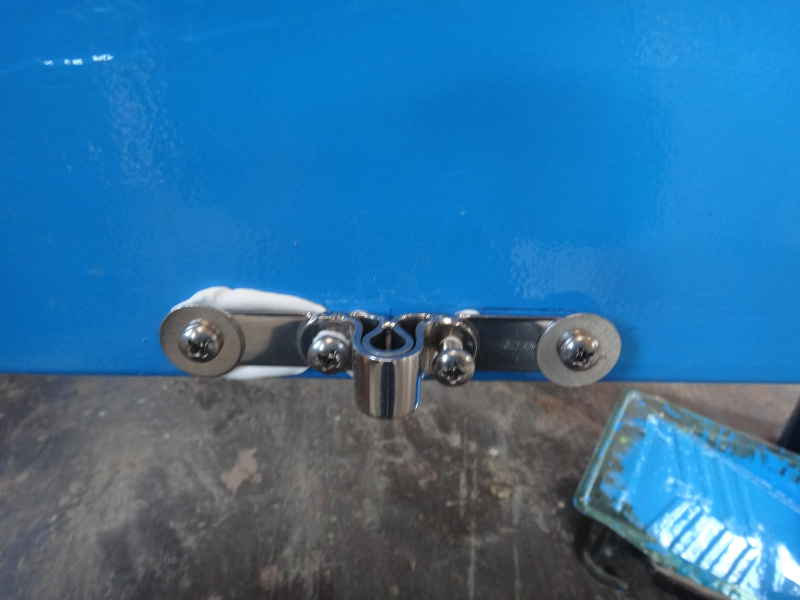
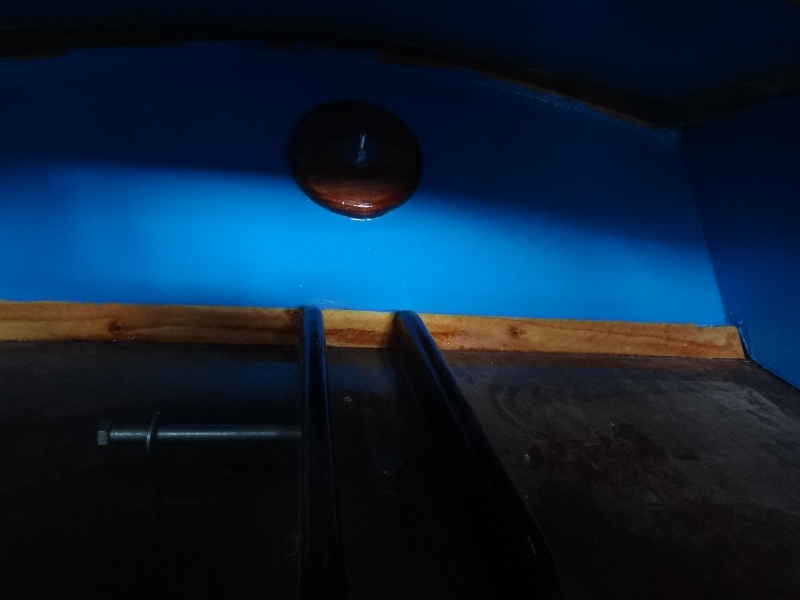
One of the more important fiddy bits is the yoke for the leeboard.
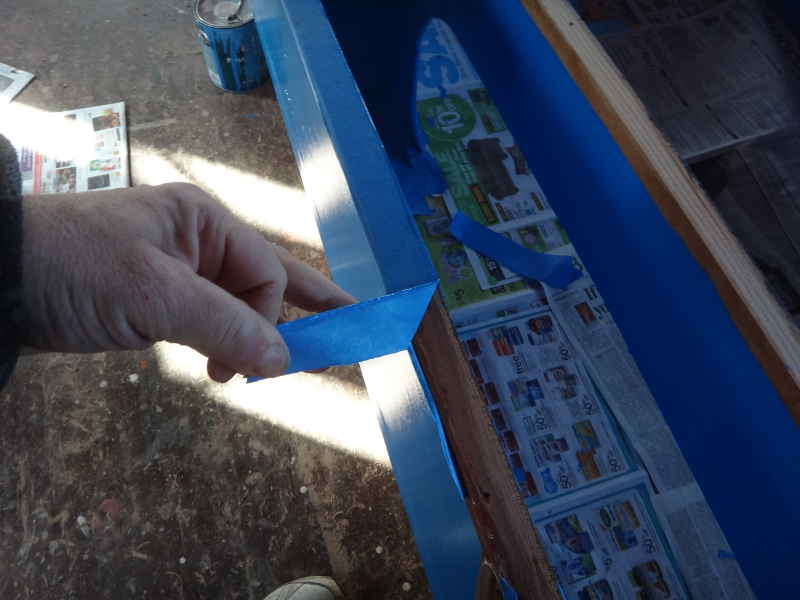
And paint. Paint paint paint and more paint. It does not matter what size boat I make, the amount of paint required is always over 2 quarts, but less than a gallon. I decided to paint the underside of the forward deck - just for giggles.
Next morning, it was time to peel off the tape. As tedious as taping is, taking it off is worse (my opinion.)
Oh, that's a purty boat.
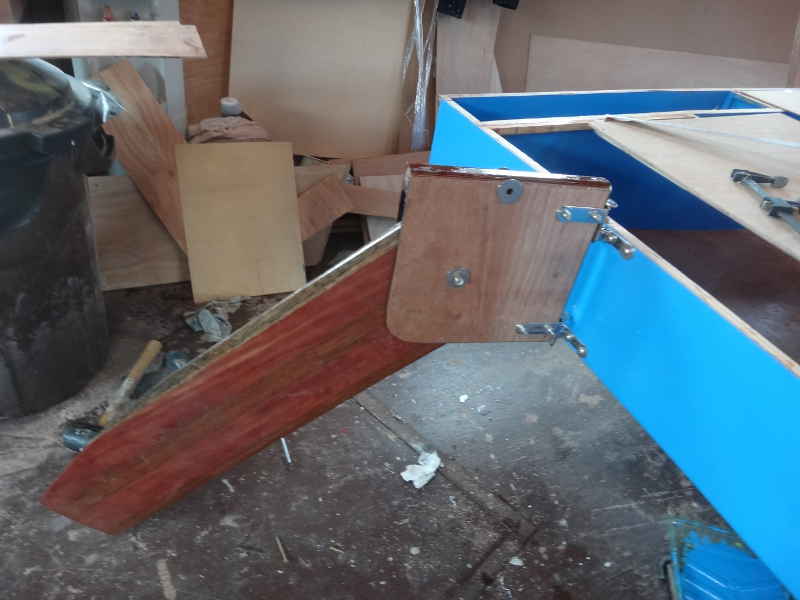
I am getting wiser - before installing the aft deck, I am going to install the rudder gudgeons.
Always use plenty of caulking when putting something through your hull. Look at the stoutness of these gudgeons! Those RL-490s are SWEET. Duckworks comes through again.
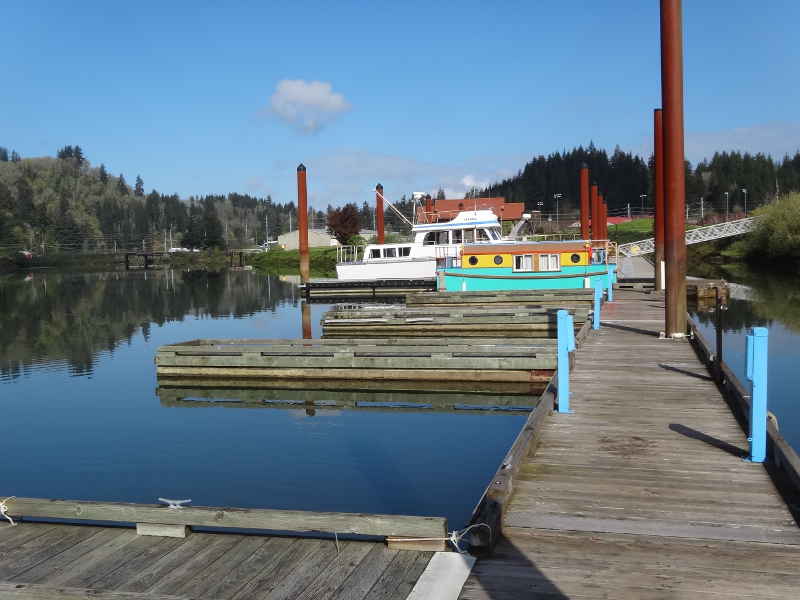
Time for a break - it was a GORGEOUS day.
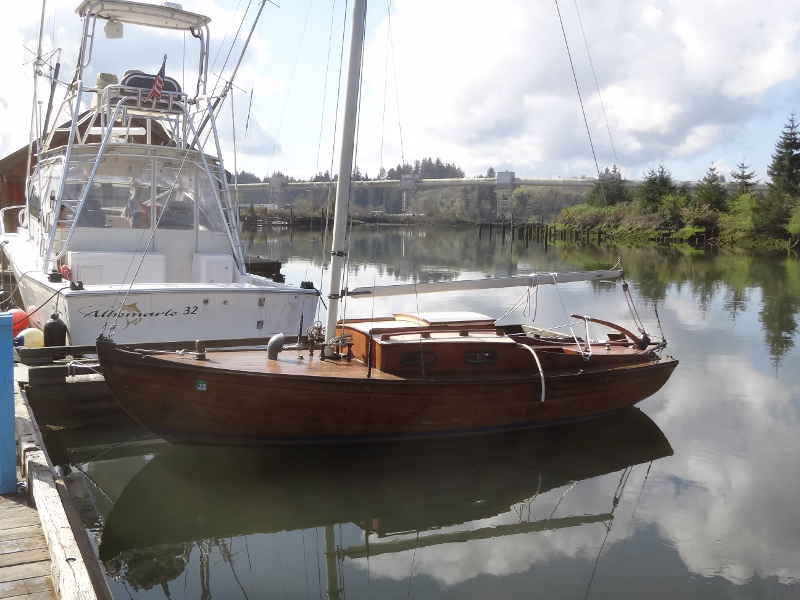
One of our Teak Lady sailboats.
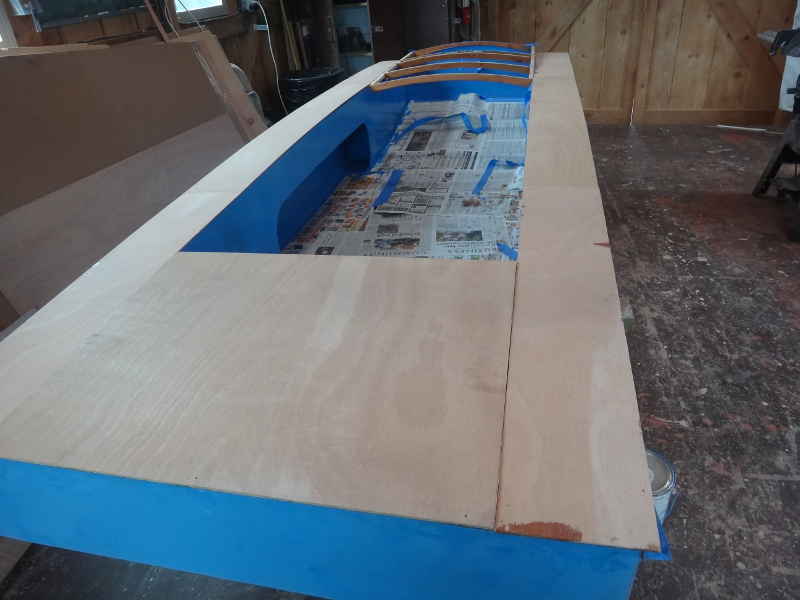
Time to get to decking. We decided to use PL Premium to attach the decks rather than thickened epoxy, mostly because we had some, it expands to fill any gaps, and we are leaving the screws in once the glue cures.
I am very glad we went with the curved foredeck - it was a pain in the butt, but it looks GREAT.
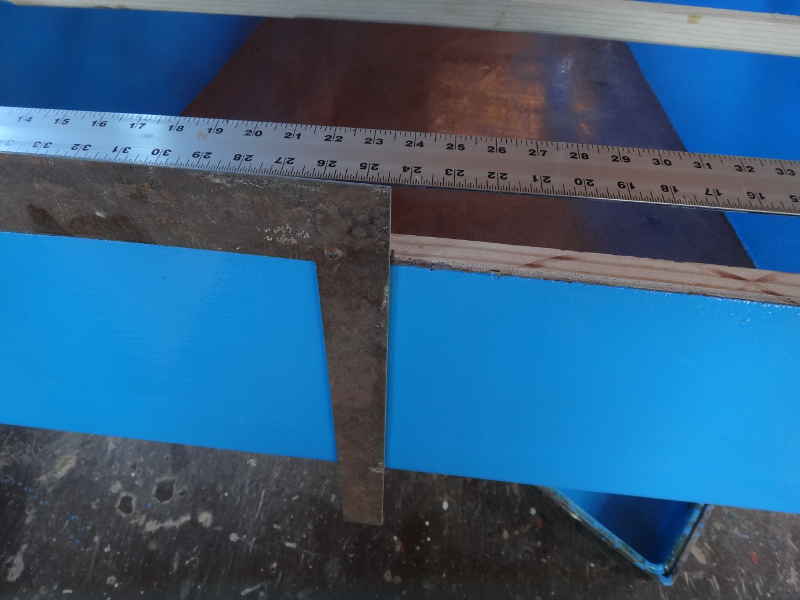
Remember how smart I though I was, installing the gudgeons before installing the aft deck? I wasn't so smart with the foredeck. I had to crawl in there and put in the guide for the mast step and the bow eye. Think, people! Plan, THEN actg. It ain't hard.
Here's my rudderhead set up - sans tiller. Just a note: I always make it a practice to run my bolts from port to starboard. Why? Because you have to have standards, people.
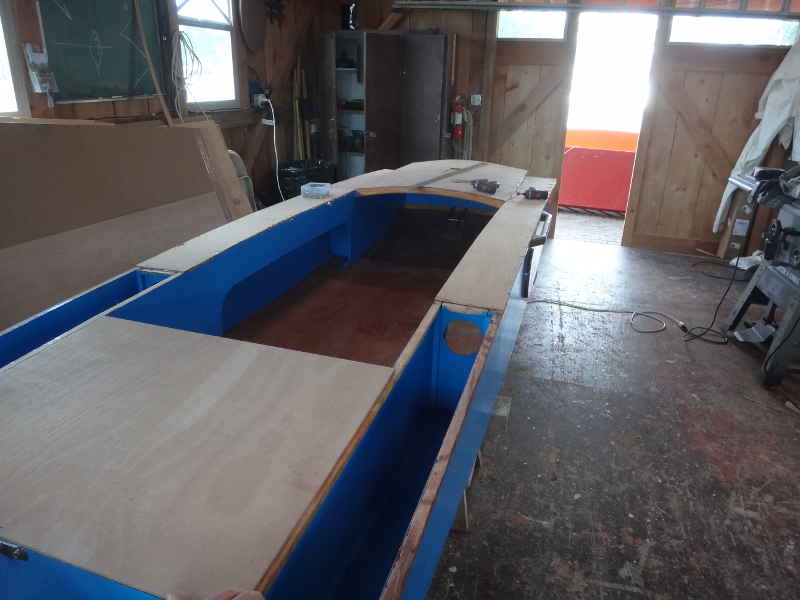
Foredeck, forward air boxes, seat tops, and aft deck installed - just the aft air boxes to go.
Very nice. She looks fast, just sitting there. Next week: Final sanding and then epoxy coating the decks. That's it, folks - thanks for following along.
|