|
Rigging Frigging - Playing with
the Fiddy Bits Building a boat - a structure that floats - is trivial. Anything less dense than water floats. The fun part comes in making it go where you want. Boats are a collection of Fiddy Bits - little things that make the boat easier (or harder) to use. Fiddling with the bits is art. Anyone can make a boat. Making it go - that's the fun part.
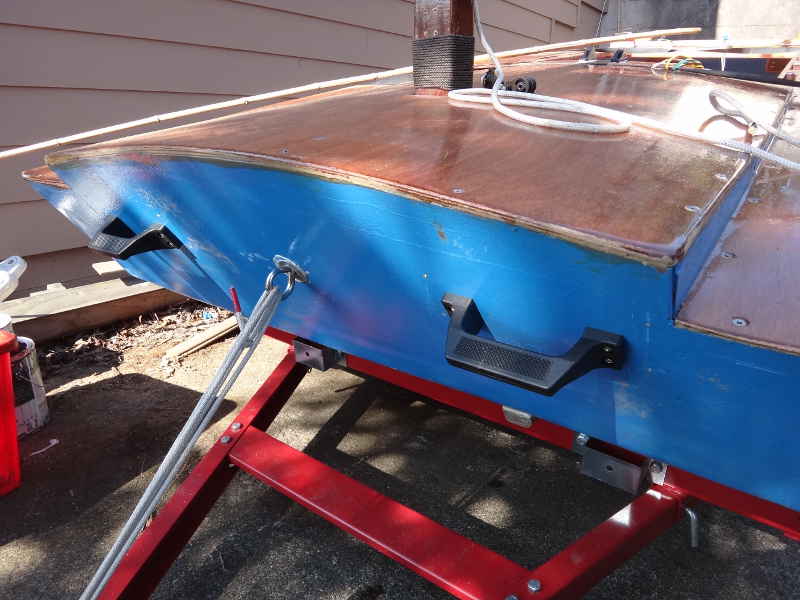
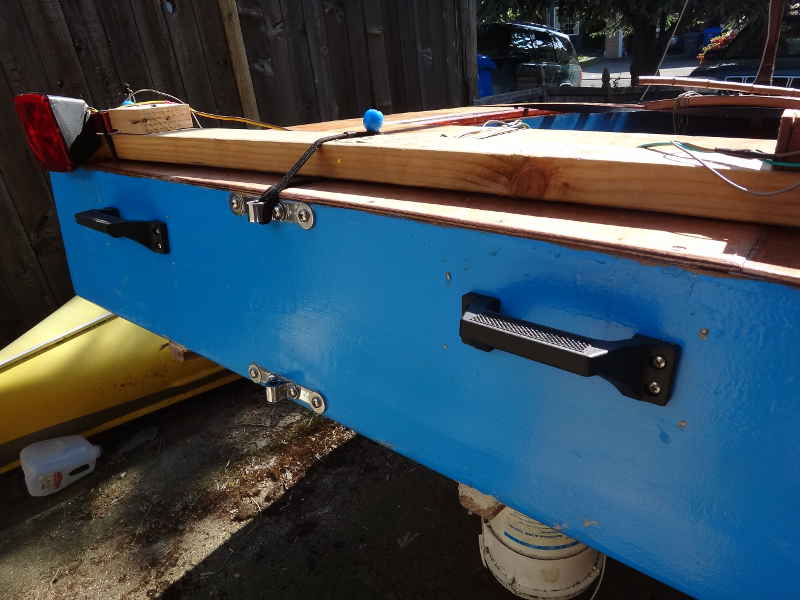
The ugly truth about small boats is they spend very little time in the water - an owner has to deal with them on land a lot. At the Boathouse, we'll be moving the Goose out of the way and pushing it up the gangway all the time. How do I make that easier? Handles.
These are Nylon Step Handles from Duckworks. I could have gone with brass ones, but the difference in price swayed me. They will be invaluable for moving, turning, and carrying the boat.
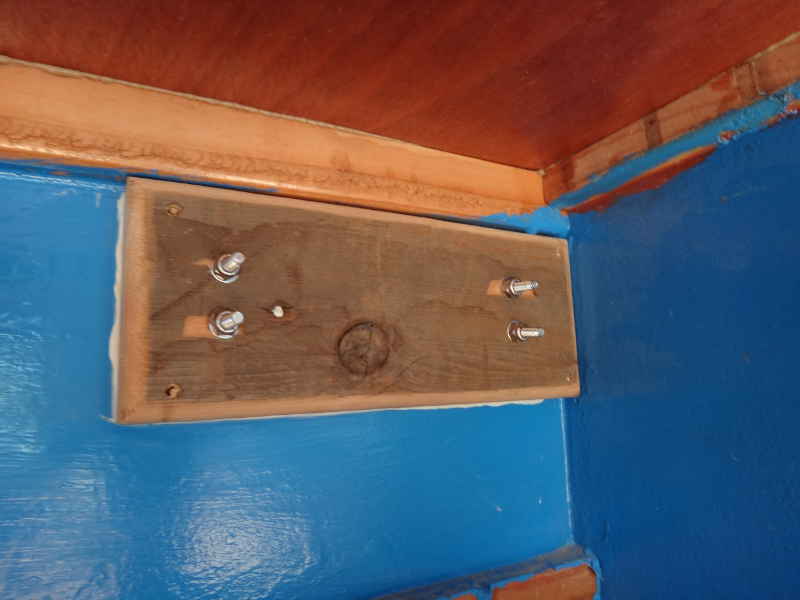
You should really consider installing them before you put on your decking. It was a tough friggin day of crawling around, trying to get things tightened. Backer boards are necessary - the handles will be subjected to a lot of force.
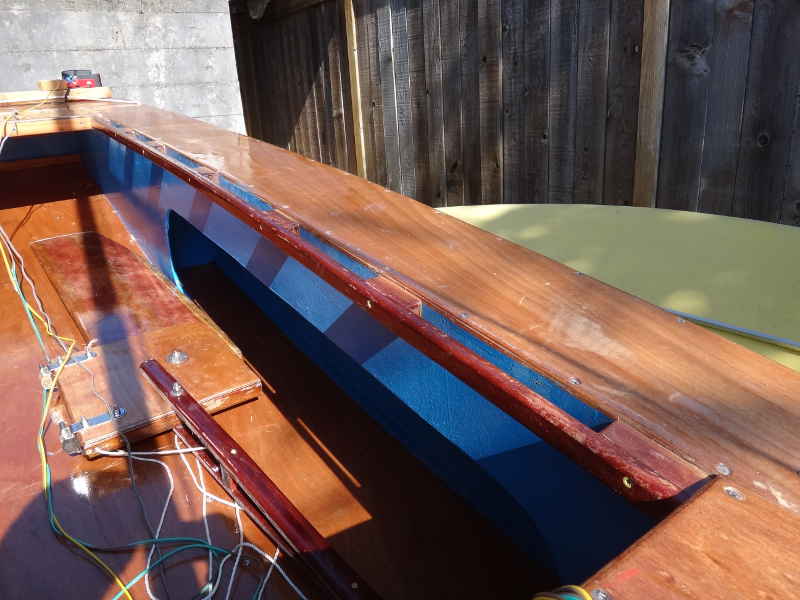
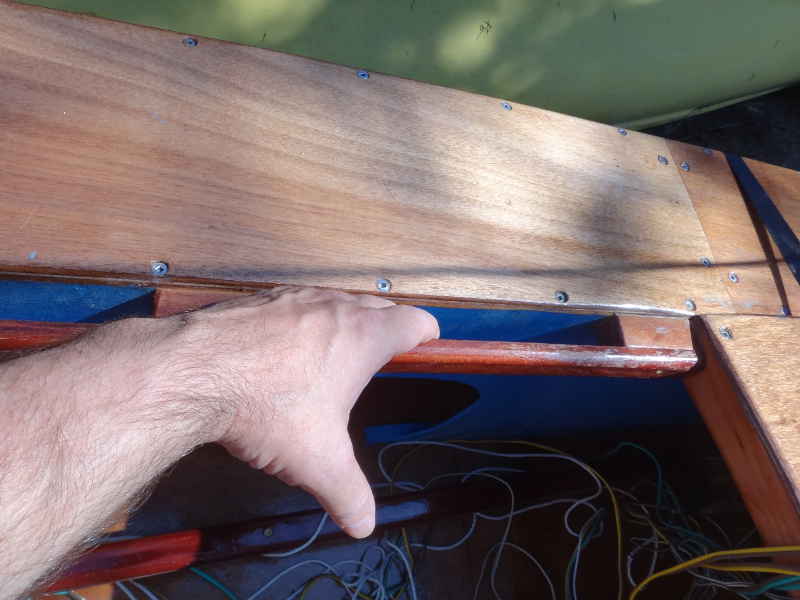
I think I have mentioned these before, but they are strokes of brilliance: Inwales. I don't have to clutter up the topsides with cleats and attachment points - I have built-in tie offs.
The trick is to make the spacers wide enough to be useful and the wales stout enough not to break. The wale is 1/2" thick and 1 1/4" wide. The spacers are 1x1 (actual,) 3" long, and spaced 1 1/2" on center.
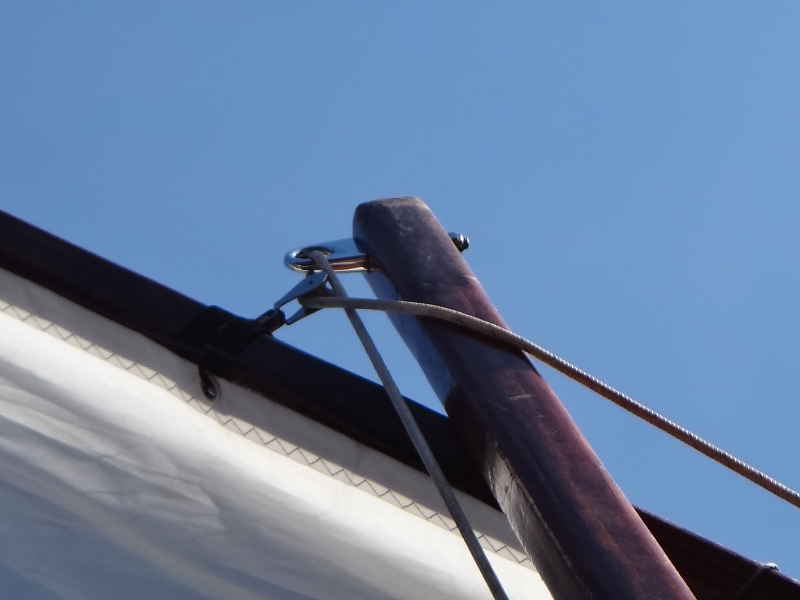
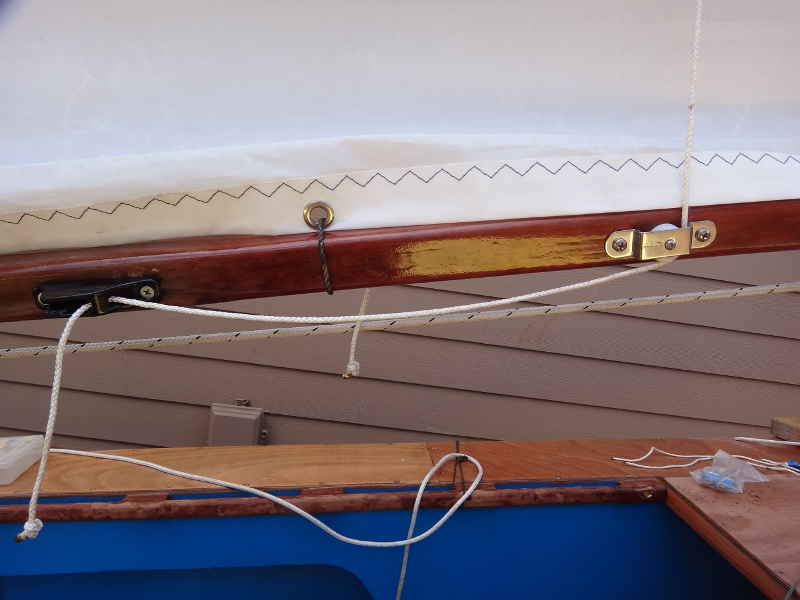
Where to put the halyard on a Balanced Lug? People say no less than 30% of the head, but no more than 40%. I've tried 30 and 40, is one is at 43%. The boat seems very well balanced (but I have not had it out in a blow yet) I tried using a standard, single block, but the way the line twists around, I went with a swivel block, instead.
You can see what I mean by twist. The swivel block is easier on the rope, and that's important.
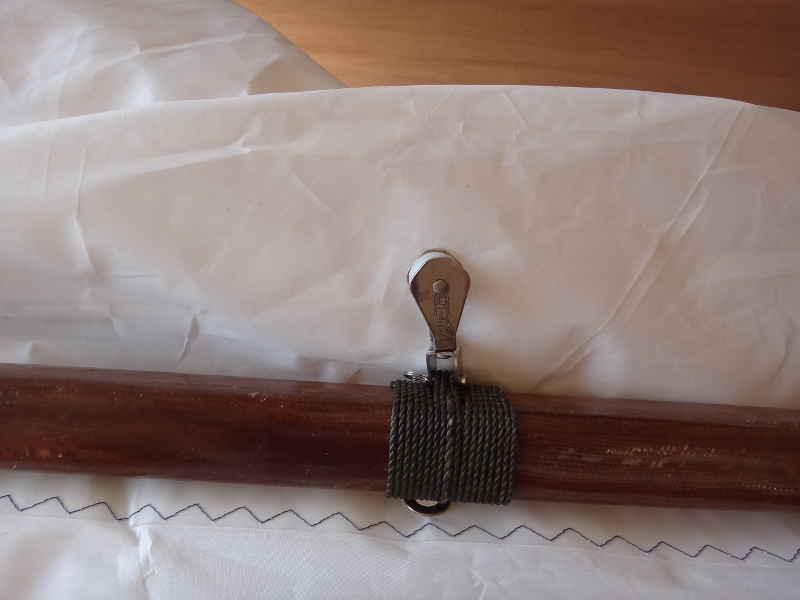
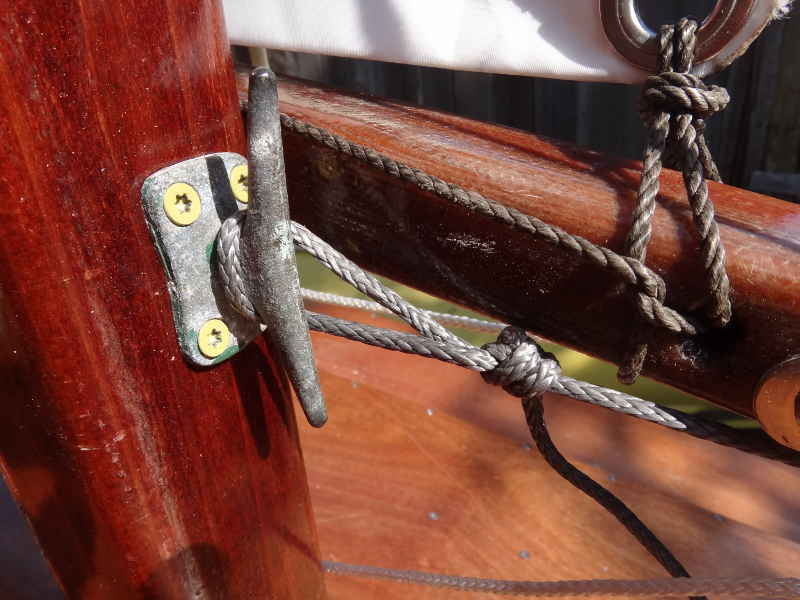
The "bleater" prevents the boom from rocking forward. Very important for lug sails.
I have a cleat for the bleater to hook on.
The bleater can have as many adjustments as you want, I have two: One for when sailing across or into the wind, the other for running downwind. You don't have to use loops - you can make it adjustable if you like.
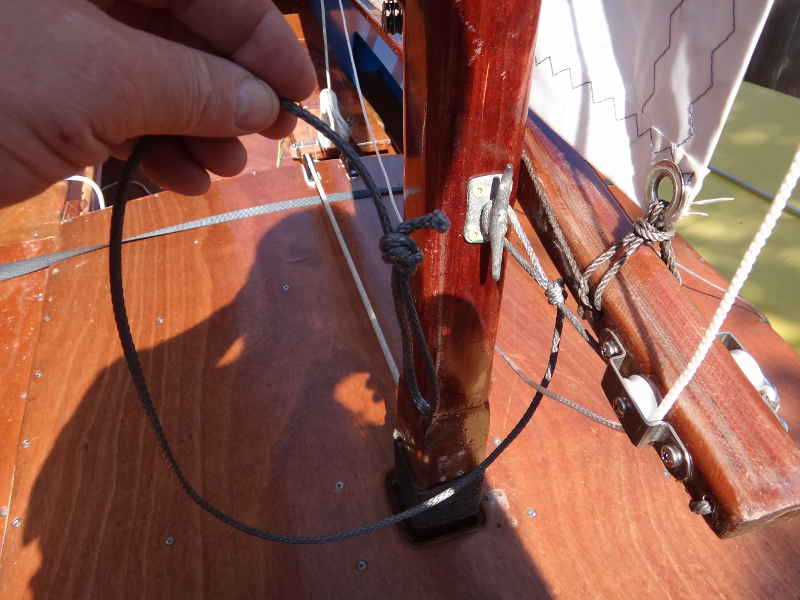
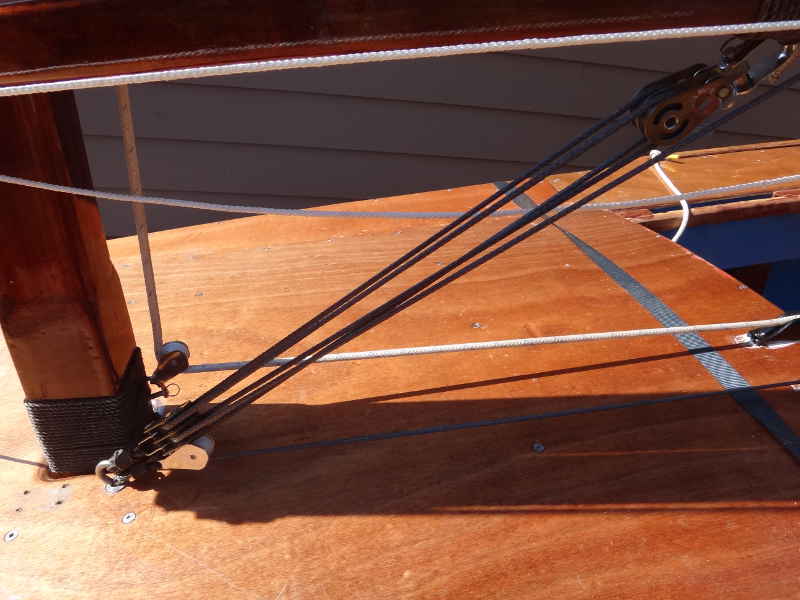
Along with the bleater goes the downhaul - I am using (2) double blocks plus a re-director block (single block) down at the deck. There's lots and lots of ways to do this - have fun with it.
I run the halyard and bleater lines to open clam cleats because when I want my sail down, I don't want to have to fiddle with wrapping or knots - I want it DOWN.
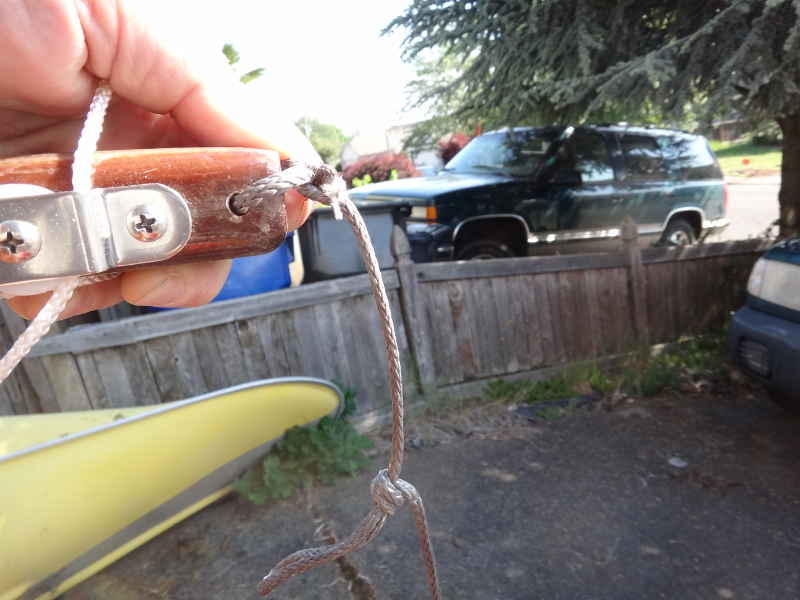
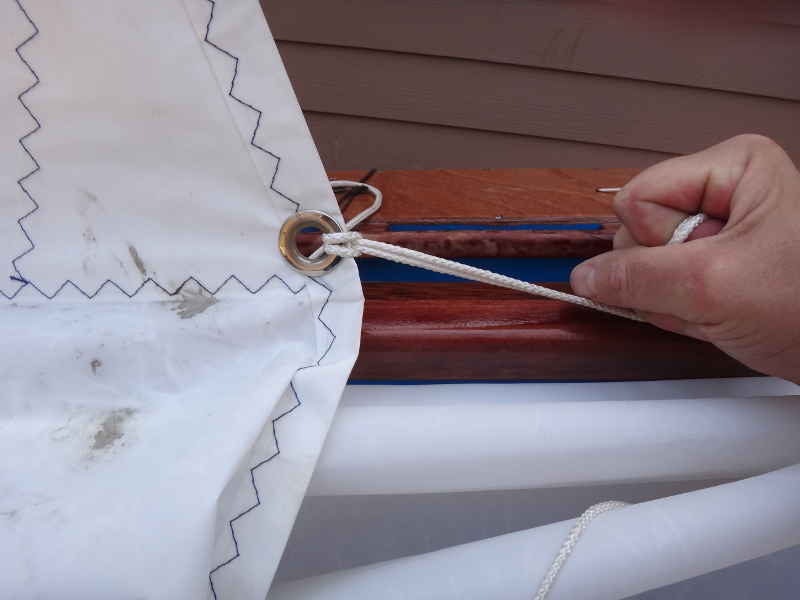
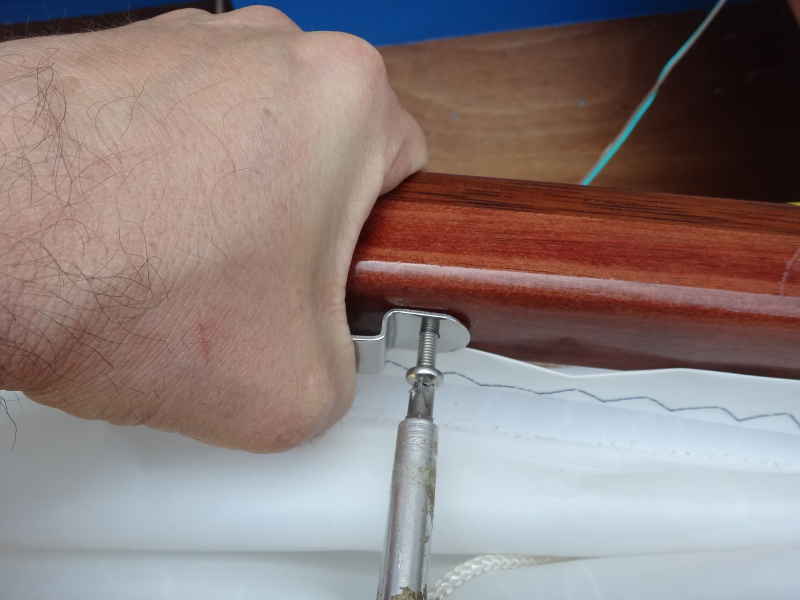
Reefing is one of the times I want my sail down. I want it down and reefed and back up as soon as possible, so I use Jiffy Reefing - cheek blocks with lines running to the reef points. The front of the sail is easy - just put cheek blocks up at the tack. The leech is harder. Pull the sail as tight as you can to find your spot . . .
. . . and attach your cheek block. I usually drill the hole once size smaller than the bolt, then screw it in to the wood.
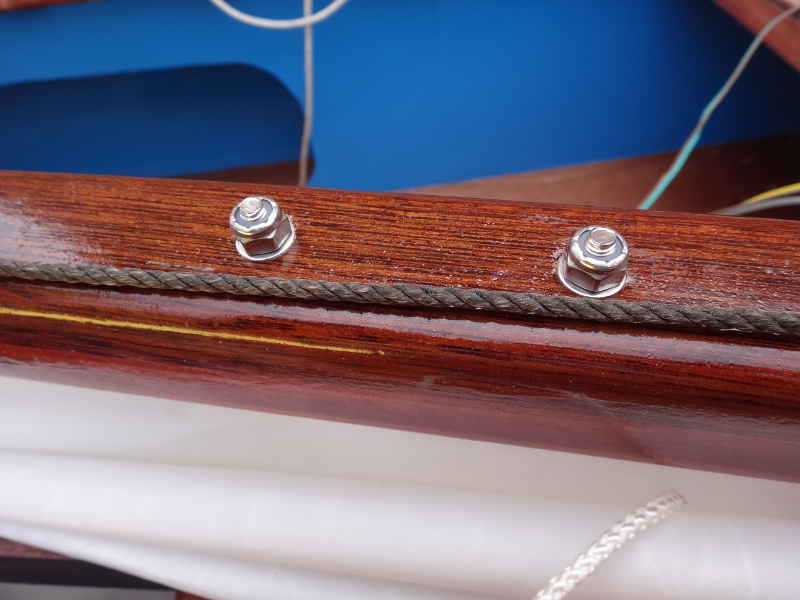
I only ever use nylon lock nuts now. A little more expensive, but worth it.
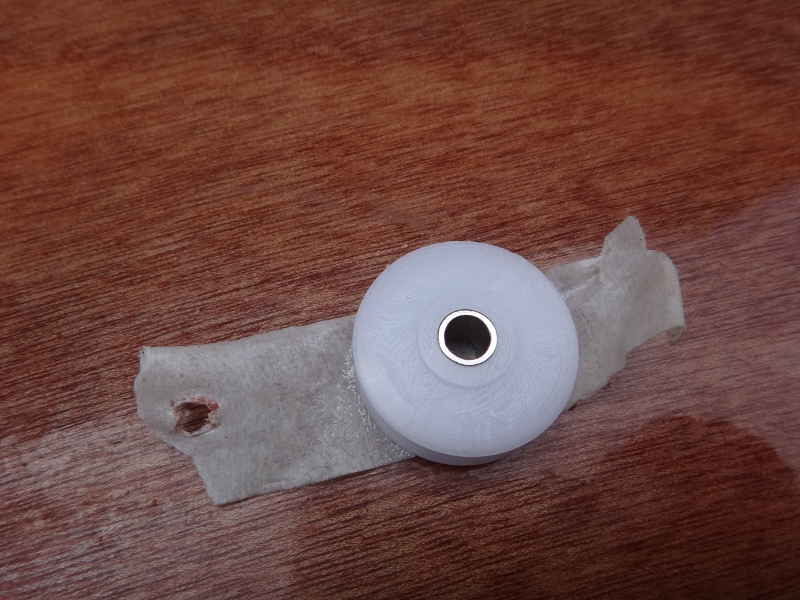
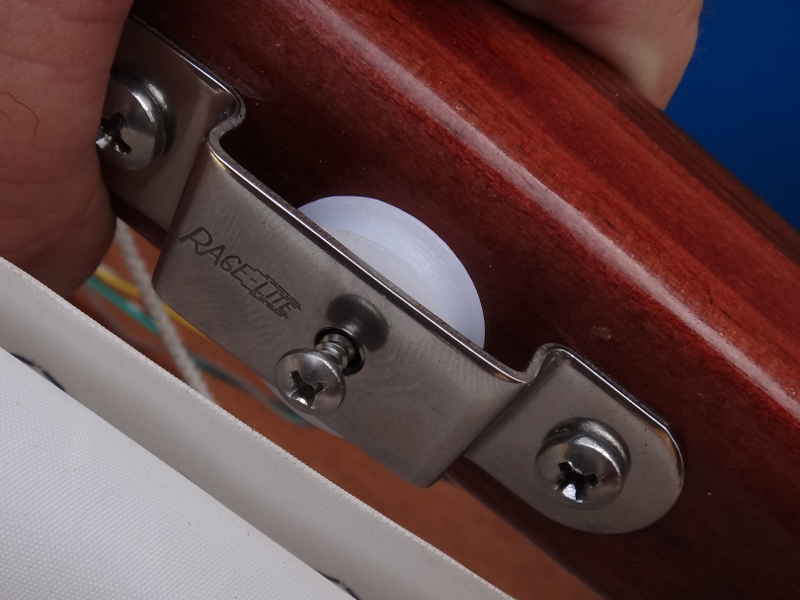
The sheeve can be tricky - that metal bearing comes right out and rolls across the floor if you aren't looking.
I don't know what you are supposed to use to hold the sheeve in place, a wood screw, I suppose. I don't have any, so a regular stainless steel machine screw will work.
The jiffy lines are tied to the reef points, run through the cheek block, and to a clam cleat with a fairlead. I set it up so the first reef is on the starboard side of the boom, the second is on the port.
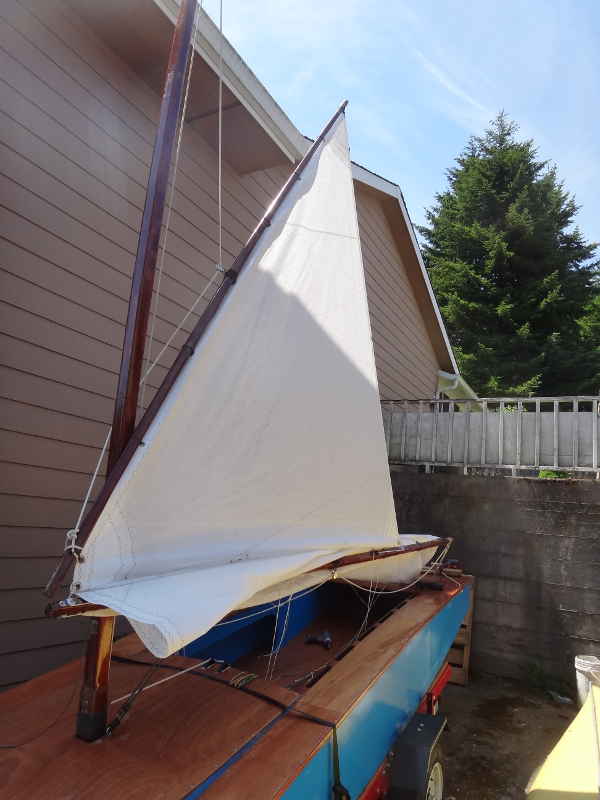
One reef
Two reefs. I don't have the netties set up - mainly because I don't see the point, but I am a lazy sailor, so don't follow my lead. There is a million ways to do this - none more right or wrong than another. This is how I do mine and I am comfortable with it until I learn something better. Experiment, play, explore - that's what makes us human.
|