|
Chuckanu Gets Floorboards Last week, we'd finished 90% of the lashing on the Chuckanu, this week, we need to finish it and get the floorboards installed.
Years ago, I made a 1/2 scale model of the Chuckanu and made some guesses as to how the floorboards will go. Floorboards are important - they determine how the boat will be used. If you ever get into design or plan on having other people help you build a boat, models are a GREAT help.
These floorboards will be cut from 8' cedar fence boards. They could be plywood or anything, really, I just thought cedar would be fun (and light.) I didn't like the look of the 1x6s, so I decided to make some changes.
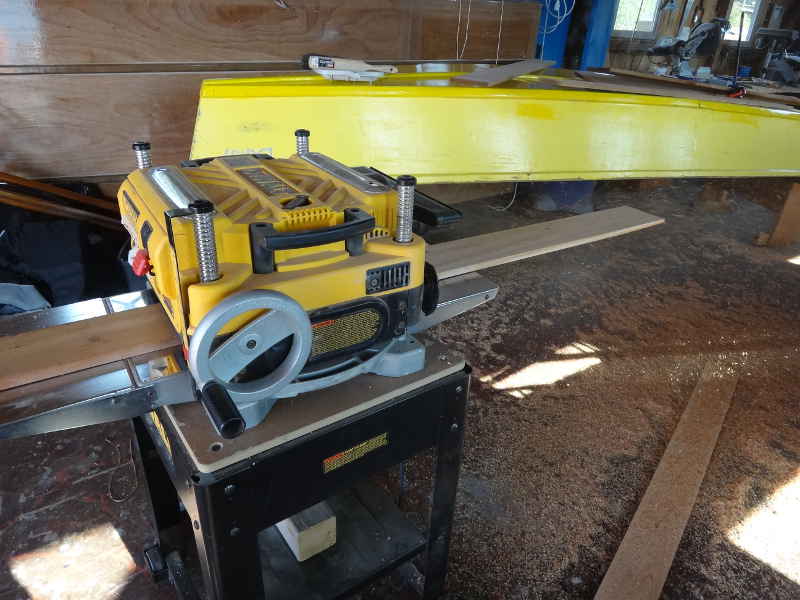
First thing to do was plane them down to 1/2" thick - more than enough to support and light.
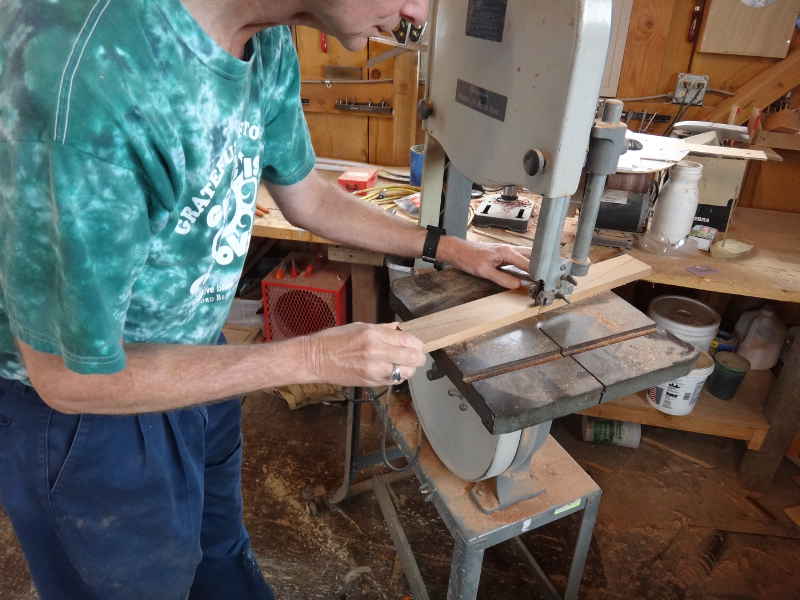
Next was to rip them in half. I spaced them 3/4" apart - just far enough apart to catch a toe, finger, or drop your keys through. These things have to be considered - they don't happen by accident. My boards were 8' long, and the open space in the cockpit is 11' at the longest. I want to provide as much usable space as possible without people putting stuff on the skin. That requires . . .
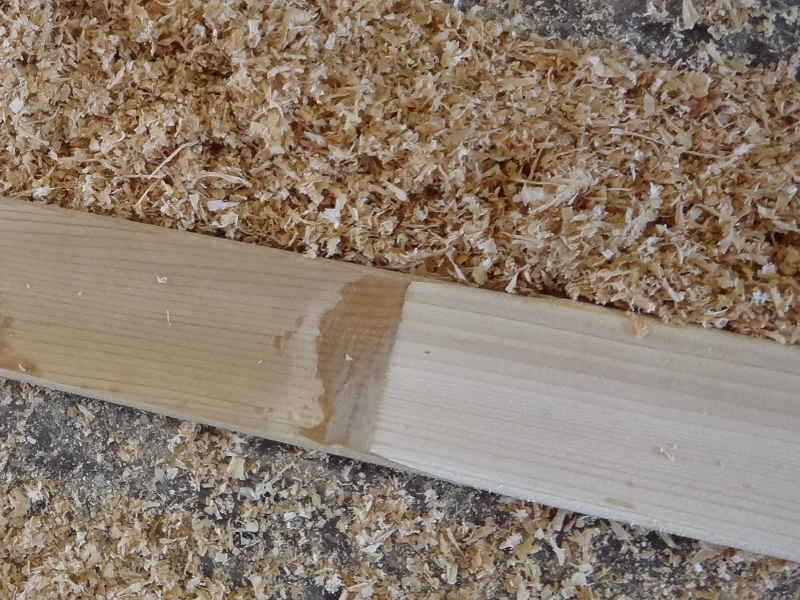
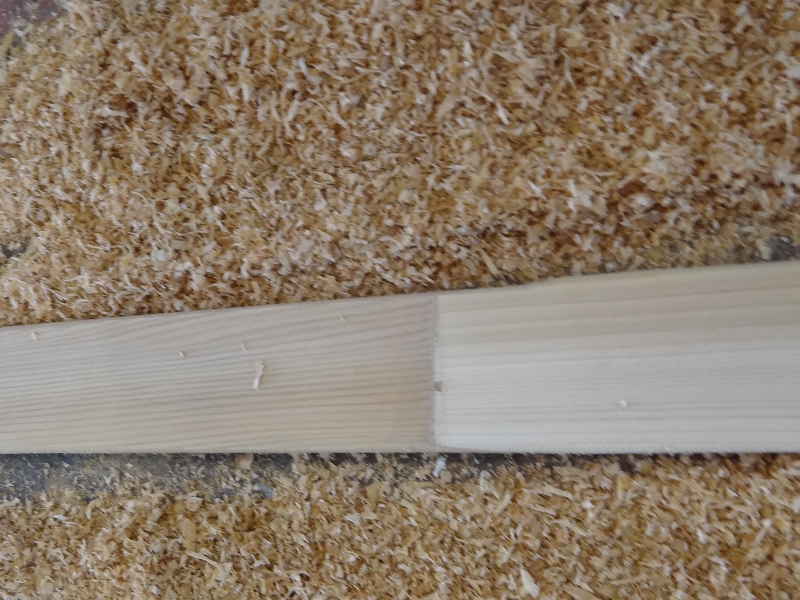
. . . . scarfing. Scarfing is only scary until you do it. It goes really fast and it looks great. Here's a little write-up on different ways of lengthening wood.
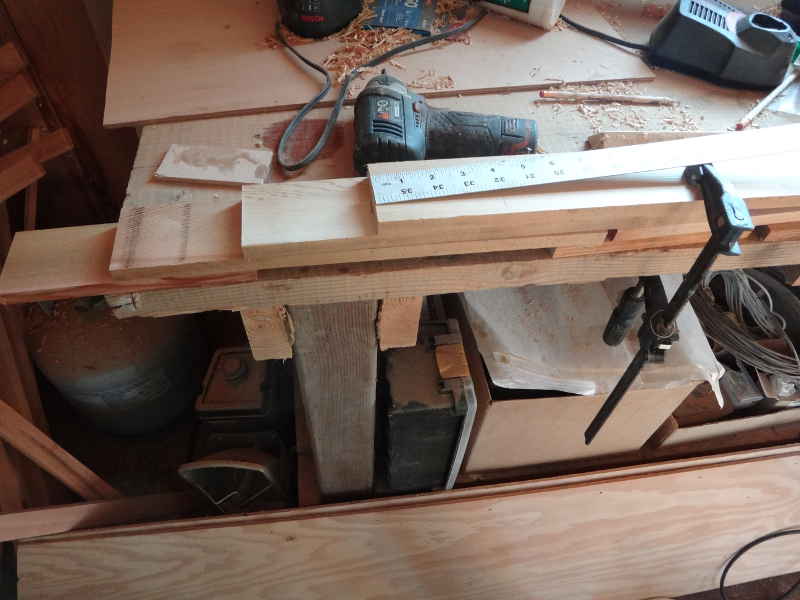
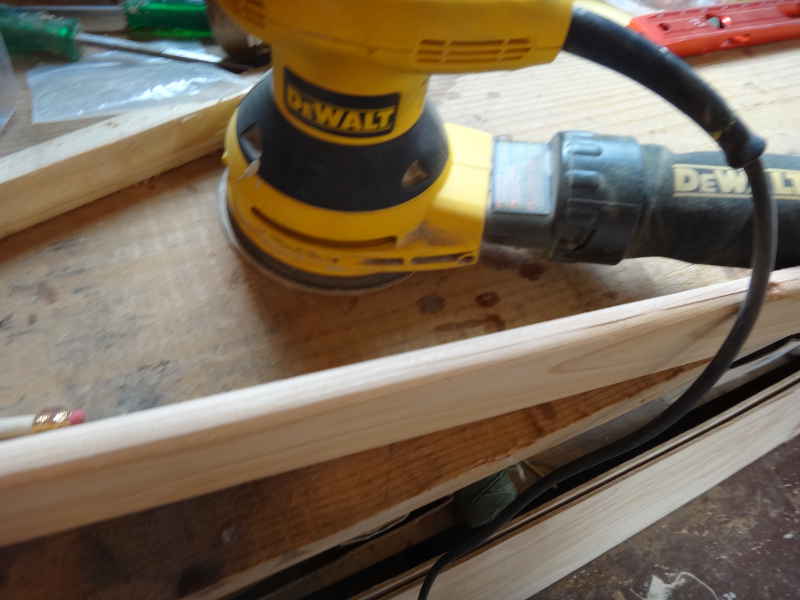
I use a power plane to do the rough scarfing, then a belt sander with 36g paper to smooth it out.
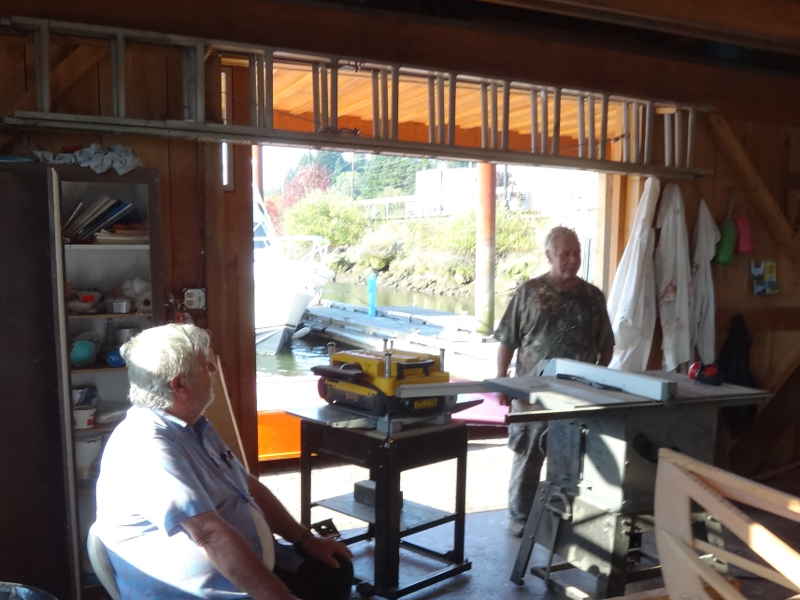
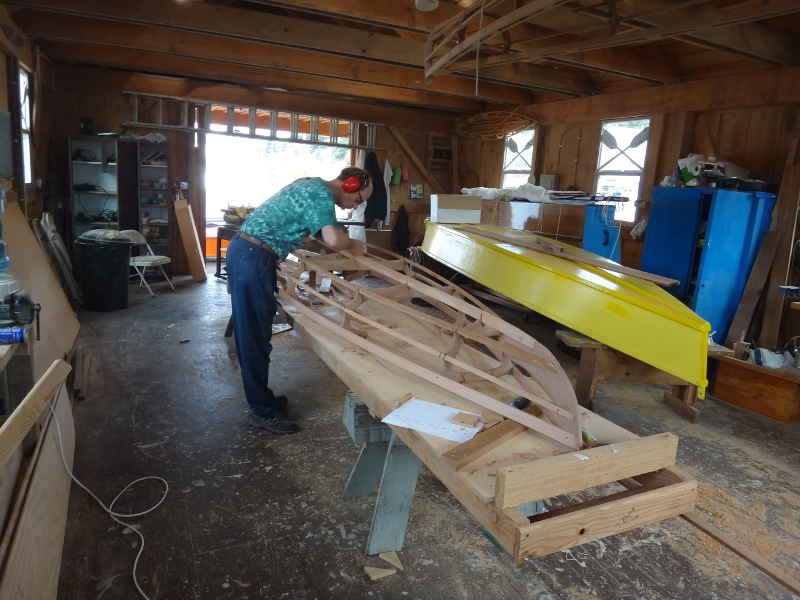
Visitors! Bob dropped by to say hello and Al came in to look at some frames we have making a Atkins Valgerda.
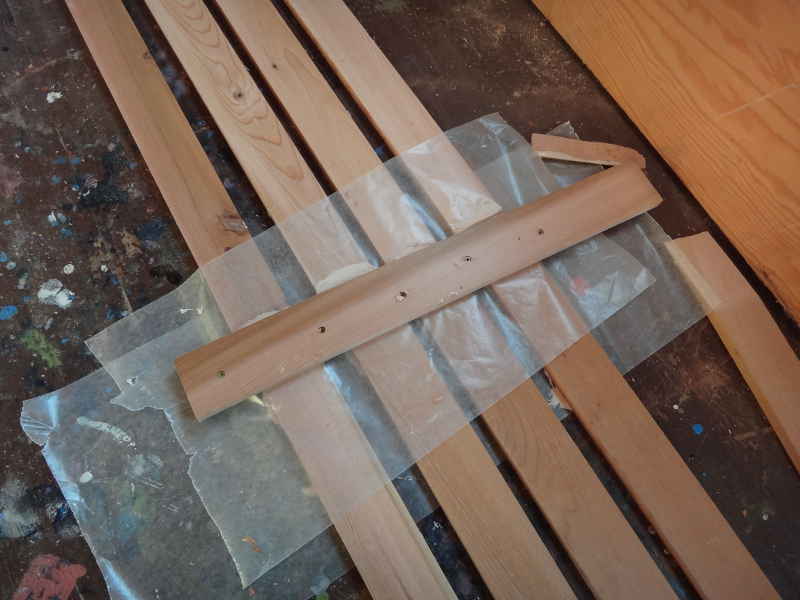
Gluing the scarfs. Pressure and wax paper is required to do this right.
While waiting for the scarf joints to dry, it was time to turn to on lashing on the keel. We pulled it of the strong back and got to work.
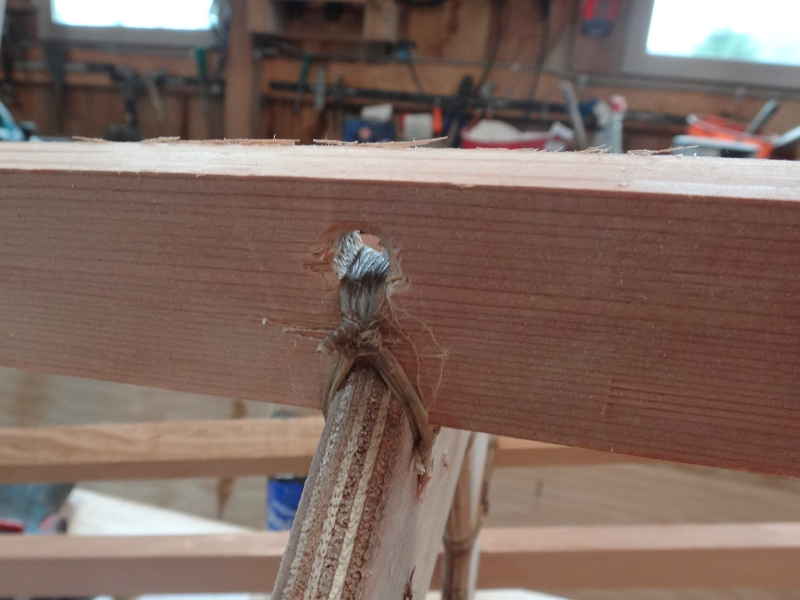
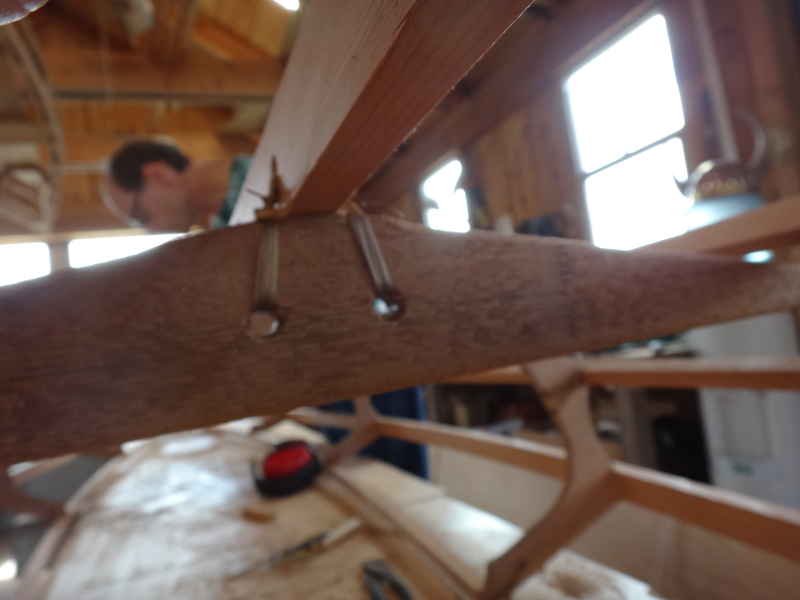
Rather than wrapping the sinew all the way around the keel, I overrode Geoff's objections (he's only a certified Naval Architect, after all) and decided to drill holes through the keel and run the sinew through there.
While this method works, it's really hard to tie off correctly. I'll make changes in the future.
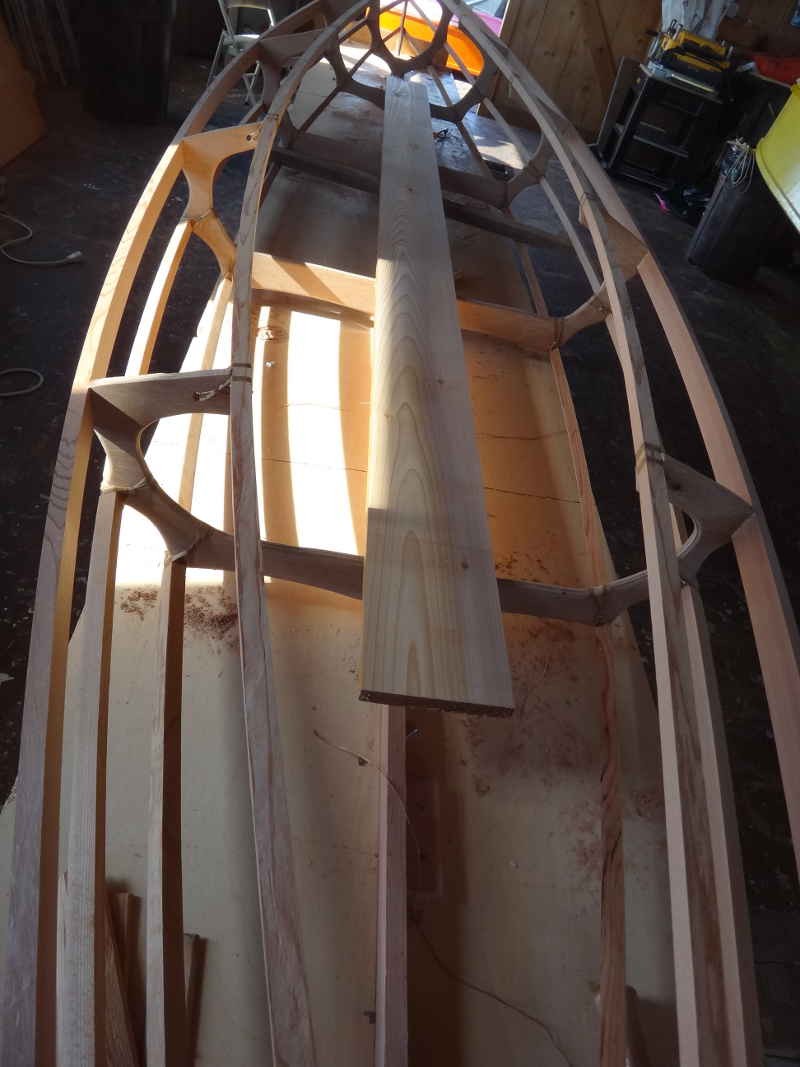
The floorboards are not all full length and they do not all fit in the frames without modification. We fiddled and fudged with them quite a bit to get it right.
The spaces between the frames is long enough we'll need supports. Geoff and I discussed options, then we went with my idea.
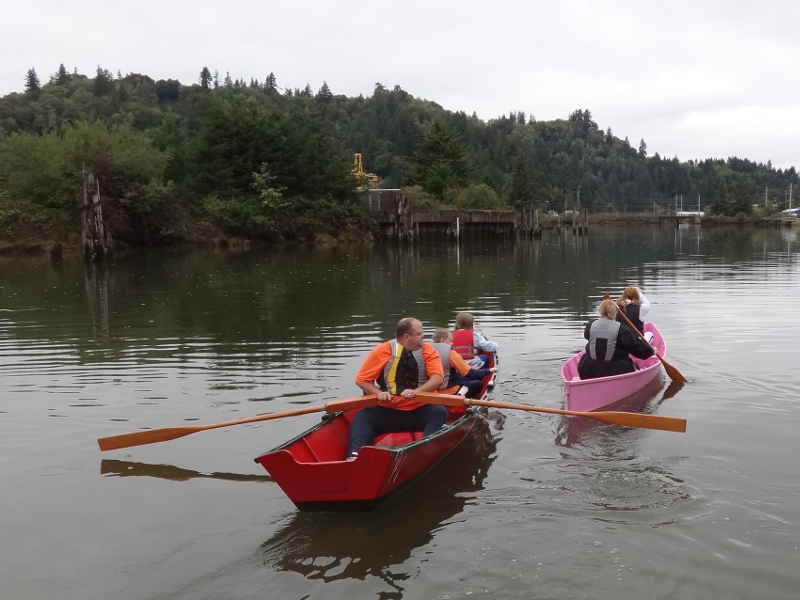
Visitors! This family wanted to go for a paddle - one canoe and one rowboat worked out great.
With the scarf joints cured and the edges routed with a 1/4" roundover bit, I still needed to make them pretty.
Belt sanders - is there anything they can't do? A smarter man would have picked wood that matched better.
While Geoff lashed on the floorboard supports, I cleaned up the floorboards themselves.
Told you Geoff was lashing on the supports.
Having learned from lashing the keel to the frames, we went with two holes on the supports and one through the keel. This makes tying off and tightening up very easy.
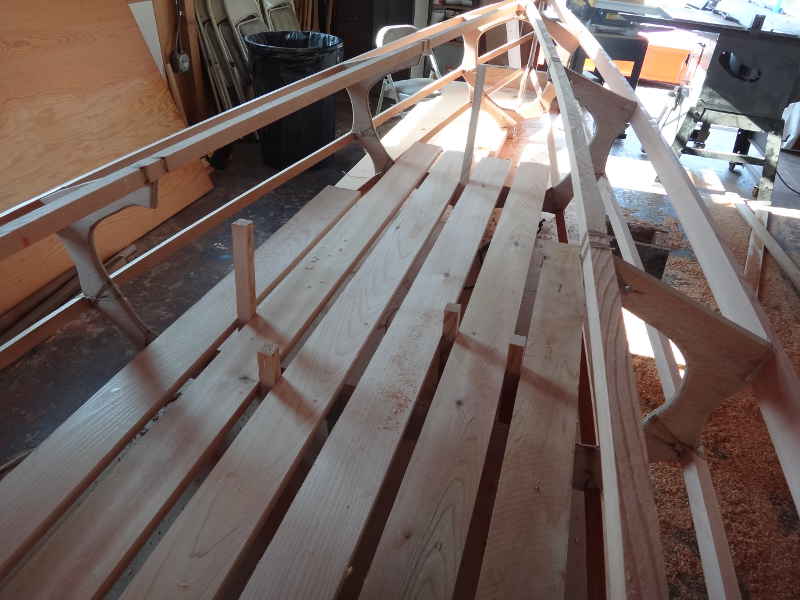
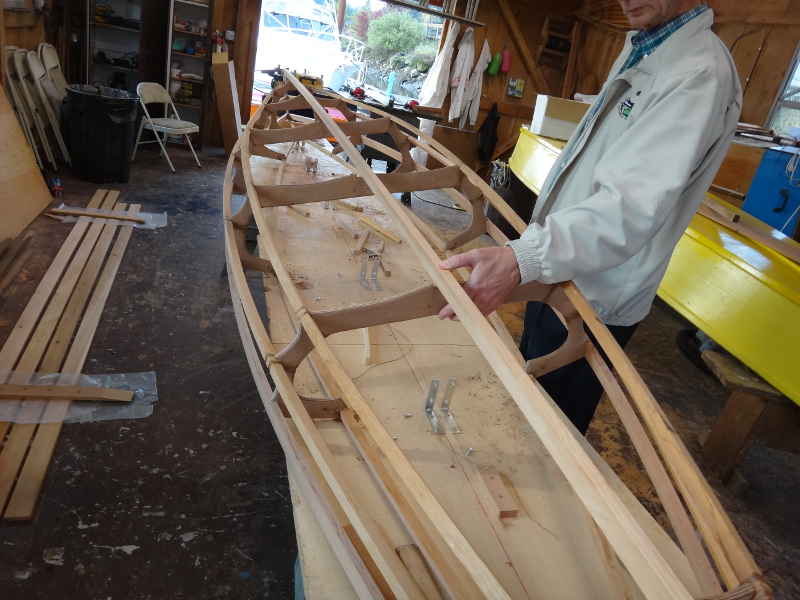
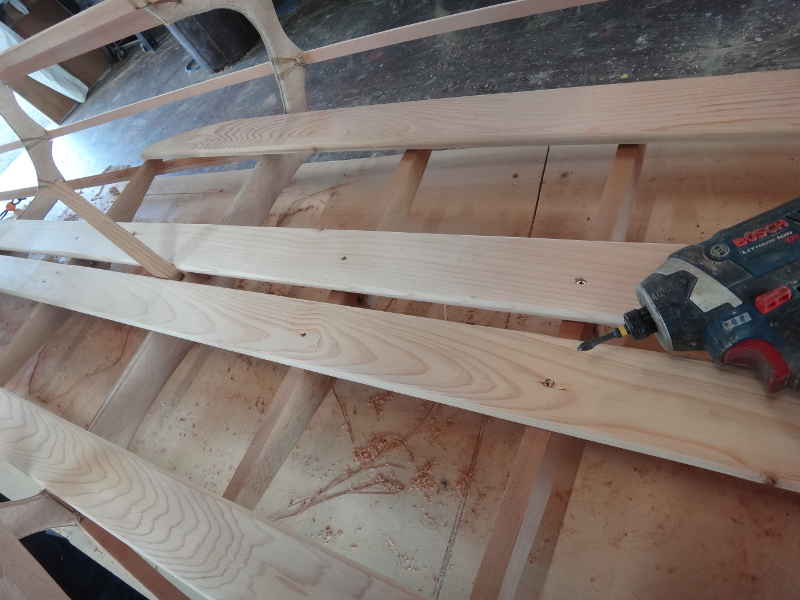
Starting the placement of the floorboards. Begin in the middle, cover up your mistakes on the way out. Floorboards are screwed to the supports so they can be removed individually and replaced, if necessary.
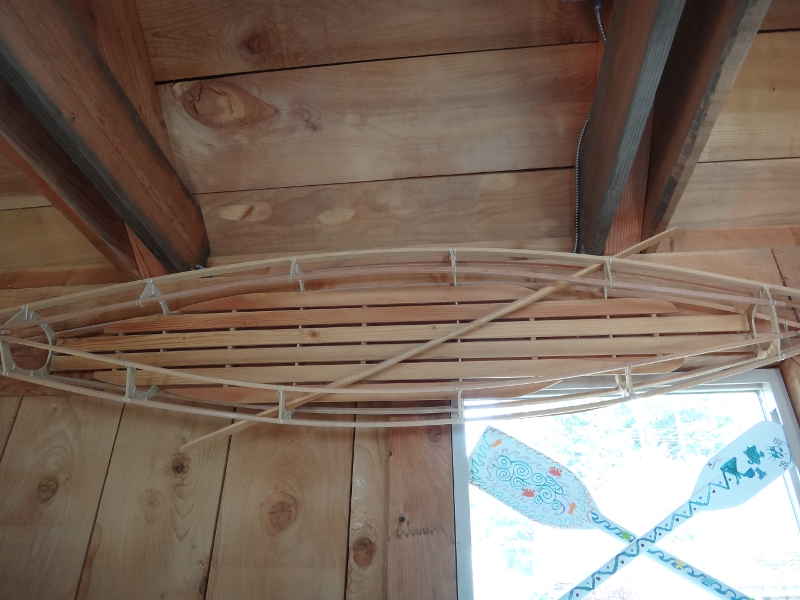
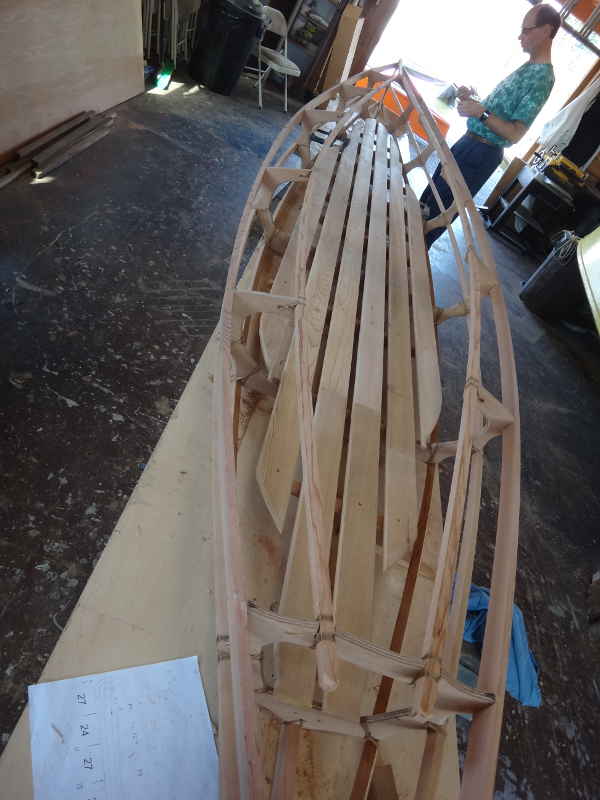
Finished except for skinning. Without floorboards, the skeleton weighed about 17lbs. After floorboards, it weighs about 35lbs. Skinning comes next.
|