|
Finalizing the Tik Tak and starting
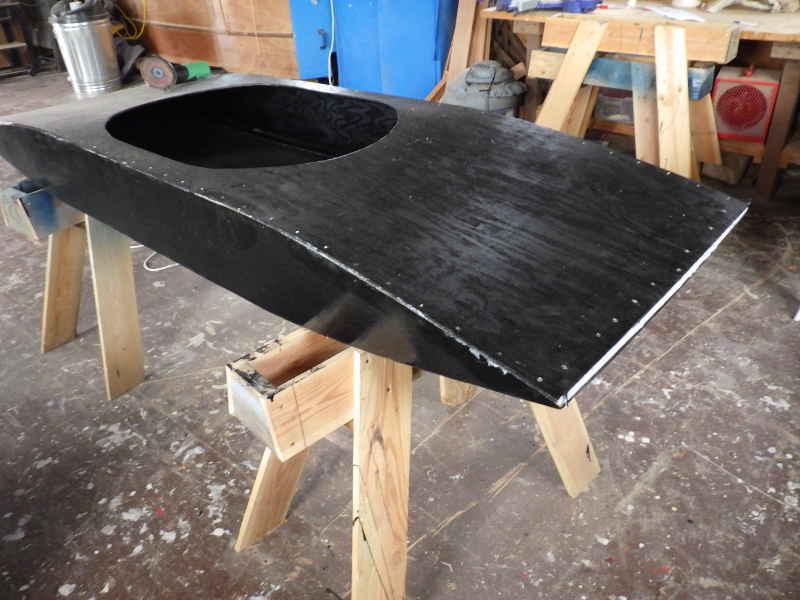
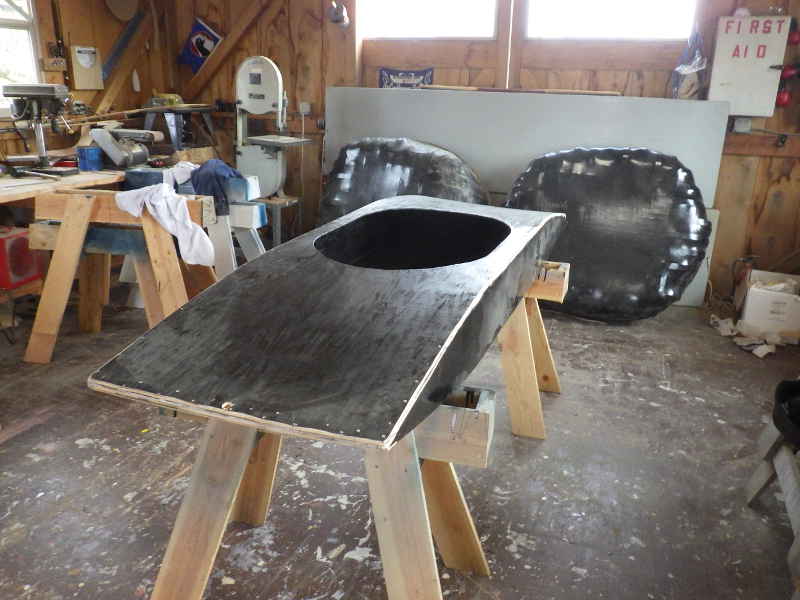
on the Kayaks (finally) When last we left the Tik Tak 8, it had two coats of paint and the top had been attached.
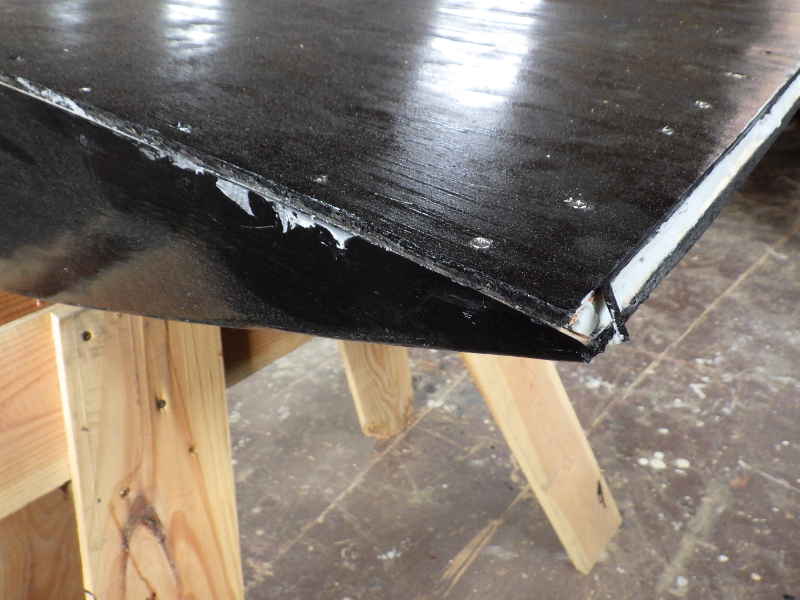
And there she sits. The interesting thing about square-ish boats is it can be very difficult to get all the edges to line up perfectly.
This 'lack of perfection' is one thing that frustrates neophyte builders and people who come to boat building from cabinetry. While we at the Boathouse strive for perfection, we are aware of it's crushing burden. Instead of being a slave to perfection, we do as well as we can, then bring out our friends.
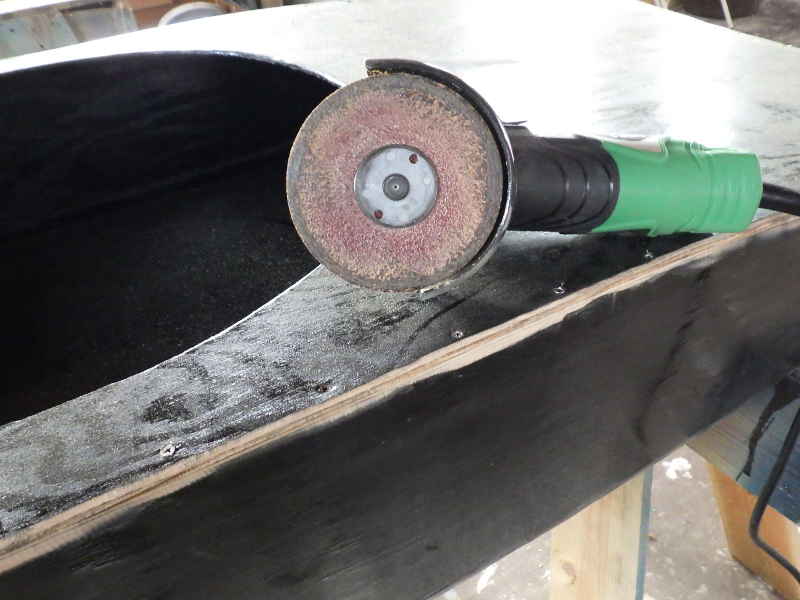
Use of a 4.5" angle grinder as a boatbuilding tool was introduced to me by one of my favorite designers, John Welsford. When fitted with a 36 grit sanding wheel, it's almost like using a light saber.
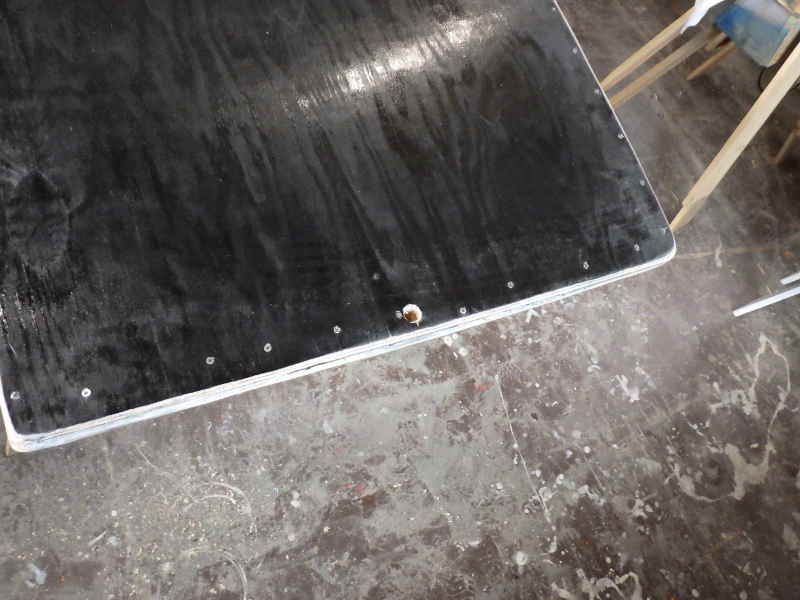
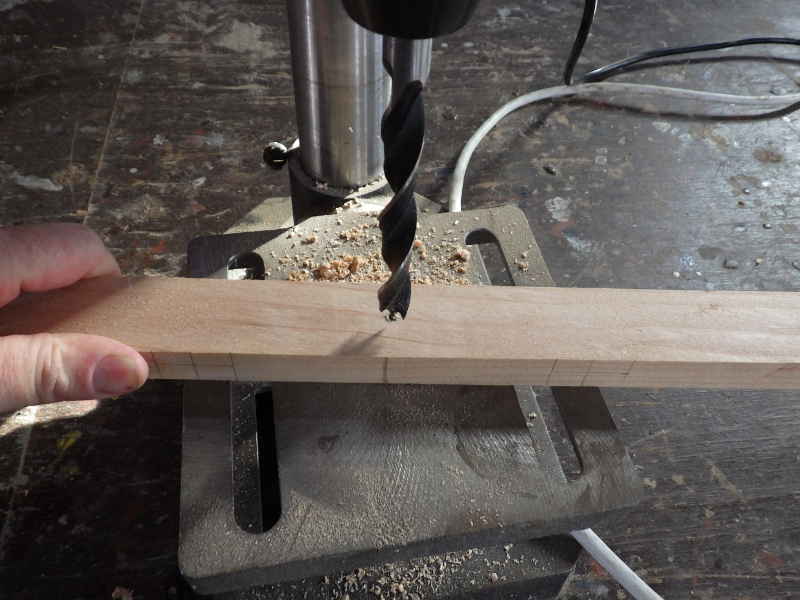
A 5/8" hole in the center of the stems makes for the perfect place to tie a painter. I put them both fore and aft because you never know how you'll have to tie off.
There she is, she just needs the edges painted. It's due to be sold at silent auction in a week, and patience wants to add some color to it, so I thought I'd do the touchup painting for her.
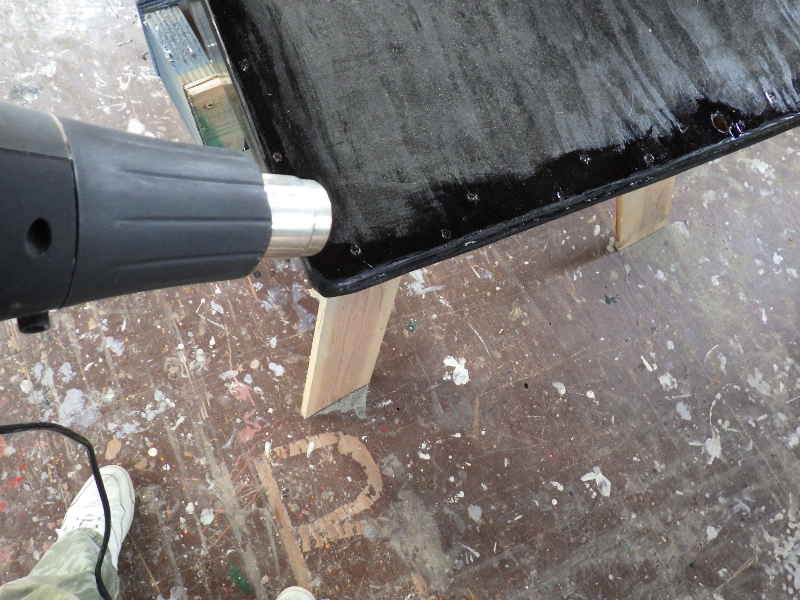
I wasn't sure when Connie and Patience would be by to pick up the boat, so I hastened the paint drying process with a heat gun. As it turns out, Connie will pick up the boat some time during the week, so this step was not needed. David said he'd put another coat of paint on her, which is always a good thing.
Saturday morning brought calm weather and some Canvasback ducks (Aythya valisineria)
This is the kayaks we are making, Sugpiaq-Alutiiqs, a hair over 14.5' long and a hair over 28" wide. My plan is to paddle the length of the Willamette (Eugene to Point Kelly, anyhow) in them this summer. I chose this design after consulting with Harvey Golden, a local resource who literally wrote the book on kayaks of the Pacific Northwest: Kayaks of Alaska.
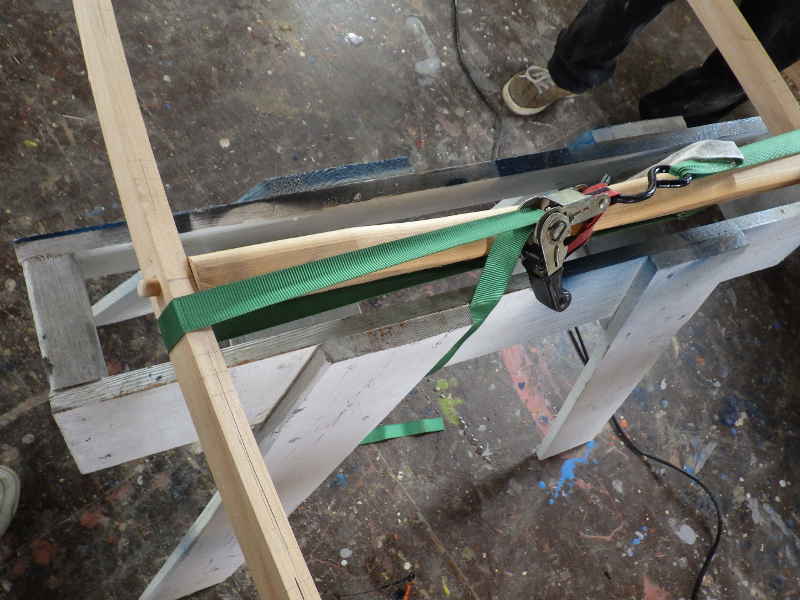
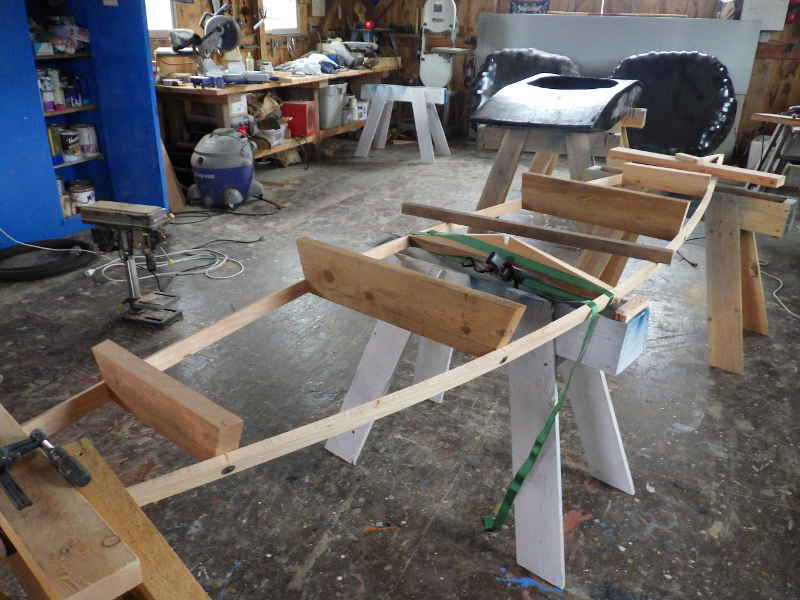
This type of construction has everything starting at the gunnels and deck beams. I will be pegging the deck beams to the gunnels using 1/2" dowel. Everything starts with the widest deck beam, and that's where the first deck beam goes.
The boat has a substantial flair to it. Since I am not actually assembling the gunnel/deck beams today, I am holding it all together with straps.
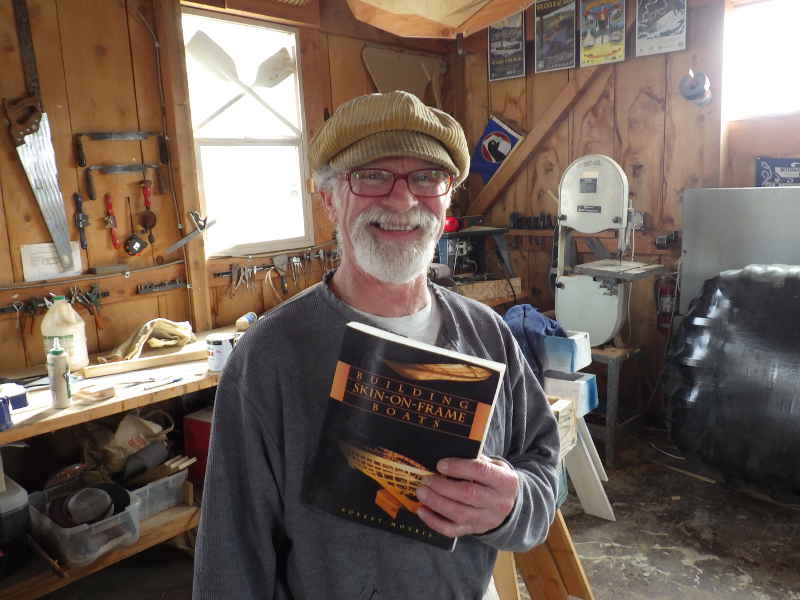
Friend of the Boathouse (and master shipwright,) Rick Johnson, stopped by to lend me his book, Building Skin-on-Frame Boats by Robert Morris.
Boatbuilding is about 92% standing around, talking about boat building. I was, trimming up the ends of the gunnels.
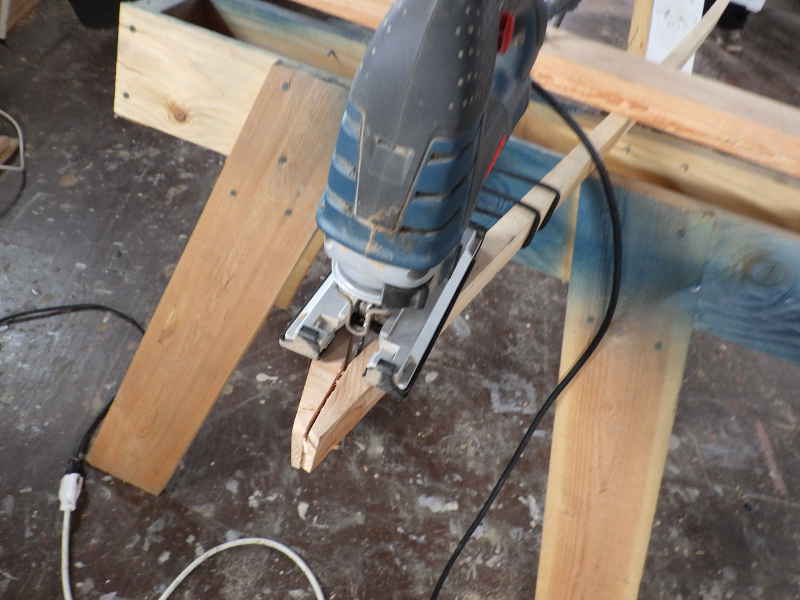
In Building the Greenland Kayak, Cunningham talks about fitting the ends by clamping the ends together and drawing an aggressively toothed handsaw through them. I tried that and immediately cut my thumb. Obviously, the next step was to mechanize, because why risk a simple flesh wound when I could potentially cut the whole thing off? This particular saber saw has an oscillation setting that makes it particularly aggressive and . . . it actually worked quite well.
And here it is. The next step will be to cut the mortises for the ribs and cut the deck beams to shape. After that, it's make the stems, put the gunnel/beams together, attach them to the stems, and pull it all into shape with the keel.
|