|
Getting to the Skinning When last we left the kayak build, we'd attached the stringers and given the hull its final shape.
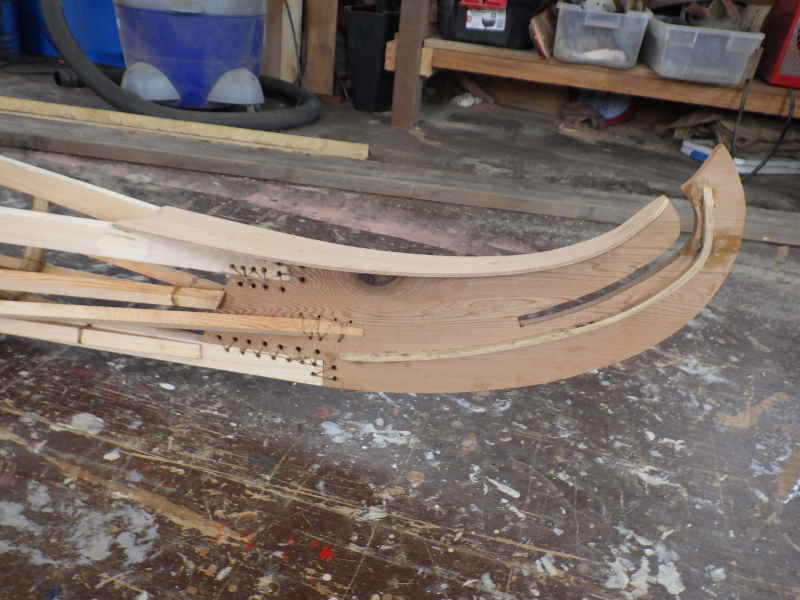
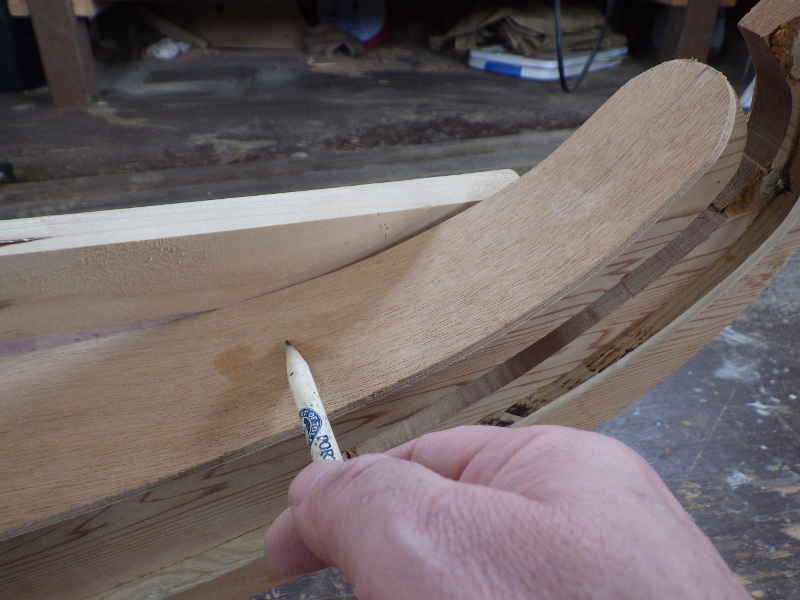
This is how the bow turned out. I'm pretty pleased with it.
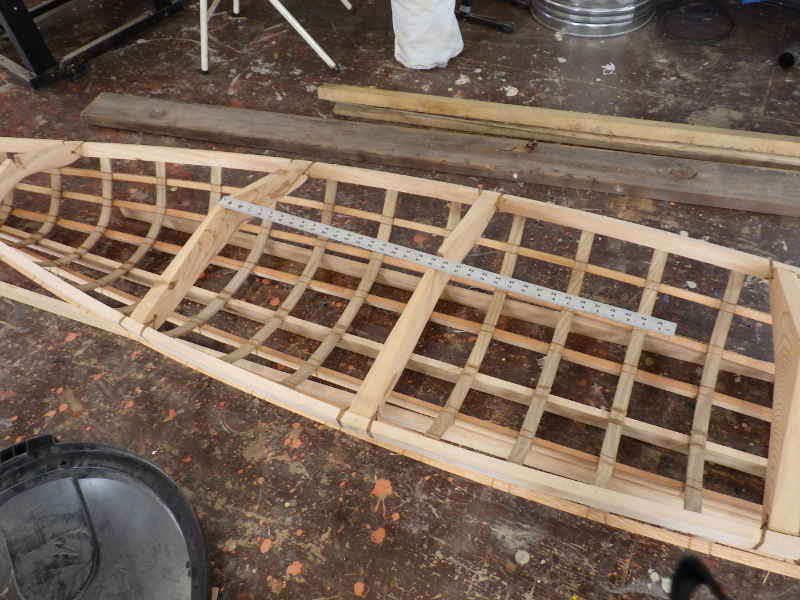
I set the boat on the ground, stabilized it a bit, then tried crawling in to check out the ergonomics. It didn't go well - it was a very tight fit and I nearly got stuck. I decided I needed to move the forward cockpit deckbeam a little more forward, which means the aft cockpit beam has to move forward as well.
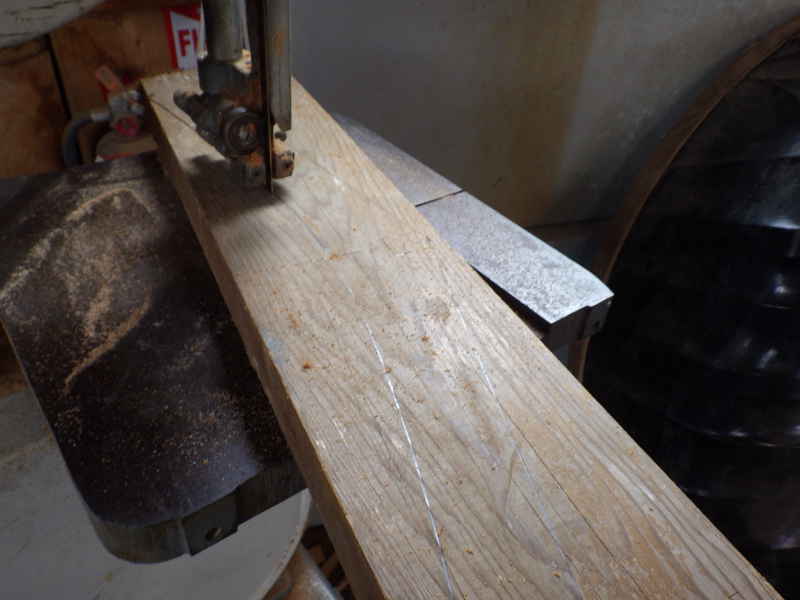
I needed to give more arch to the beam, too, so I needed to fab a new beam. Easy enough.
This is kind of scary.
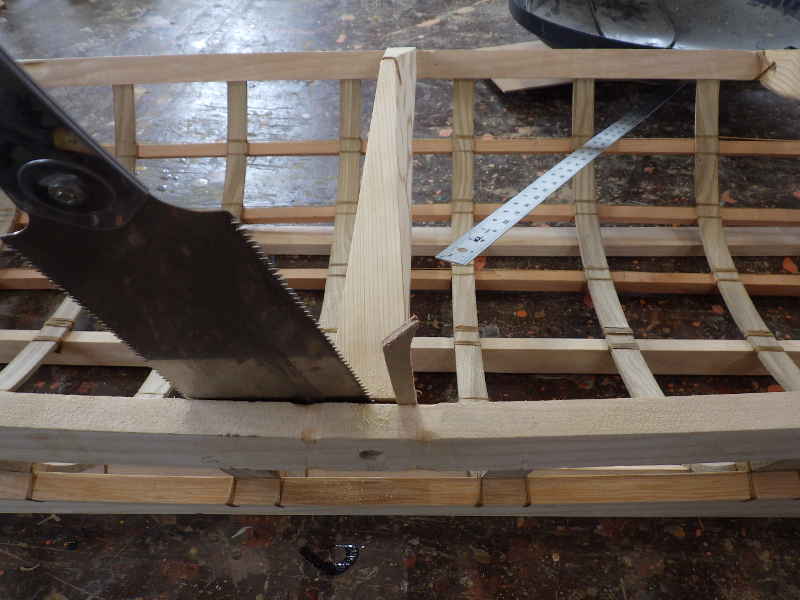
Test fit before going through the bother of final shaping. It's going to work fine. What was that noise?
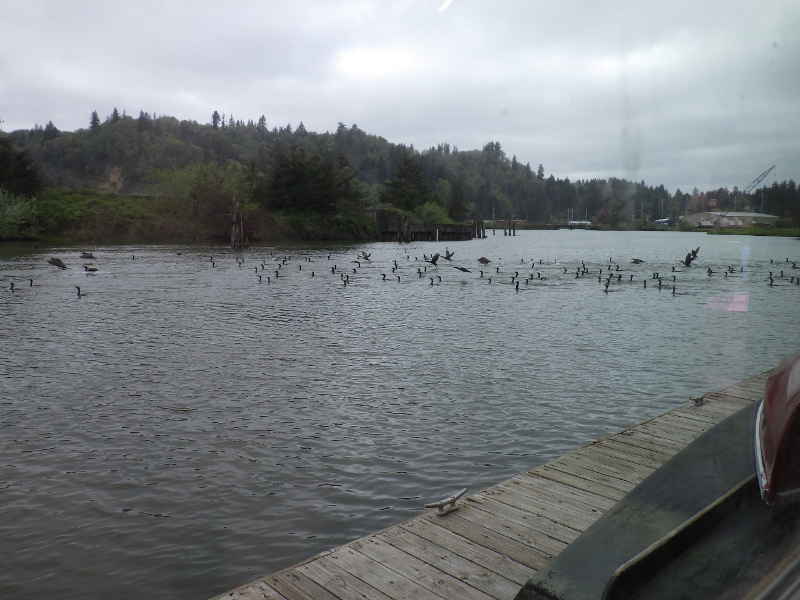
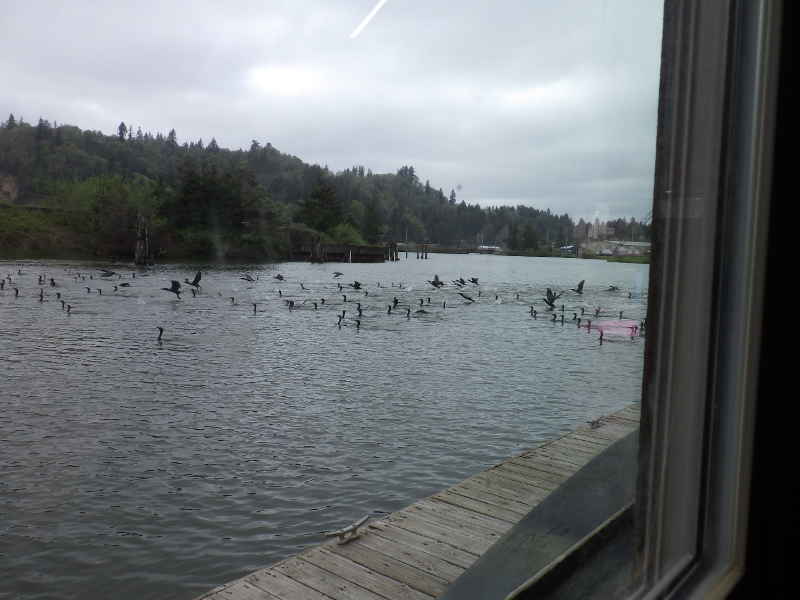
Where did all these cormorants come from? We always have two or three of them in the slough, but I've never seen more than four. This was odd.
They weren't even hunting - none of them were diving. A few of them would fly forward a bit, then land (water?) again. I thought they did their breeding thing in Monterey.
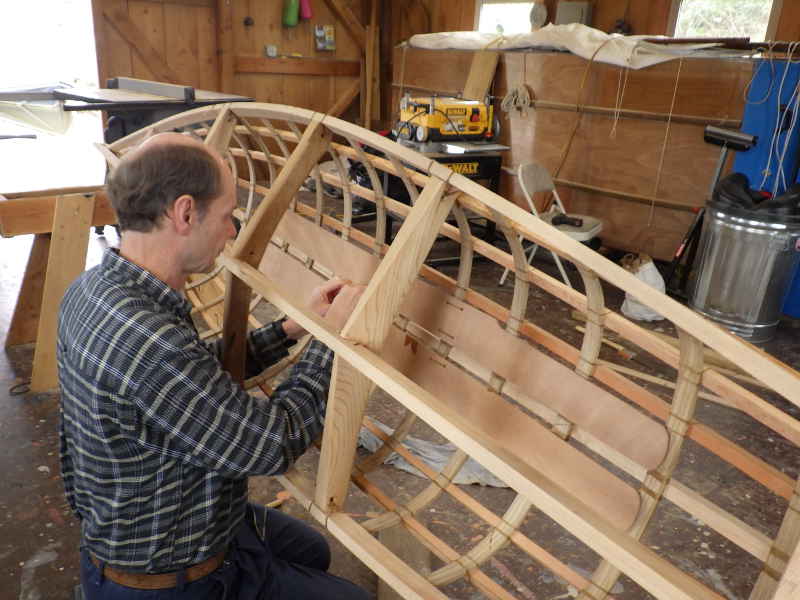
Once I got the deckbeam fitted, I needed to get the king plank on (I think that is called a king plank - I should probably read more.)
King plank lashed in.
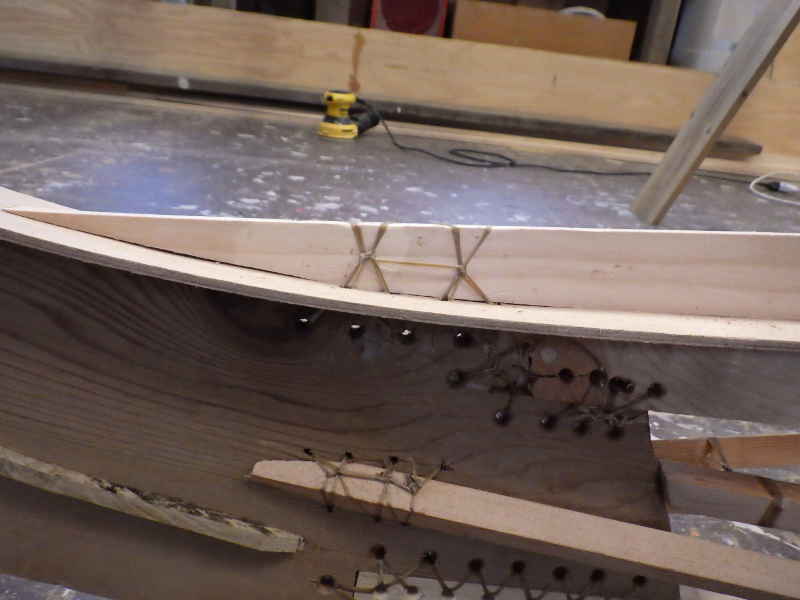
Here's how I did the king plank lashing for the forward beam.
And this is how I did the lashing at the cockpit.
There it is. Enough for one evening. The aft king plank is just set in for now.
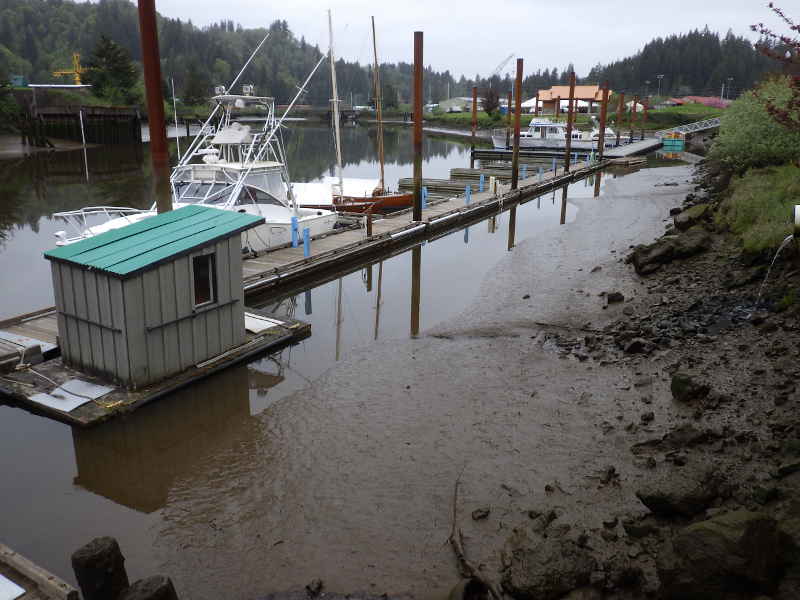
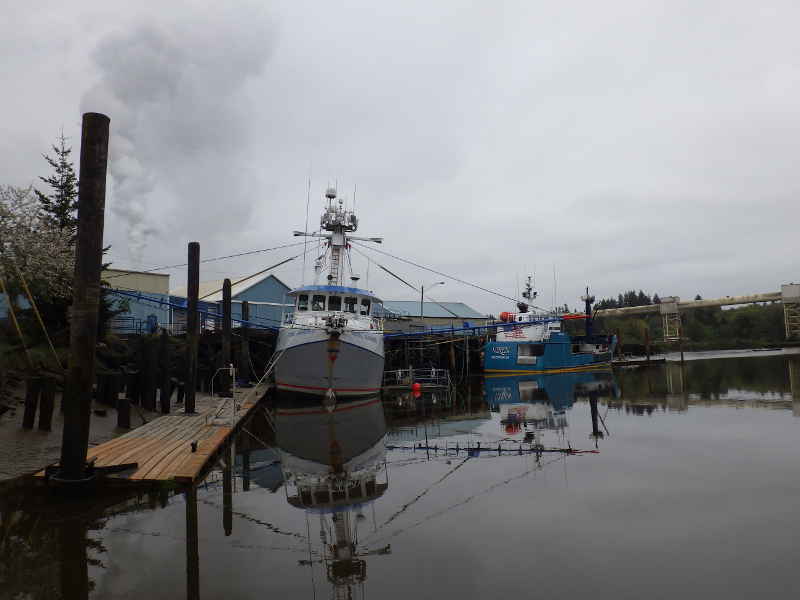
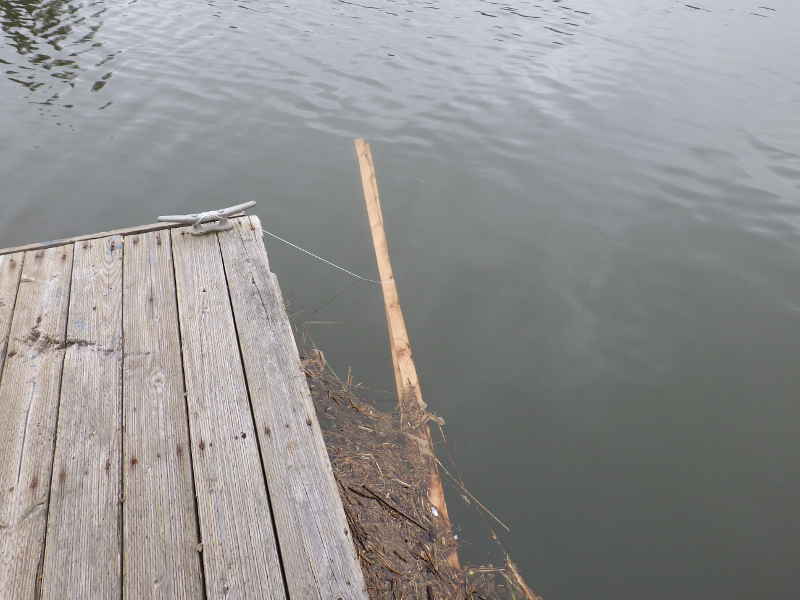
Wow, that's a low tide.
A really low tide - even the Royal Mariner was a wee bit aground.
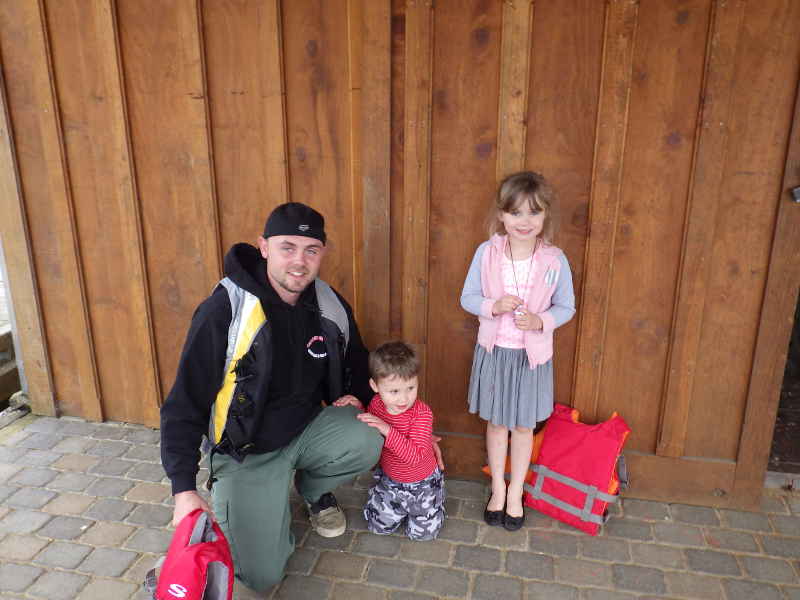
Visitors! Luke was walking with his kids, Owen and Zoey, and accepted my invite to go for a paddle.
That's a nice picture.
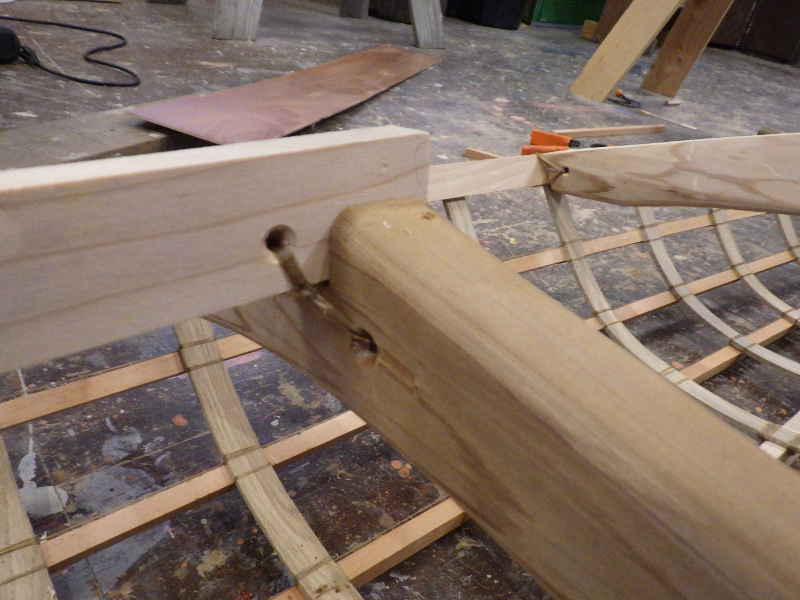
Time for work. The aft king plank didn't really rest 'naturally' on the stem. I could trim the deck beams or notch the king plank, but . . . .
Clamping and lashing will do the same thing - with less work.
Max telephoto makes for bad photos, but I thought this one of a cormorant in flight with Luke and the kids in the background was nice.
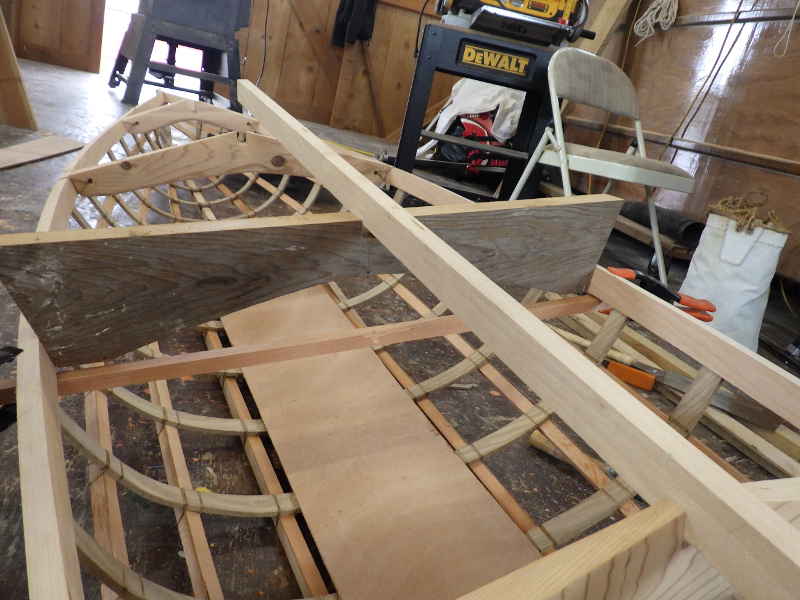
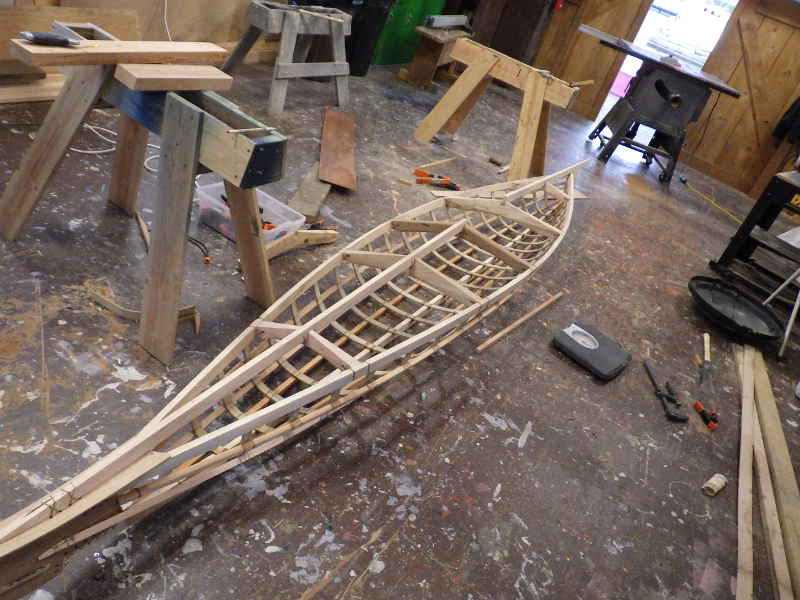
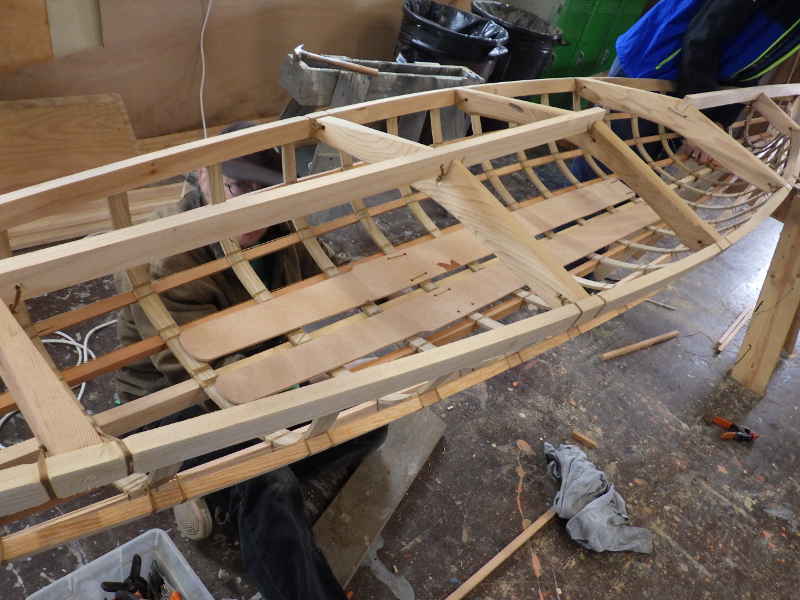
I decided to install some floorboards to distribute the weight of the paddler over several ribs and also make it easier to slide in.
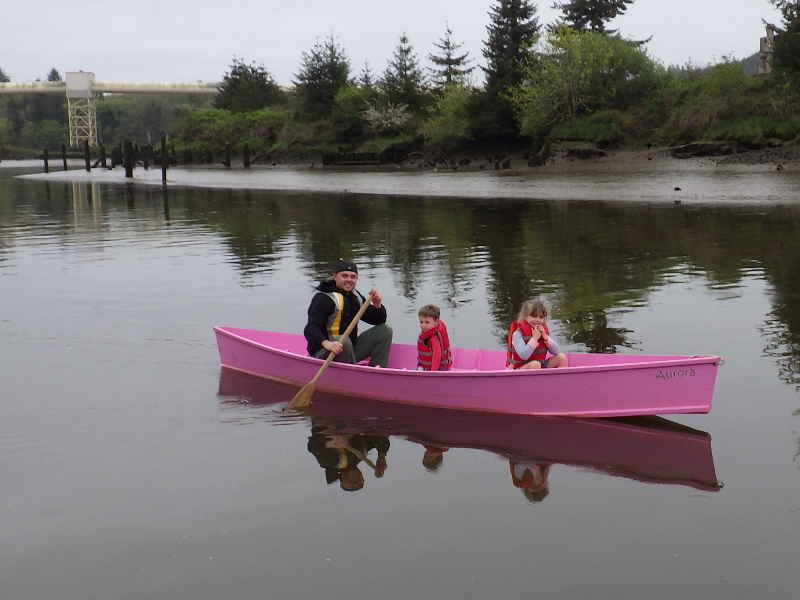
That looks really nice.
That's an excellent photo - it'd make the cover of Skin-on-Frame Kayaker, if there were such a magazine.
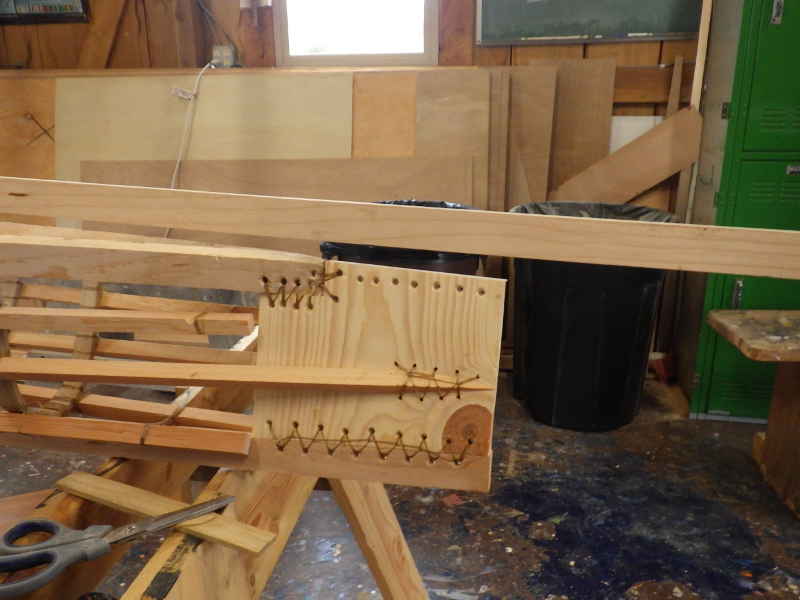
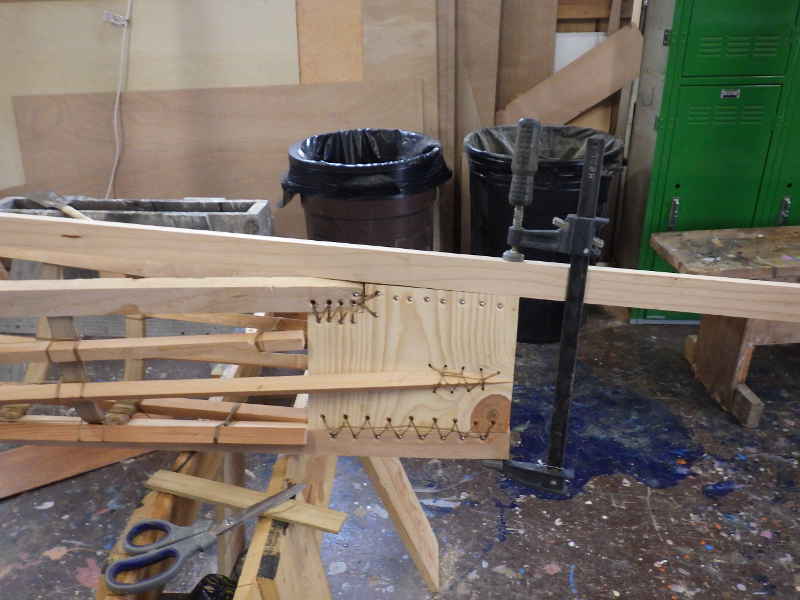
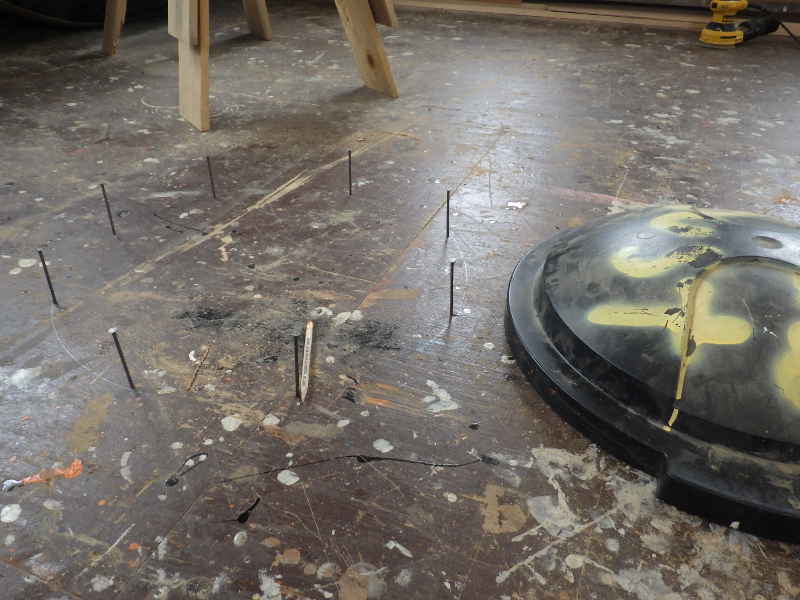
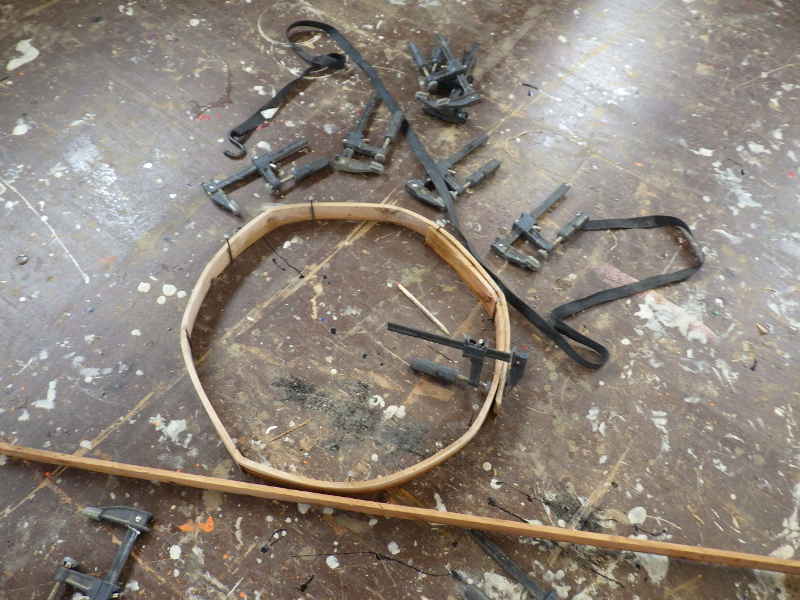
These sticks will become the coaming - a 22" circle that forms the rim of the cockpit. I have a lot of questions about how this is going to work, so this will be an experimental effort.
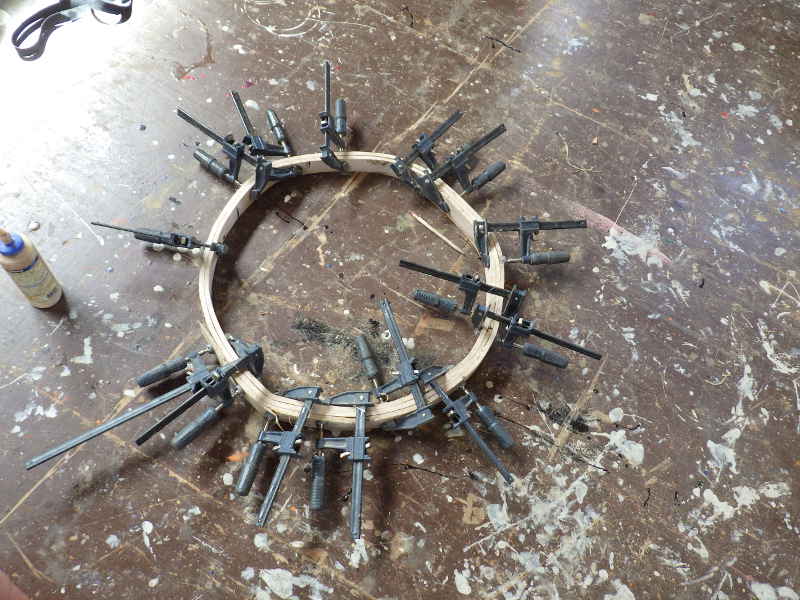
Interesting fun fact: A garbage can lid is nearly 22" in diameter. My idea is to bend the wood around the nails.
As previously mentioned - the wood is not ideal and it cracked a bit. I'll do a couple more layers just for fun.
.I'll let this sit for a week and see how things are.
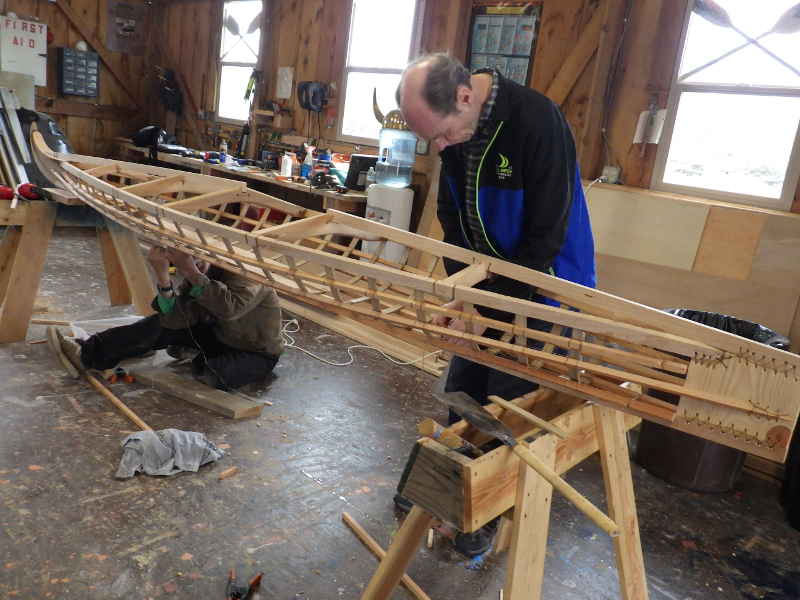
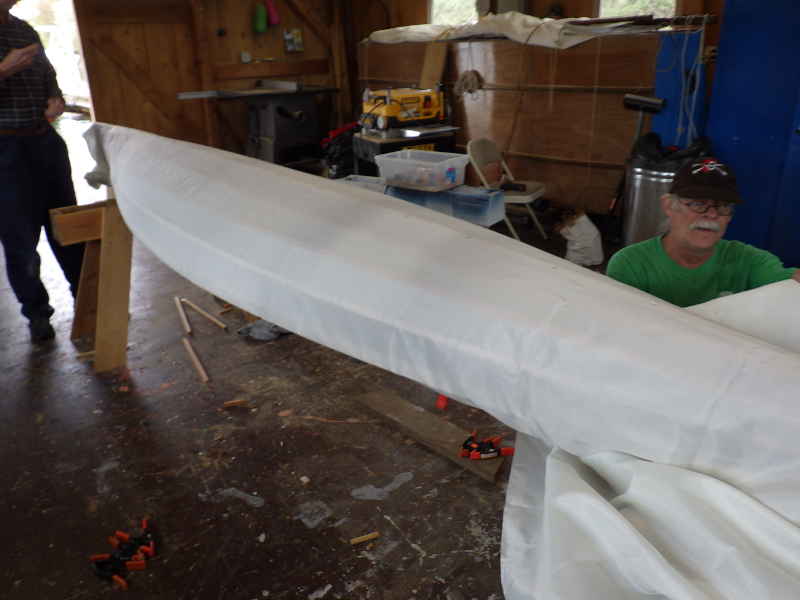
It was time to get to skinning. We are using 72" wide 8 ounce polyester for this - the same skin we've used for the coracles and other builds.
We used thumb tacks to hold the skin in place while we sewed the ends.
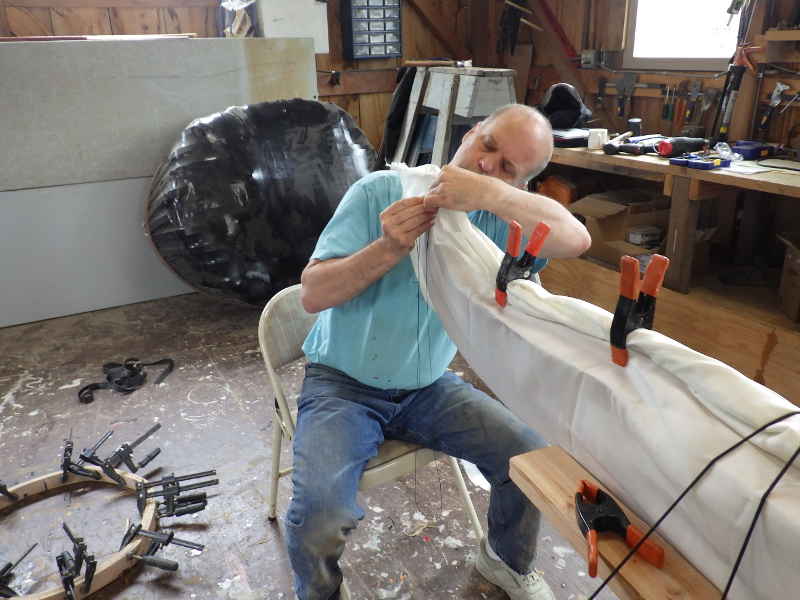
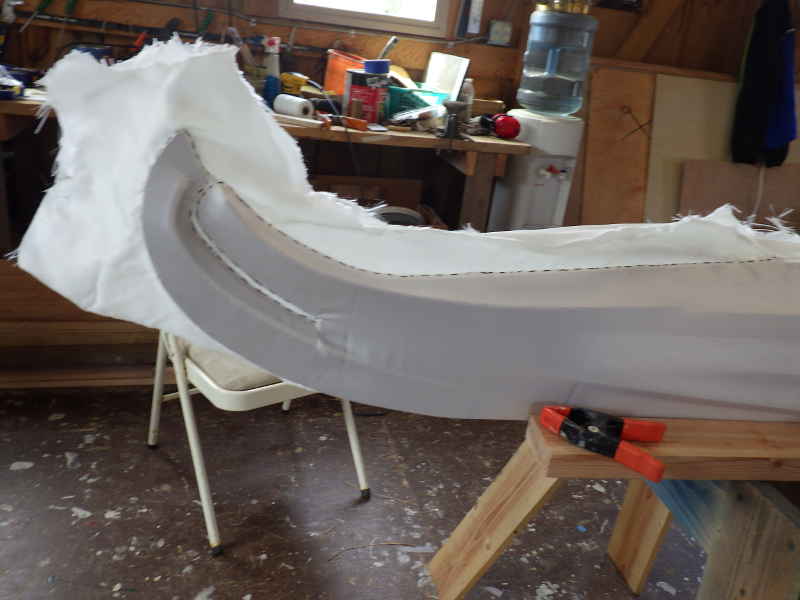
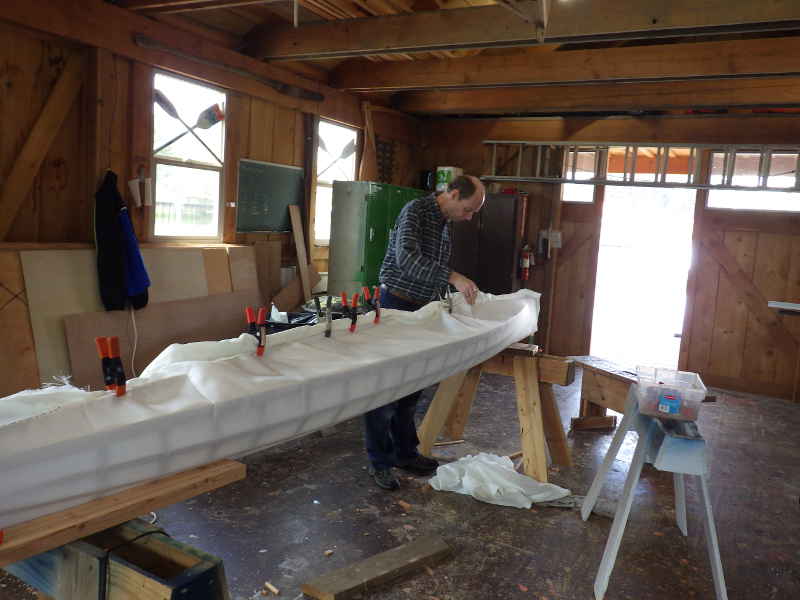
Once we got the ends stitched, we flipped it up and started on the top seam. We are using a simple table stitch at this point.
Here's where I got with the bow.
Geoff had the aft end, and it turns out he is really good at stitching. This is going to be beautiful. Next weekend we might finish up the stitching. The coaming will still be an issue.
|