|
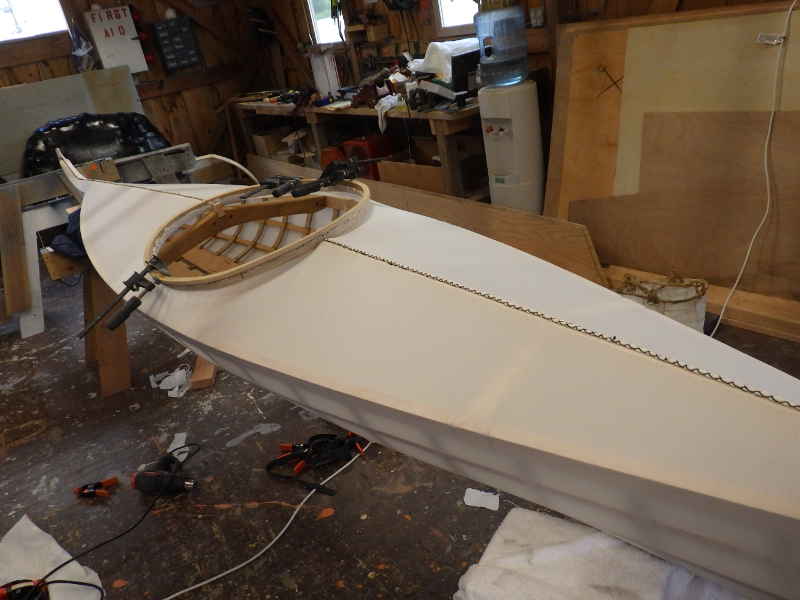
Finalizing the Kayak When last we left the kayak build, the skin had been stitched on and all that needed to be done was attach the hatch coaming, heat shrink the cloth, and paint.
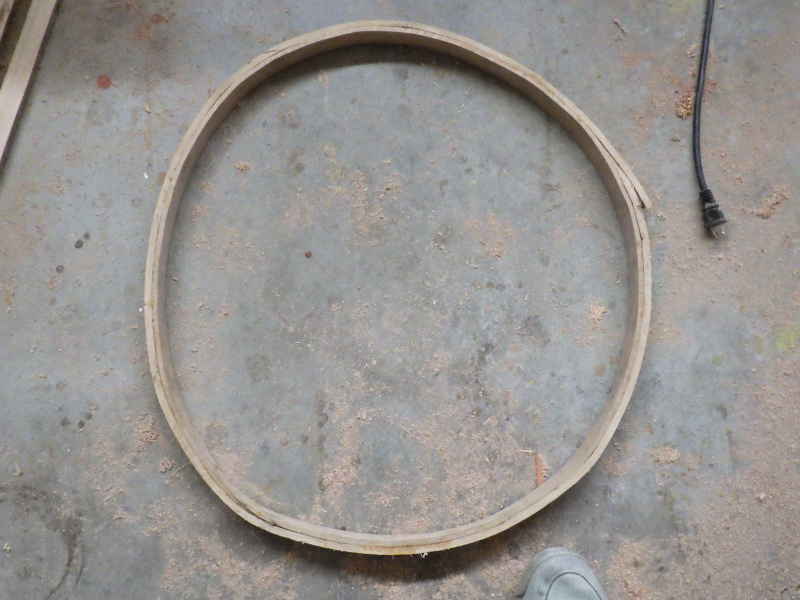
This is not a round hatch. It's "close" to round, but it's not round. The coaming is 1.5" tall and /14" thick. I then wrapped a 1/2" x 1/4" strip around the top to make a lip - in case anyone ever wants to use a spray skirt.
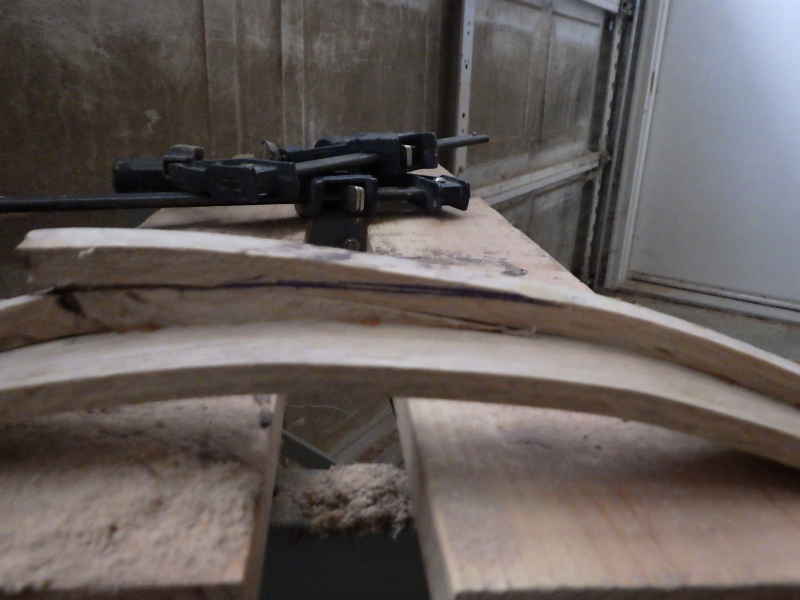
I was getting lazy and did a sort of 'reverse scarf' for the lip. I'm not particularly proud of this, so I won't explain how I did it.
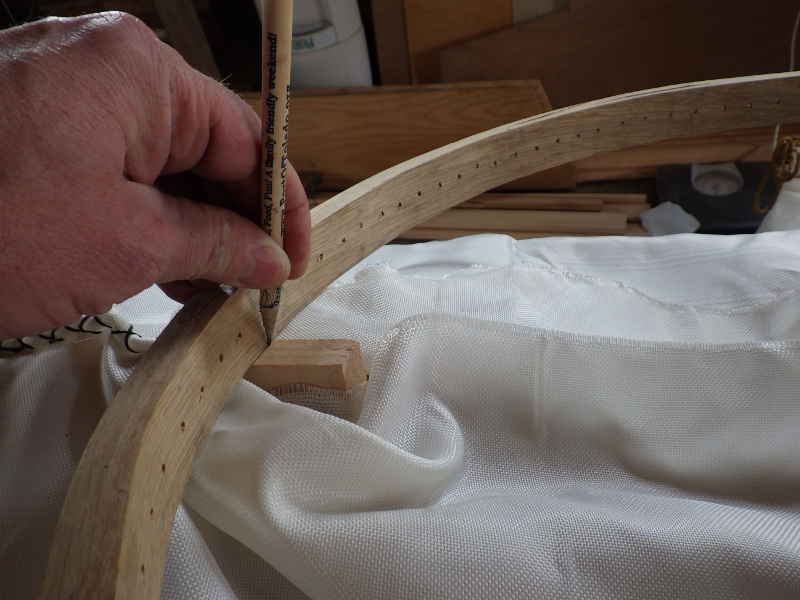
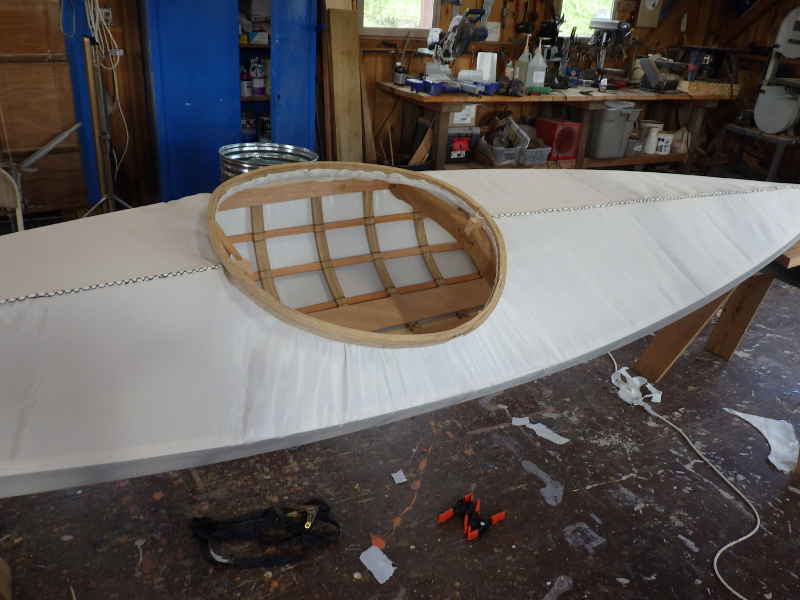
I watched a video on how to install the coaming and got an idea on the details. Things start going wrong from here on out. First, the hatch is too big for the space between the deck beams. I wanted the hatch to land dead center on the beams, it was about 2" over size. I am placing and notching the beam here.
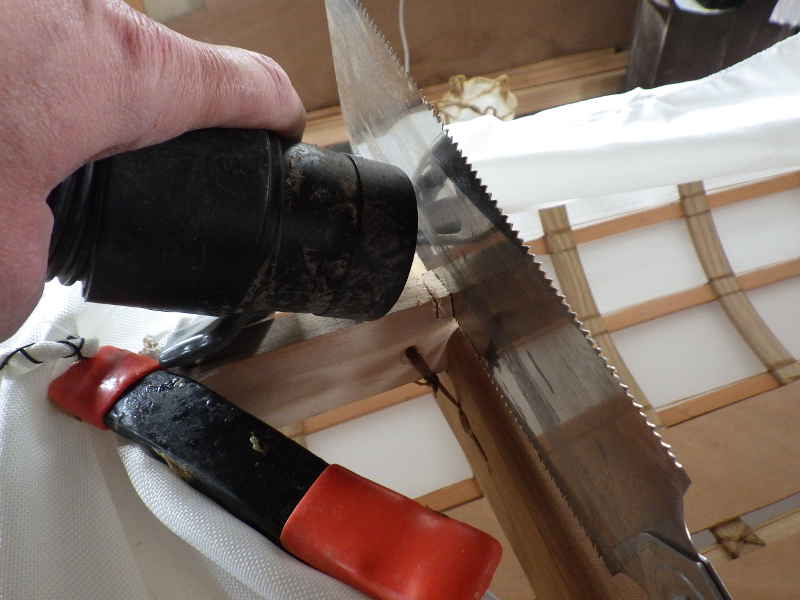
Pull saw to cut the notch. I had to be careful to not let sawdust get down in the boat, so the shop vac comes in handy.
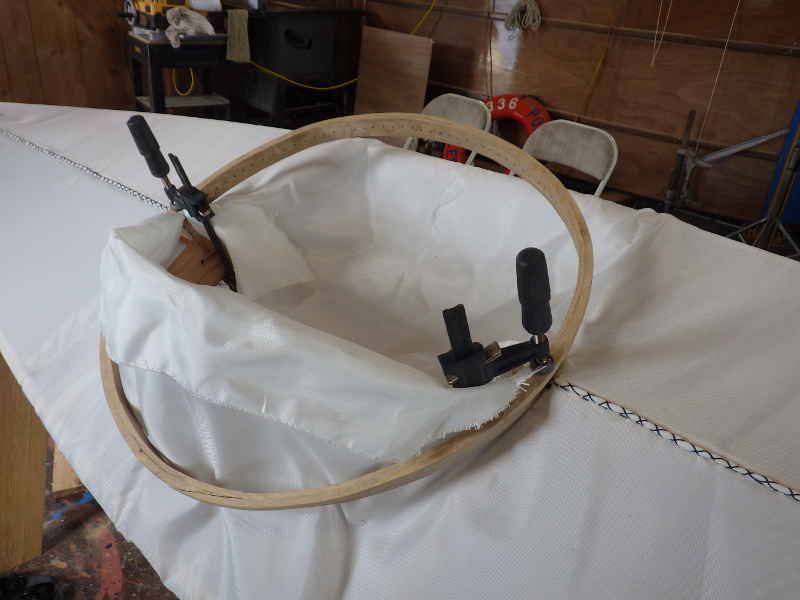
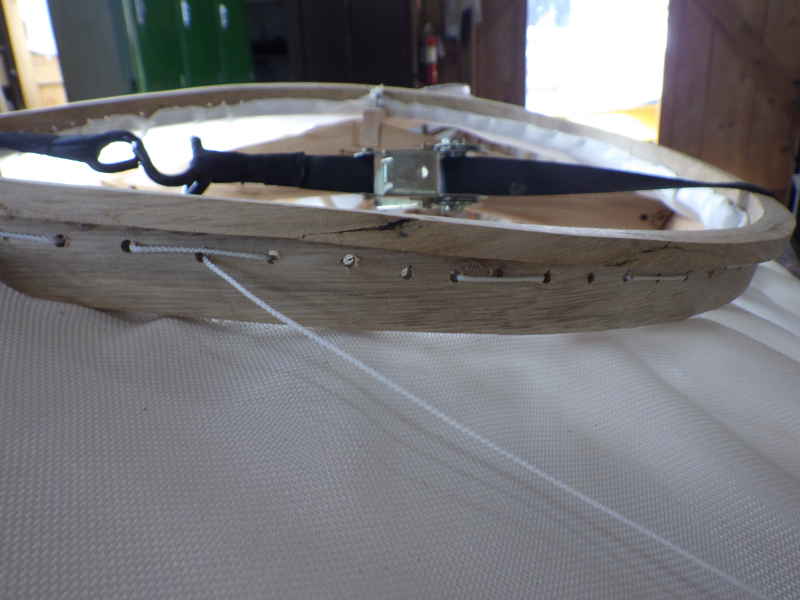
The coaming goes on top of the cloth, and the cloth comes up inside. I clamped the coaming in place, and set about cutting off the excess cloth.
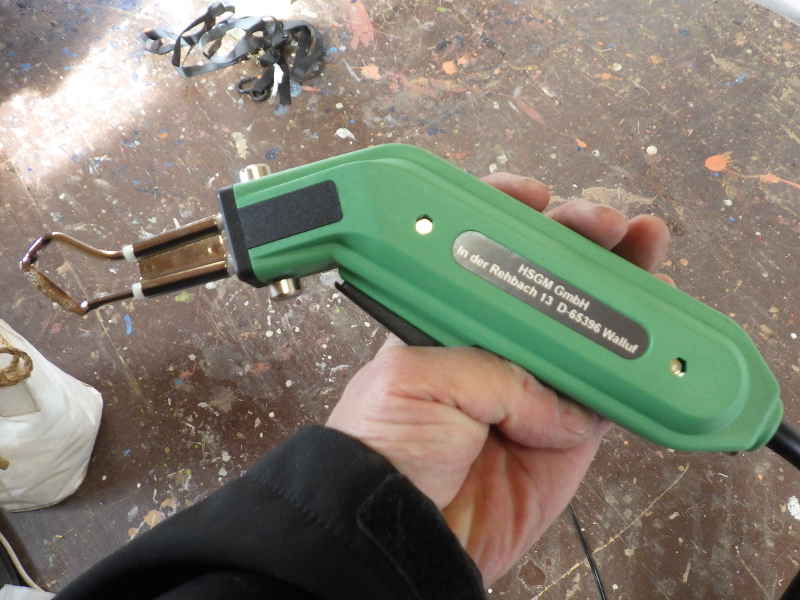
Up to now, I have been using a $20 Hot Knife from Harbor Freight and it works, but not well. I asked around for hot knife recommendations and picked the HSGM hot knife. Let me tell you: it is worth every penny of it's $125 price ($30 for the R-type blade.) Heats in seconds and cuts like a light saber.
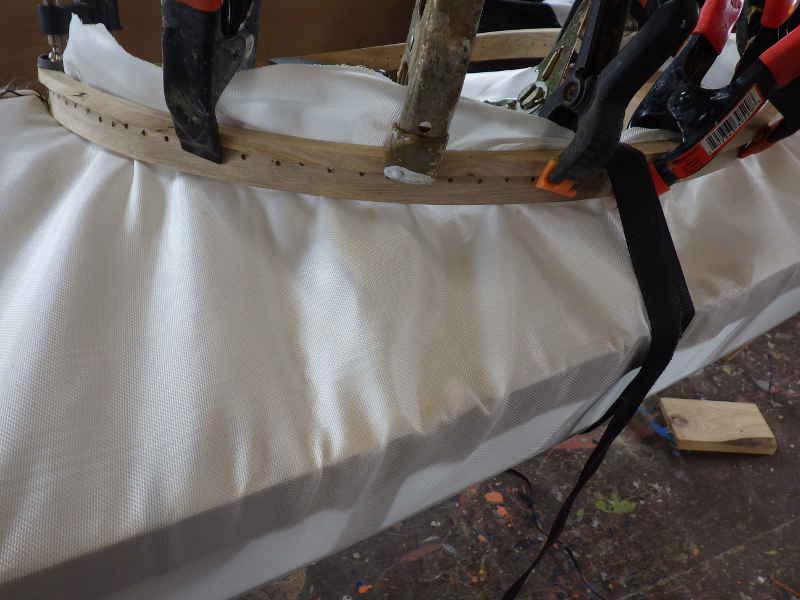
Oh, that's a lot of excess cloth. It is going to shrink enough?
I misunderstood the instructions on the video and did every other hole on one half, and the opposite holes on the other half.
It worked, but looked goofy.
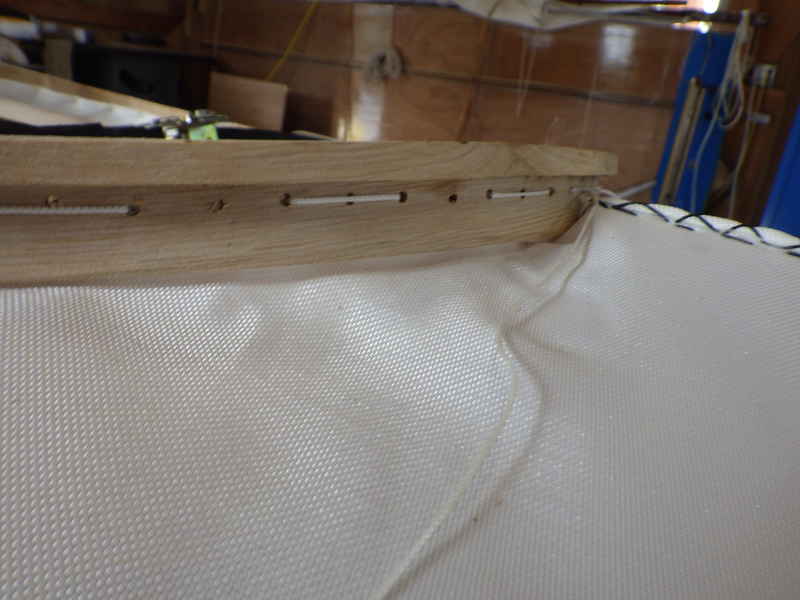
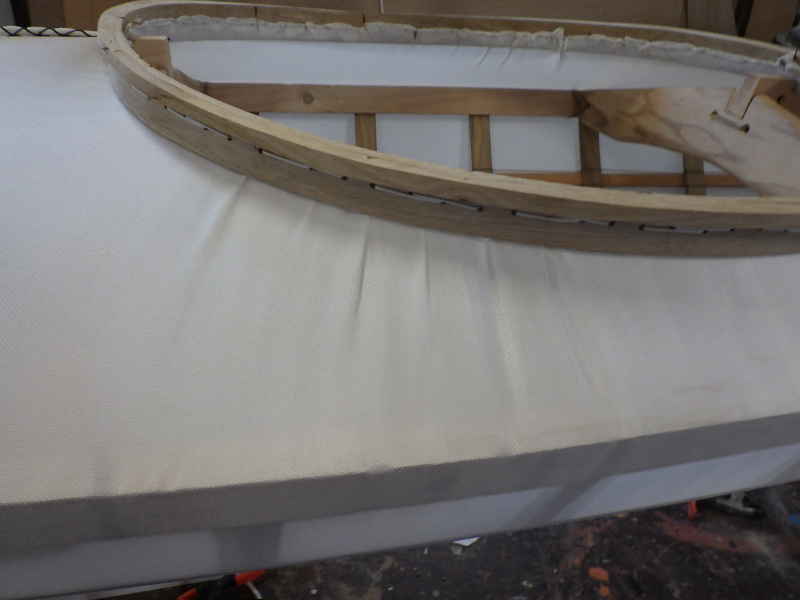
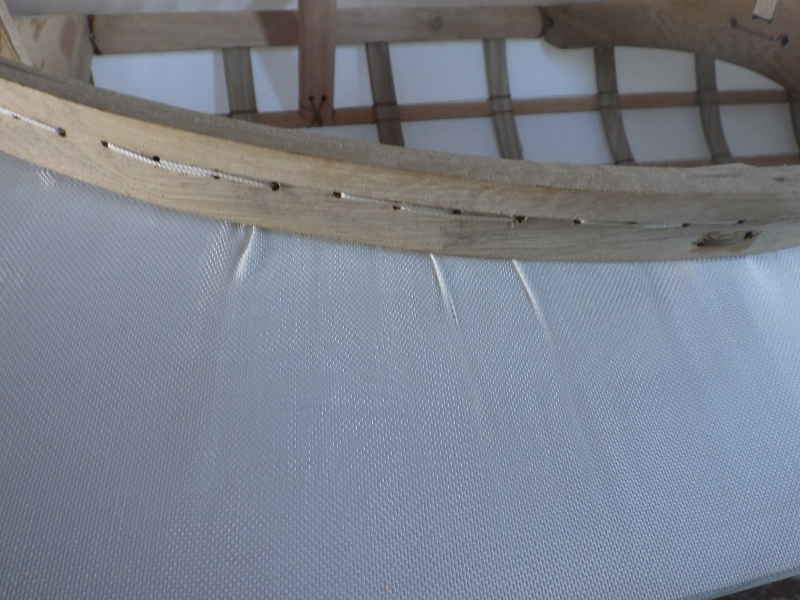
I did not get the the nice smooth inside edge they got in the video. And my skin wasn't very tight, either - but I hadn't done the heat shrink yet.
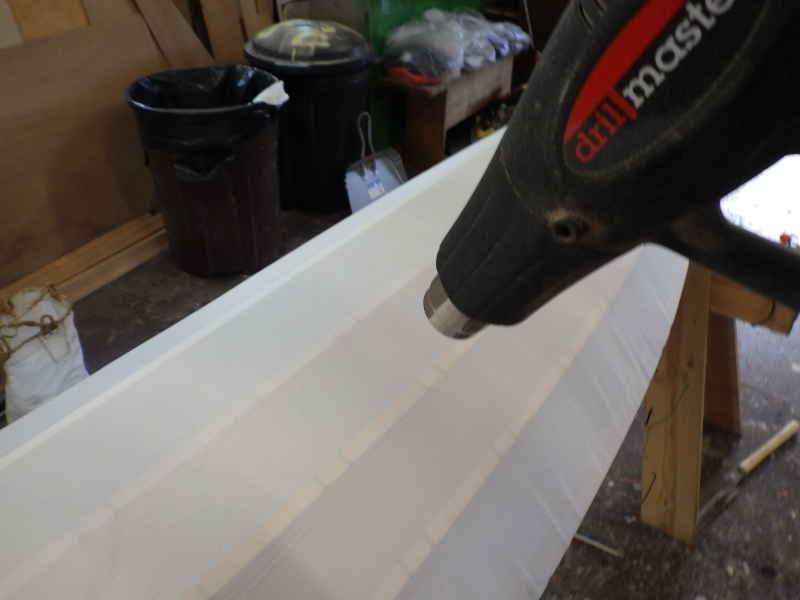
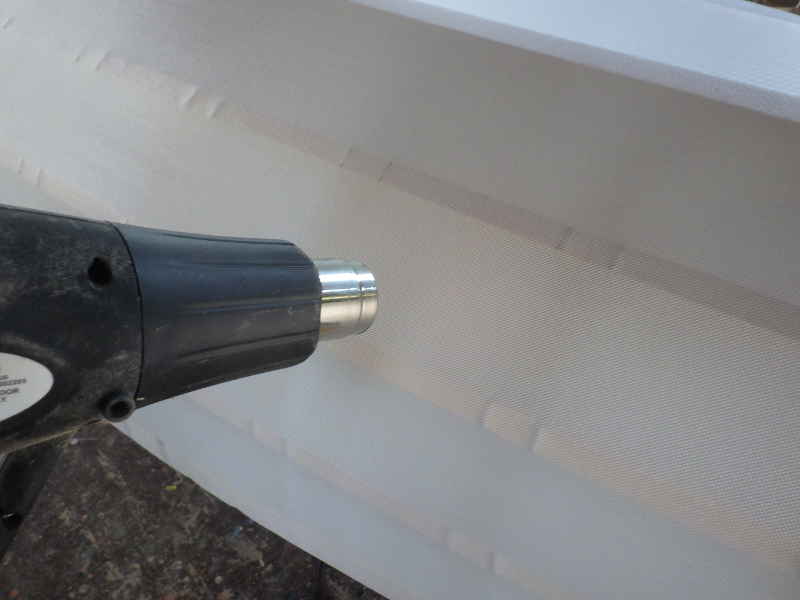
Time for the heat gun. I started in the middle of the bottom an ddid my best to work out. I thought, over the whine of the heat gun and the ambient noises of the shop, I could hear the frame contracting.
Things shrunk up very well, but not nearly as perfect as kayaks I have seen. It was time to close up, so I took some wet rags and wiped down the entire boat, getting it clean and dust free for varnishing in the morning.
From a distance, it looks great - but there are flaws.
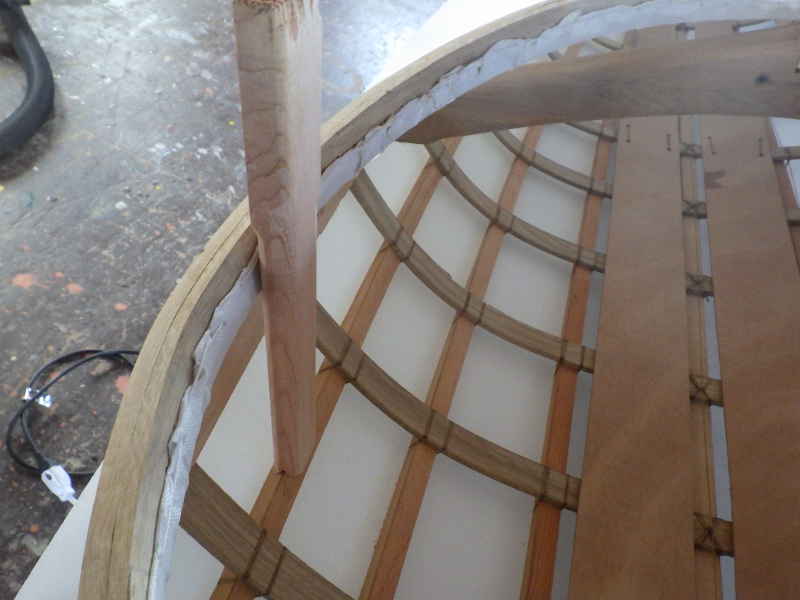
In the morning, I checked thing out and found the coaming flexed alarmingly under any kind of pressure. The drawings I'd worked from had stantions, but no details as to how the stantions were attached. I decided to see if I could add stantions. I notched the bottom to fit over one of the stringers and notched the top to fit under the coaming.
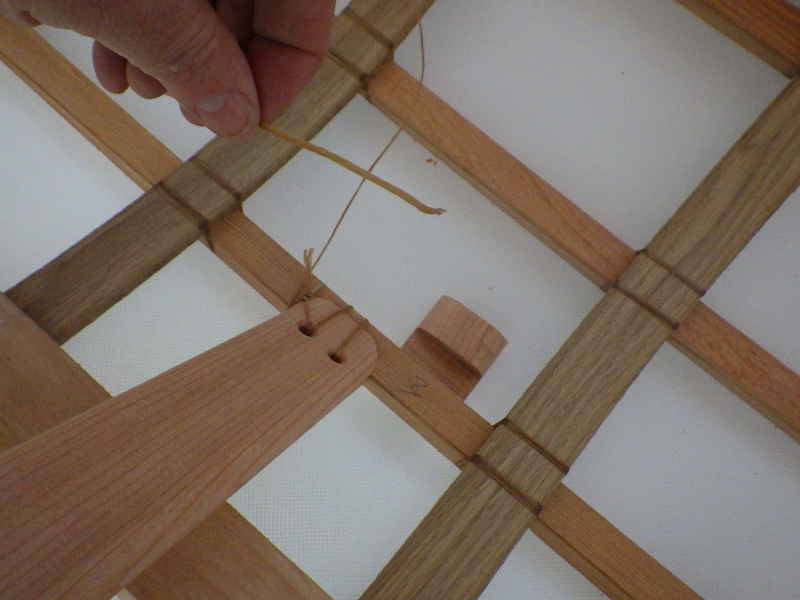
Lashing probably would have been easier without the skin on, but I just held it away with a little block wedged between the skin and the stringer and went for it.
Lashed at the bottom and top, they seem pretty sturdy. I wonder how they'll hold up.
Time for the heat gun again. I wanted to make sure it was as tight as I could get it. Again, I started on the bottom, in the middle.
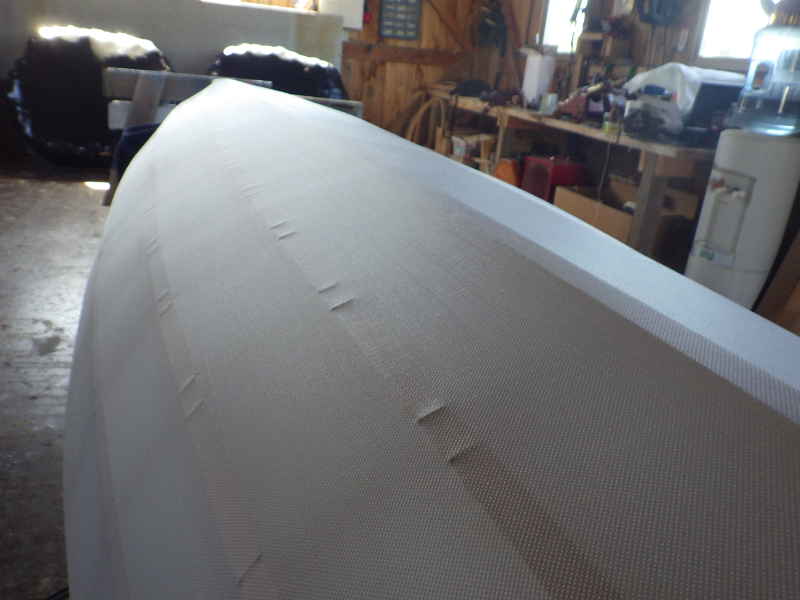
That looks pretty good. Time to flip her over.
That came out shockingly well. Those wrinkles I couldn't get out are caused because I bunched up the cloth while I was stitching. Not perfect, but certainly acceptable to me.
I have to do the varnishing in two parts: Top and bottom, so I decided to do the bottom first. I'm not sure that was the right choice. There's lots and lots of different coatings people use, from paint to home brews. Ace Spar Varnish has a good reputation, and there is an Ace right there in Toledo.
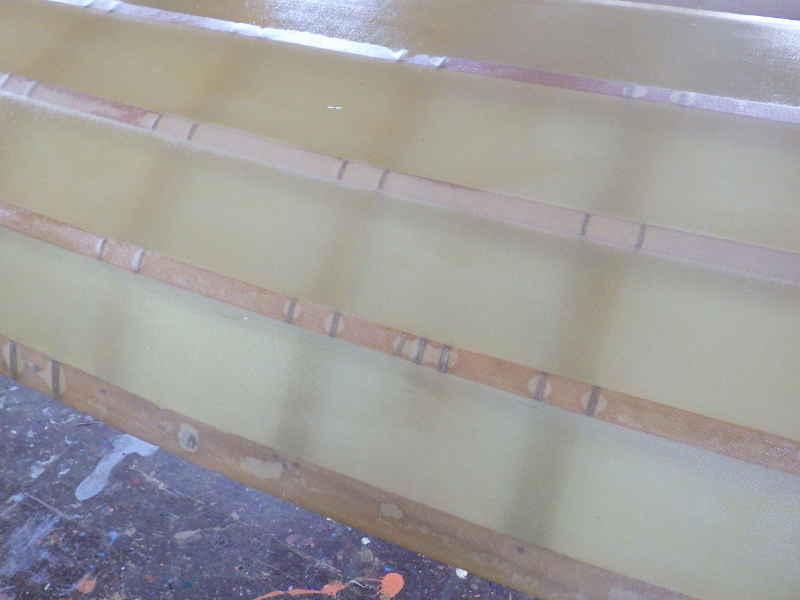
It took about 2/3 of the quart to cover the bottom. Again, this is one of those paint jobs that looks great from a distance, but . . .
Up close, you can see where the varnish soaks through to the wood - and it is uneven. I'll ask around and see what - if anything - I am doing wrong.
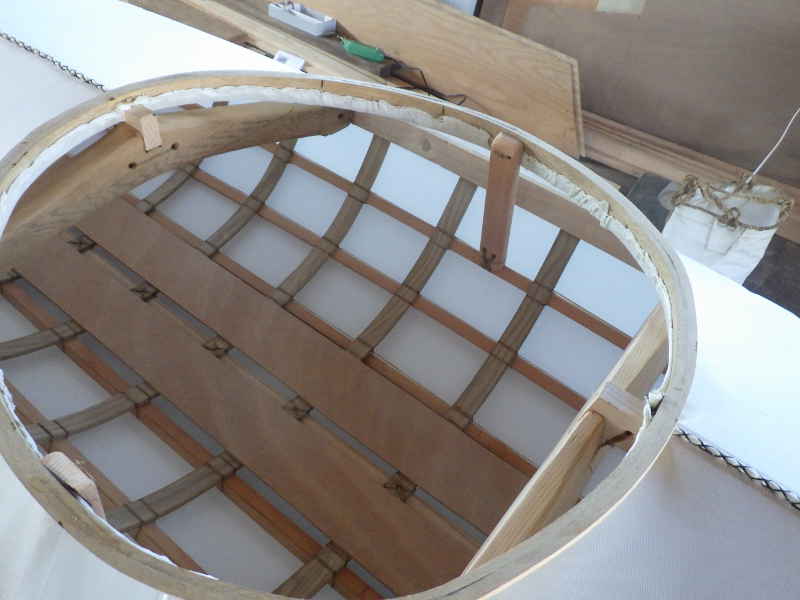
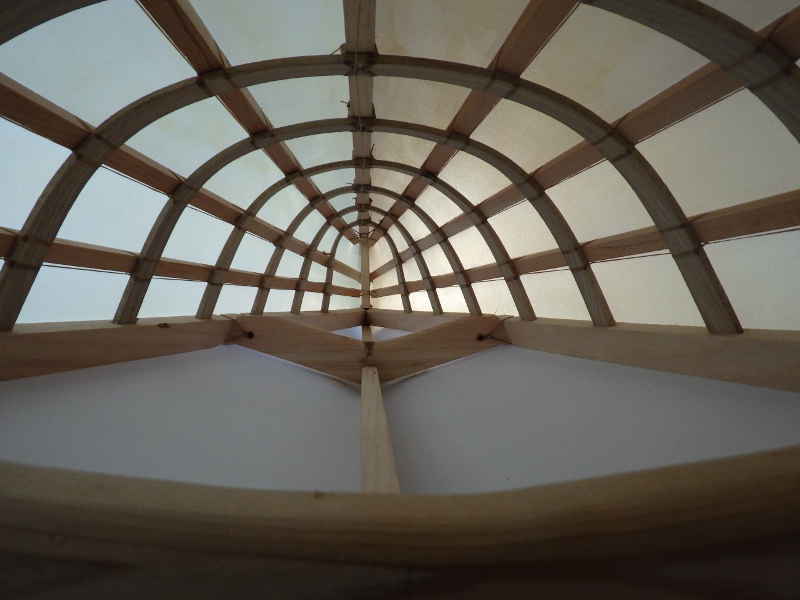
Bad paint job and bad hatch stitching aside, this is a beautiful boat. This is the interior looking aft.
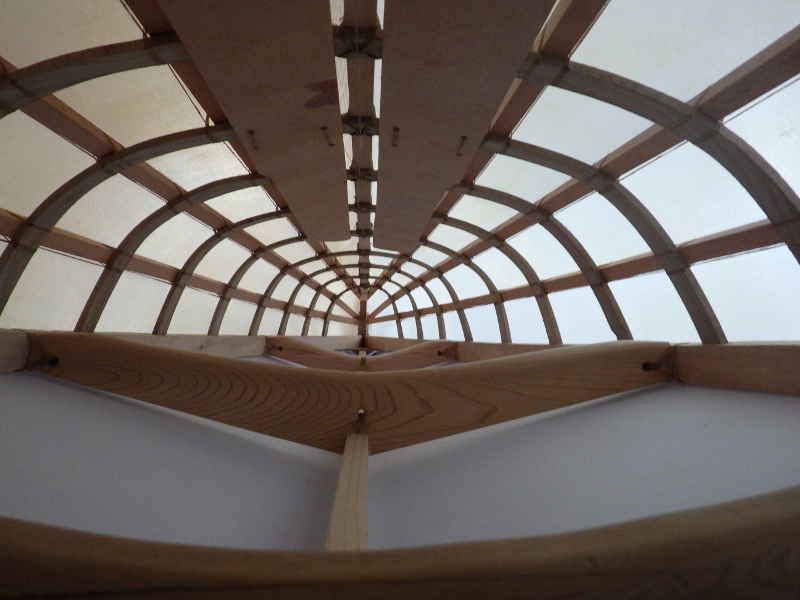
Interior looking forward. We made that. Next week: Coat the top and then: Test Float!
|