|
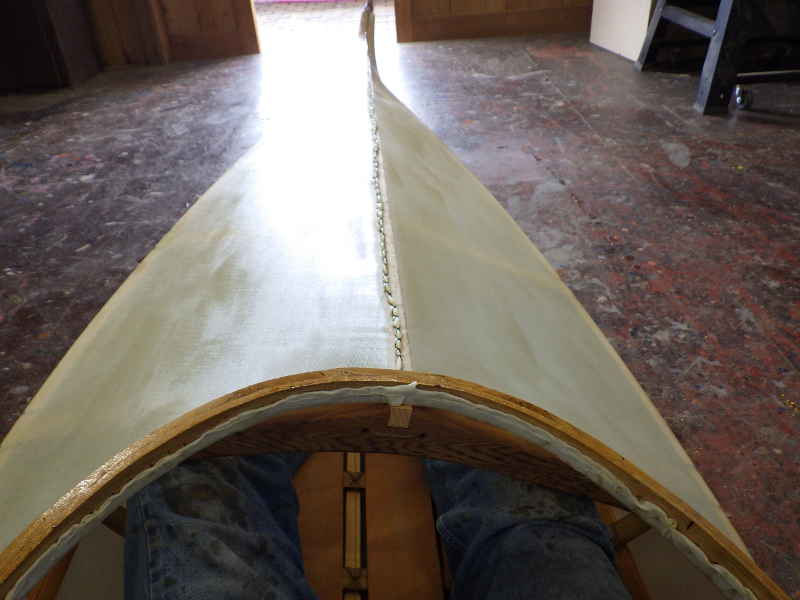
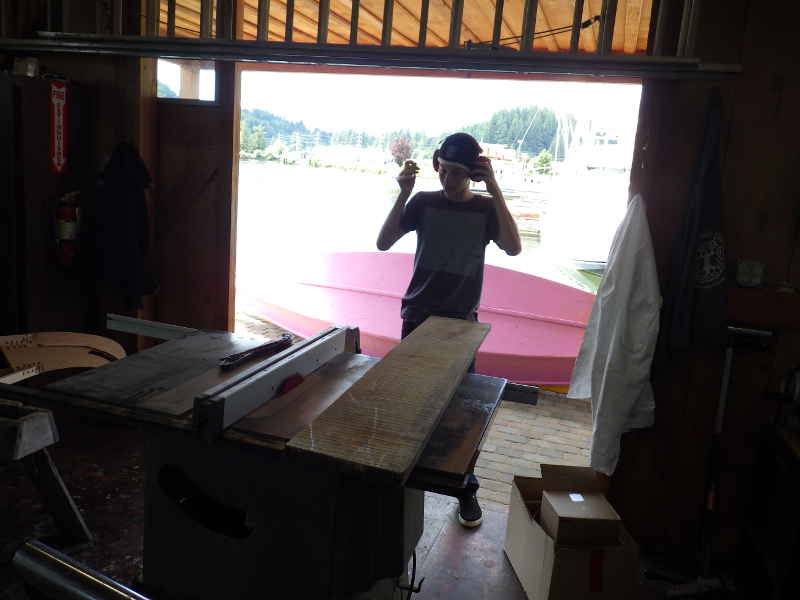
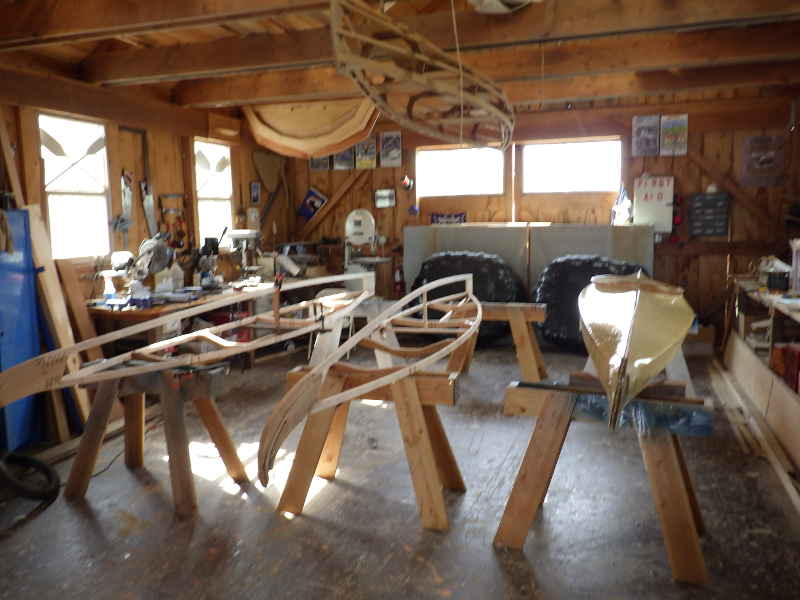
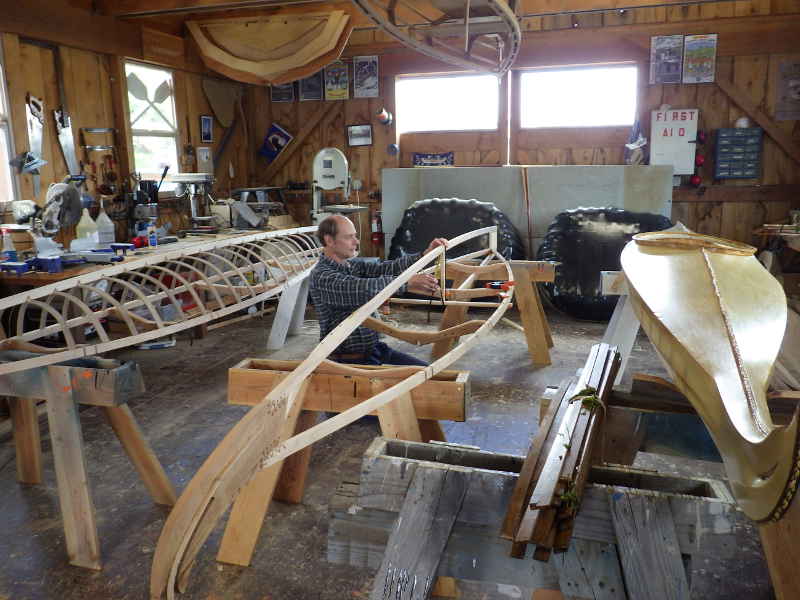
Work work work. More on the kayaks Building several boats concurrently requires a special set of considerations. Work flow, material availability, shop space, and lots and lots of timing considerations. There is nothing worse than having people stand around. When last we left the kayak build, #1 had been re-skinned and received 2 coats of urethane spar varnish on the bottom.
The whole purpose for the re-skinning was to get a little more space for the cockpit. First People were a lot smaller than us 'Muricans. Taking plans from museum books requires a little rethinking of ergonomics. I set the kayak on the floor and tried getting into and out of it. The process was easier than last time, but still not perfect.
Time management: Do the processes that require dry/cure times early. One last coat of urethane for the bottom.
Shiny. I love building Skin on Frame boats - it is the fastest, cheapest way to get a beautiful boat.
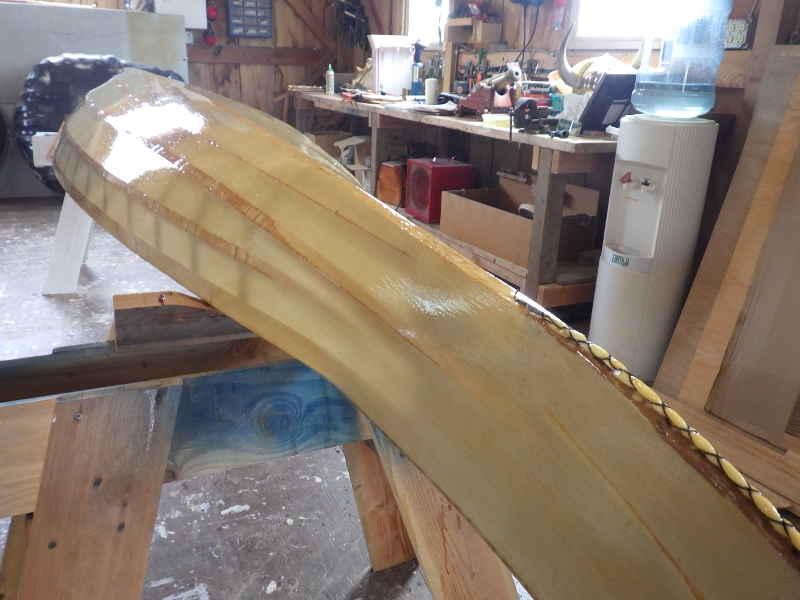
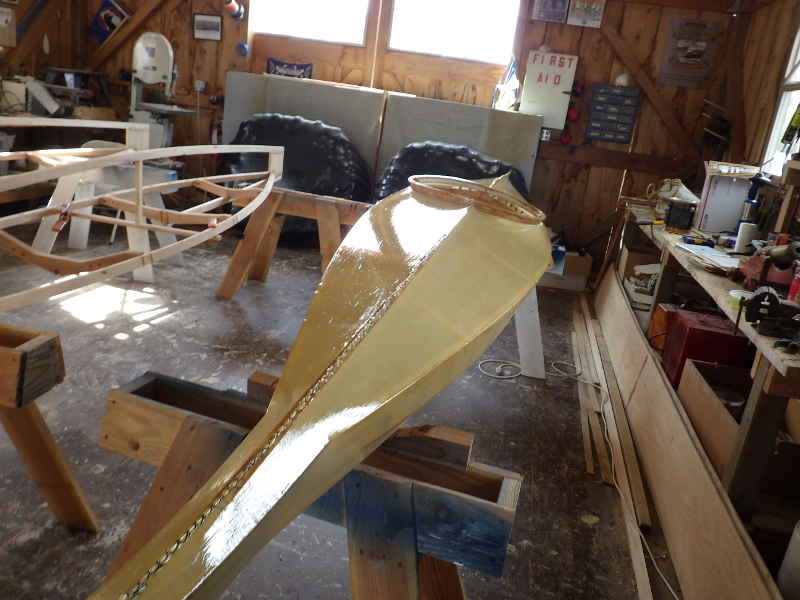
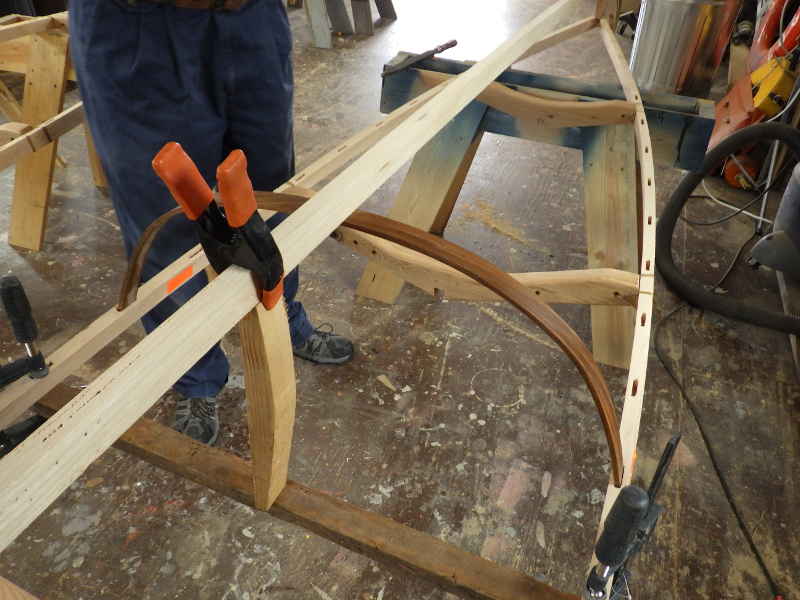
The bow is a tricky bit of technology. Traditionally, it is carved from the trunk of a tree that grew out of a hillside. Other people carve them out of a 2x12, which (in my mind) creates a lot of waste. The trick is there is a ridge that runs along the forward part of the bow. Rather than carve away a bunch of wood, I used a couple 3/8 x 1/4 strips of oak to make the ridge.
These strips are serving dual purposes (something I really believe in): The first is the obvious and intended, it holds the fabric out and away from the bow. The second is a bit trickier. I used a piece of 1x12 cedar for the bow - a fairly weak wood with large growth rings. The curved bits at the front are susceptible to breaking. Gluing the ridges on either side of the bow provide strength that you wouldn't get out of carving from a 2x12.
I got through with the process work just in time: Landon showed up and I set him to ripping ribs, 17 per boat, plus 10 for breakage, plus 10 (estimated) for laminating the hatches.
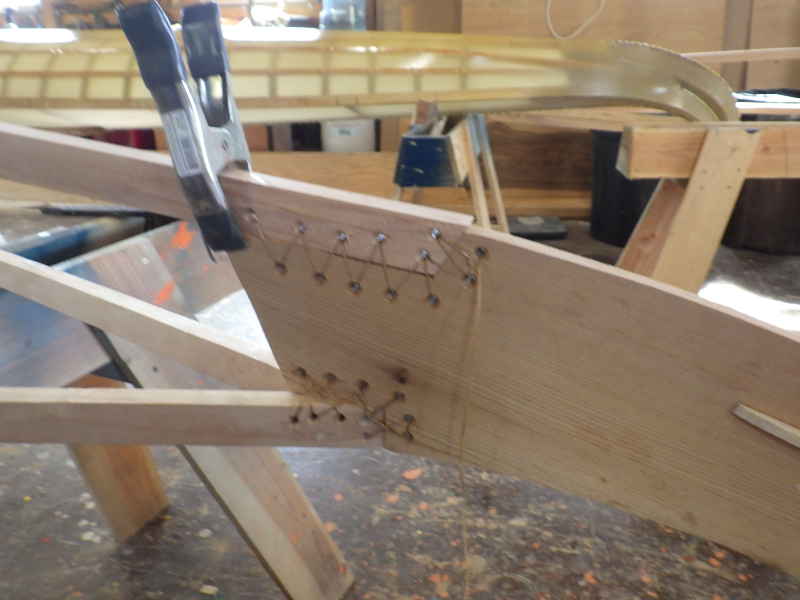
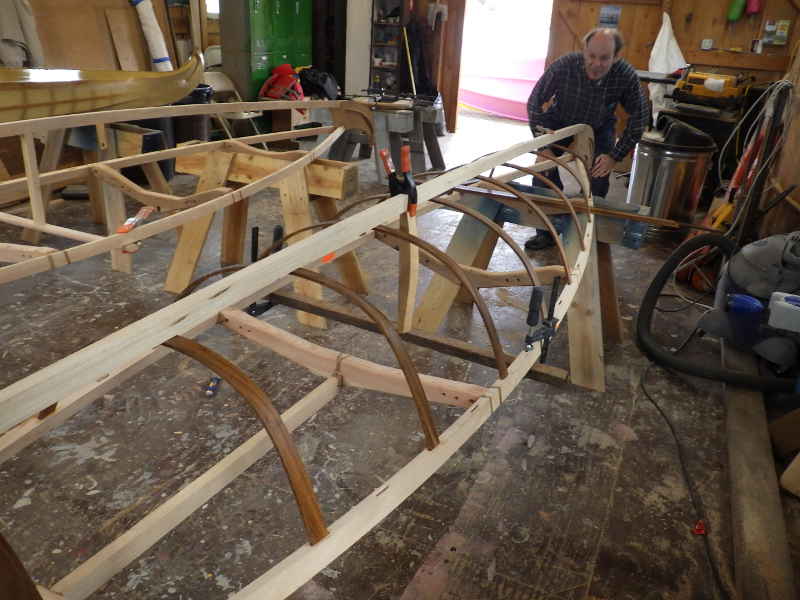
Kayak #2 is ready for the ribs, but not #3. While Landon ripped, I lashed the bow, stern, and keel into place on #3.
That's a lovely bend.
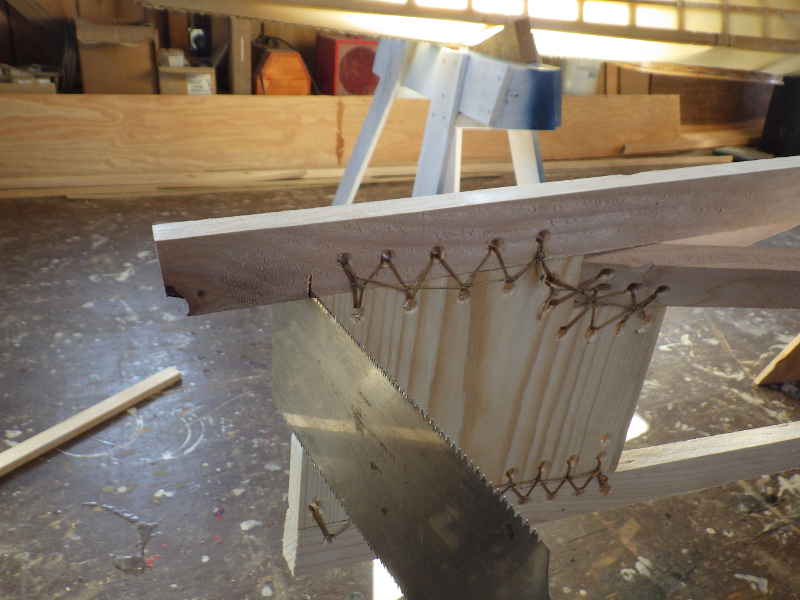
While trimming off the excess keel, I noticed the stern stem is probably the most lashed piece on the boat. It'll get stringers lashed to it, too. I'm pretty sure that is a incidental result rather than function of design. Either way, that's a lot of lashing. Also, if you don't have one of these Pull Saws from Duckworks, you should get one.
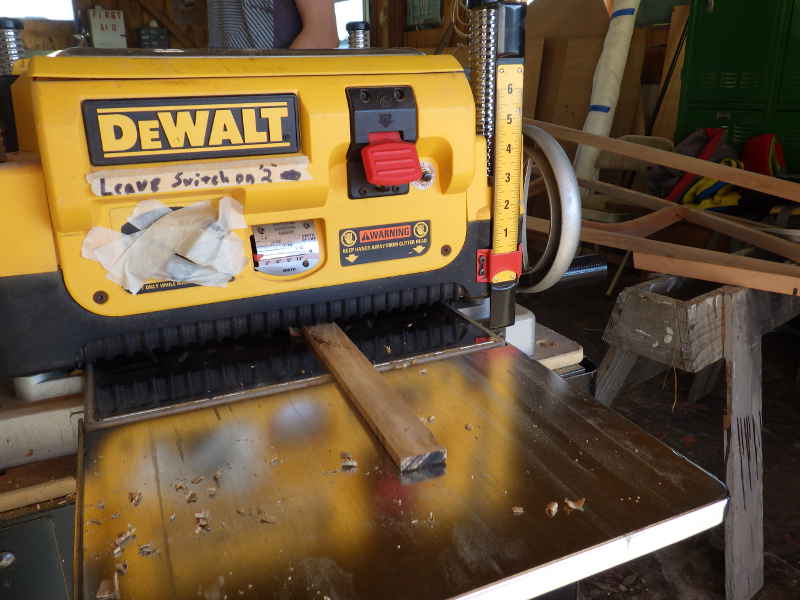
Plane the ribs down to 1/4".
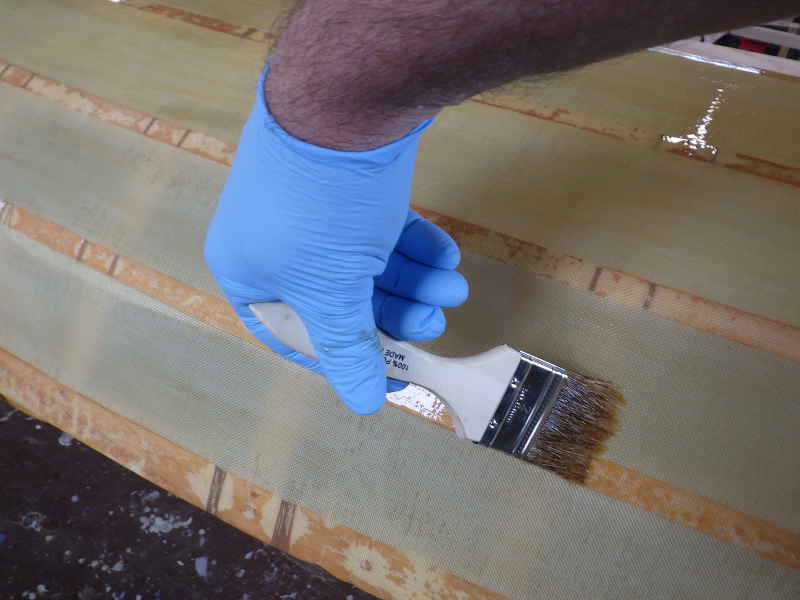
As things were winding down for the day, it was time to flip the boat and get some urethane on the topsides. No matter how hard I try, I get runs. I need to up my paint game.
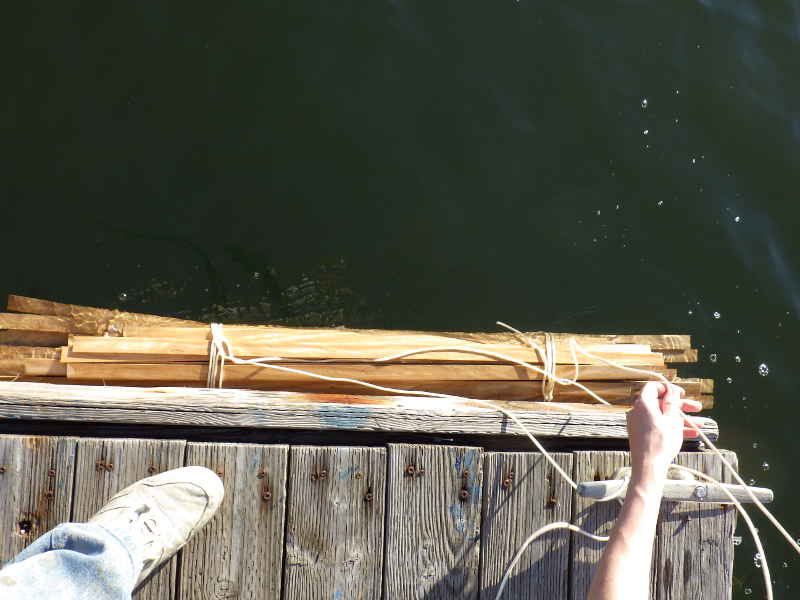
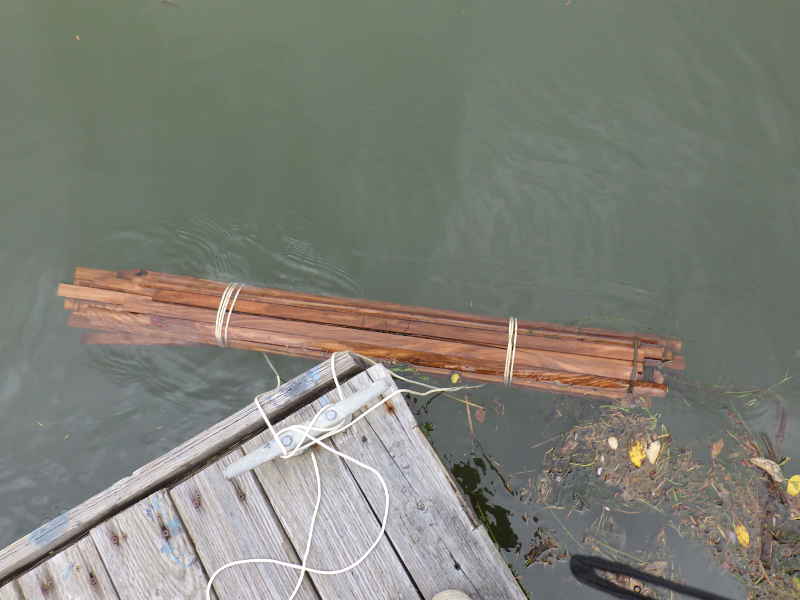
Last act of the day, put the ribs into the slough for soaking. I've heard of people using a mixture of urine and such, but I have a shy bladder, so the brackish water of a tidal slough will have to do.
That's it for the day. Time to lock up.
In the morning, I noticed the bathrooms at the waterfront are gender neutral. Good job on being progressive, Toledo!
Another coat of urethane for the topsides.
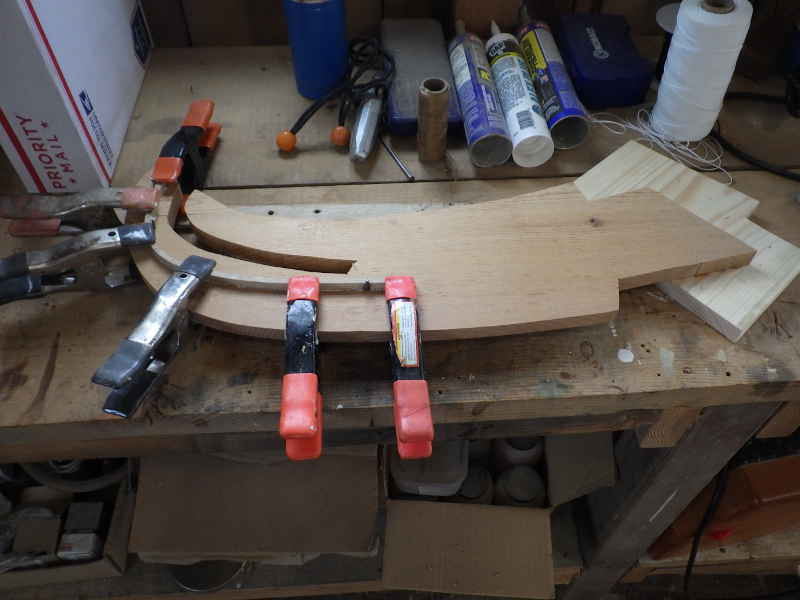
Workflow: Try to have pieces that will be needed later on built and ready. The hatch is the last thing attached to the boat, but there's no reason they can't be ready ahead of time.
The ribs had soaked up a lot of water over night. That should make them pliable without the complication of steaming them.
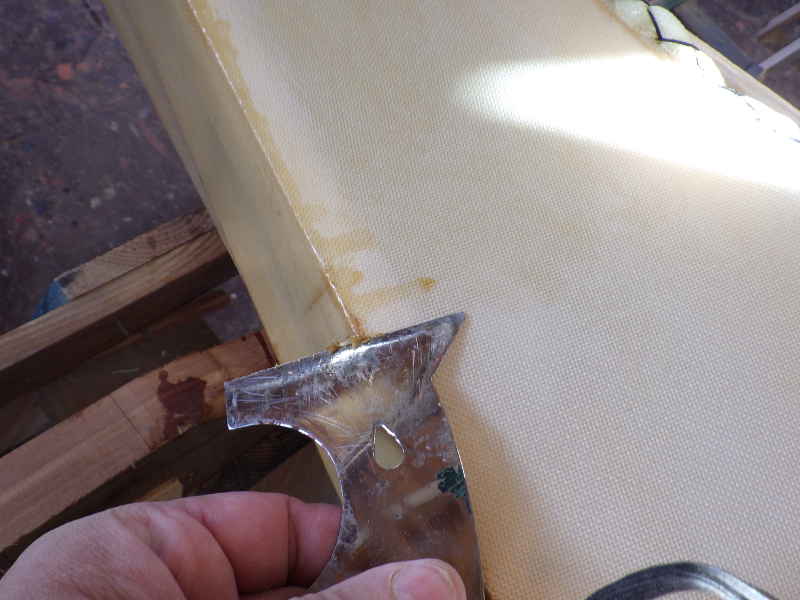
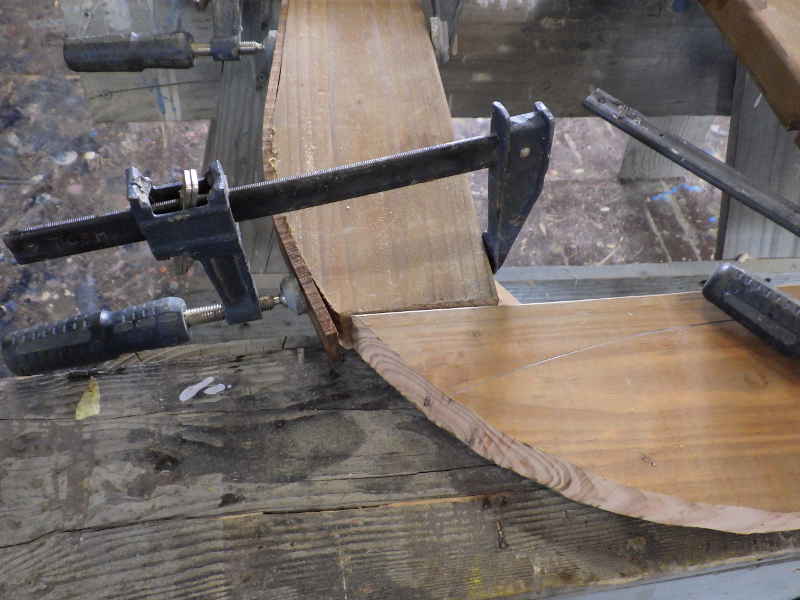
The hatches will be laminated - two layers of 1/4" oak for the coaming and another little lip around the top. This is my only picture of my process - but I have another hatch to make and I might remember to take pics of that :) The trick here is that the wood is soaking wet, yet I still wanted to glue everything together. Good thing we live in a technological time. Urethane glues - while not as strong as epoxy or PVA glues, they do cure in moisture. These conditions are a little more than "moist" so it'll be interesting to see how it comes out.
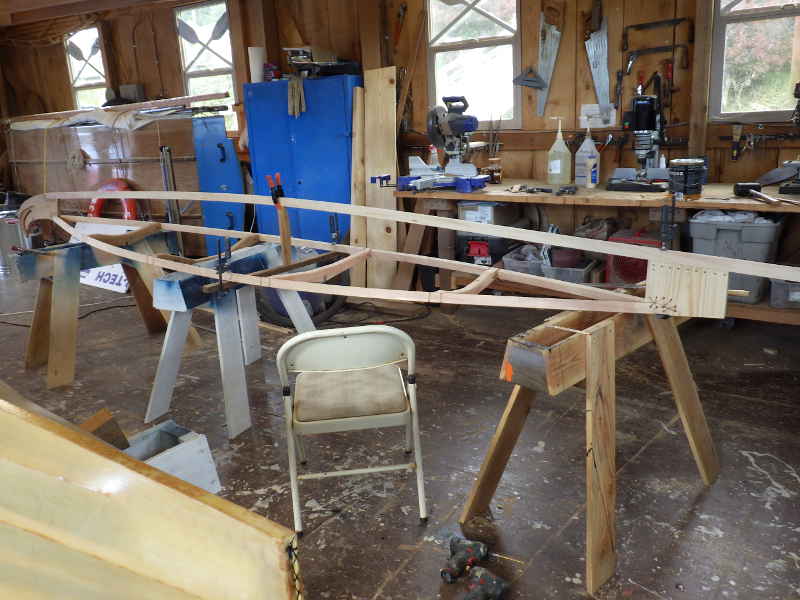
Geoff and I got started on bending ribs.
Geoff is a naval architect, so I follow his lead here.
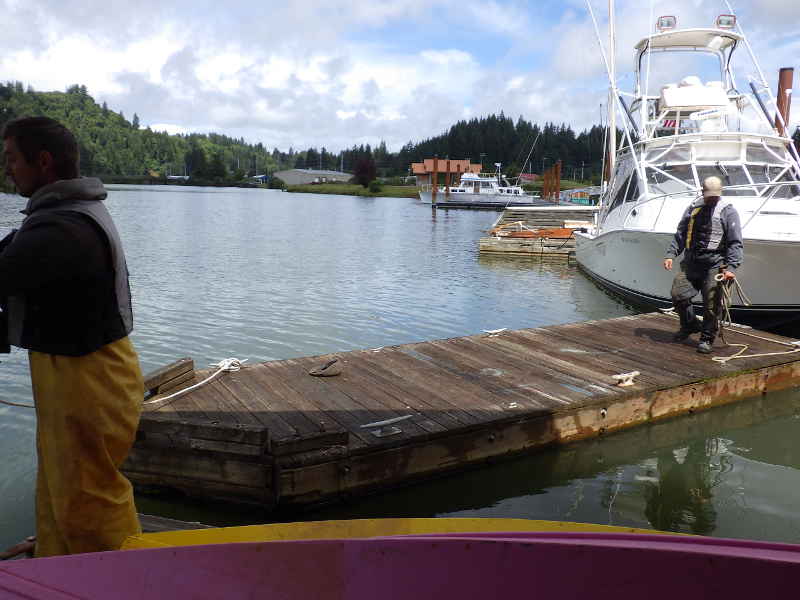
Brief interruption as Port of Toledo workers, Tim and Kevin, come to move floats and boats around to get ready for sailing classes that will be beginning next week.
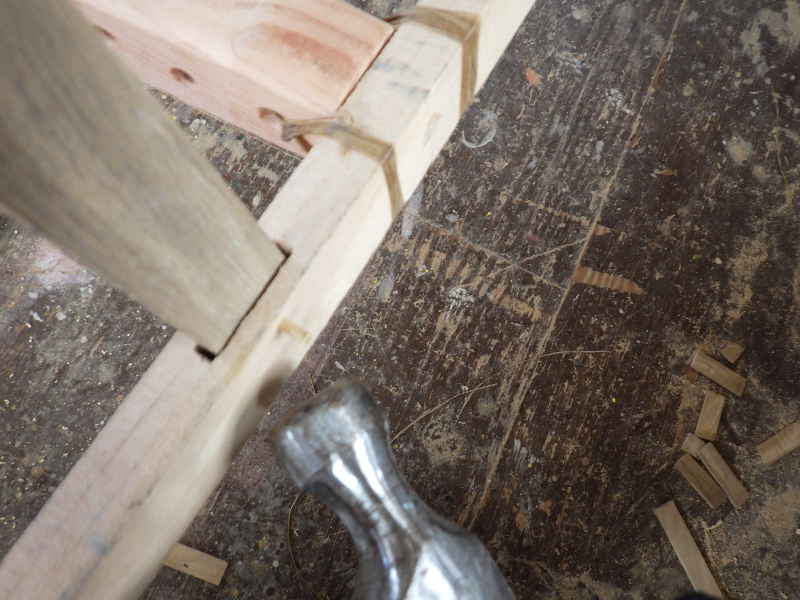
1/8" dowling used to peg the rib ends into the mortises. I am not convinced of the efficacy of this step, but it was in one of the books and it ain't hard to do.
Last step was to trim the pegs. The trick here: Always leave enough to cut off.
That's it for me - time to head home. Geoff wanted to stay and work on the ribs for the third kayak.
|