|
Of Corkys and Kayaks, Part II When last we left the Corky, we'd tried some sailing in very light winds. Results were disappointing, yet promising. Time for some modifications. Plus, we have to work on the kayaks.
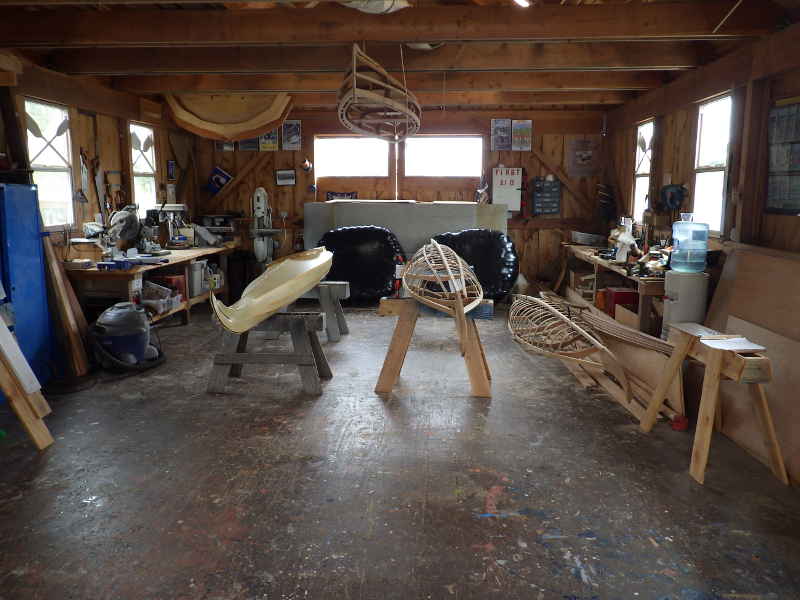
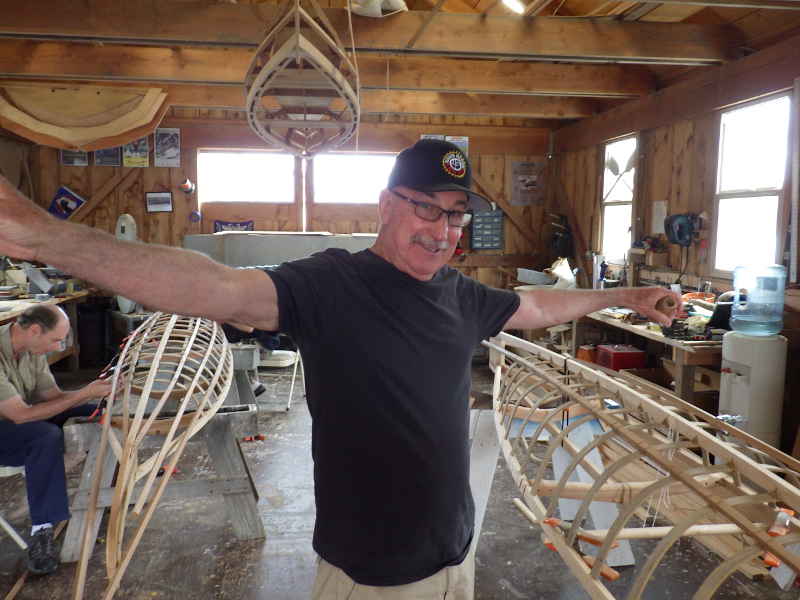
Oh, my! Someone cleaned up the Boathouse! I bet it was David of the Teak Lady Society - good man.
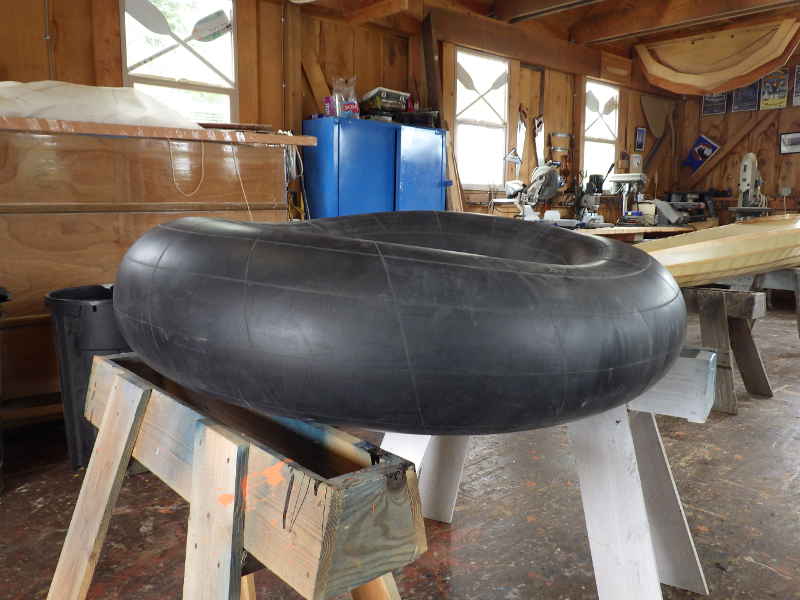
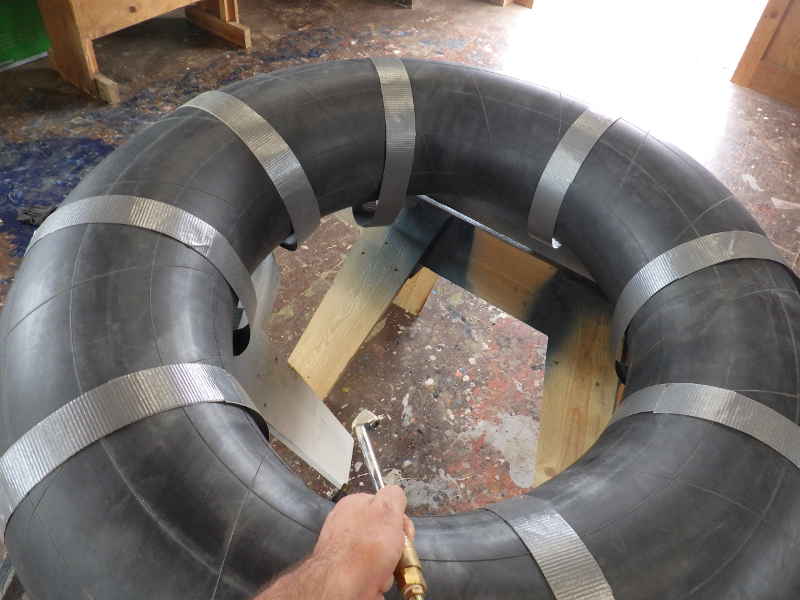
I am learning a lot about inner tubes. Did you know an unbound tube has very little internal pressure? Just a couple pounds - right up until you get near the point of failure. And without a tire around it, the tube inflates unevenly. I don't want to encase the tube, but I do want to try and tame the unregulated expansion. I considered a lot of things: belts (expensive), velcro straps (expensive), winding it with a rope spiral (the math is too hard), and finally settled on good, old, universally available, and cheap: duct tape.
At first, I considered just sticking the tape to the tube, so I cleaned the tube with rubbing alcohol. About halfway through, I came up with another plan.
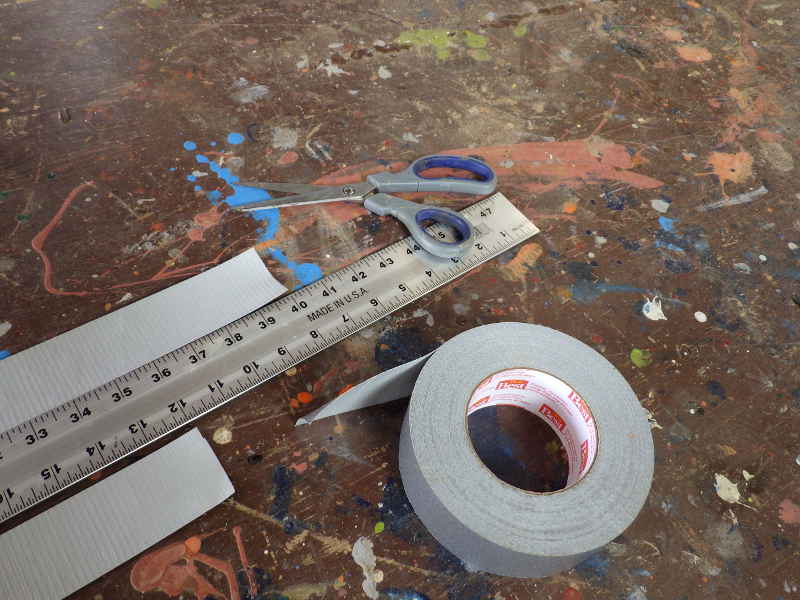
I'd make bands out of the tape. Pick your desired diameter, do the math, cut, then cut another piece a little longer. Stick 'em face to face and . . .
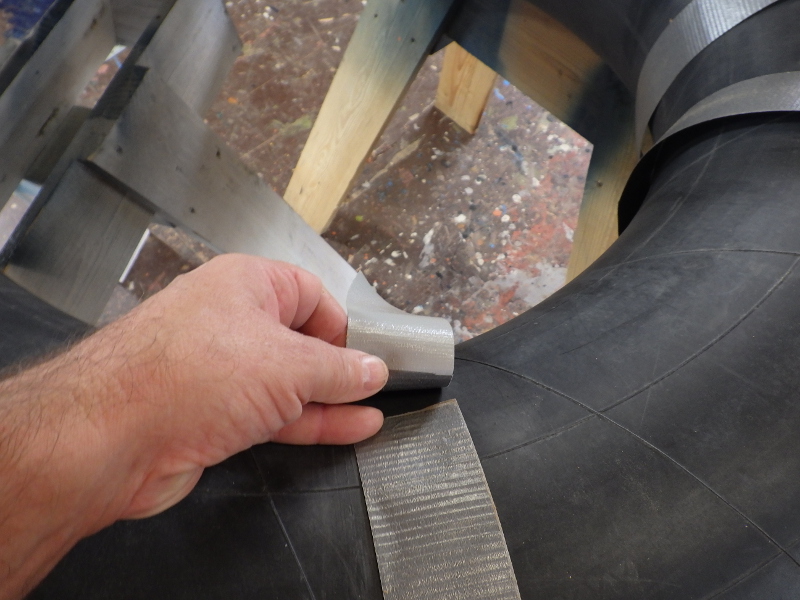
Wrap the band around the tube. I also put a little (like 3") piece of tape on the underside of the join just for giggles.
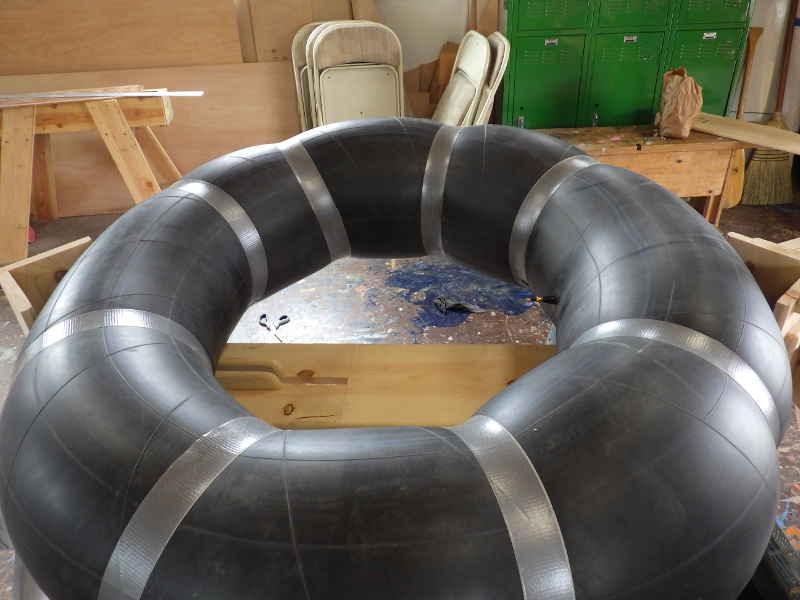
Hang all your bands and inflate.
And there you have it. Note on Inner Tubes: When inflating a tube, the whole thing gets bigger, both the outer diameter and the diameter of the hole, as well as the height of the tube. The more height, the greater windage, and windage is a real problem with these boats. I made a set of bands for an 11.5" dia tube, but it grew too big for the hull I'd made. I didn't want to make a new hull, so I dropped the diameter to 10".
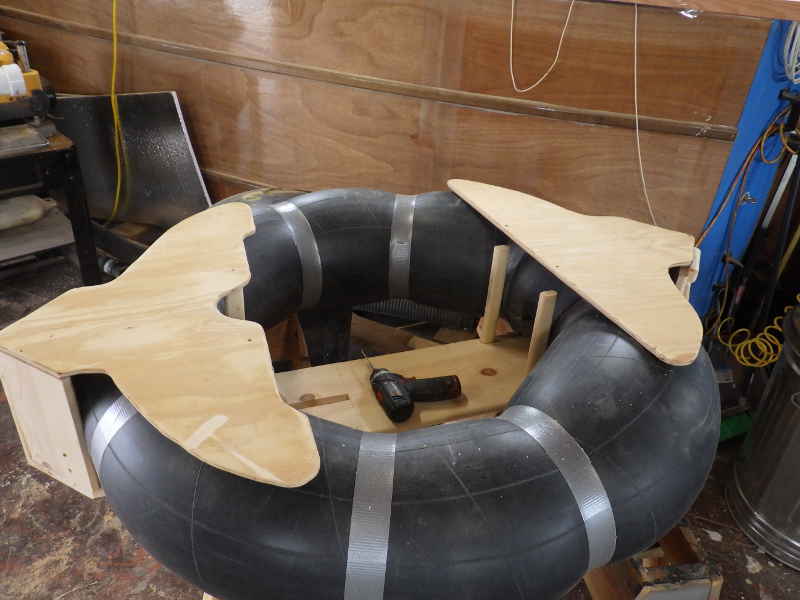
One of the things about inner tubes is they bend a lot, In an effort to control the bend, I made little 'wings' out of 1/2" ply to extend out of the stem caps to hold the tube flatter. With the addition of the plywood, this design becomes more economical to build out of a single sheet of 1/2" ply (you can get the hull and foils) instead of1x10s.
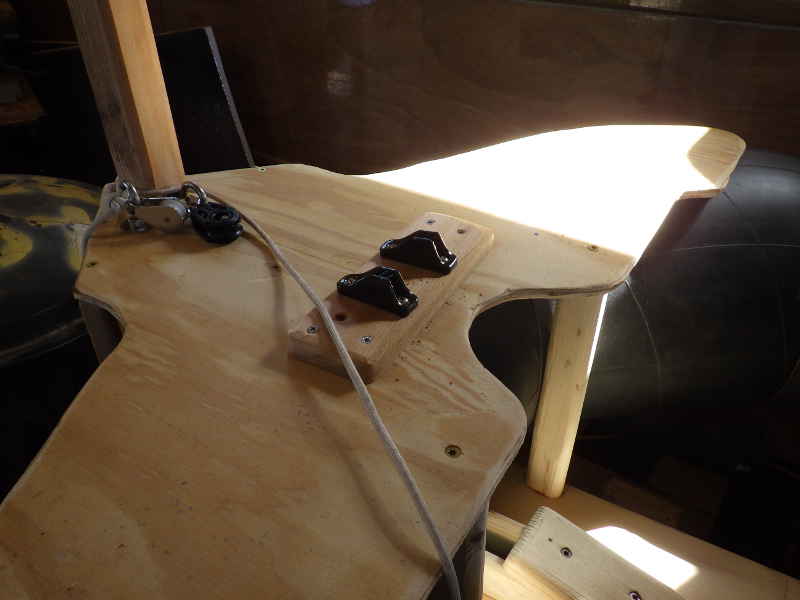
Pop cleat for the rudder. I had to add the little wood pad for it to sit on so the screws wouldn't poke through the ply.
Clam cleats for the halyard and boom downhaul. I use Remember: Duckworks Boat Builders Supply for all your hardware needs.
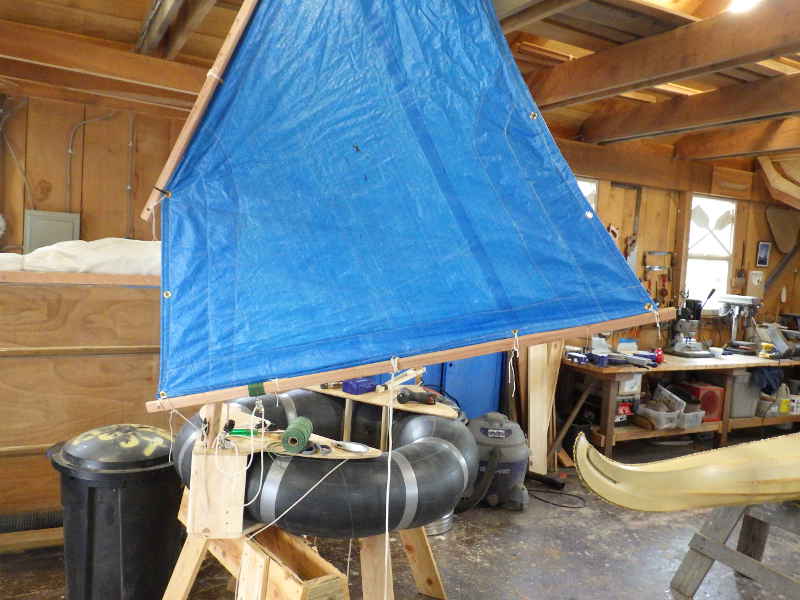
Rigged up. Neither Landon nor I had clothes suitable for testing the boat, so we called it a night and closed up shop.
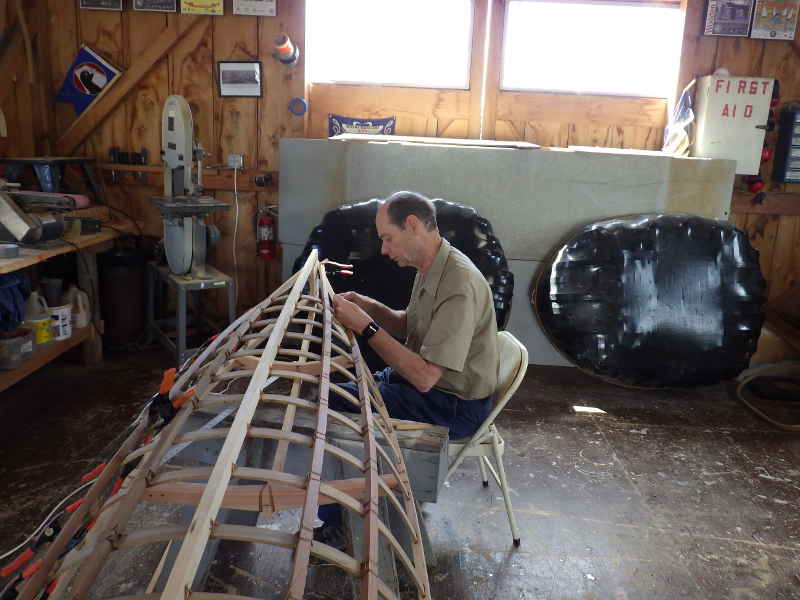
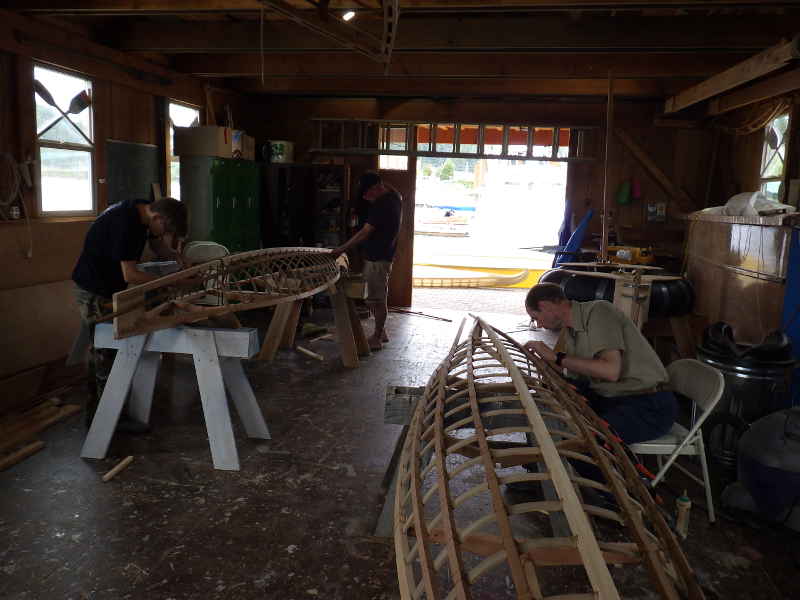
Geoff came by in the morning as we got to lashing stringers onto the kayaks.
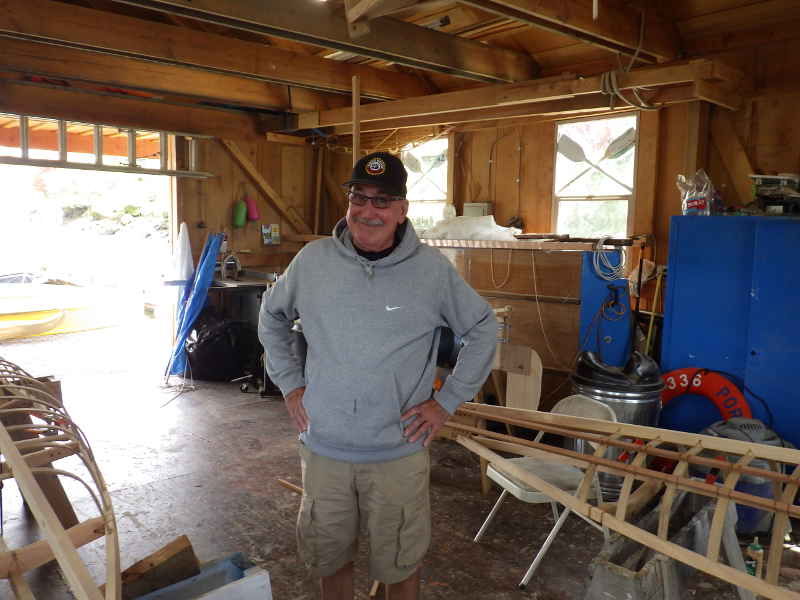
Bud of Newport had heard about us over the internet and decided to come by and see what we were up to. So . . .
I put him to work lashing. Here he is measuring out a fathom of line.
Nothing beats a shop of people working. Landon showed up and we made great progress on the kayaks, then, I got distracted by the Corky again.
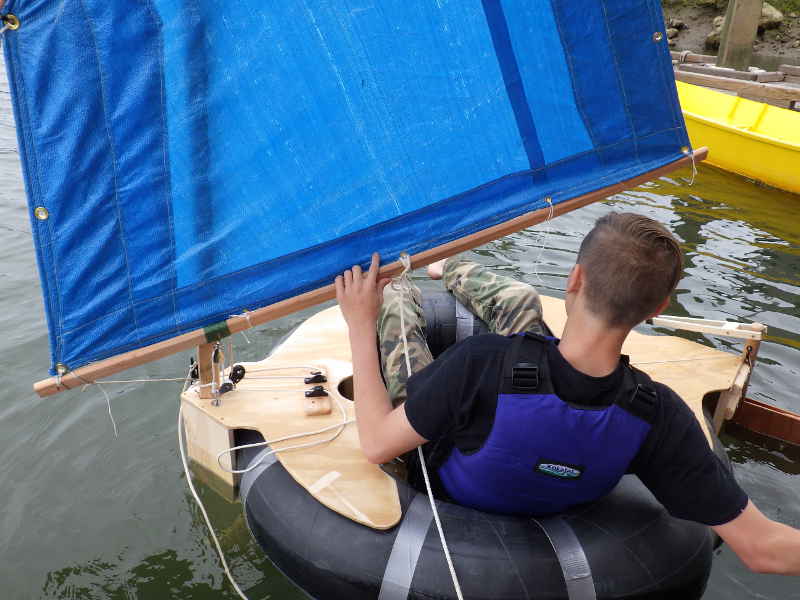
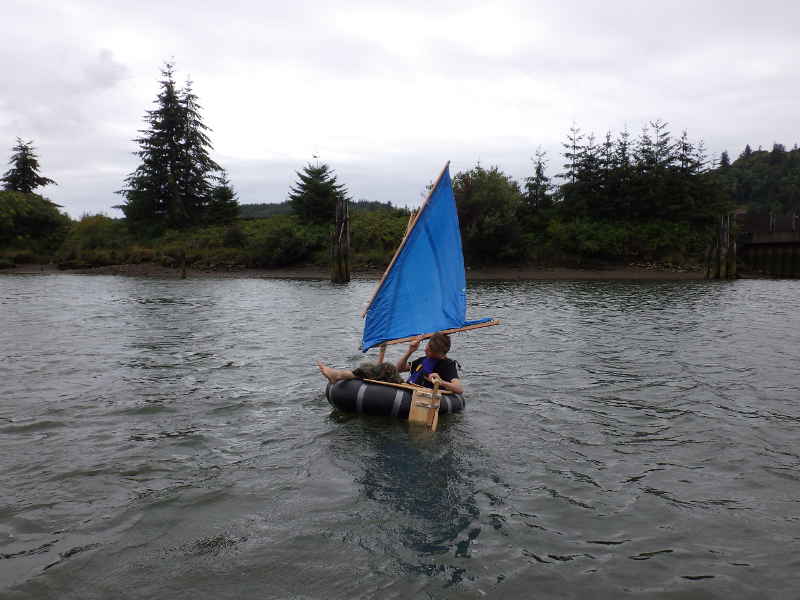
The breeze was about 8mph, perfect for testing. Landon is a sailing instructor, but he doesn't have any experience with lug rigs or teeny boats, so this will be great.
Off he goes. It is much easier to wear the Corky than it is to tack it. Here's a video of the Corky sailing to windward, but not by much:
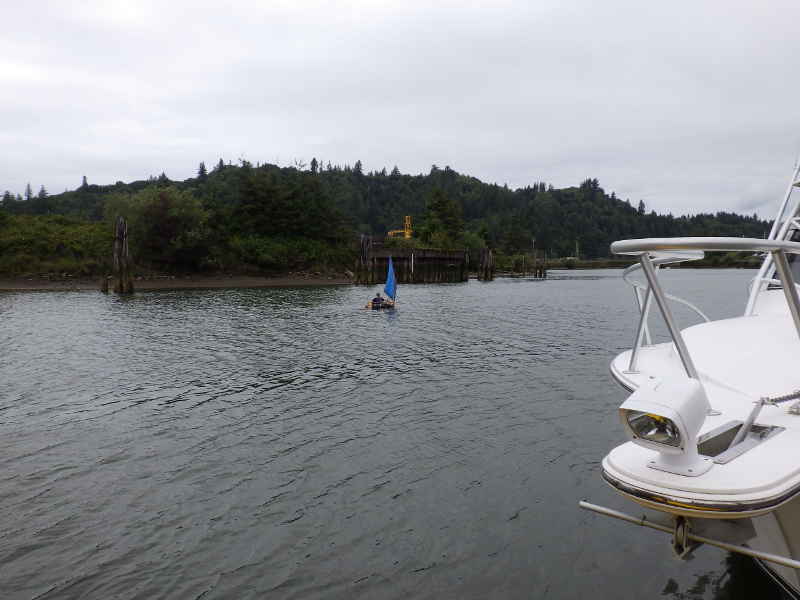
Just in case the we were over canvassed (tarped?) we put a reef in. The Corky would sail into the wind a bit on a starboard tack, but not on a port tack (shown here). Here's a video of the Corky sailing while reefed:
And, of course, she does excellently downwind. Here's a video of her on a dead run: That's it for the Boathouse this week. Stay tuned for more adventures in boat building.
|