|
Stitching and Skinning We are getting close to the end of our Kayak Build, and it's a good thing, too, as the plan is to use them in a couple weeks. When last we left the Kayak Build, we had started the stitching on one boat and were near skinning on the second (third?)
I showed up a little early and got to finishing the stitching on the top seam. It was going well when . . .
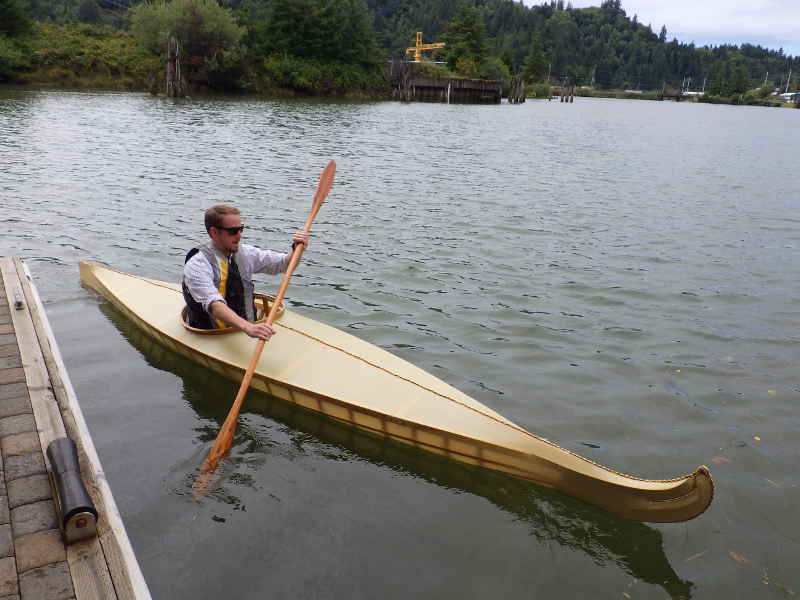
There was a quick visit by Seth and Kevin (not pictured) of the Oregon Cascades West Council of Governments. I asked Seth if he wanted to try out our prototype kayak and he was all for it.
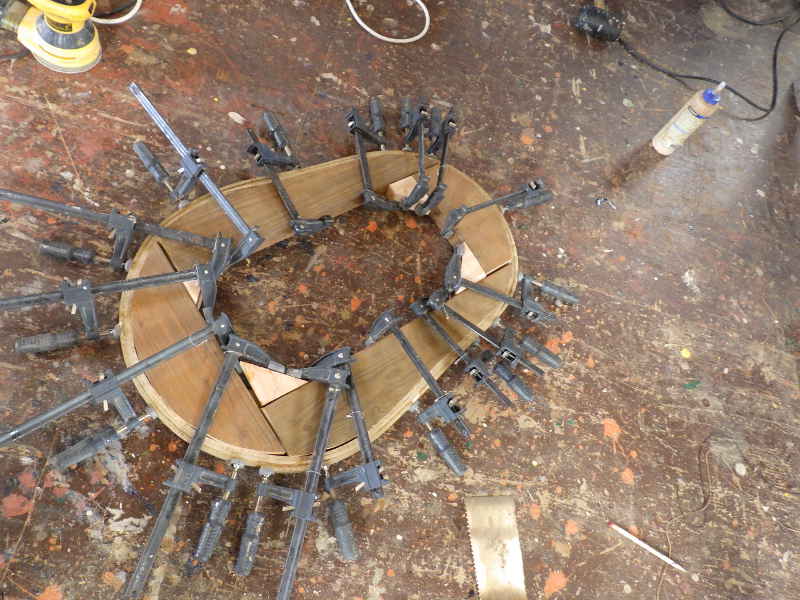
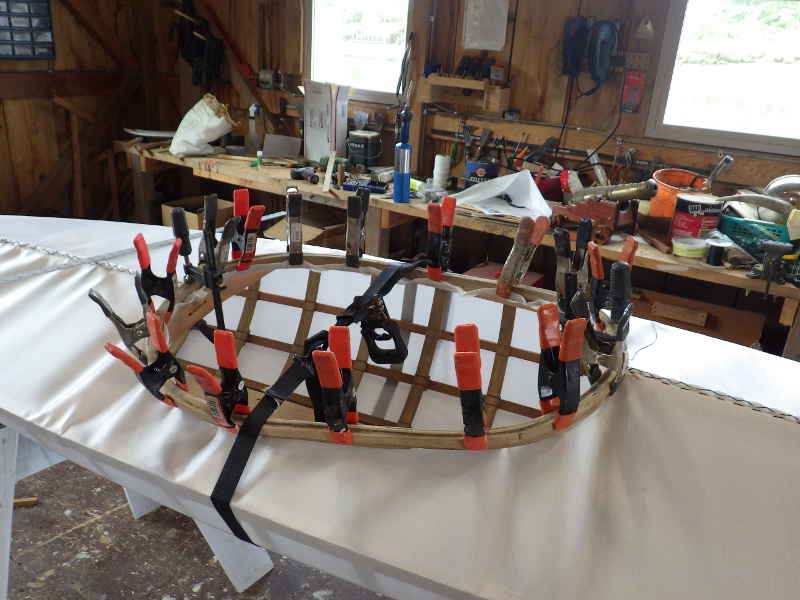
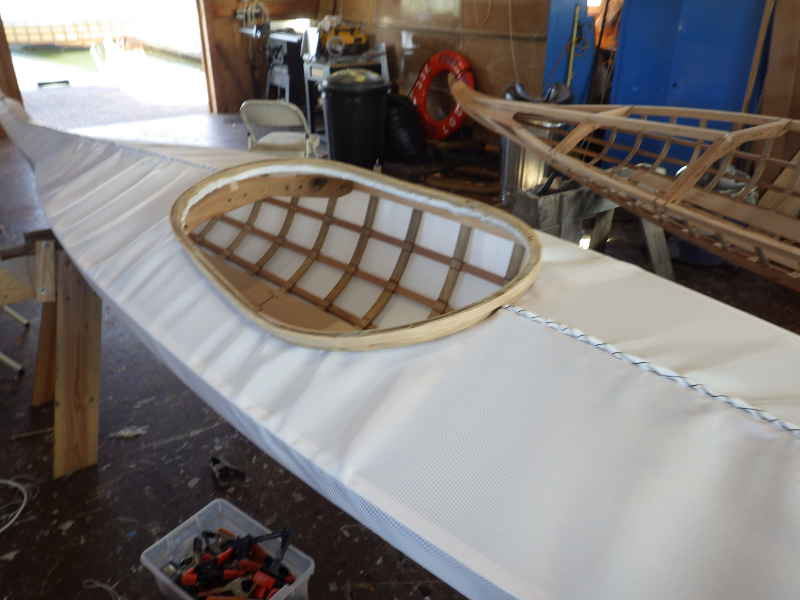
Back in the Boathouse I was getting the hatch for the final kayak ready. You can never have too many clamps.
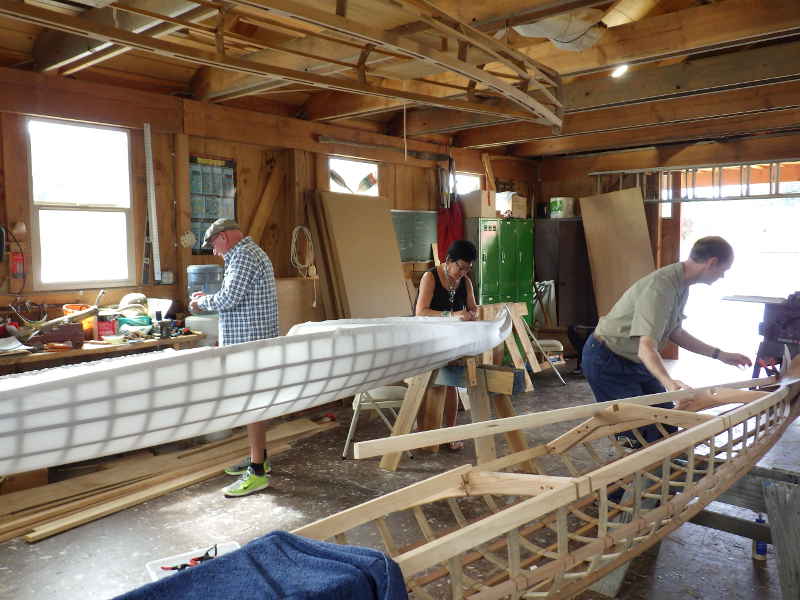
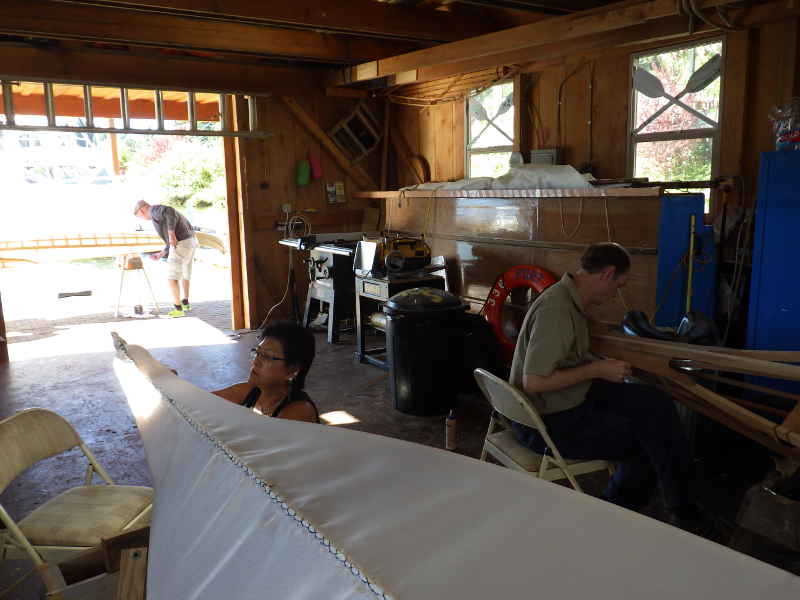
Bud and Mei showed up and I got them doing final stitching while Geoff took over installing the king plank on the final kayak.
Landon was there too, cutting floorboards.
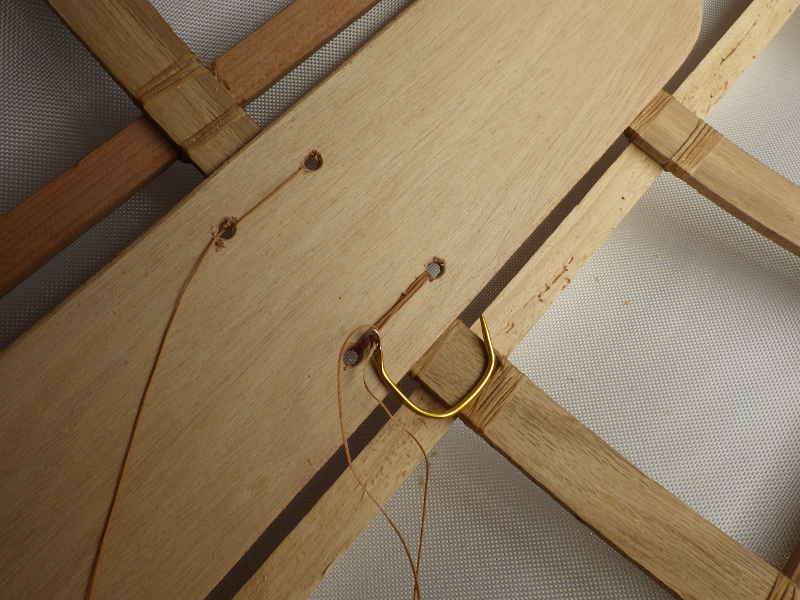
You don't really *need* floorboards, but they do make sliding into and out of the kayak easier. Two important things of note in this picture: Install the floorboards BEFORE skinning the boat, or you are going to have to make a special curved needle so you can lash it in.
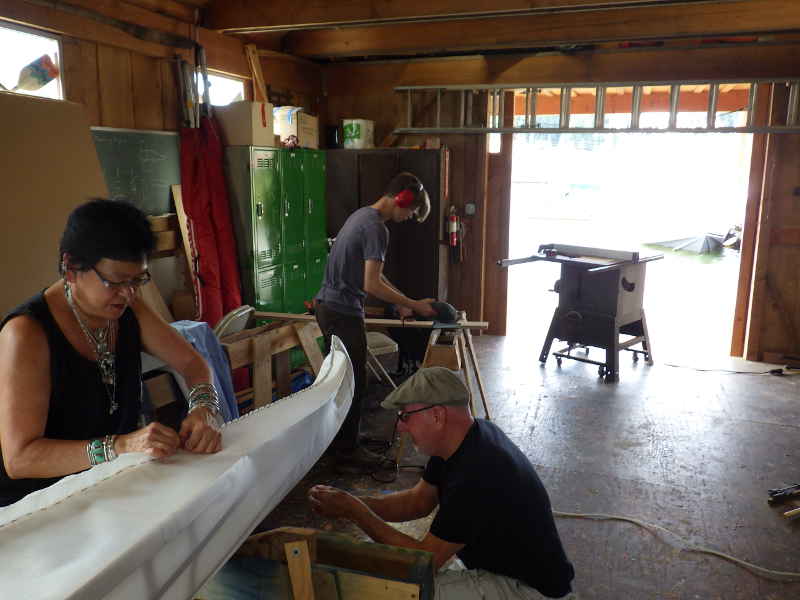
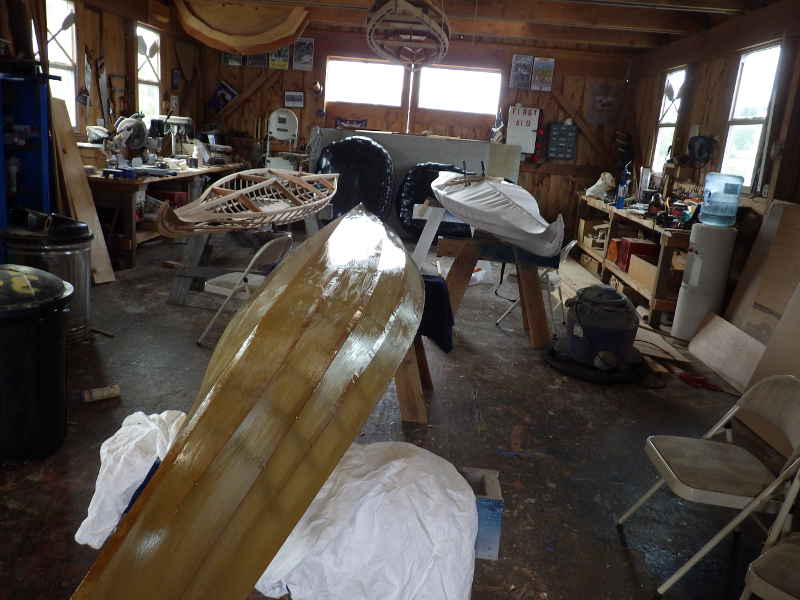
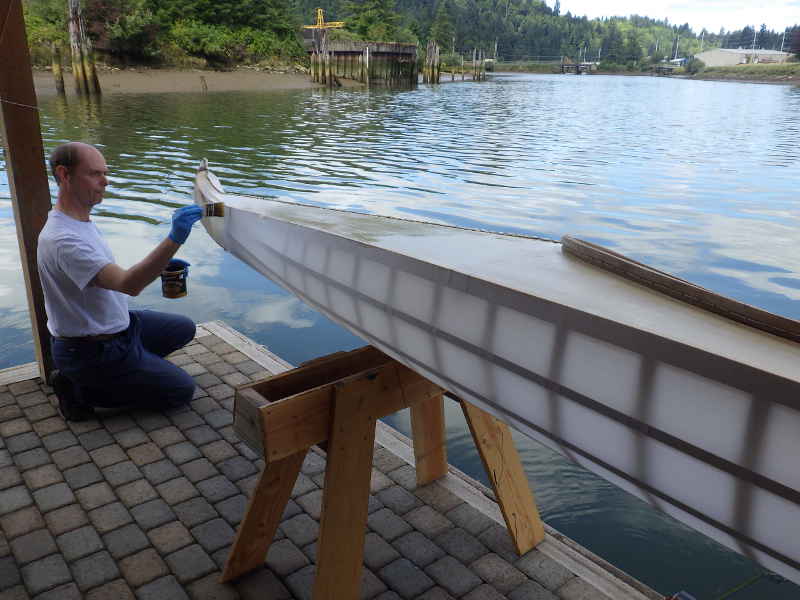
Our first kayak still had some leaks, probably from the stitching. Bud and landon applied another coat of exterior spar urethane on it while Mei and Geoff continued their projects.
Work work work. It was nice to have a sunny day.
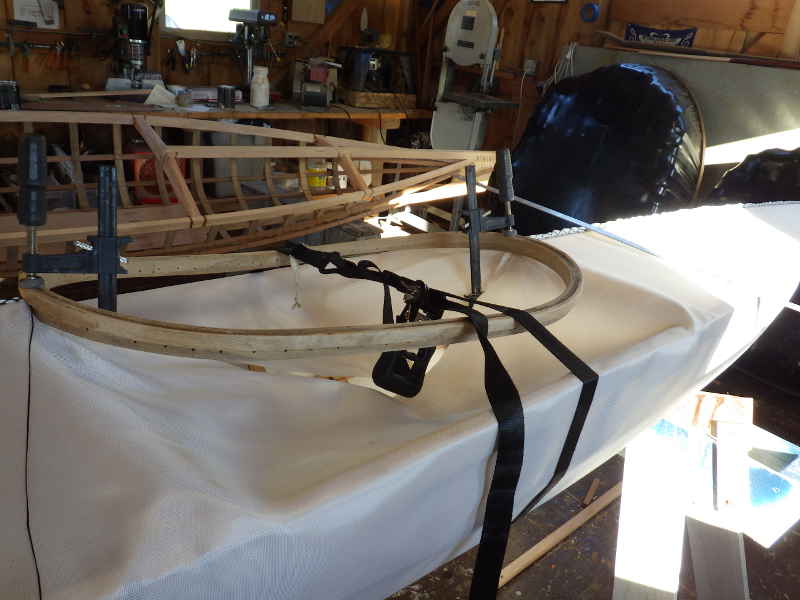
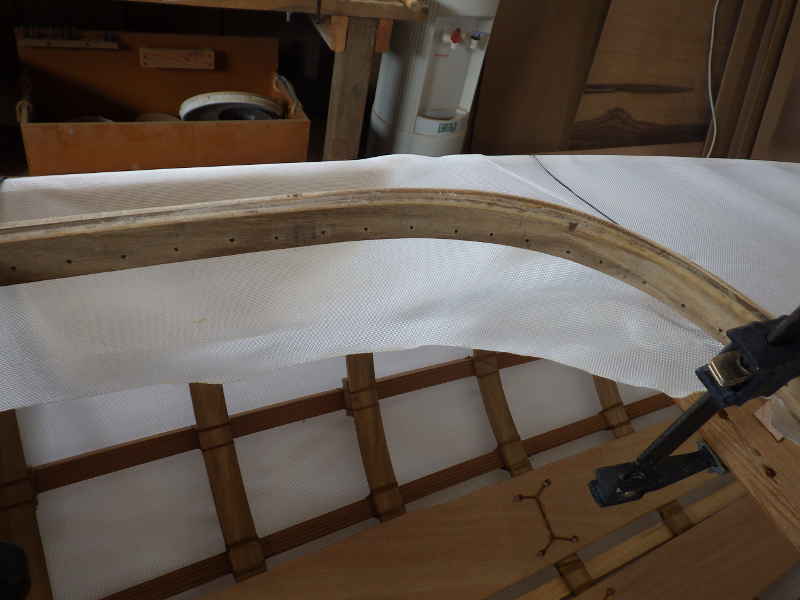
The last act of the day was to place the hatch. The process is a little trickier than I'd hoped, but we got it clamped into place and put a strap on it to give it some bend.
That was enough for Friday. It is nice to have a busy boat house.
On Saturday, my first task was to cut the excess cloth from around the hatch. I just pulled it up tight and cut it off at the top edge of the hatch with our hot knife.
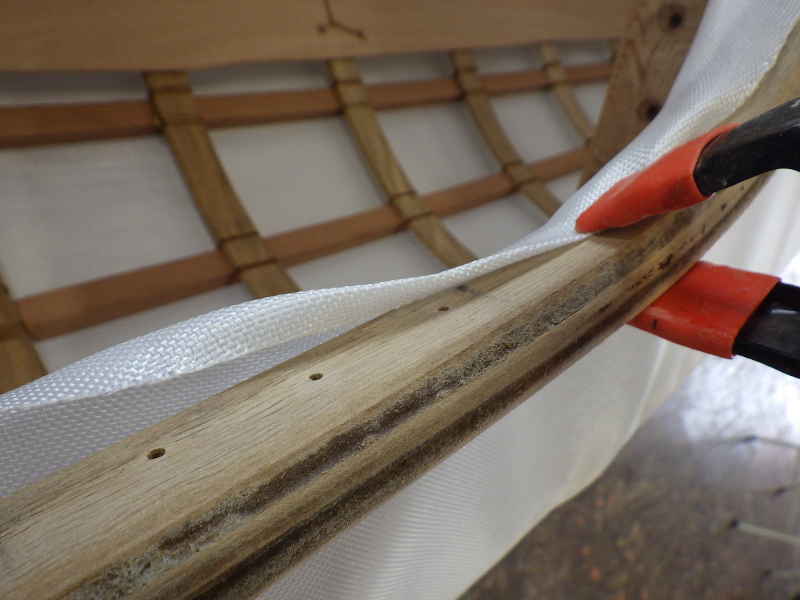
Next, I pulled the cloth up, folded it over, and clamped it into place.
Again, you can never have too many clamps.
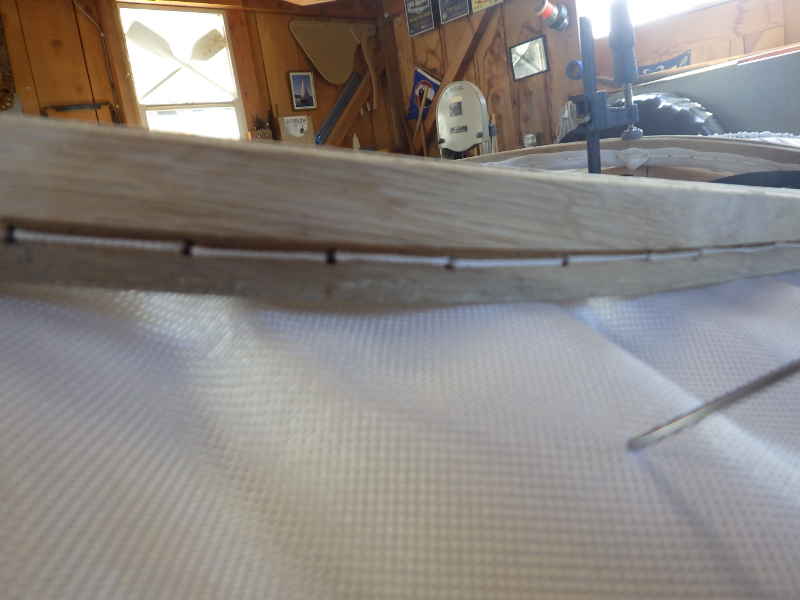
There's the stitching technique - you first stitch around one way, then come back around the other - it makes that nice line of thread both inside and out.
Finished stitching the hatch.
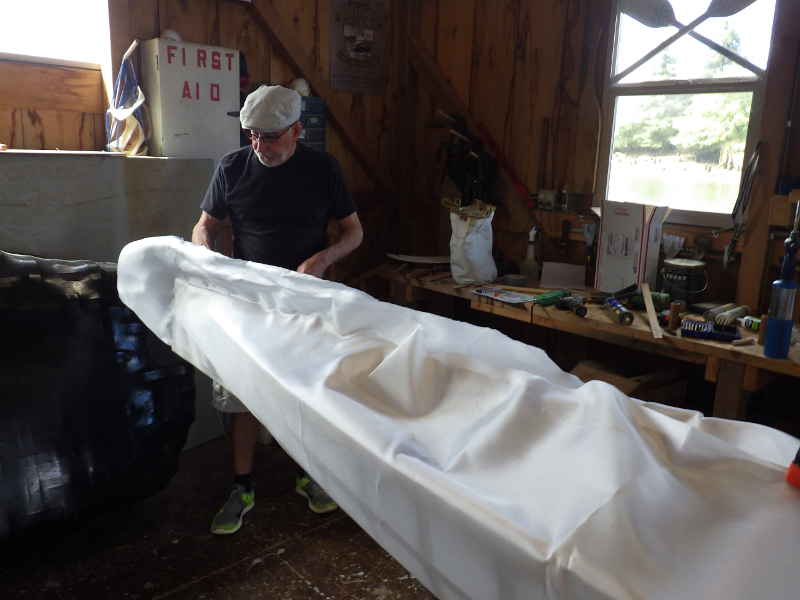
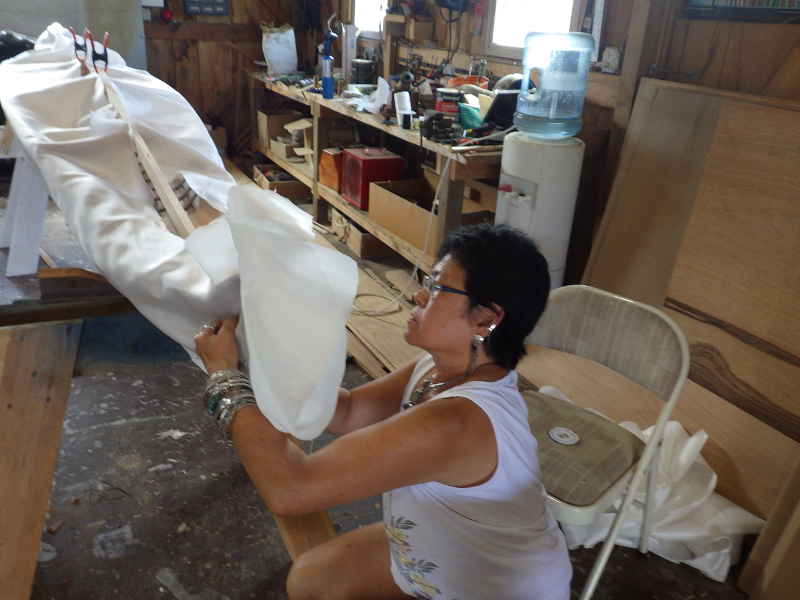
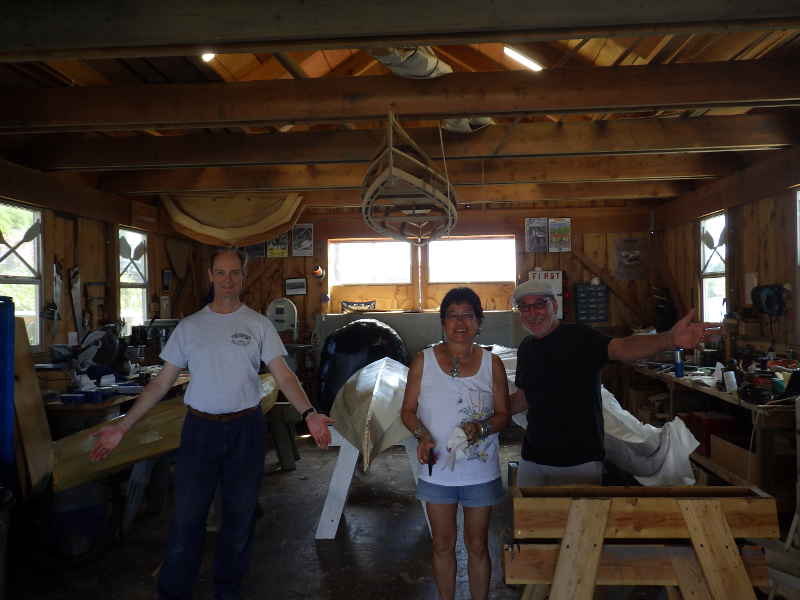
Bud and Mei showed up and got started stitching the skin on our third and final kayak.
It's good to have help on these projects.
While they were stitching, Geoff and I were heat shrinking the fabric onto Kayak #2 - and I didn't get any pictures of that. Geoff applied the first coat of spar urethane.
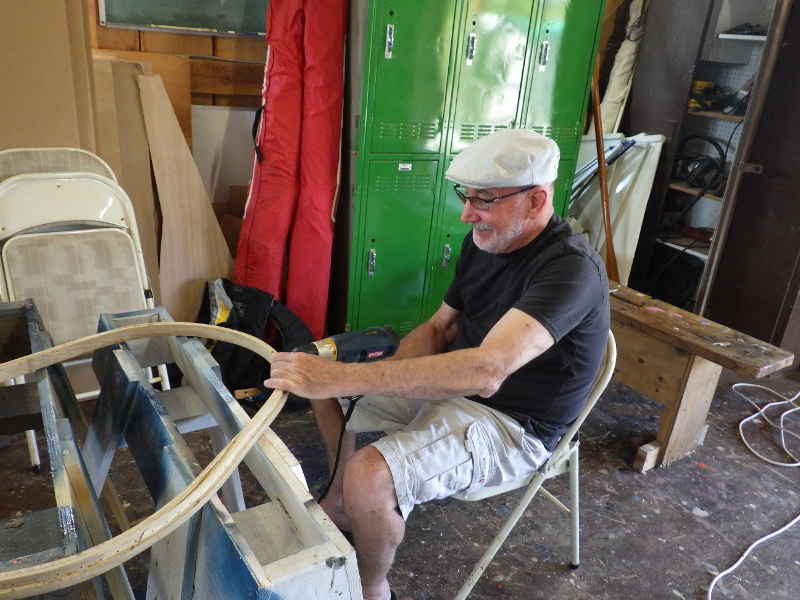
Bud took over the task of drilling stitching holes on the hatch for the third kayak. Those hatches are made from 2 layers of 1/4" oak laminated together, then there is another layer of 1/4 x 3/8 oak bent around the top to create a lip. This is for people who want to use a spray skirt. I, myself, have no intention of rolling one of these kayaks, but I wanted the skirt capability to be built in.
This was a good weekend. The final kayak will be stitched and shrunk next weekend while Kayak #2 gets her four coats of urethane. We will be ready in two weeks! |