|
Tik Tak Too - a tandem kayak-ish
boat. The Tik Tak Too is a larger, 2-person version of the Tik Tak Kayak. Same construction techniques, only with a 3rd sheet of plywood and 12' sticks instead of 8'. What follows is a picture essay of the prototype build, an explanation of some of the techniques used, and some of the problems encountered. The first problem was my selection of plywood. I used 1/4" ACX which is a fine boat building material, but it is heavier than 5mm Luaun. Light boats get used more.
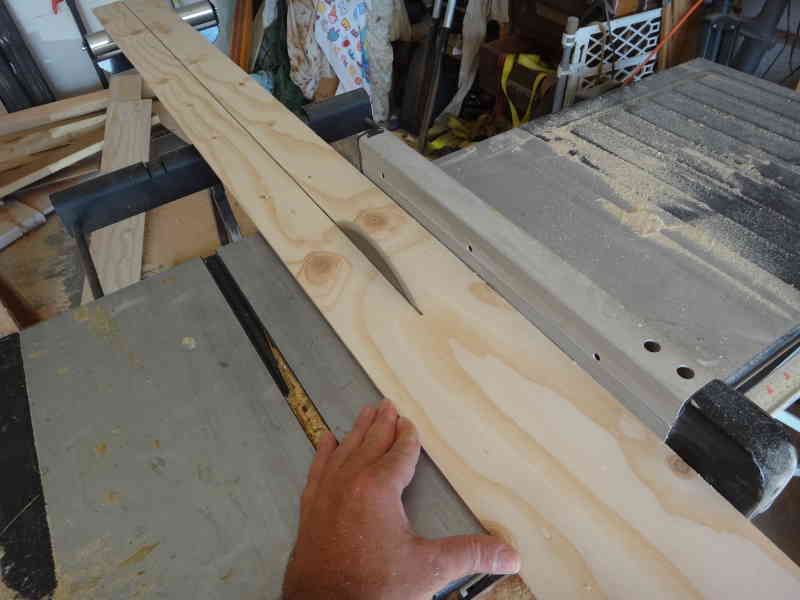
First step: Stack your plywood. I like to make my mistakes all at once, so I do my cutting all at once. I use the rubber mallet to tap the edges into alignment, then clamp everything together.
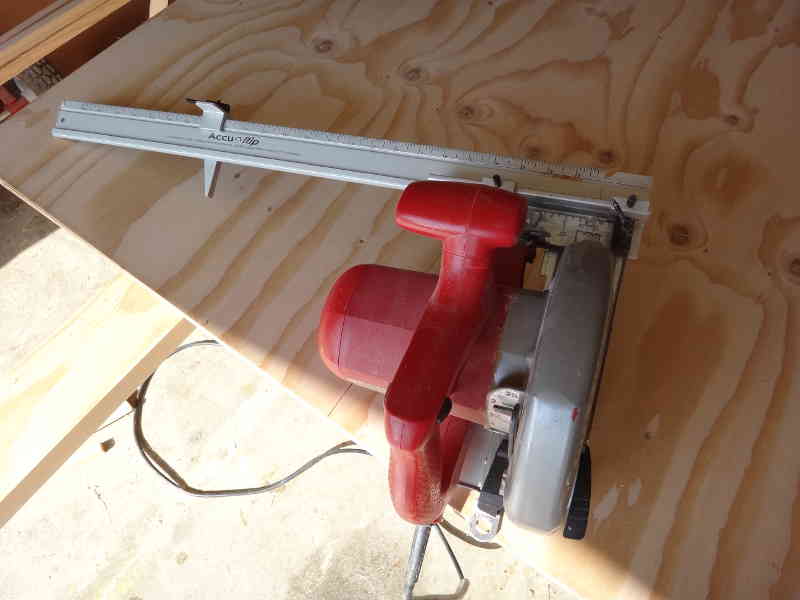
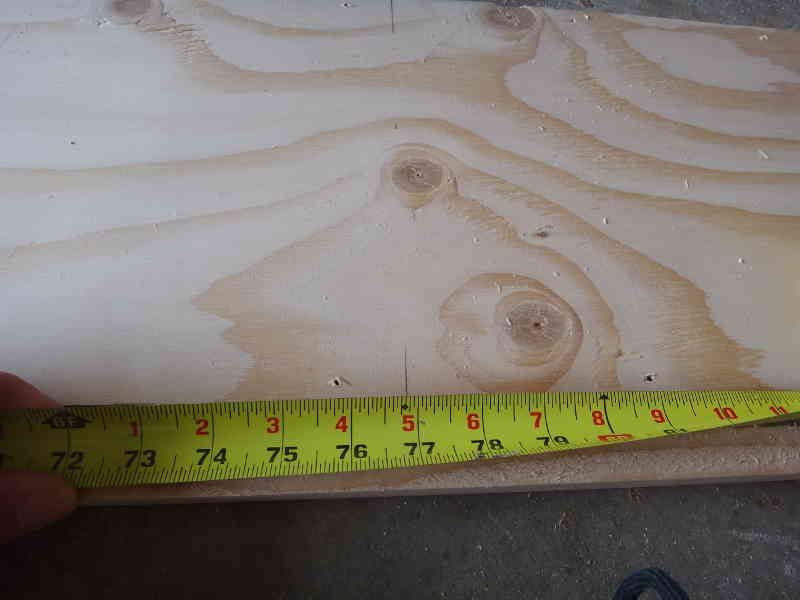
4x8 sheets of ply are too big for me to wrestle onto my tablesaw by myself, so I use a circular saw with a rip fence (or you could save $30 and just draw a line.) The fence is also handy for ripping chines, a process not shown here. Cut the ply into 3 planks: 32" for the bottom and top*, 10: for the sides, and the remainder is used for butt straps and whatever - there is a fair bit of waste in this plan. *32" ended up being a bit difficult to move around. The HULLS program says a 32" wide Tik Tak Too will displace 4" at 540lbs, ~500 at 30" wide, and around 450 at 28" wide. A wider boat is more stable, but a thinner boat will be easier to haul around.
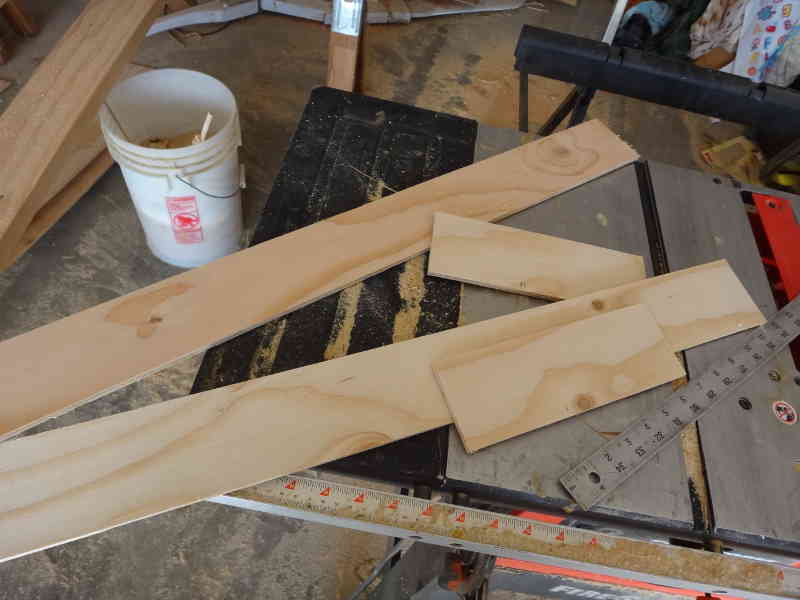
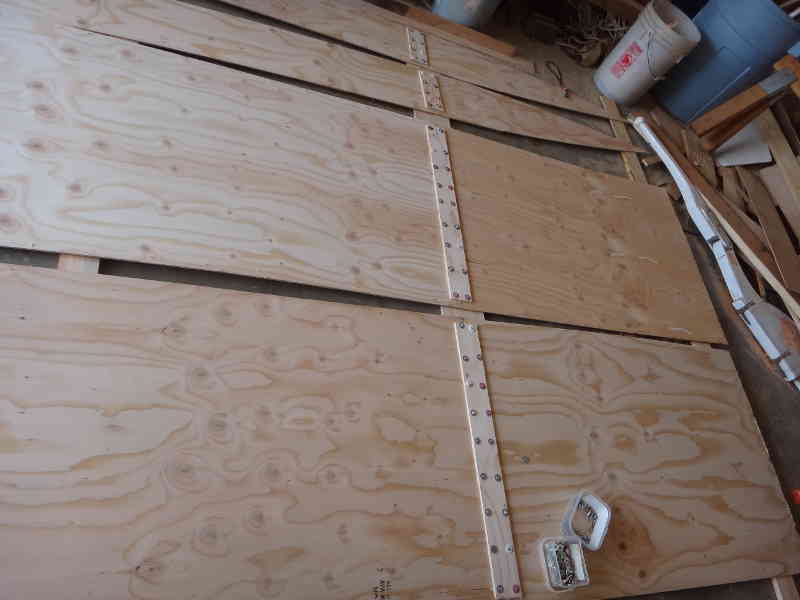
The butt straps I used were 3" wide, 12x the thickness of the ply. Next time, I'll make 'em 4" wide, the recommended 16x the thickness.
The butt straps have to fit inside the chines when the boat is assembled, so even though the side planks are 10" wide, the butt strap is only 8 1/2" (10" minus the width of each chine.) The butt straps for the bottom are even trickier - you need to take the thickness of the sides into account (make them 2" shorter than the width of the hull.)
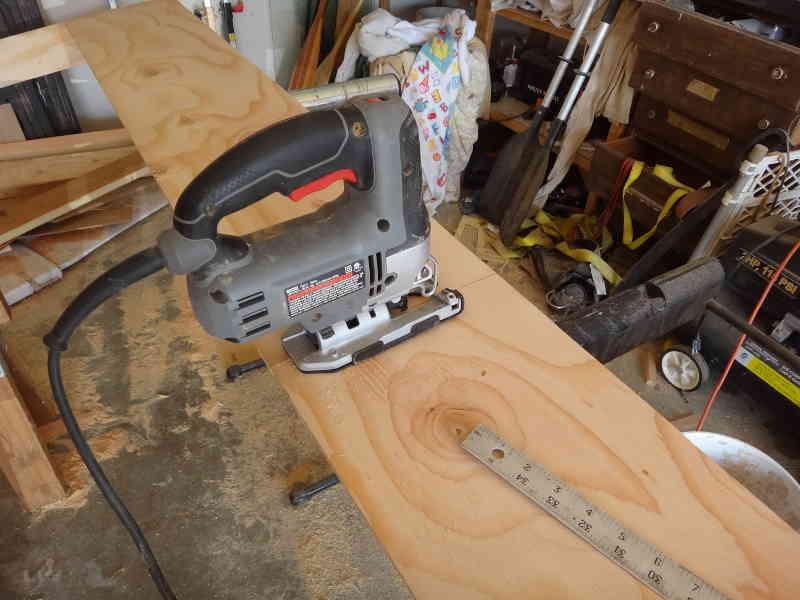
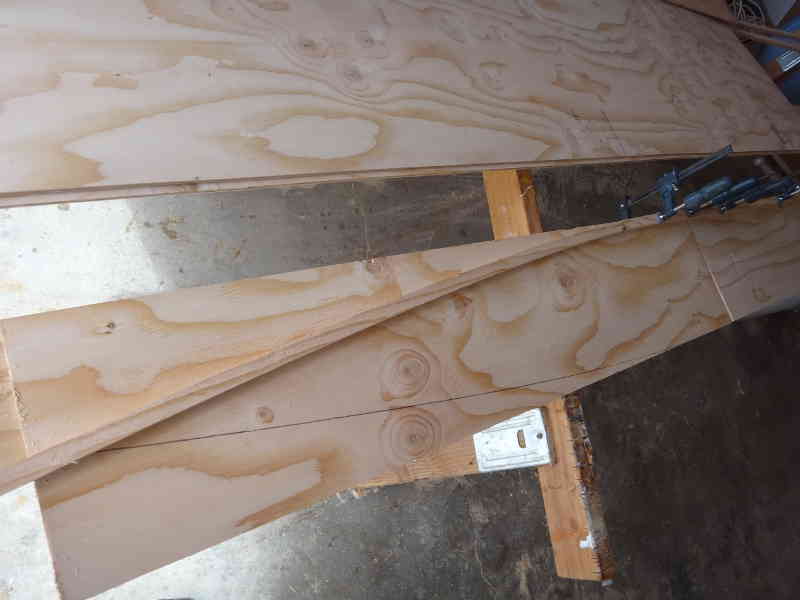
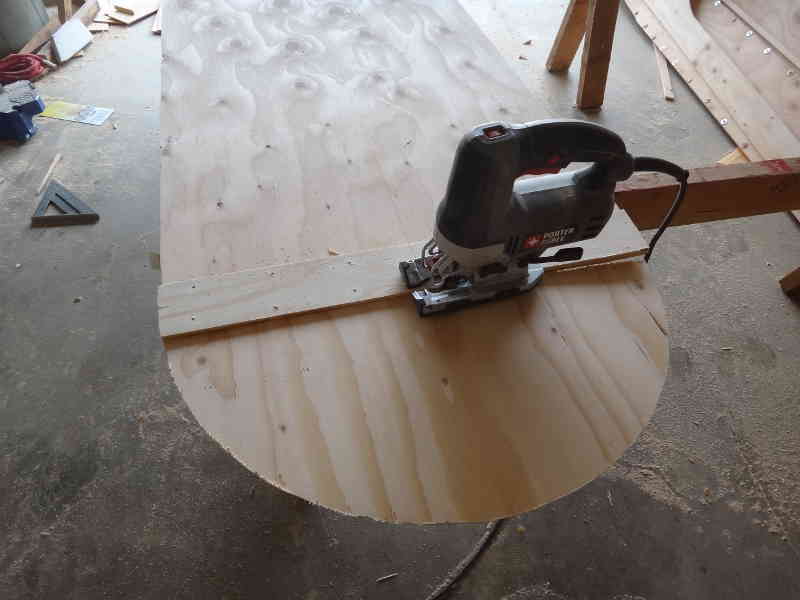
I used a steady hand and a sabersaw to cut one of the 32x96 planks and one of the 10x96 planks into planks 48" wide. Even being careful, the cut was wiggly. I ended up using the wiggly ends as the outer edge, butting the factory edges together for the joint.
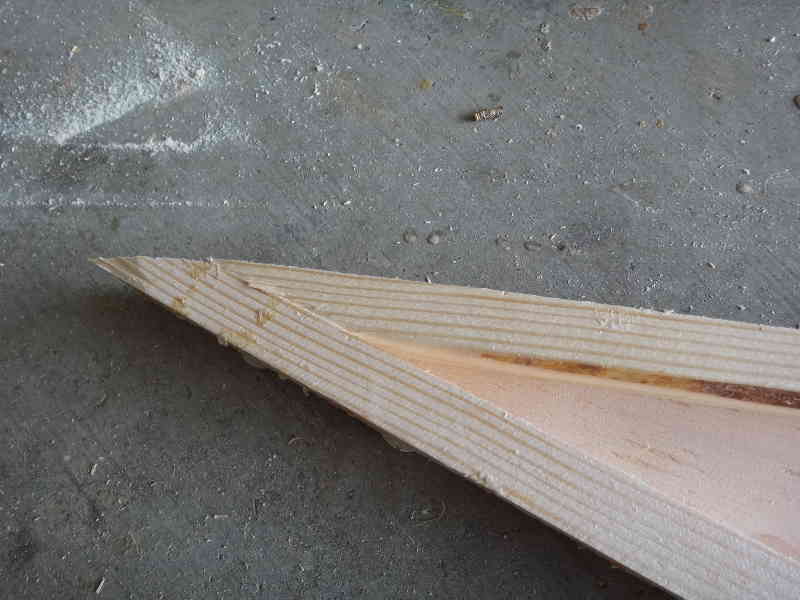
To get the curves for the ends, I clamped one of the chines to the edge of one of the 8' side planks. Rather than have a smooth curve over the whole length, I wanted the bottom (and top) to be flat. The curve meets the top and bottom of the plank 42" from the end.
Again, I wanted to make all my cuts at once. I stacked all the pieces, face to face to get mirror images. This is tricky and fraught with danger - mess up and you have 4 errors instead but . . . it is faster.
Since the boards were stacked, I went ahead and pre-drilled pilot holes for the screws I'll be using to attach the chine logs.
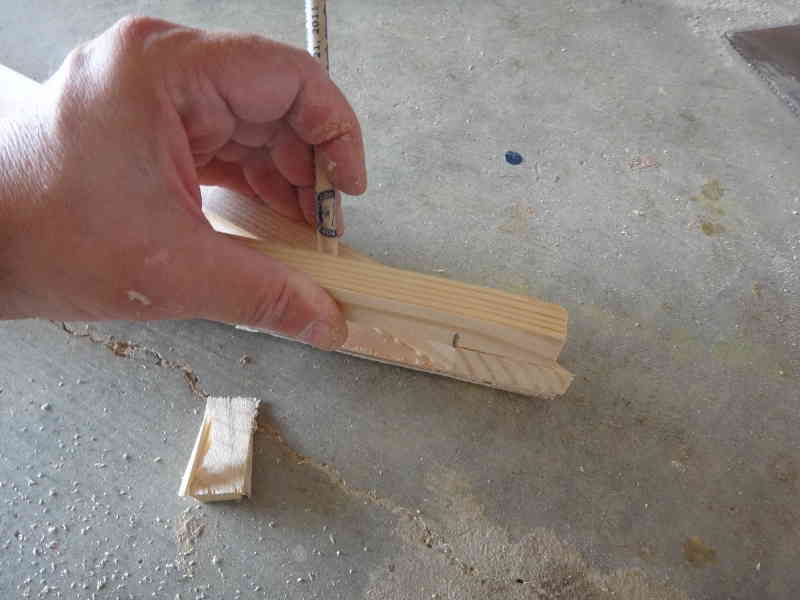
The parts of the curve that are cut off become skegs, should you choose to use them.
I butted everything together and glued and screwed it down. Make sure to use a glue-proof barrier under your planks (I used Saran Wrap.)
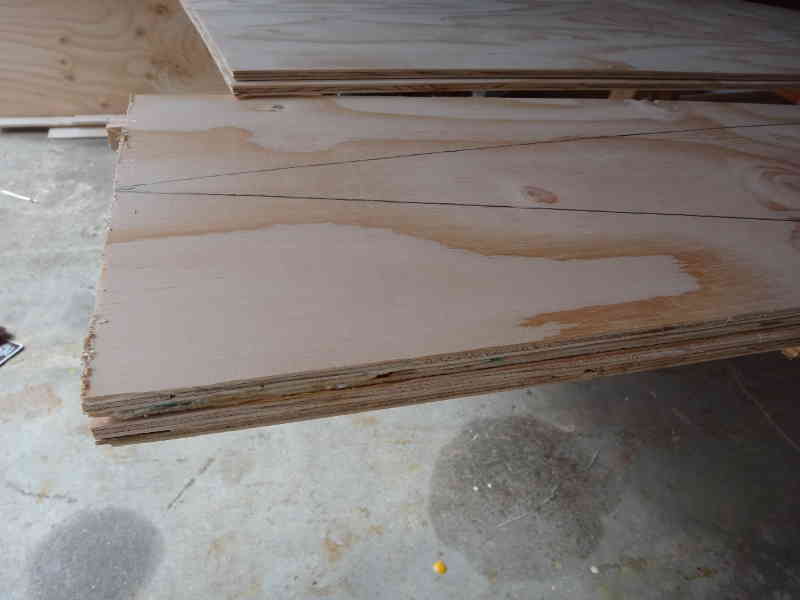
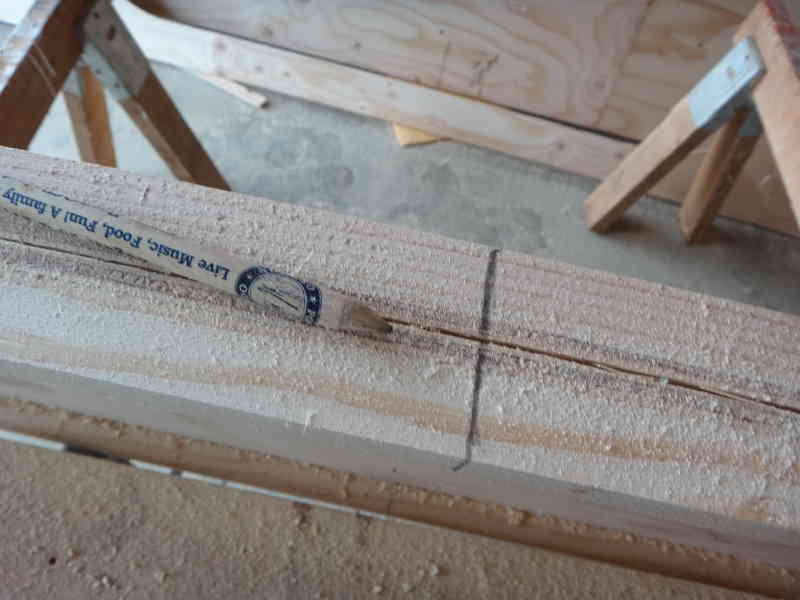
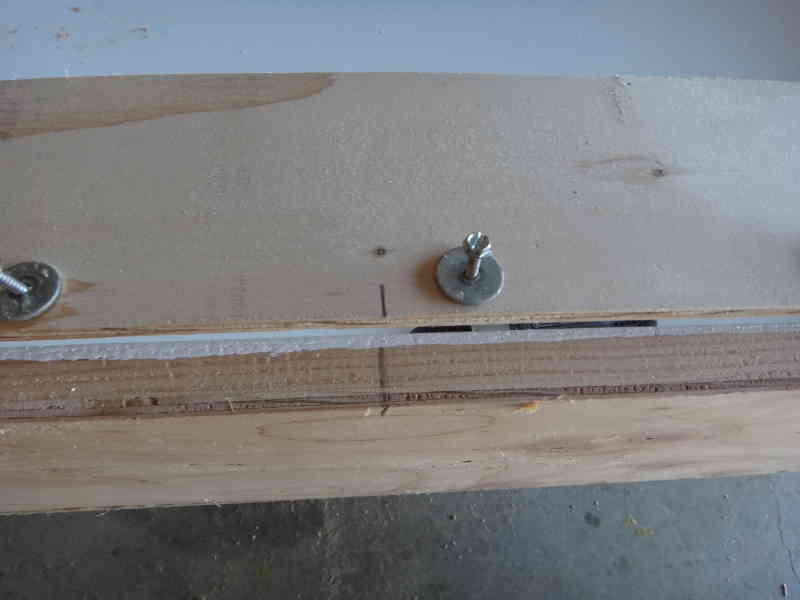
Centerlines will be very important.
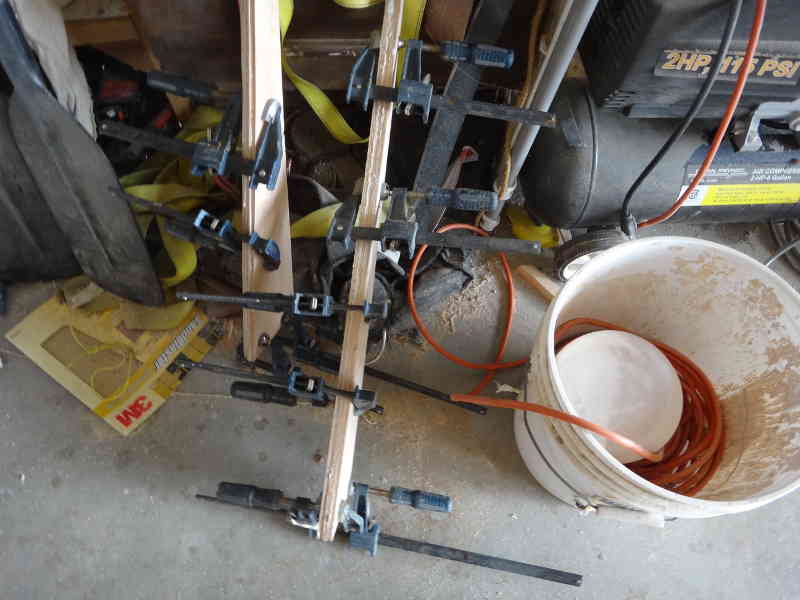
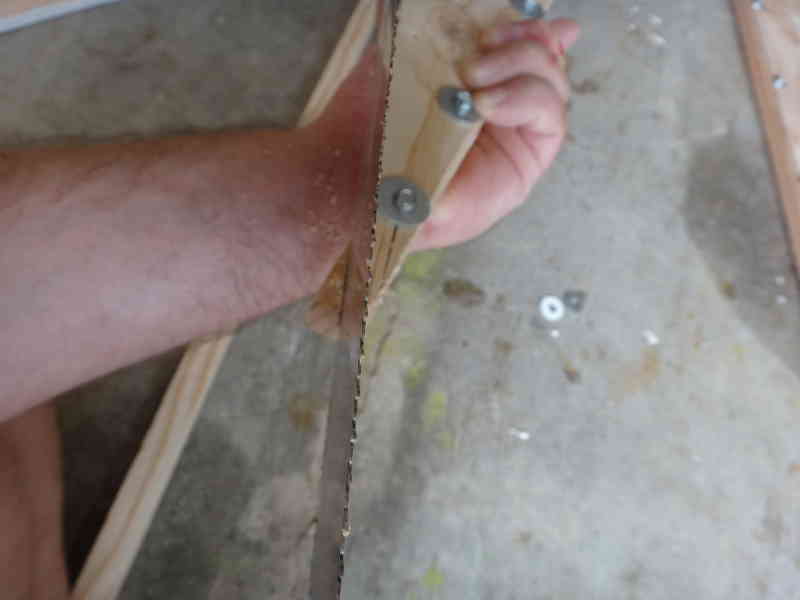
I cut my chine logs from a 12' 2x6, so they are barely long enough to use. Once glued and screwed into place, trim off the excess.
The first chine is easy, the second one requires a little fitting. Glue/screw the middle section into place, bend the chine into place make some marks.
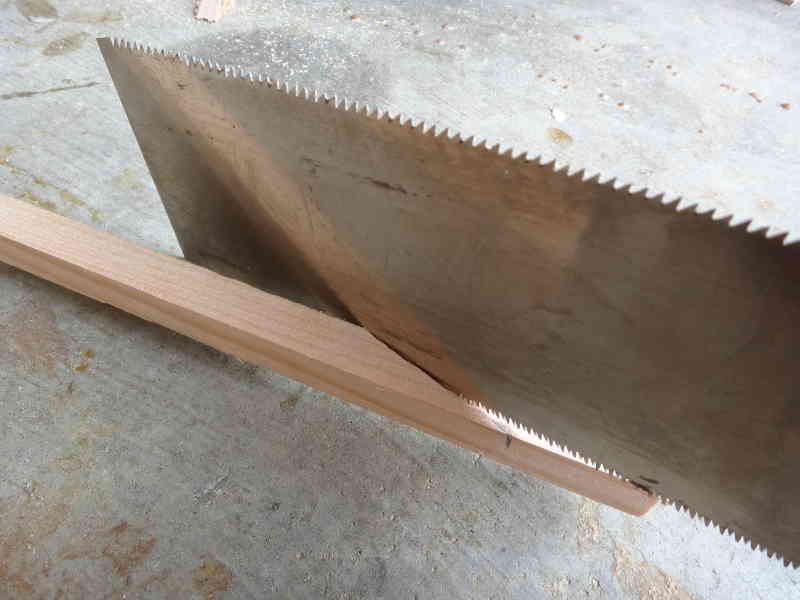
Flip the plank over and use your trusty saw to connect your marks.
Wow It worked! By the way, I'm using TiteBond III for the glue on these tight fitting surfaces. Note: Only 2 of the ends came out this tight, but it doesn't matter as I used PL Premium - and expanding polyurethane construction adhesive - to attach the top and bottom. That glue fills any little gaps or mistakes.
You want the sides to be exact mirror images to reduce any twist to the boat. Clamp them face to face, mark one edge Top and one end Forward so you can keep things straight during assembly.
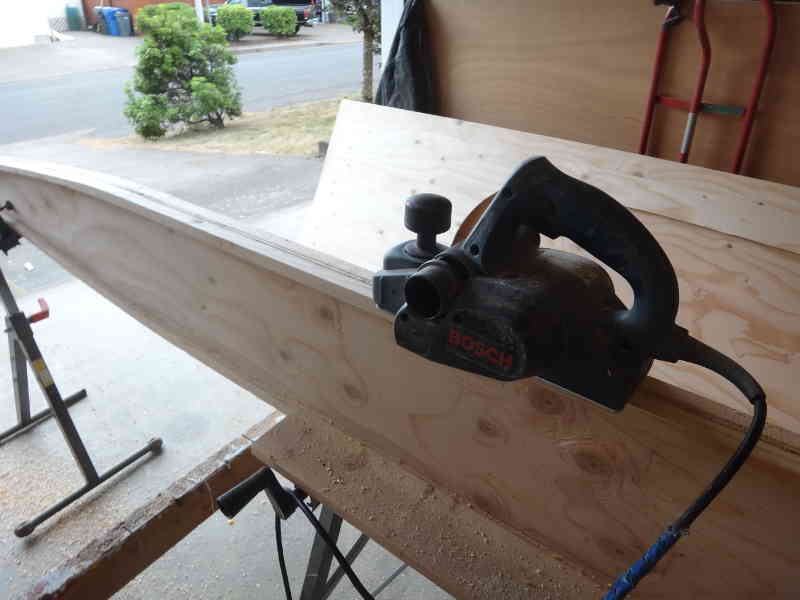
Plane and sand the edges smooth.
Make sure you mark the centerline - it's important to get the pieces lined up during assembly.
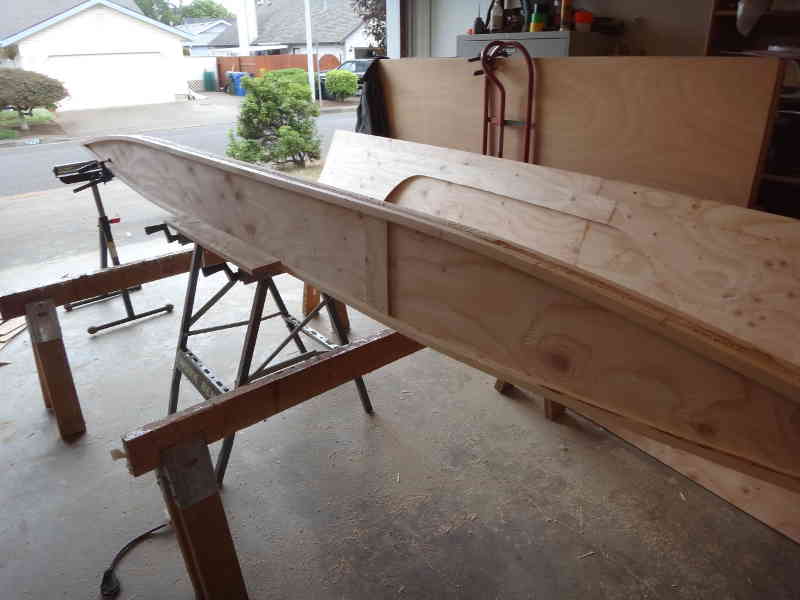
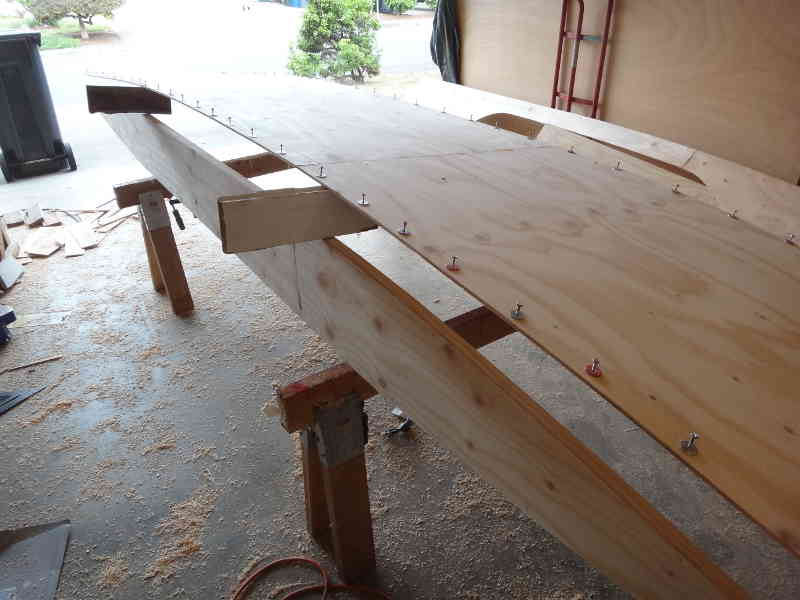
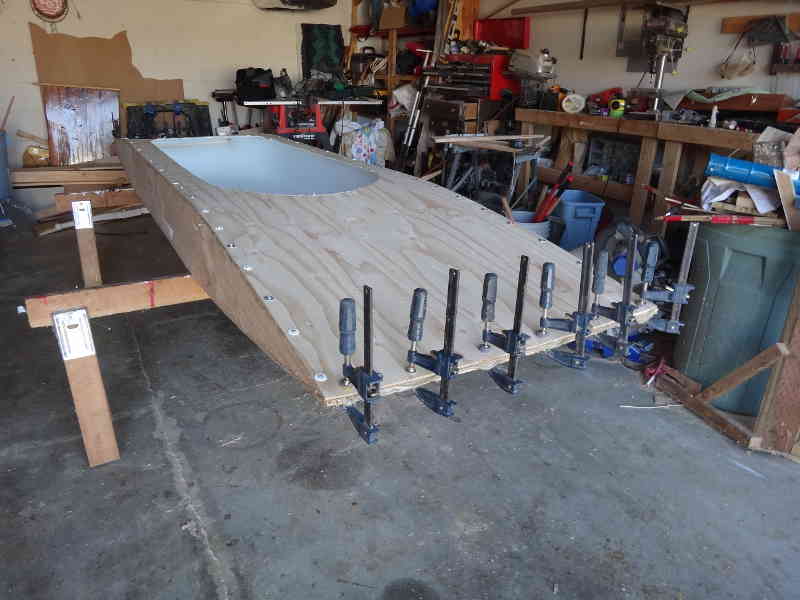
I use clamps to hold the sides vertical as I attach the bottom. I dry fit everything together, start the screws (with fender washers to distribute the force,) then prop up one edge. Run a generous glue line along the chine, removing the braces when you get to them. Line everything up, start in the middle, and screw it down. Repeat on the other side.
Chines and stems, let it cure (4 hours, minimum for PL Premium)
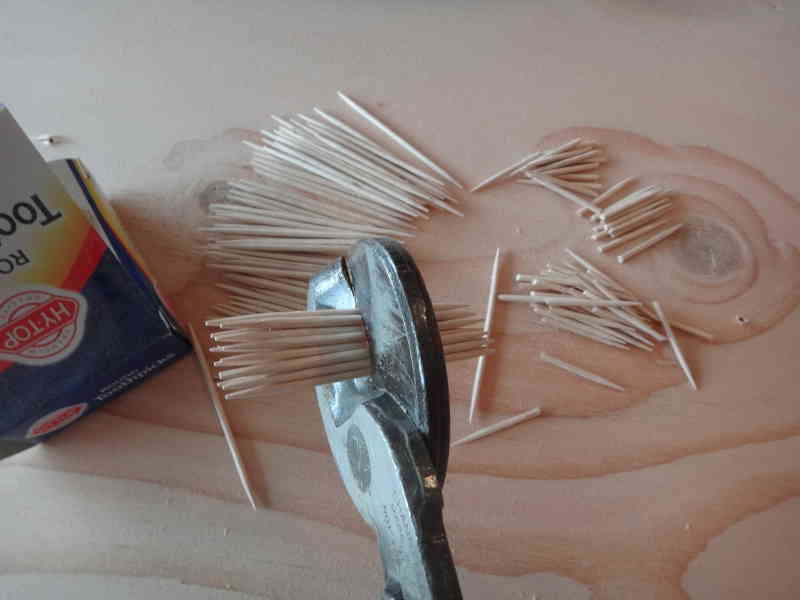
Remove the screws and fill the holes with toothpicks dipped in glue. I've become so cheap I cut the toothpicks in half.
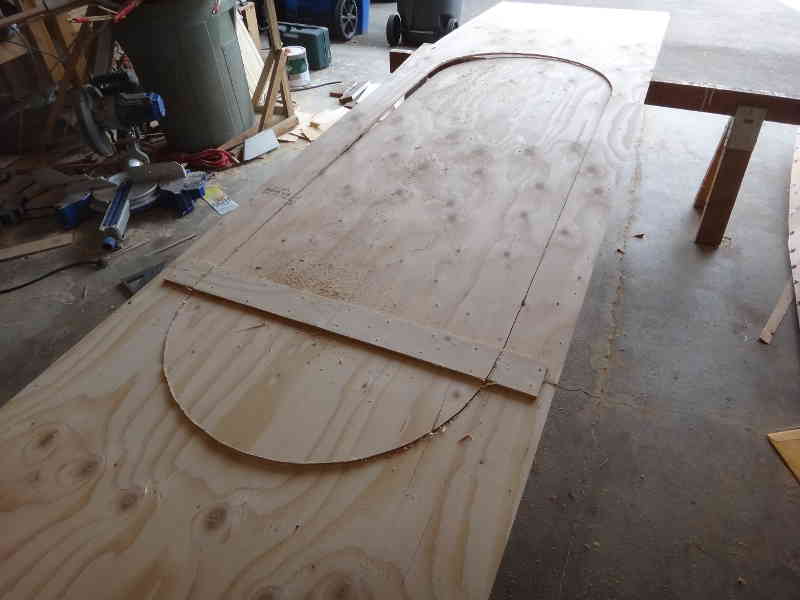
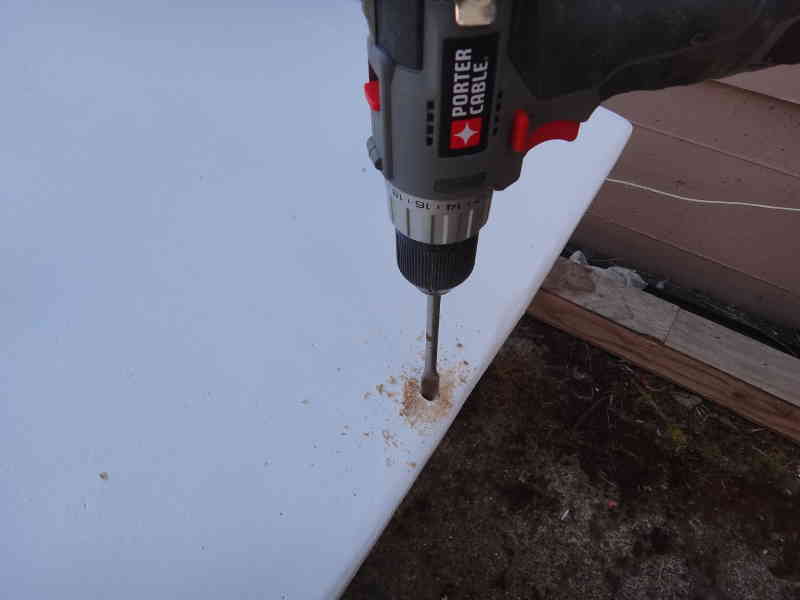
Cut the hatch before you attach the top. I made the hatch 72" long by 24" wide. I like the round ends - they look nice.
The wood cut from the hatch is used to double the thickness of the bottom - the butt strap just buggers things up, so I cut it out and glued/screwed the pieces into place.
Do yourself a favor and paint the insides before attaching the top deck. Those ends are hard to paint once everything is together. Make sure to tape off any glue surfaces: Paint sticks to glue, glue does not stick to paint.
The midpoint marks make it easy to line up the top deck when gluing/screwing it into place. You might need to push/pull the side into alignment, do your best to get the edges to mate up smoothly.
I found it necessary to clamp the ends shut - the screws were providing enough force. I made sure I used an excess of glue to fill any gaps or spaces.
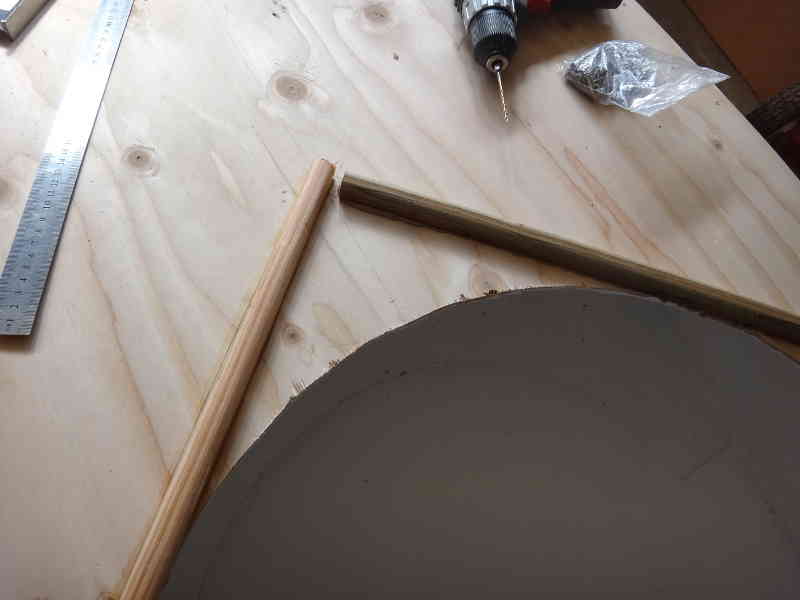
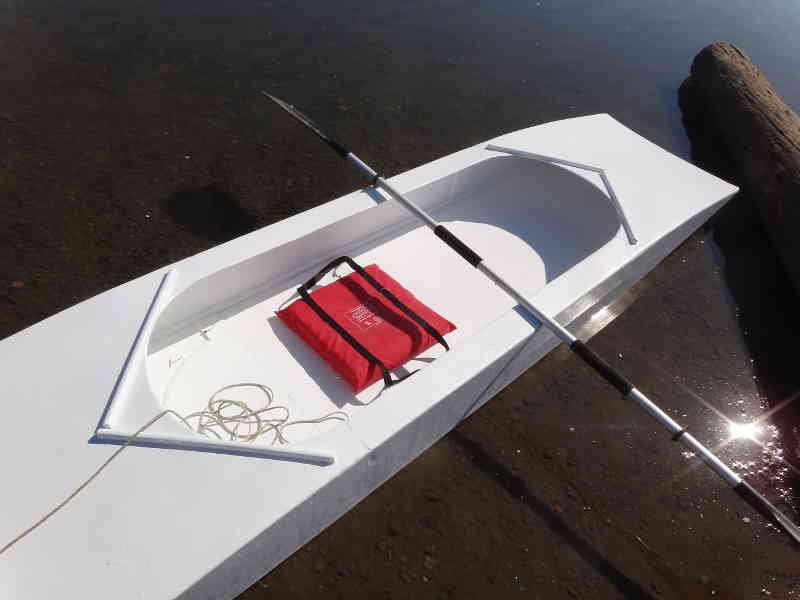
I decided to go with a couple 1x1s for the coaming. The gap is to let any accumulated water out.
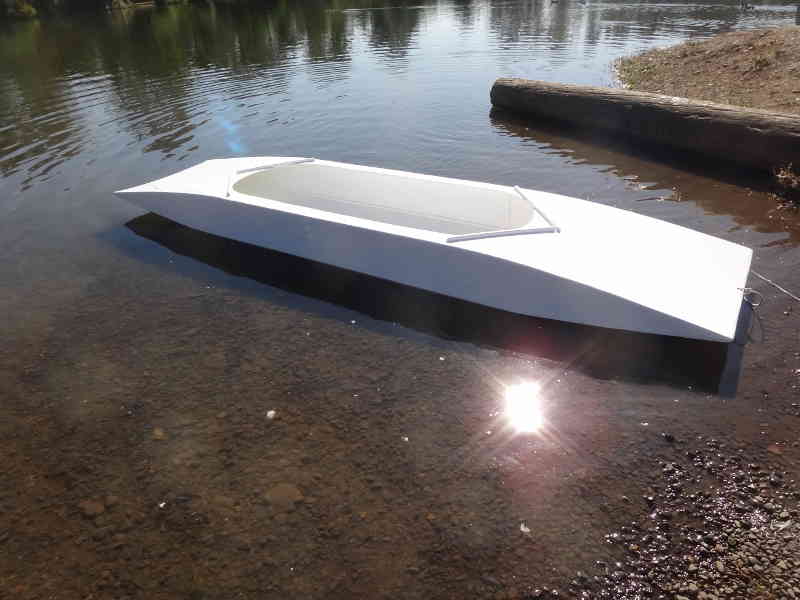
2 coats of primer, 2 coats of porch paint. I drilled holes for the painter through the stems at both ends of the boat. I decided not to use skegs, so the boat is truly symmetrical and could be paddled in either direction.
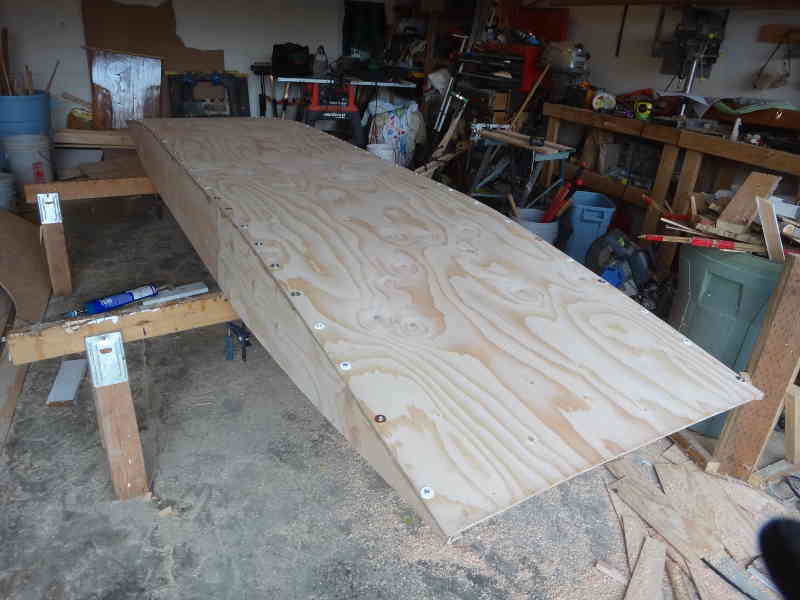
Mostly because of the ACX plywood, this prototype came out to ~71 lbs, a little heavy. Just over 2 lbs of that is paint.
She floats in 3/4" of water.
Using a throw PFD as a seat, I tried sitting just aft of center first. It worked OK, but sitting about 8' from the bow worked fine, too. A 200lbs paddler doesn't seem to be able to get the transom to touch the water.
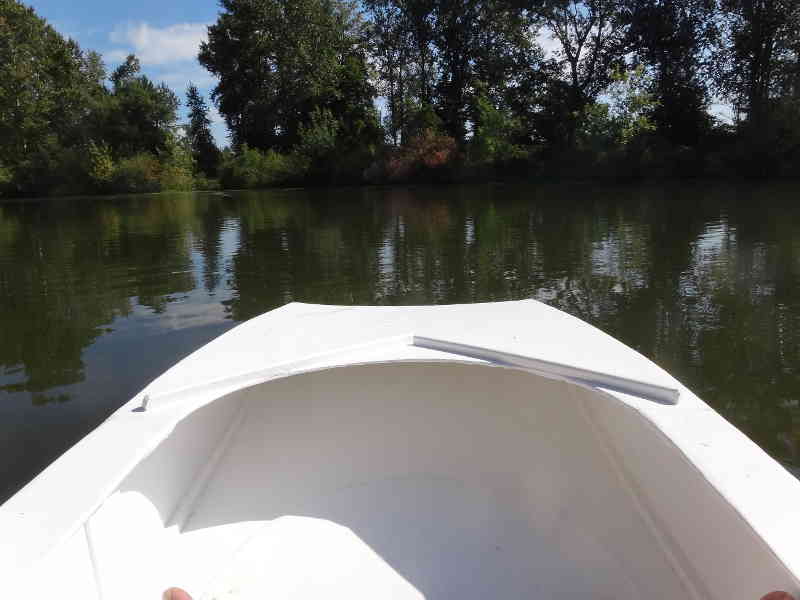
It paddled just fine - smoothly and easily. Even without skegs, it wasn't too squirrely. There's tons of space and it is very, very stable. It'll be a fine design for one or two people on calm, flat water. You can see the top deck developed a little bit of a scoop to it. That can be solved a couple of ways - I just chose to ignore it. The biggest concern is the weight. 70+ lbs isn't bad, but it's not really easy to move around, either. I think going to a 30" wide hull would make moving it on dry land easier, too.
|