|
Keeping it Going Building boats can be overwhelming at time. The trick is to focus on one task at a time and get it done.
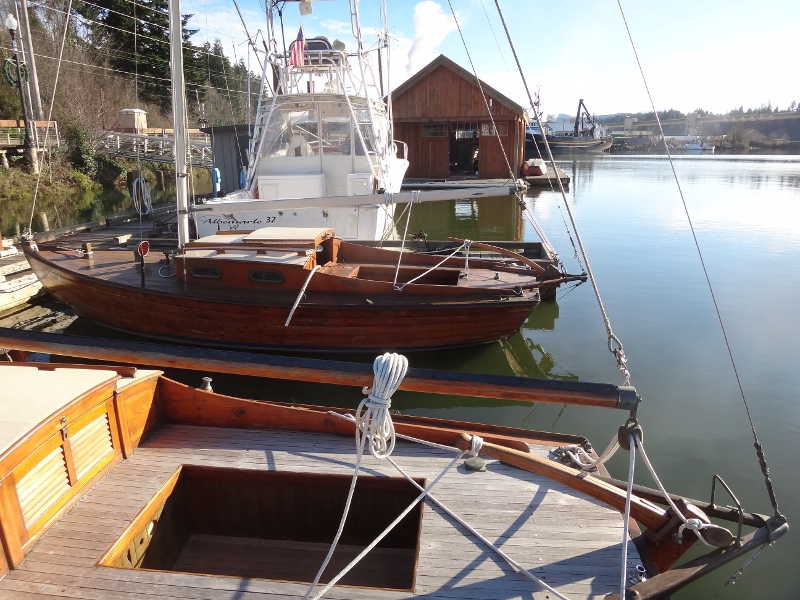
Friday was a glorious day - truly one of the days you are glad to live in the Pacific Northwest. Those are our two Teak Lady sailboats in the foreground - lovely examples of teak boat building in the first part of the 20th century.
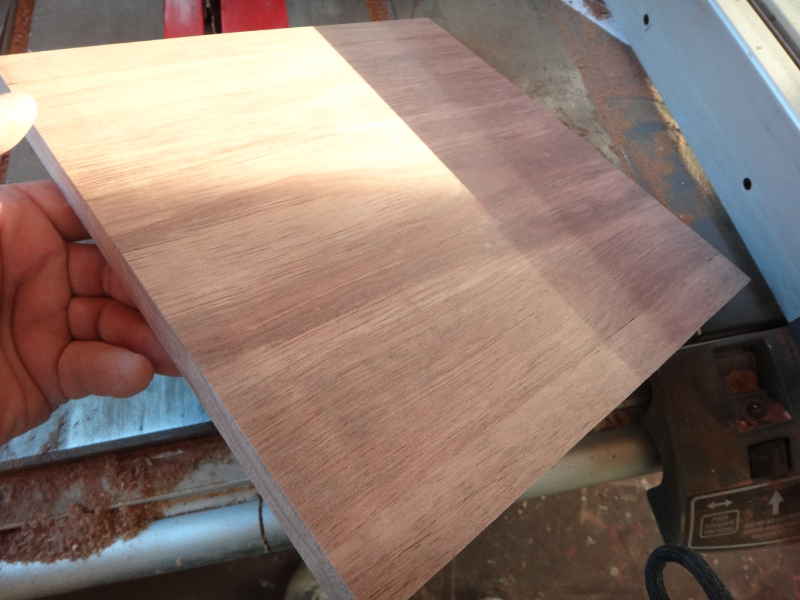
The Goose I am building will have an external swinging leeboard. The leeboard gets subjected to a lot of force, so I will have a pivot pad for it to rest on. I made this board by gluing several small sticks of Alowood together, edge to edge. I fear the pivot pad might break along the glue lines, so I am going to do some reinforcement.
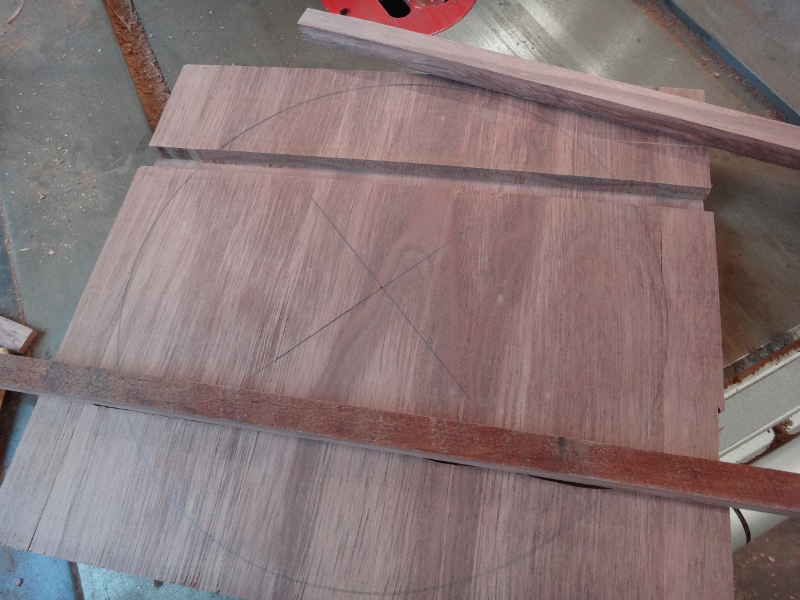
I routed a couple channels crosswise to the glue joints and trimmed some more Alowood to size to fit inside the channels.
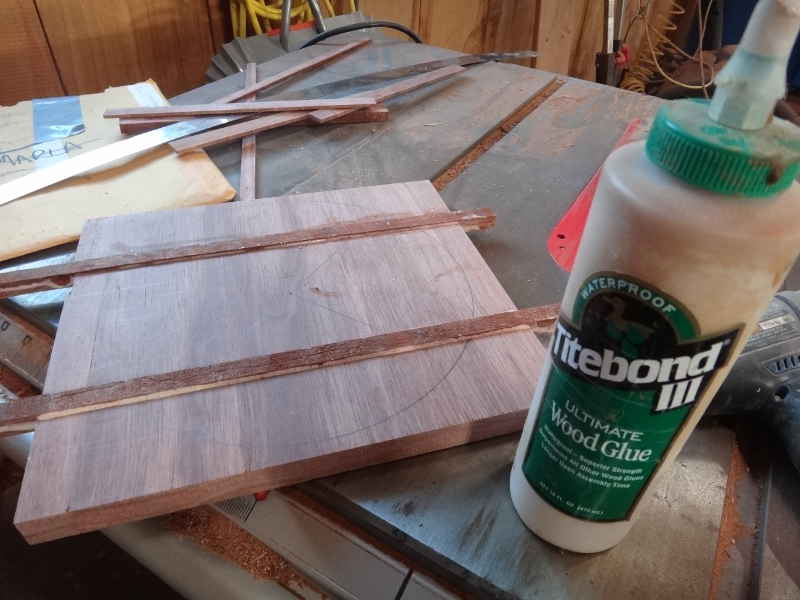
I then laid a line of glue down the channels and pounded the sticks in. As this is a very tight fitting joint, I used waterproof wood working glue instead of epoxy.
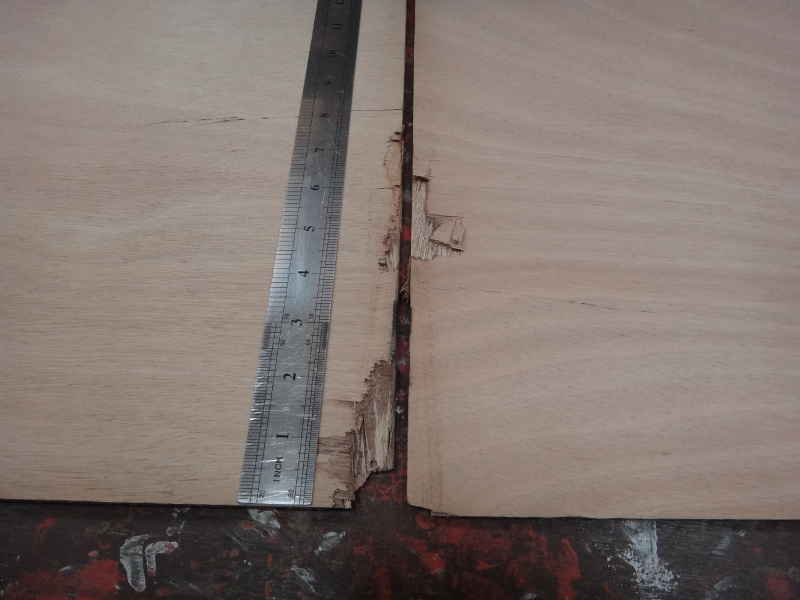
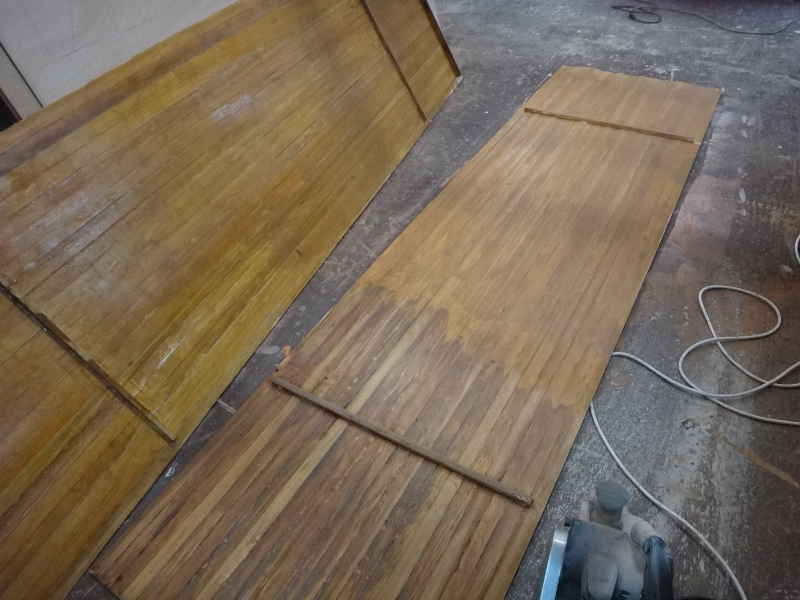
The next thing I was going to work on was lofting the sides of the boat onto 4mm plywood. I had the ply delivered, so never got to see it at the warehouse, and I was more than a little put off by finding the corners of 2 of the sheets damaged. I was able to figure out how to do the layout around the damage, so it came out OK. The supplier has been notified. I got the sides laid out, but forgot to take pictures.
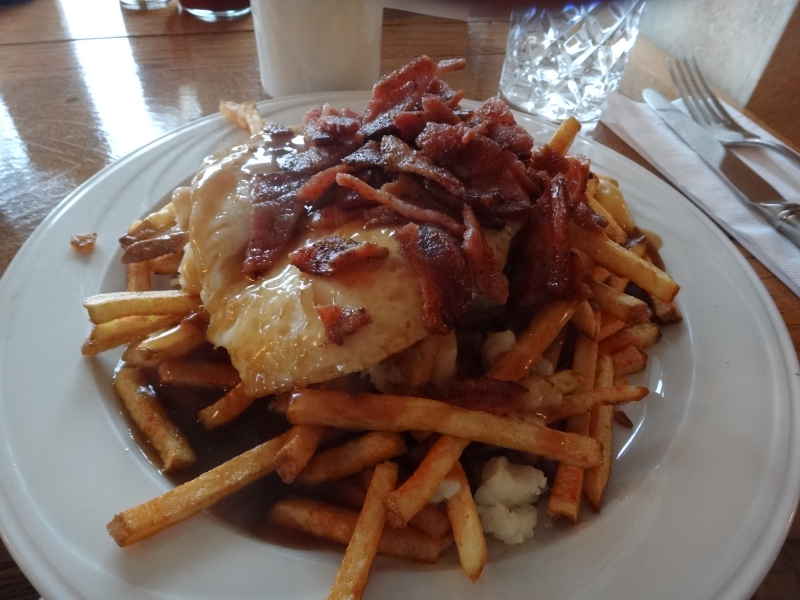
I started the morning with a visit to Zack's Bistro in Newport. where they had poutine on the menu. I've tried poutine before and was disappointed, but Zack's does it right. Zack's is quickly becoming my favorite breakfast place.
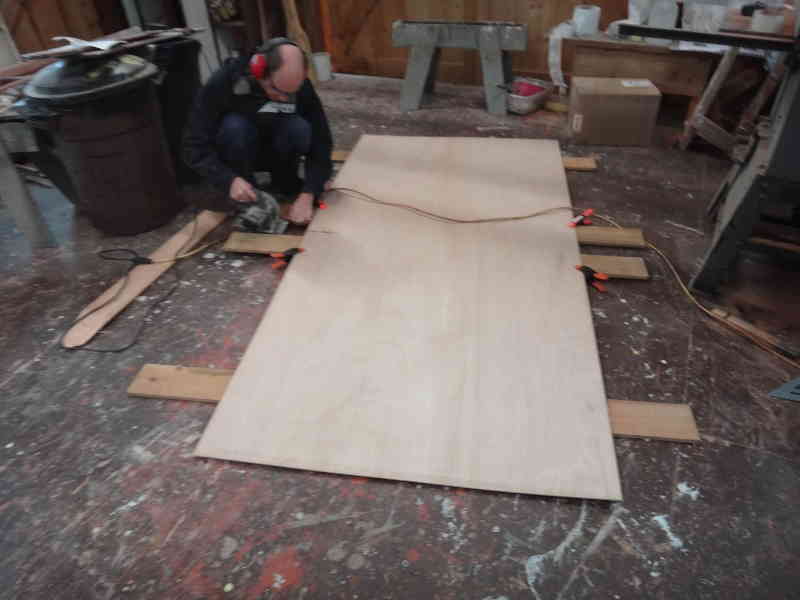
Geoff came by to help out, so I put him to work on the sides while I returned to the leeboard pivot point.
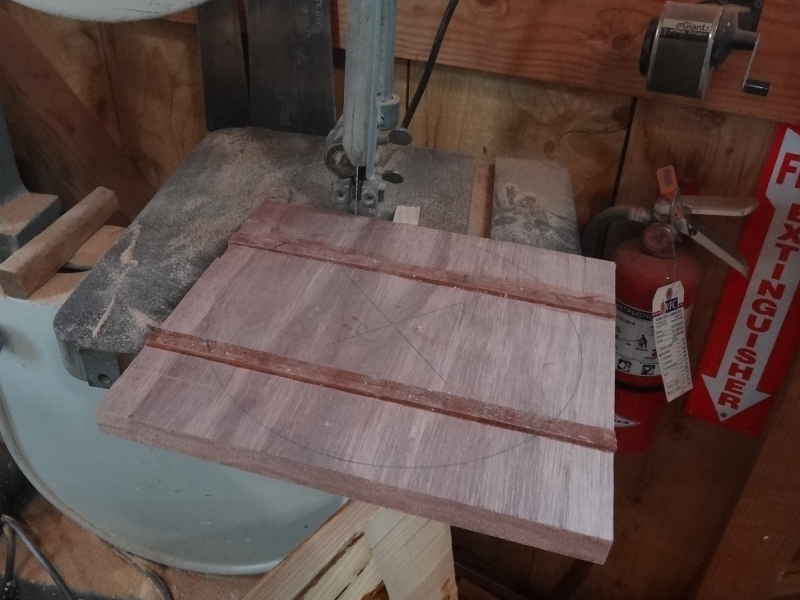
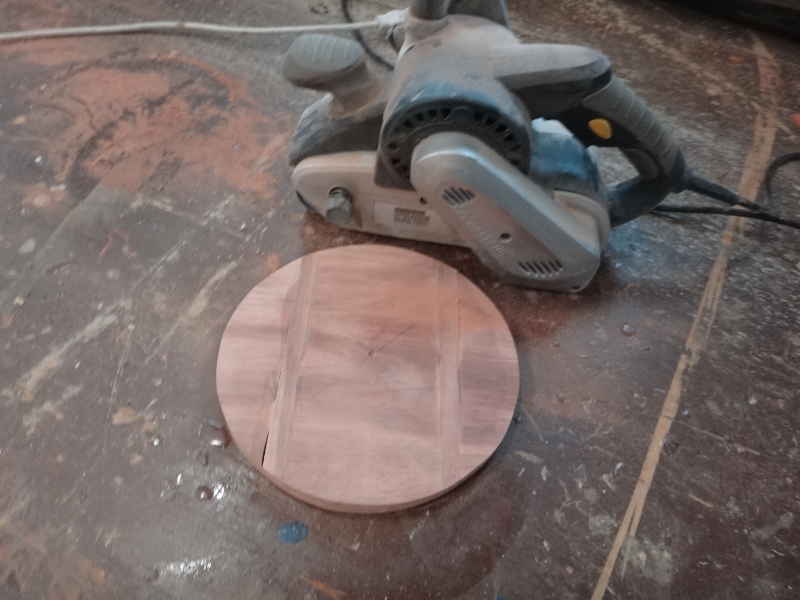
My leeboard is 10" wide, so I am making the pivot point 9" in diameter. A bandsaw works great for cutting out circles.
Next, I ground off any excess wood with my favorite belt sander.
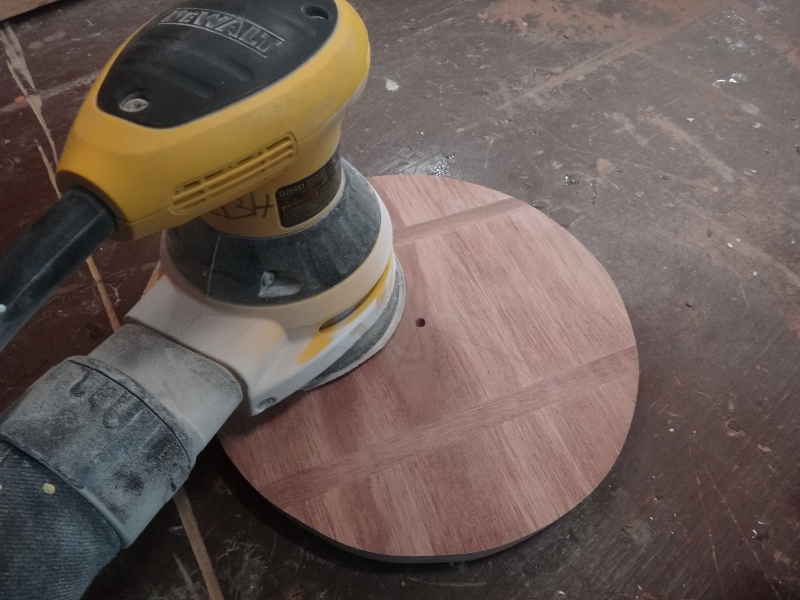
Then smoothed it out with the random orbital. Nothing beats good tools.
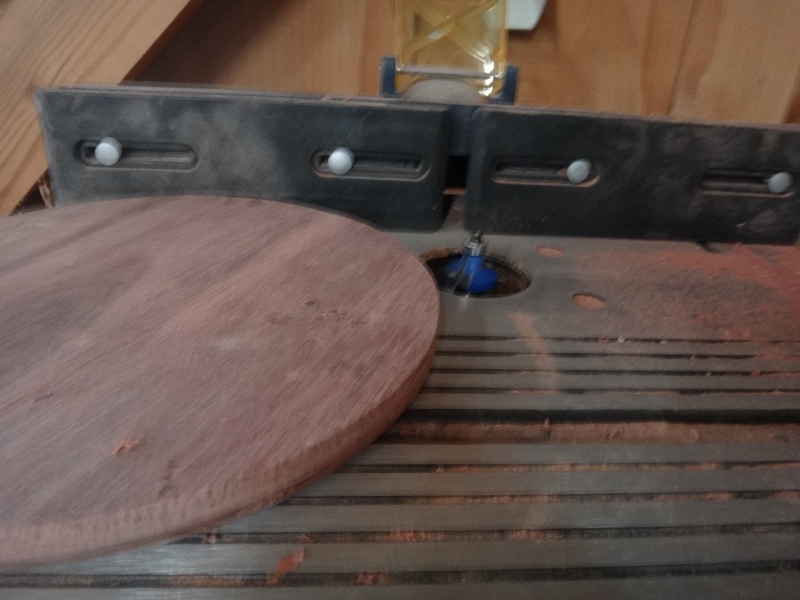
The final step was to round off the edge with a 3/8 roundover bit - my favorite router bit - and a wee bit more sanding.
Geoff kept at the sides so I was able to turn my attention elsewhere. I've been digging on my Tik-Tak Kayak design as it is cheap, quick, and easy to build as well as very, very stable. I ran across a couple 10' 2x12s one day and decided I'd do something silly: Make a strip-built Tik-Tak Kayak.
I didn't do very well cutting the strips and for some reason, I decided to cove-and-bead them, too. This is going to take some doing to make it look good. The end result will be a Tik Tak Kayak that is 10' long with a 50" hatch - almost big enough for two, but perfect for an adult and kid.
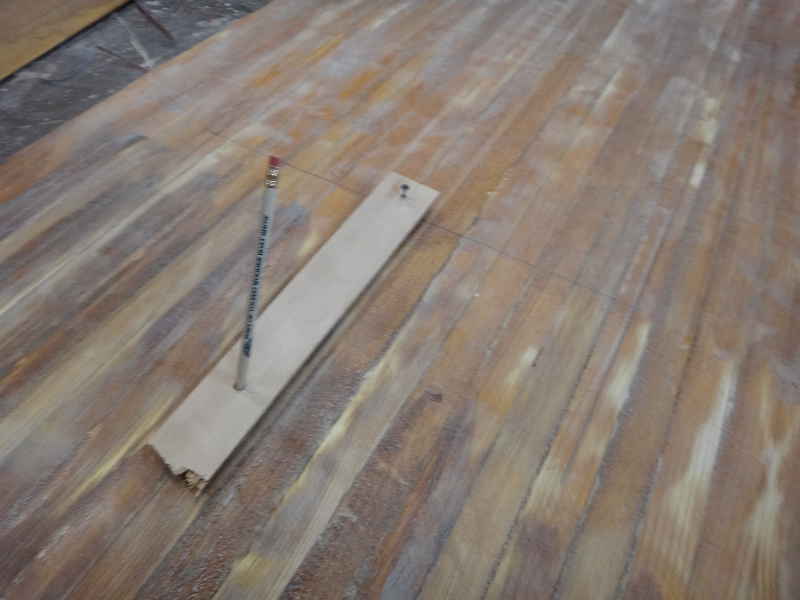
Beam Compass to get the arc for the hatch - it's just a stick with a screw on the pivot point and a pencil for the line.
Cutting the hatch.
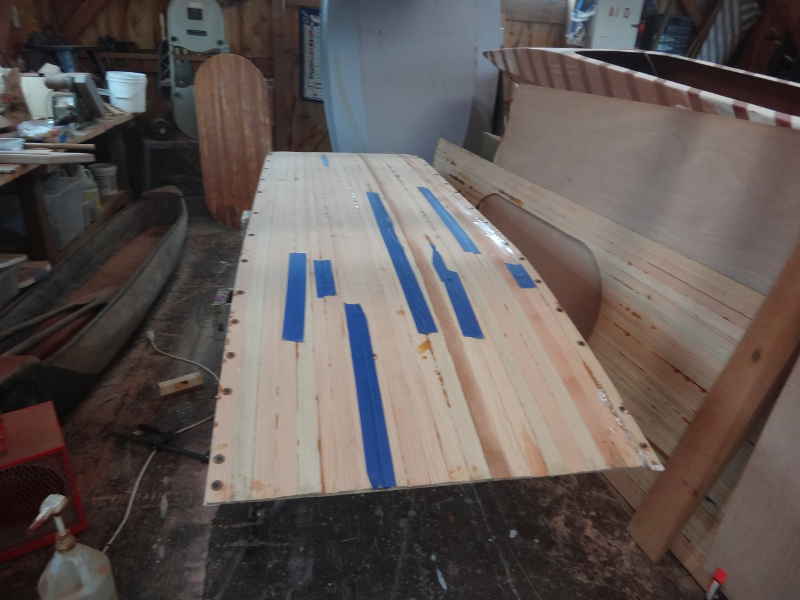
Time to attach the sides. The tape was to cover gaps between the sticks so when I put a layer of epoxy on the inside, it wouldn't all leak out.
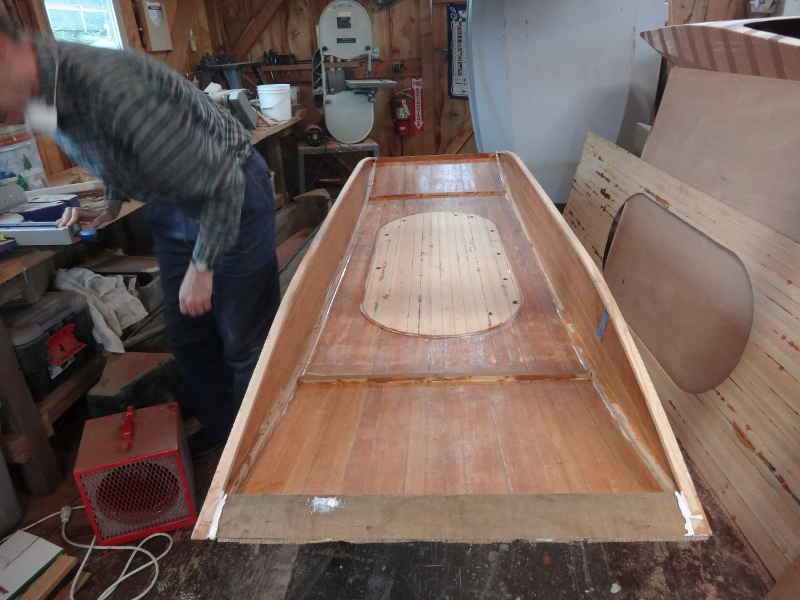
OK, bottom is screwed on.
Then I flipped her over and glued/screwed the hatch to the bottom as a doubler. Hopefully, people won't put their foot through the bottom.
Geoff was hard at cutting out the sides. He was cutting slightly over size, then . . .
. . . sanding them down to the line. That's the right way to do it. Next week, we attach chines and cleats and maybe go 3D.
|