|
Building a Chuckanu -for reals this
time A few years ago, we built one of Dave Gentry's Chuckanuts, a Skin on Frame kayak. I really liked that design and I really, really liked the boat. The only thing was, I thought the cockpit could be more open to make it easier for two-people, so I designed the Chuckanu.
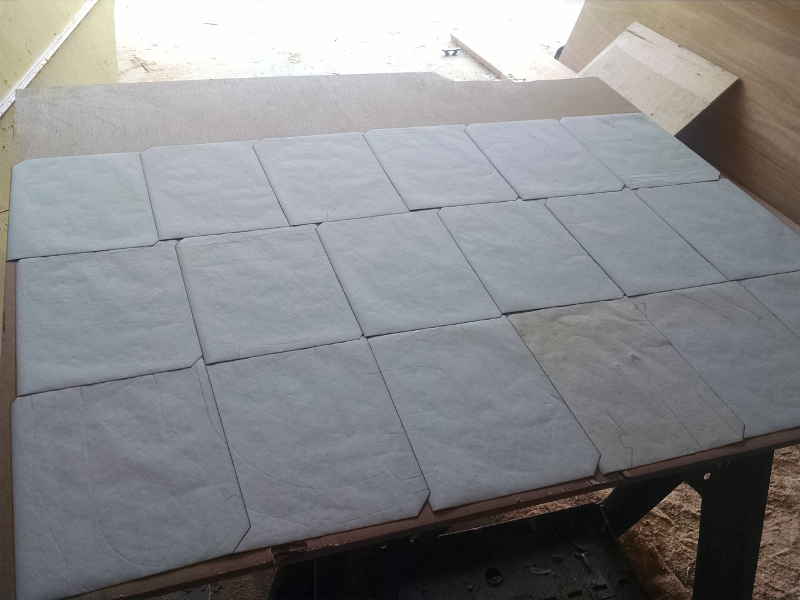
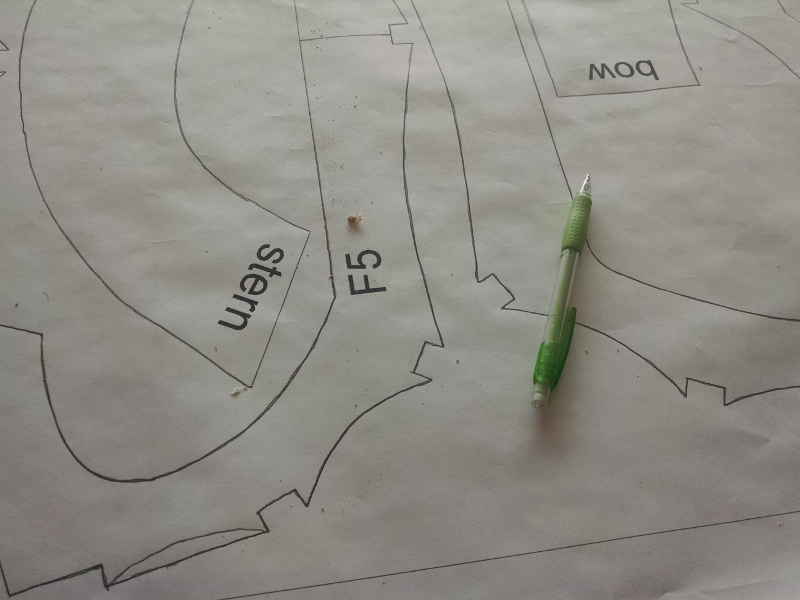
While a person *could* line out the frames of one of these boats, it is easier to just print out the cut plan on a large scale printer (I used a local Fed Ex store - used to be a Kinkos) and trace it over carbon paper. The cut plan covers an area 32x48 (you can get 3 boats out of a single sheet of plywood. NOTE: Use Marine Plywood - not construction ply. I used construction ply once (once) and it deformed under the pressure of the stringers.
Spread the cut plan over the carbon paper, hold it in place, and trace. It takes about 30 minutes to an hour. Remember to press fairly hard and to number your frames - it becomes important during construction.
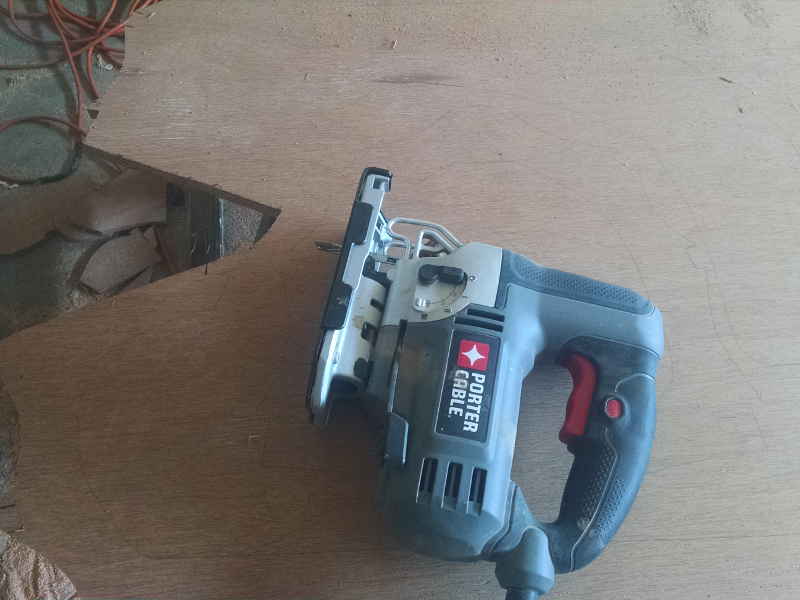
Cut - use a blade that gives smooth cuts in wood and allows you to make tight turns. The cut plan strives for economy of layout, not ease of cut. This takes about an hour.
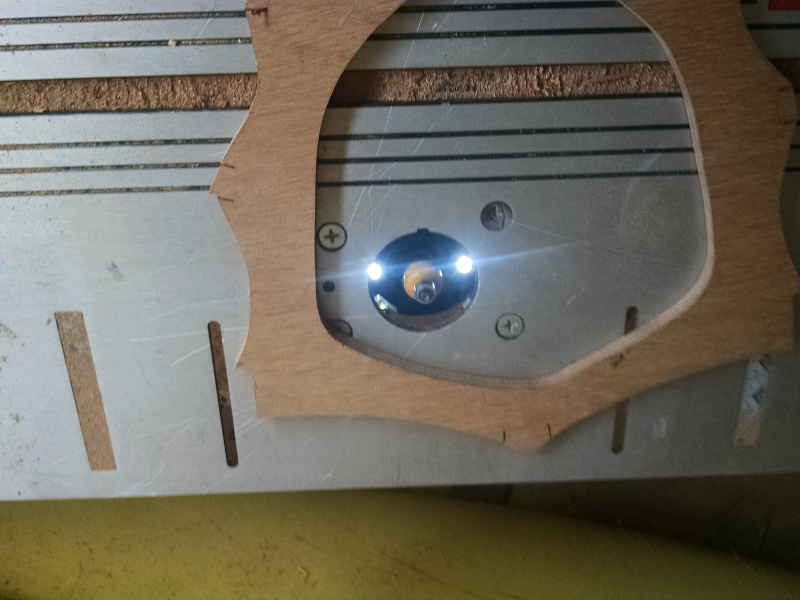
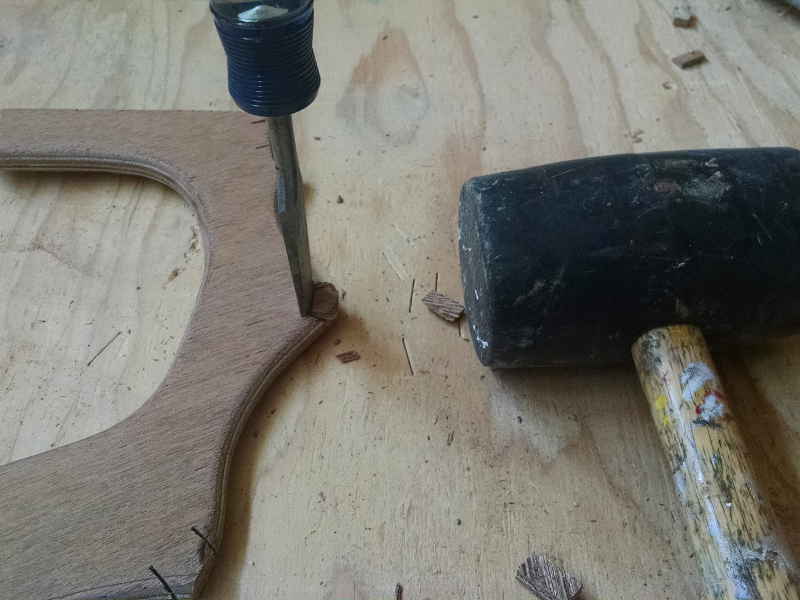
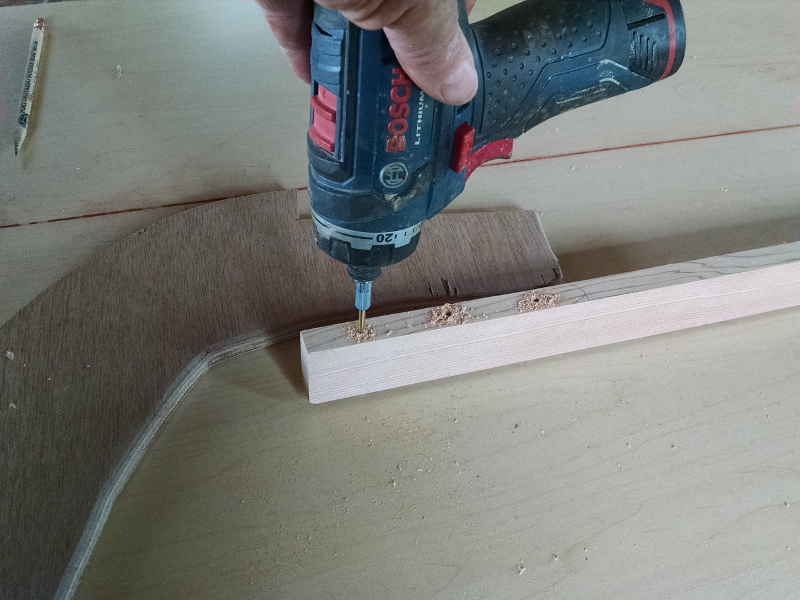
Roundover the edges that will not be touching skin or floorboards - I used a 1/4" roundover bit for this. Also, you'll notice I did not cut out the bottom of the notches yet, just the sides. I'll show you a trick in a second.
Use a 3/4" chisel to cut out the bottom of the notches - it's quick and easy and gives you a reason to sharpen your chisel.
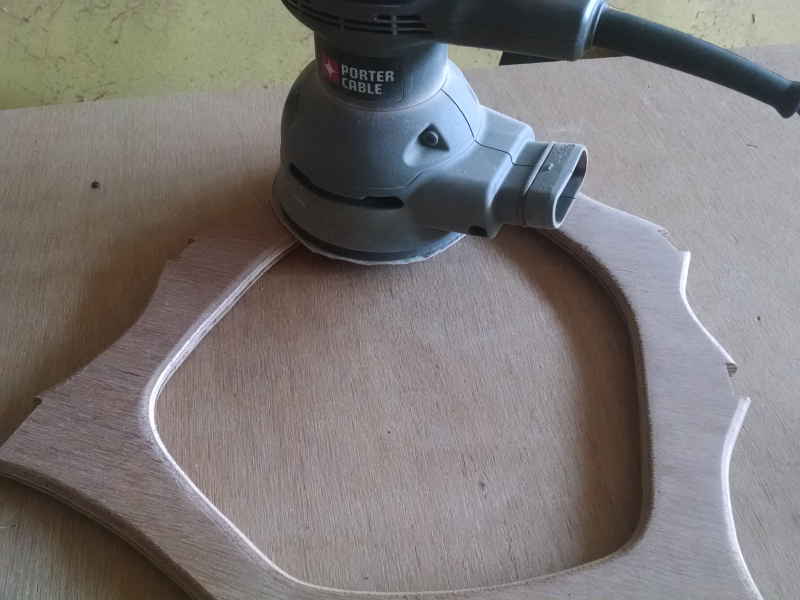
And finally, sand. You probably don't need to sand, but smooth wood is nice wood.
Then it was off to the Boathouse where I was greeted by our new resident cormorant. I hope he stays around.
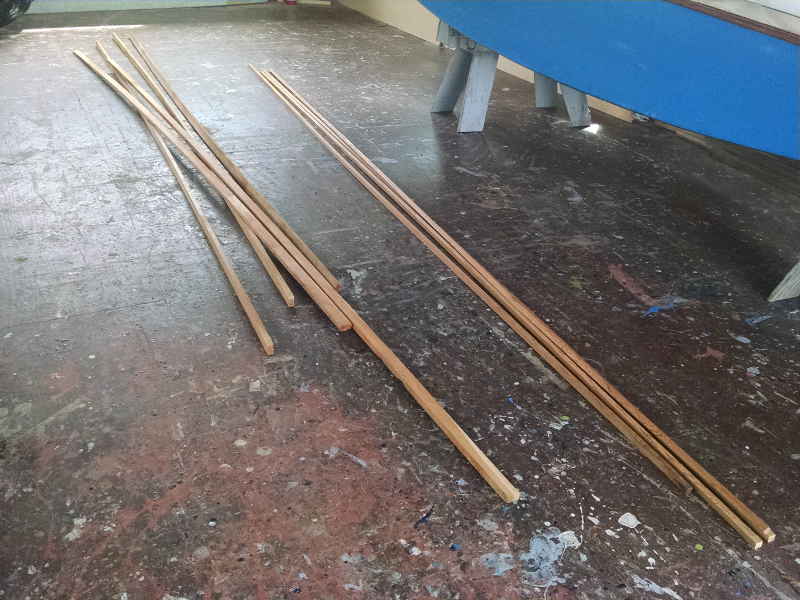
For me, getting the sticks for stringers and wales is the hard part of Skin on Frame (SoF) building. These were leftovers from a previous build: 6 1x1s for the stringers and 4 1x2s for the Wales The stringers are actually 5/8+ (or 3/4-) on a side, ripped from a 2x6. The 1x2s I planed down to just 1/2" thick.
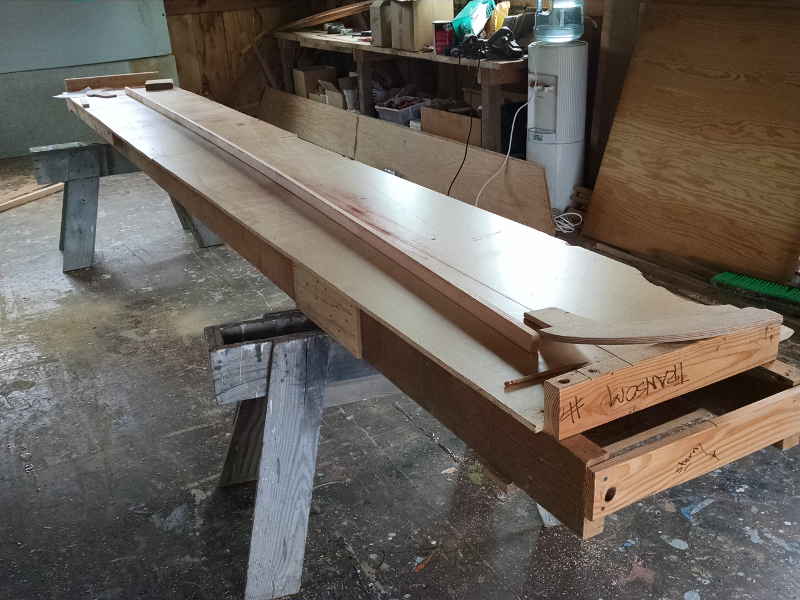
The strongback was used for a Glouchester Light Dory and I had it stored up in the rafters. I got it down (no mean trick) and covered it with some scrap ply to make a flat surface. . Then I snapped a line down the center for reference.
Start with the ends - the boat is 15' long, so I mocked up how the stems would fit and cut the keel to the correct length. 3 screws to hold the stems on seems about right.
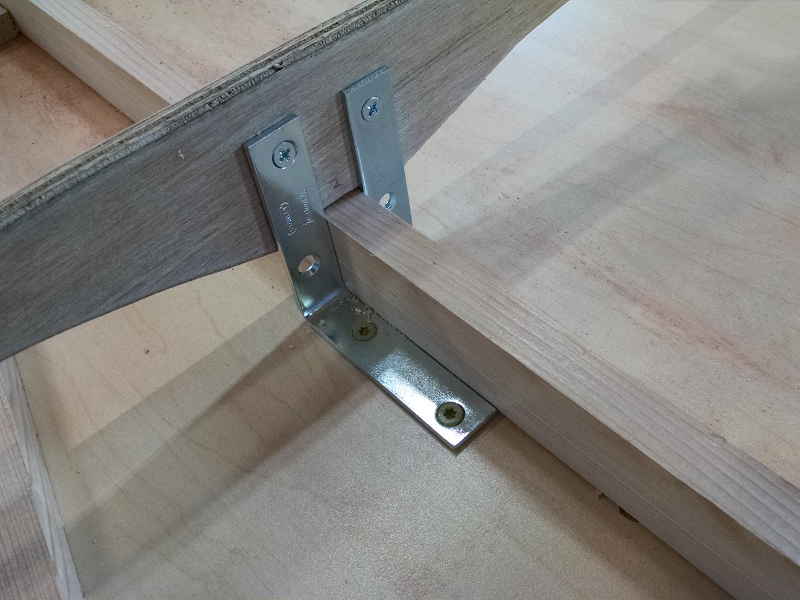
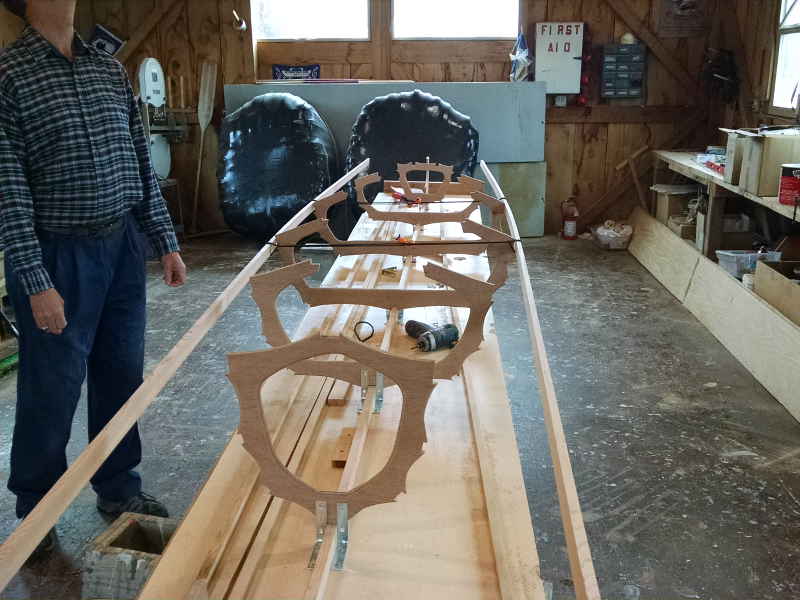
I brace the frames in place with L brackets - they are cheap, reusable, and do a good job of both holding the frame in place and also keeping the keel in place.
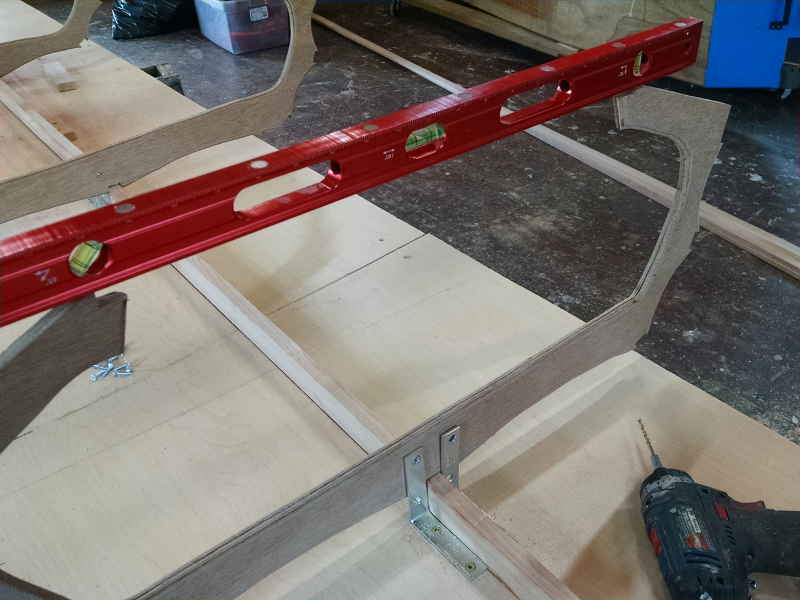
I level the frames as I screw them to the brackets.
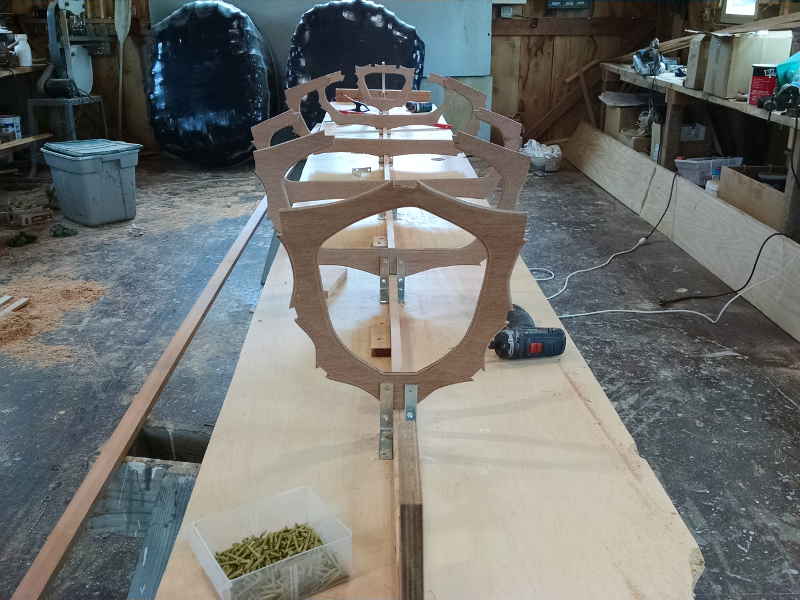
Frames in place.
Time for the Wales Geoff and I set 'em in place and held 'em there with ball bungies.
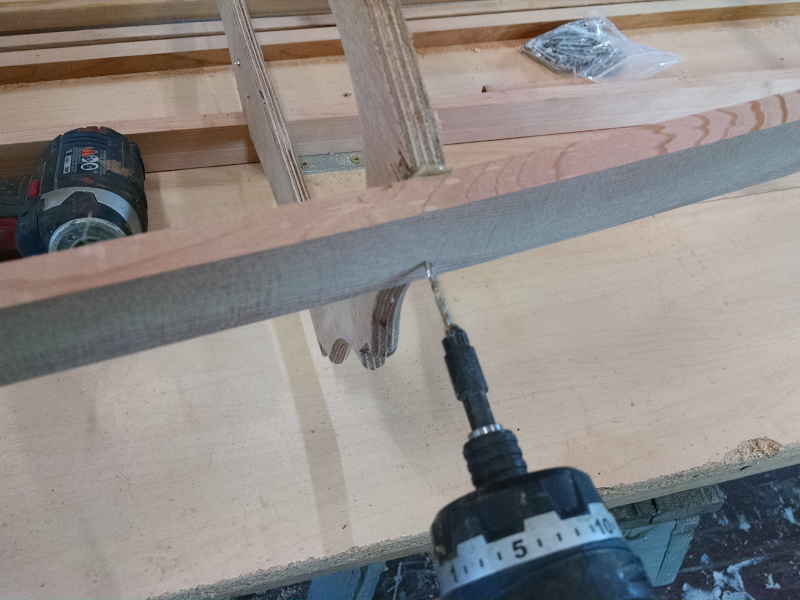
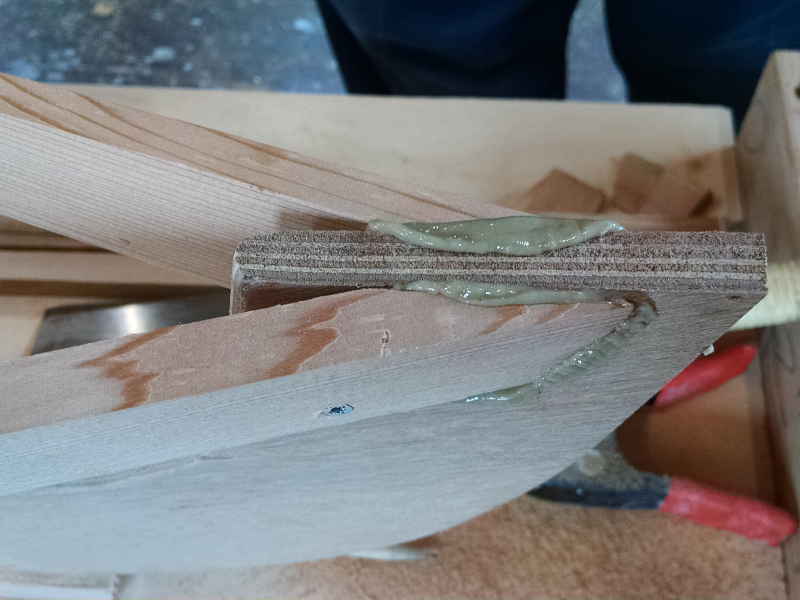
Then we went through and one at a time, alternating side to side, first applied glue,
Drilled a pilot hole with countersink
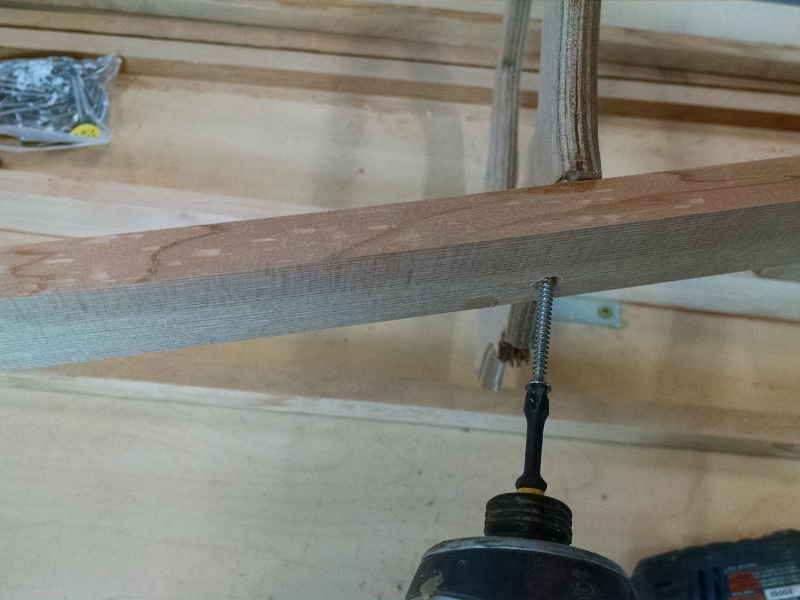
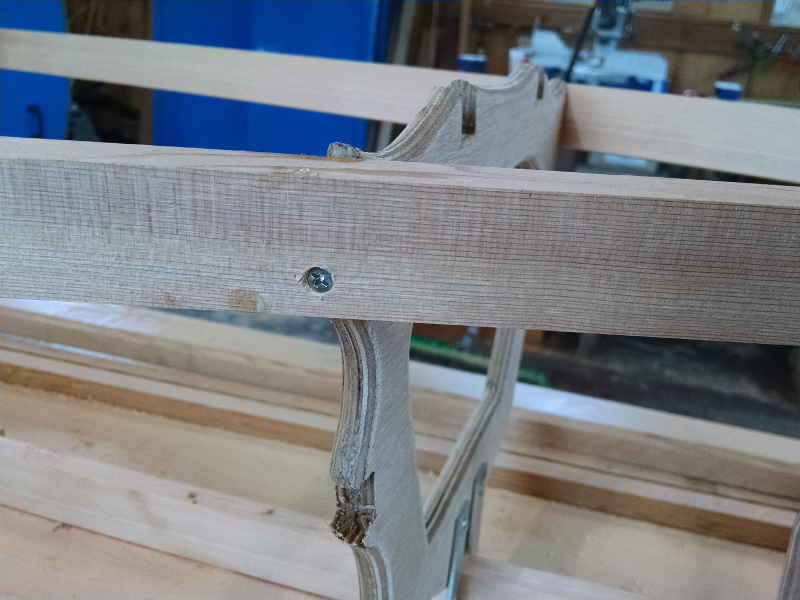
And secured the wale to the frame with a 1 1/2" stainless steel screw.
This wale will have the skin attached to it and then be capped with another wale (to hide the seam and provide protection.) I ran the screws down low so they won't get in the way of the other staples/screws.
Attaching the Wales to the stems is always fun. Geoff was particularly good at it, so I let him do both ends. That's about it for this week - I forgot to order the sinew for lashing the stringers in place, so we'll do that next week. See you then.
|