|
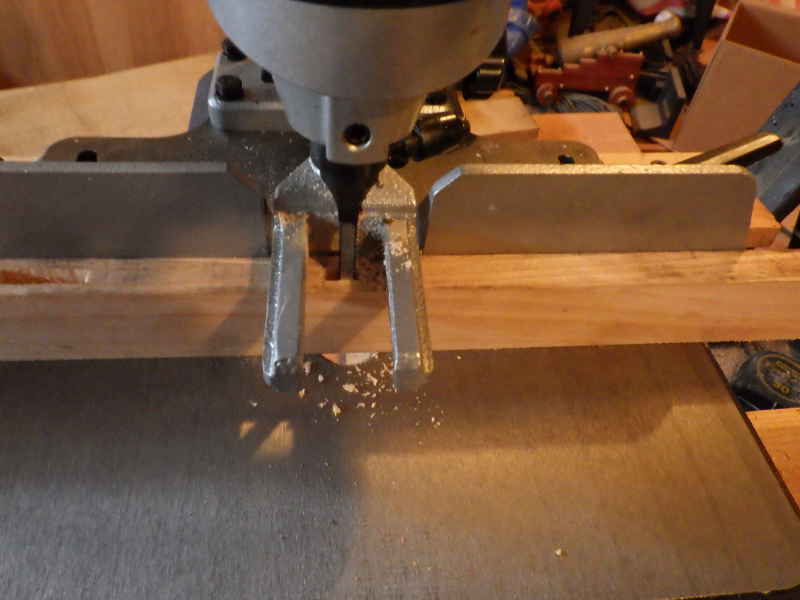
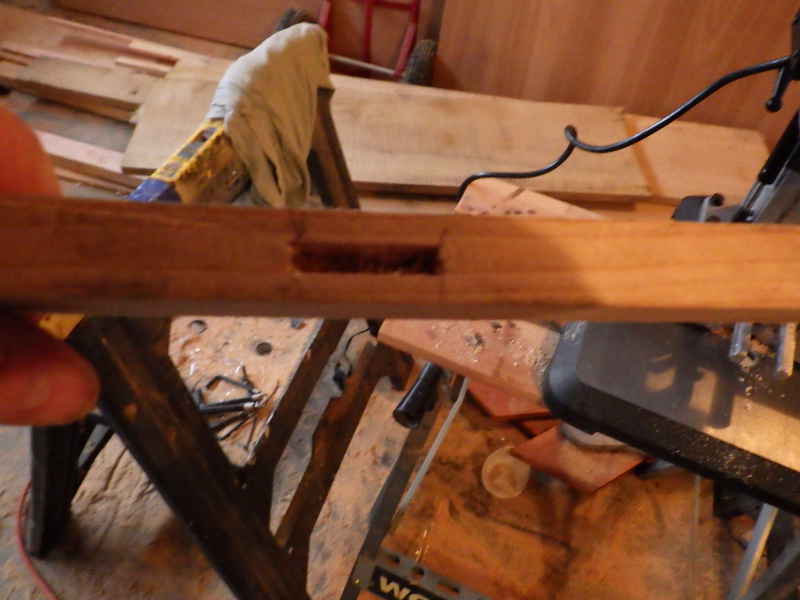
Deck Beams The ribs that make up the hull of a kayak are mortised into the gunnels. Each end of the rib has to fit into a slot. There are roughly 23 ribs on these boats, so we'll need roughly 46 mortises per boat. I tried cutting a mortise using a drill and a jig. It went badly. There was no way I was going to be able to do them by hand. I looked at other options mentioned in the book and decided to go for a Mortising Machine. I tried getting a cheap one from Harbor Freight - and it was awful. I returned it, did some research, and chose the DELTA 14-651 Professional 1/2HP Bench Mortising Machine.
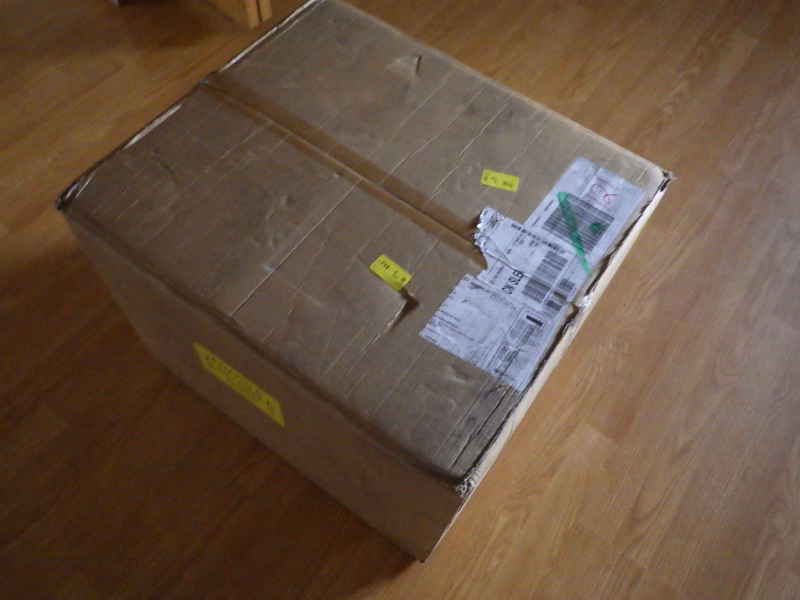
It came in a box. I opened it, and inside . . .
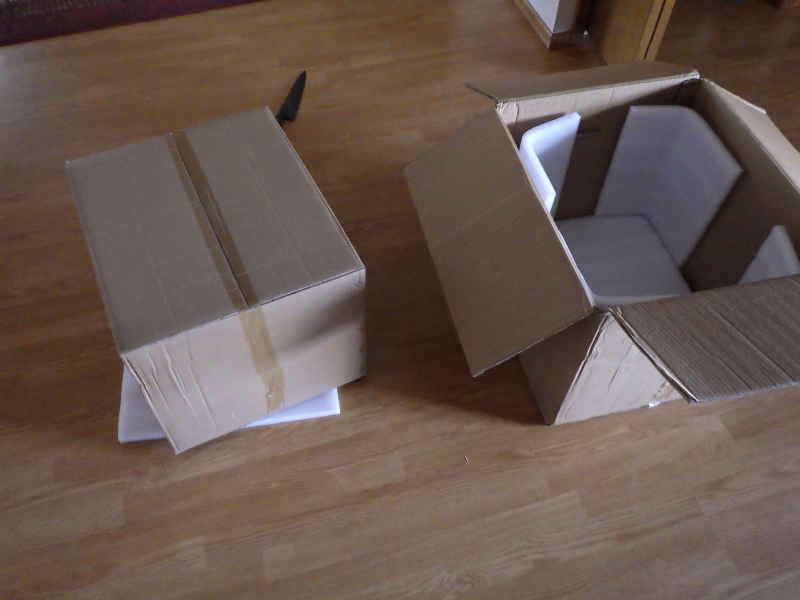
. . . was another box. But inside that was . . .
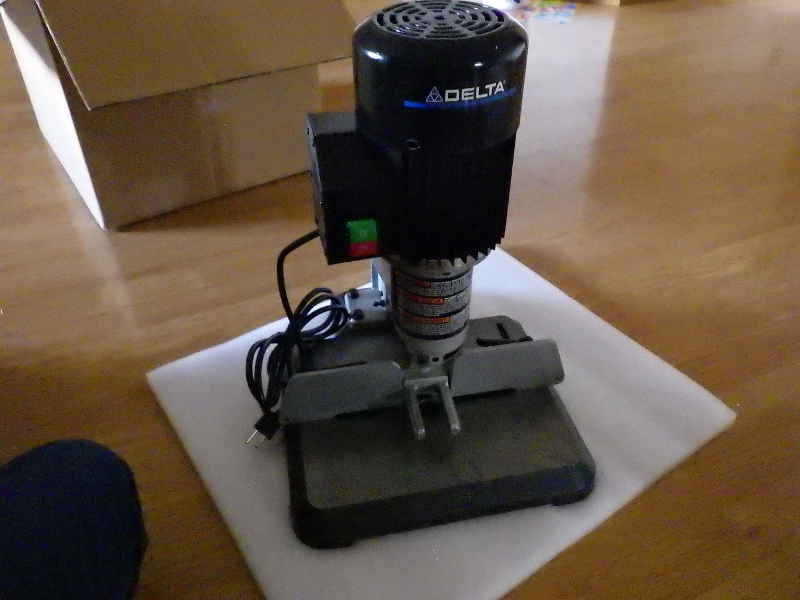
The mortising machine. Man, it cost twice as much as the Harbor Freight one, but it is 10x the machine. Setup was a breeze.
I did some test cuts on scrap to get confident with how the machine works.
And it works great!Quick, easy, powerful, precise, everything you want in a mortising machine.
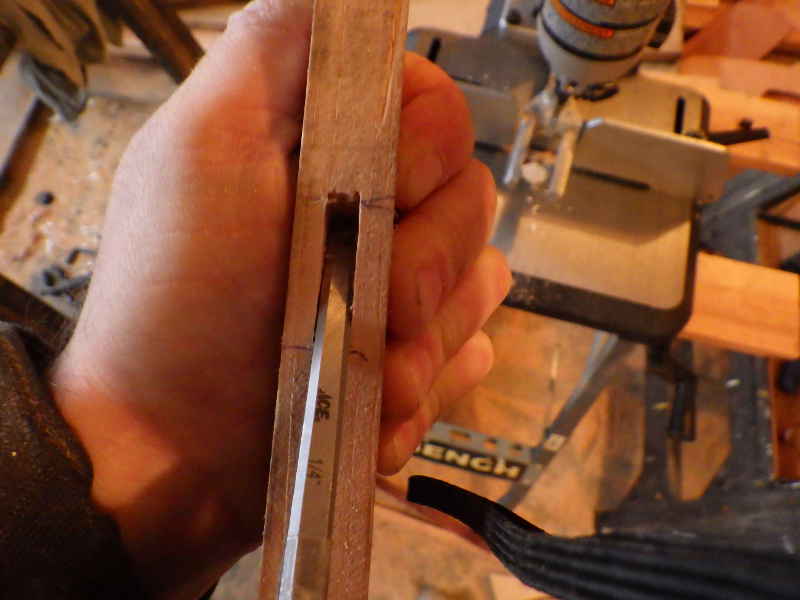
You still have to clean the slot with a chisel, and . . .
. . . scrape out the chips (my smallest flat bladed screwdriver worked great.)
Whoops, the slot wasn't quite deep enough.
Quick and easy reset of the depth gauge and away we go! I did the 23 mortises on one of the gunnels and was pleased.
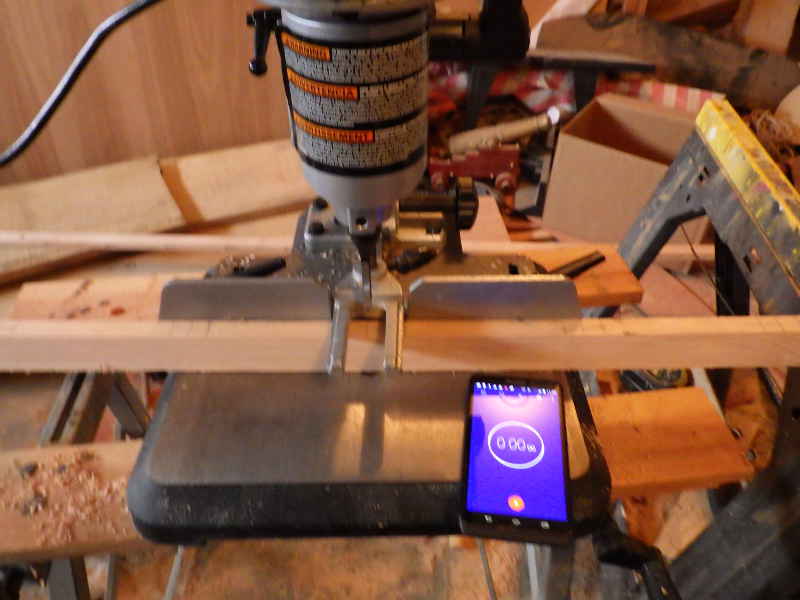
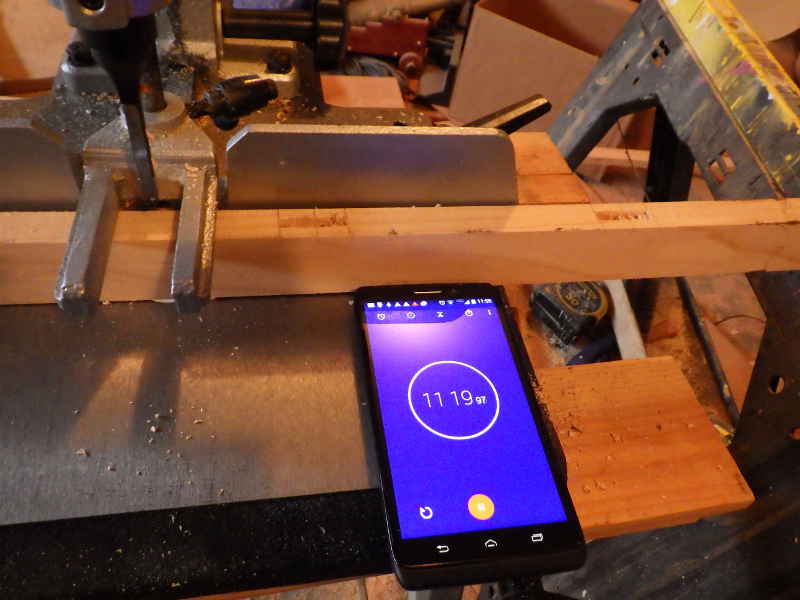
I decided to see how long it took to do 23 mortises. Start the timer, start the machine.
Just over 11 minutes. It almost makes me feel like I was cheating.
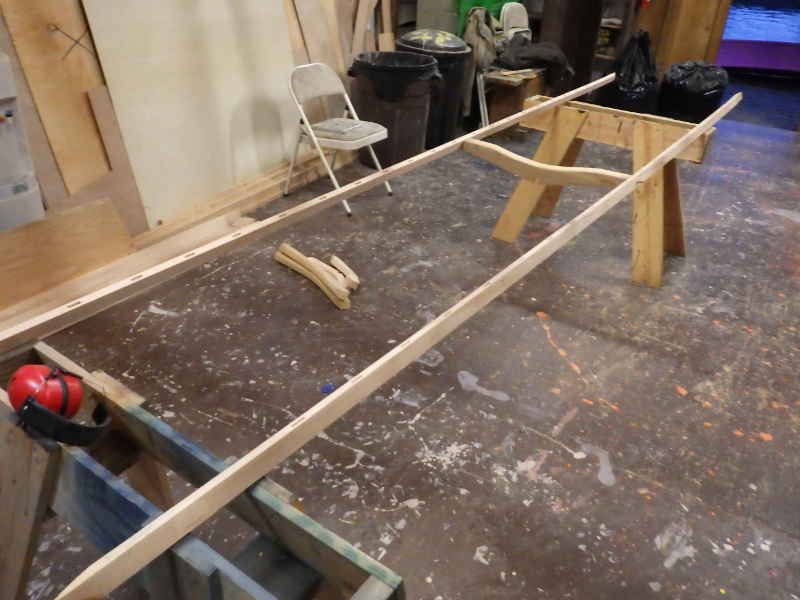
The bow stem on this boat is pretty special, so I thought I'd make a pattern out of poster board so they'd be reproducible. Now it's off to the Boathouse to see if I can install the deck beams we rough cut last week.
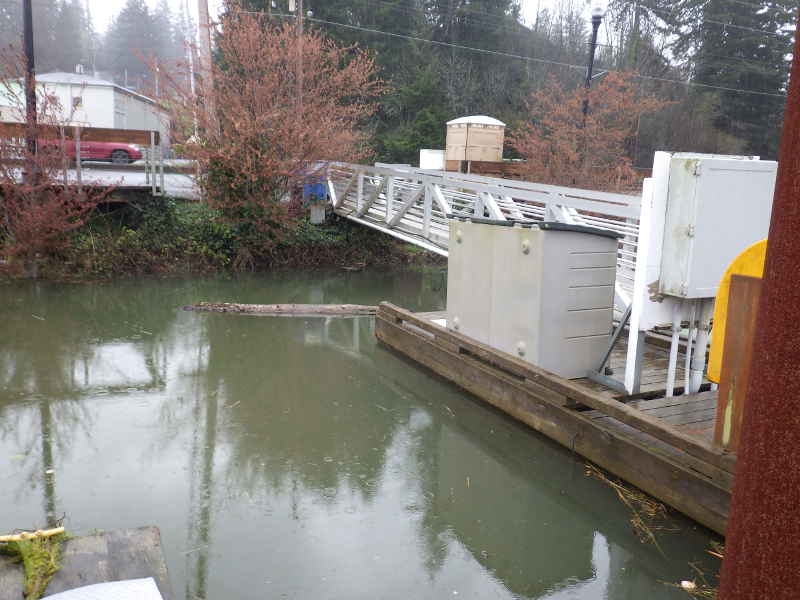
Wow, that's a high tide. The gangplank was almost flat.
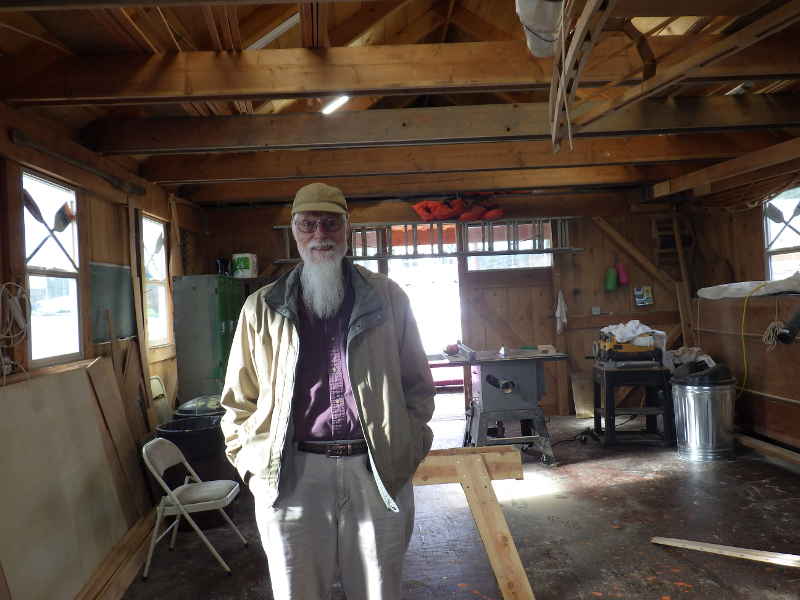
Hank stopped by to help. He's been interested in what we do at the Boathouse and everything finally came together for him to come spend the weekend.
"Hi, Hank. Here's a random orbital sander. Can you start sanding the deck beams?
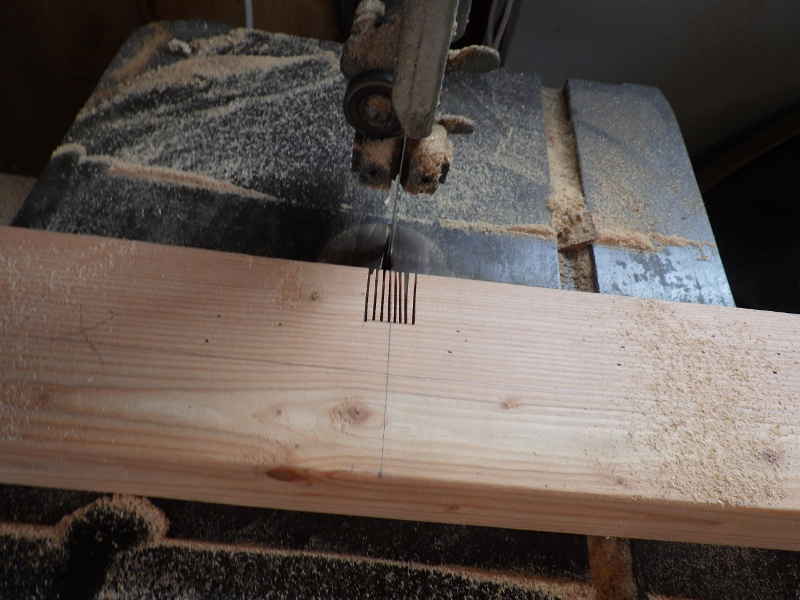
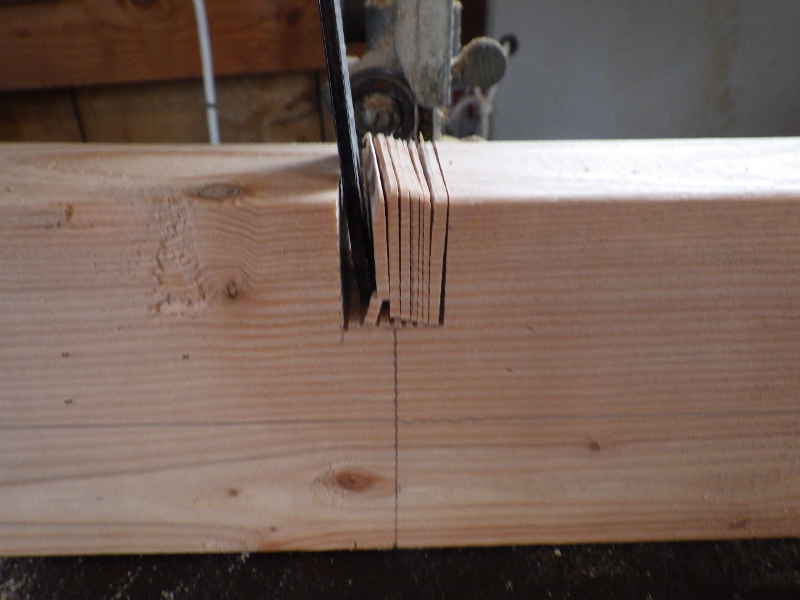
I still had to shape the rest of the deck beams. The first step was to cut out the slot for the . . . what do they call that stick that goes down the center of the boat?
Anyhow, mark it, slice it on the band saw, then snap off all the little bits. Clean the base and move on.
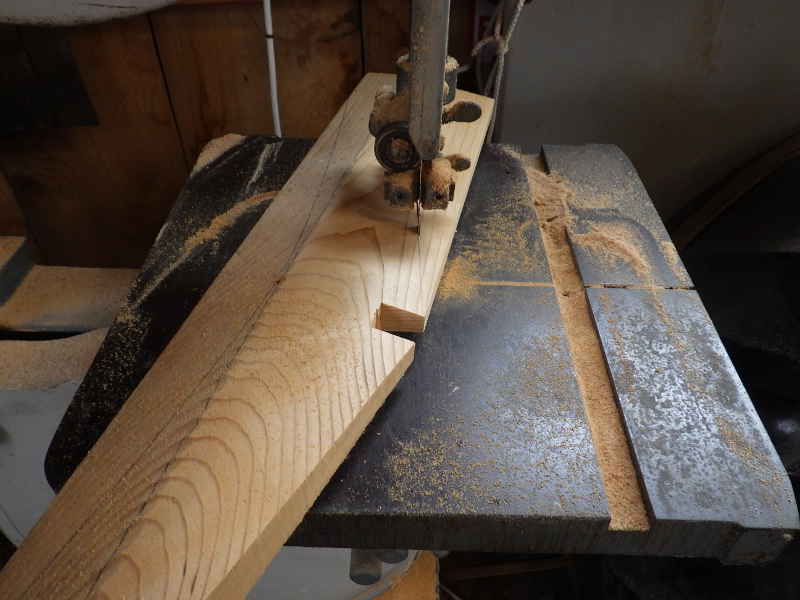
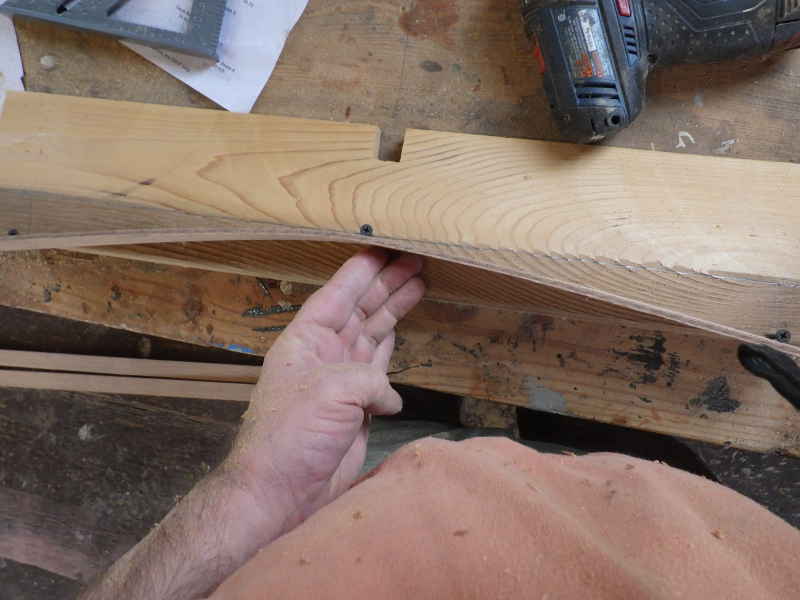
Deck beams are thin where they are tall and tall where they are thin. I used the tablesaw to bevel the sides of the beam and the bandsaw to shape the top of the beam.
I put a little arch in the bottom of the beam for aesthetics and to give me more space inside the hull. That was cut on the bandsaw, too, then I rounded over the corners with a roundover bit in the router.
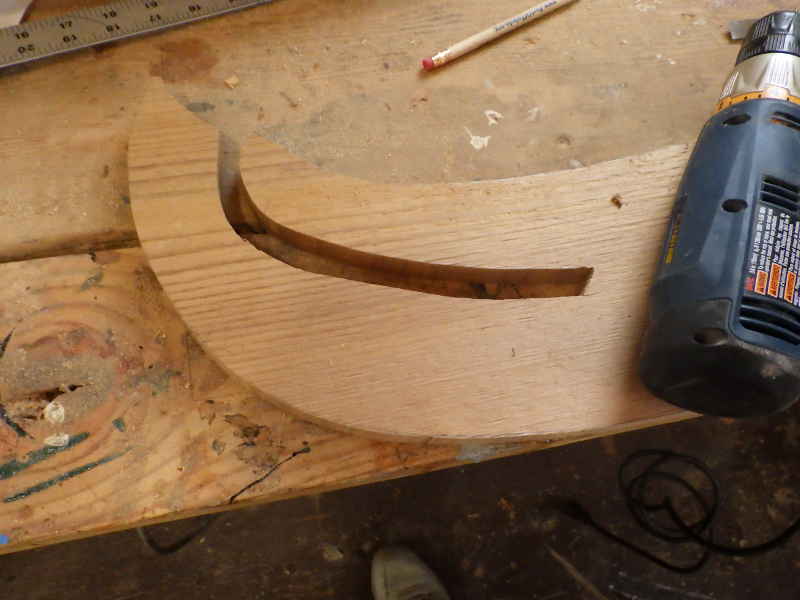
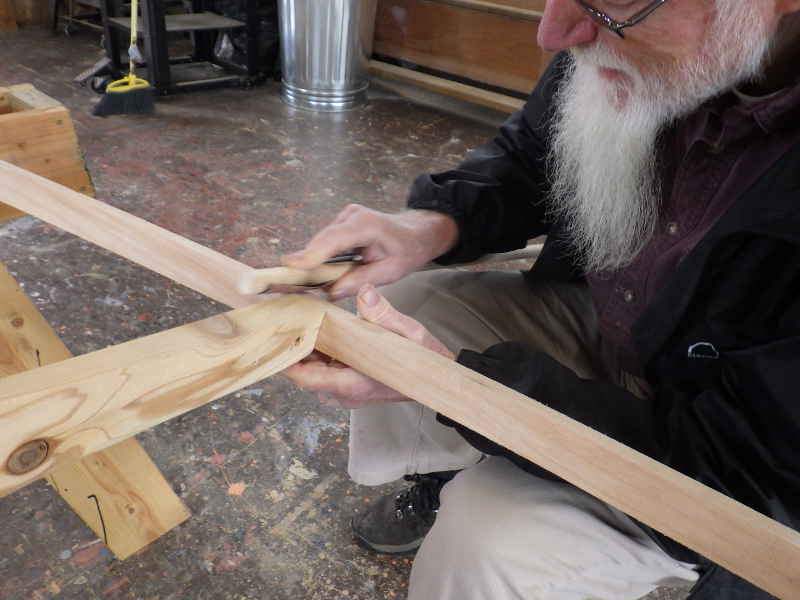
.I cut the bow stem out of a plank of 3/4" cedar. There's going to be a little ridge on that lower bit to hold the skin out - I'm going to glue that part on rather than carve it all out of a piece of 2x (that just seems wasteful.)
That pokey bit will be pretty weak, so I am going to put a dowel in there. I'll use a few dowels, actually.
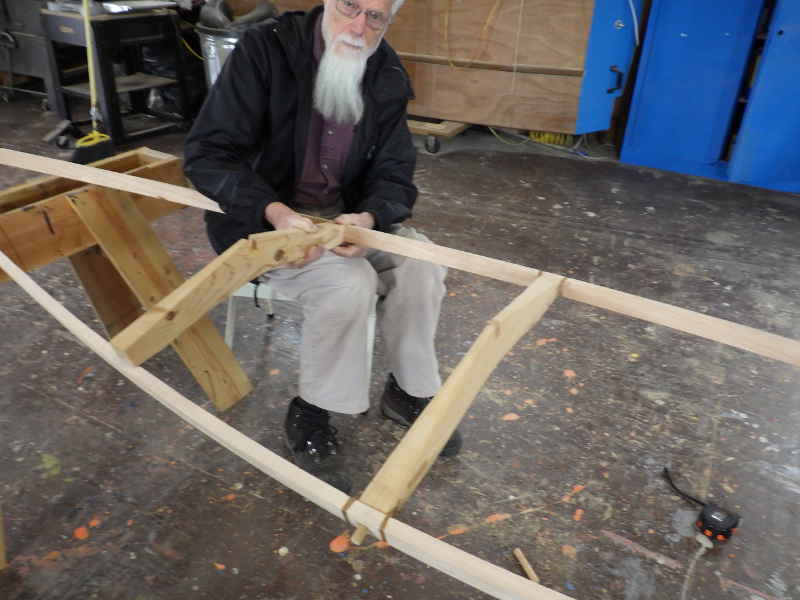
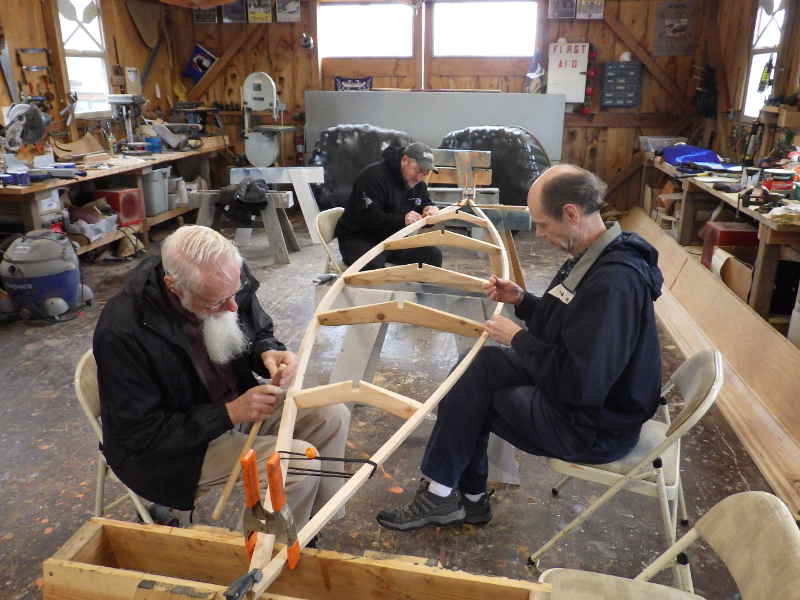
Time to get started on the deck beams. We started by putting in the widest one.
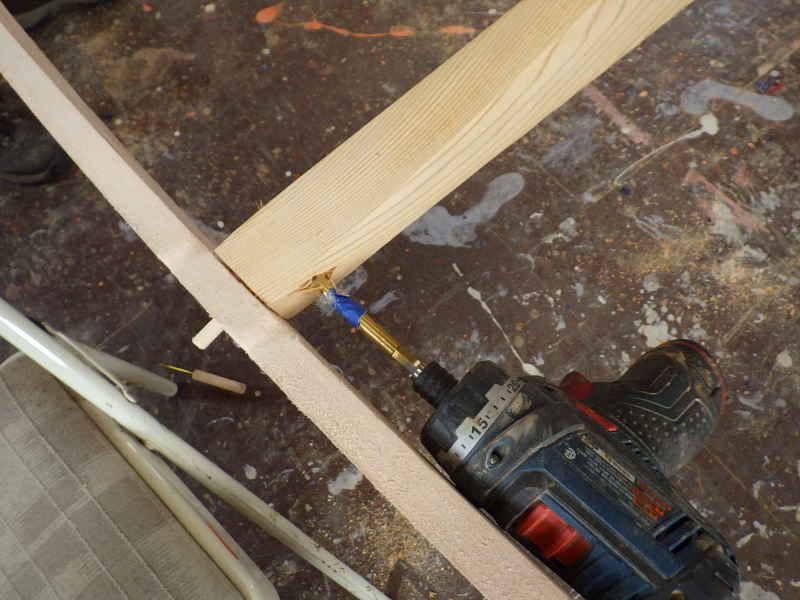
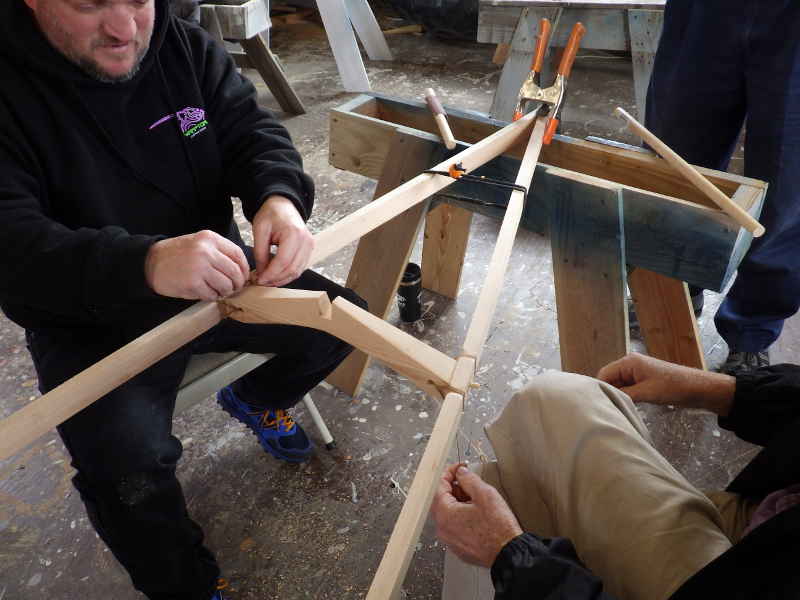
Notice rather than mortising the deck beams in, I'm using a peg, then lashing the beam into place with artificial sinew. Once the widest beam was placed, we bungeed the ends together and placed the rest of the beams.
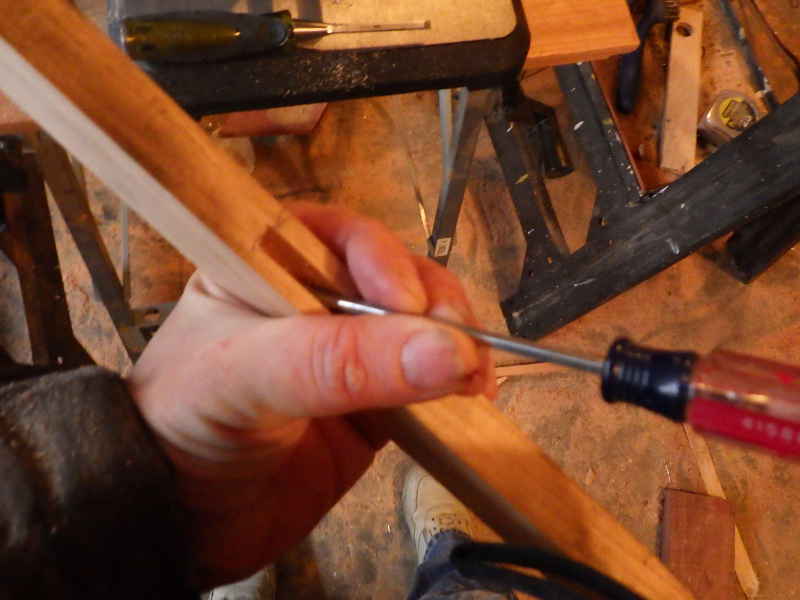
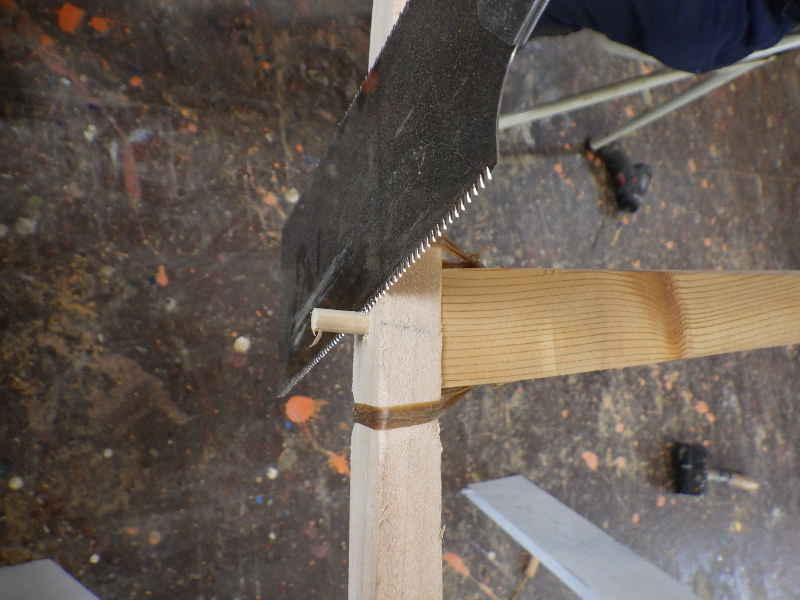
The peg is a 1/4" dowel and the lashing will go around the gunnel and through the deck beam. I drilled a 1/4" hole for the lashing.
Then counter-sunk the hole so the sinew wouldn't have a hard corner to go over.
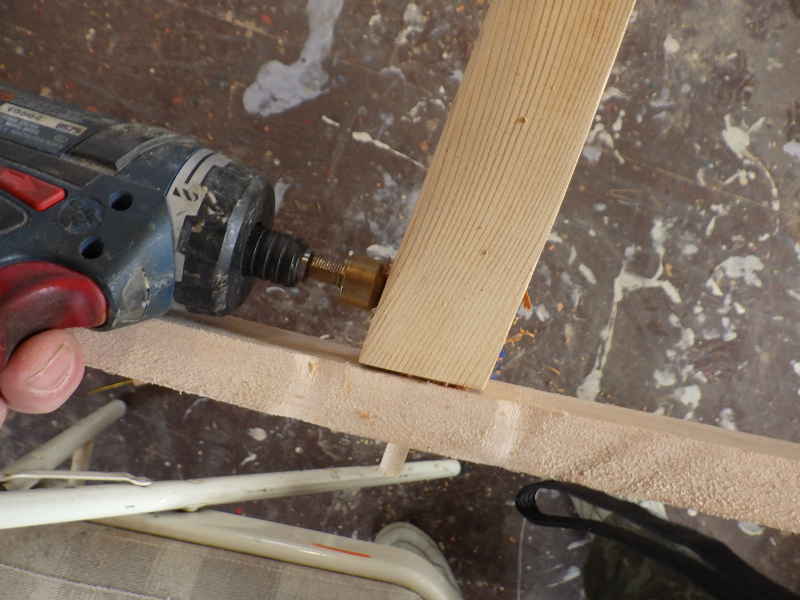
I couldn't find our rasp, so we made one out of sandpaper and a 3/4" dowel. We were creating a little trough in the corners of the gunnels so the lashings wouldn't stand proud and create wear in the skin.
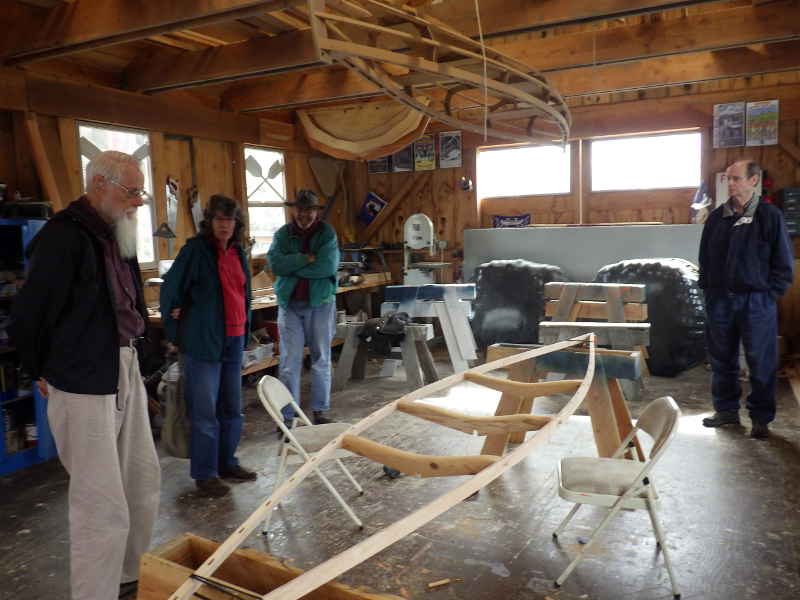
More visitors! Shaleen and Chuck stopped by to see the progress.
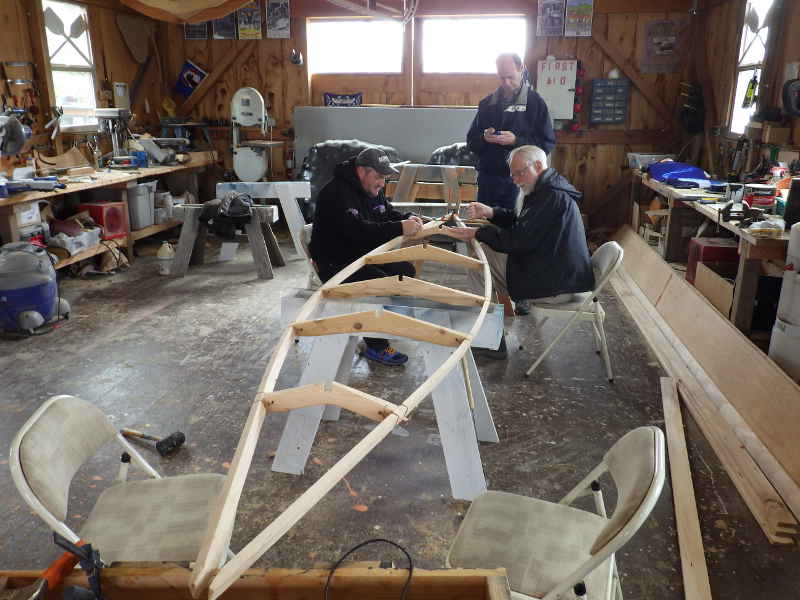
And Craig showed up too! Things were really moving now. I had more or less planned on doing this by myself, so progress was really moving.
As the beams got lashed in, I trimmed off the excess peg with a pull saw.
That's a nice shot of Craig.
This was coming together nicely.
And there it is - so far. We were done very early so it ended up as a short day. From here out, I'll have the next steps of the project ready in case we get more help in the future. I have enough wood for three of these. Next week: Attach the stems and keel, cut ribs, start on the gunnels of the next one. |