|
The Prettiest Thing We Have Built
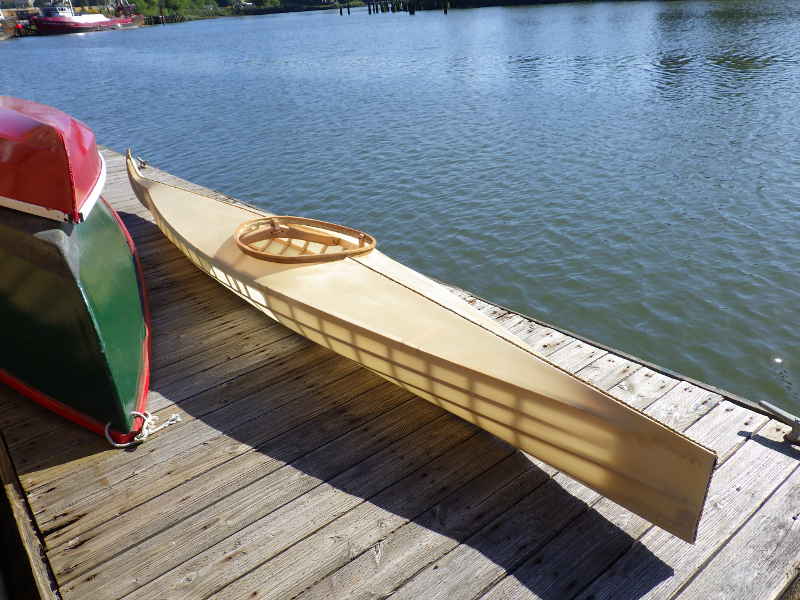
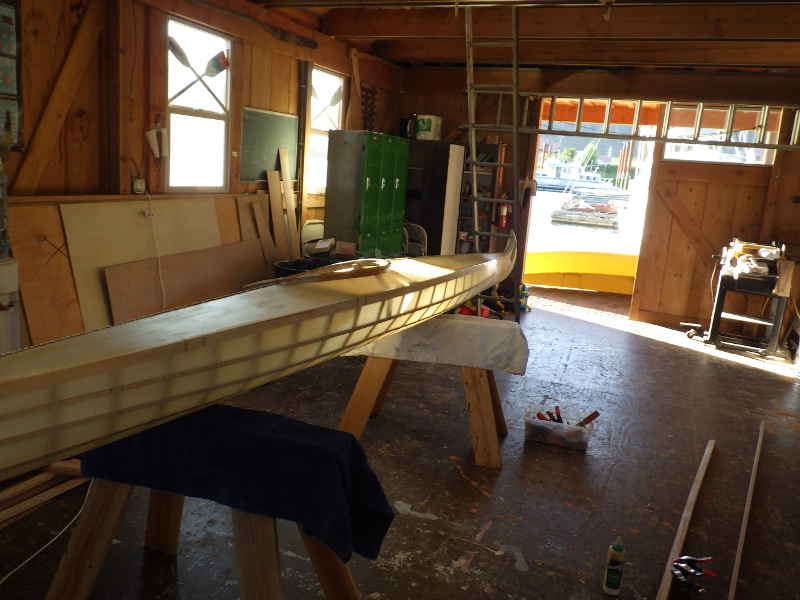
When last we left the Kayak Build, the bottom had been varnished with ACE Spar Varnish. It was time to finish this beauty.
I flipped her over and did the top. The color is nice, but I was hoping for something a little more amber. (yes, that is a full-on Viking helmet on our water cooler.)
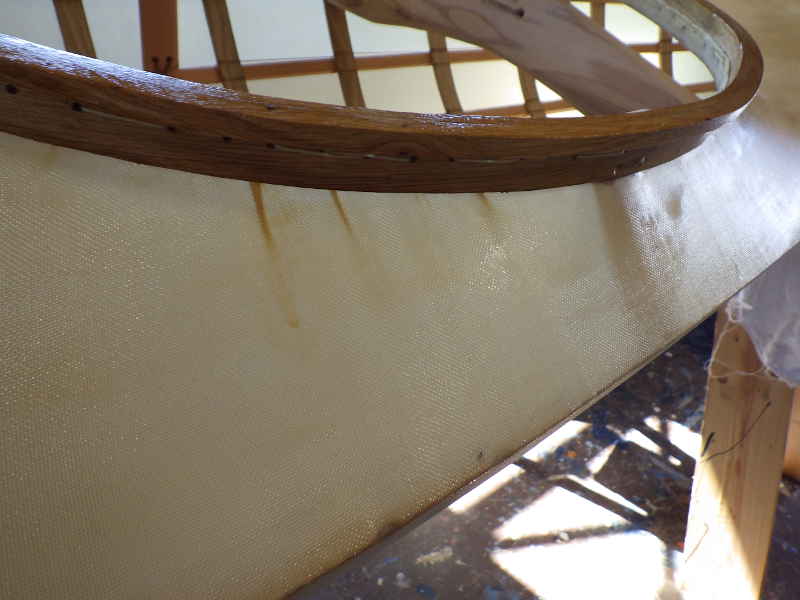
The wrinkles, while regrettable, are acceptable.
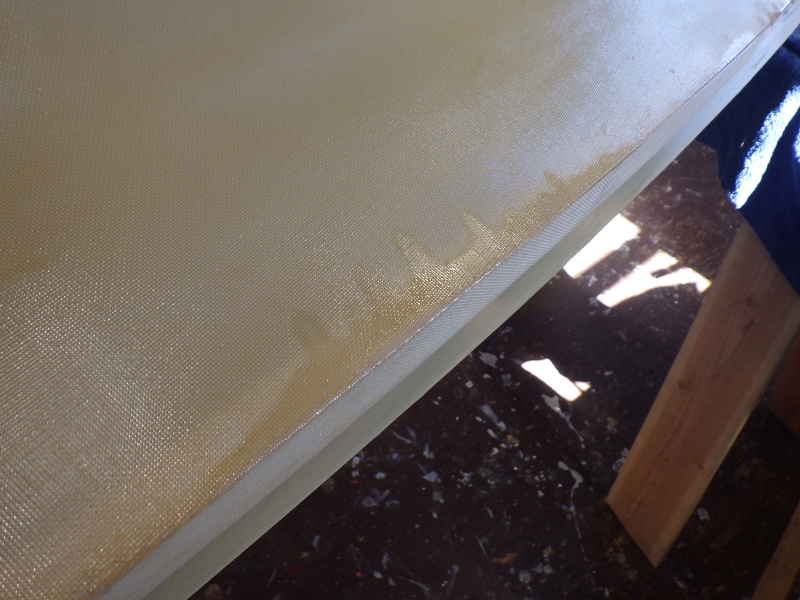
This is the problem with doing the bottom first: Any seepage comes around the gunnel and will be visible forever more on the top of the boat. I think I'll to the top first next time.
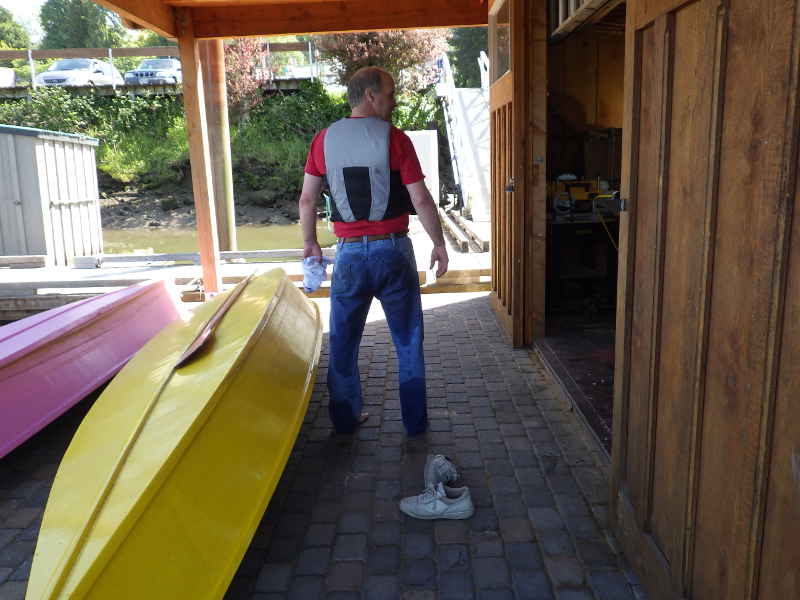
I'm sorry if I am sounding petty and critical, but it is such a lovely boat, any imperfections hurt my soul. I set her out in the sun to dry.
While building the first kayak, I had been twiddling with the design. I needed a test mule to see how to lay out the cockpit.
I am having a very hard time getting into and out of the kayak, maybe because I got the design from the book: Kayaks of Alaska written about traditional boats. It seems the First Peoples might have been slightly smaller than me. I'm considering switching from the traditional round hatch to a keyhole shaped one for easier egress.
I am not a kayaker, and had to ask about how people get into and out of them. There are two methods: Sit heels-to-butt and slide your feet forward OR sit on the back part of the hatch, extend your legs, and slide in all at once. Either requires skill and practice, but the Heels-to-Butt method needs a bigger hatch. I'm going for the Heels-to-Butt because I am not as limber as I used to be. It'll be 19" wide at the back and 12" wide at the front (rounded ends.)
And that's it: 7pm, time to close up.
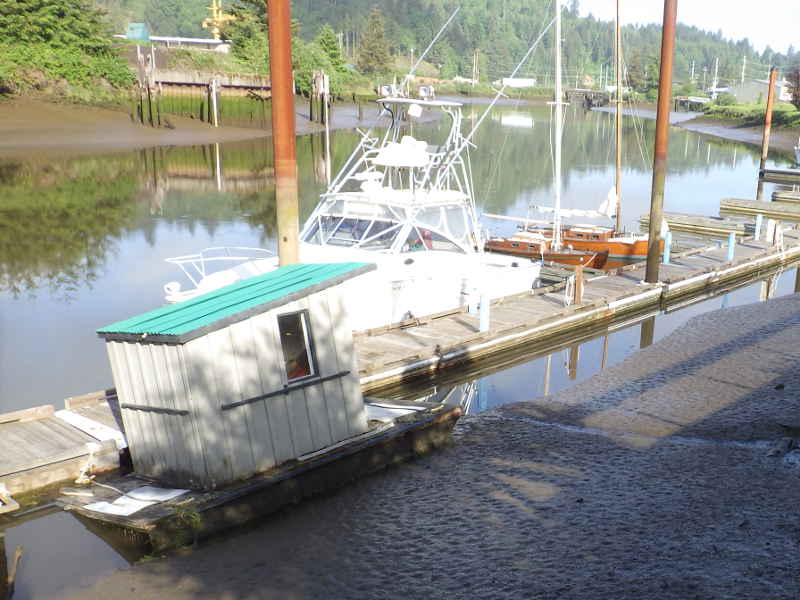
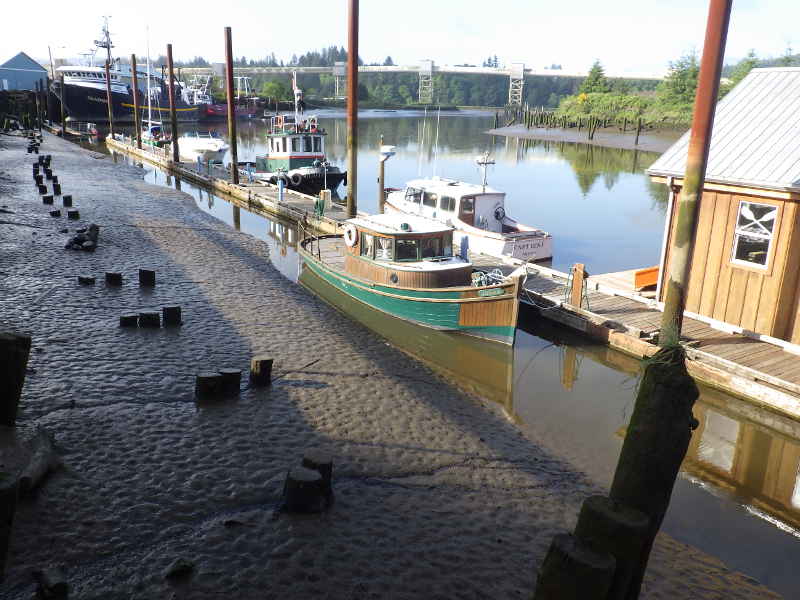
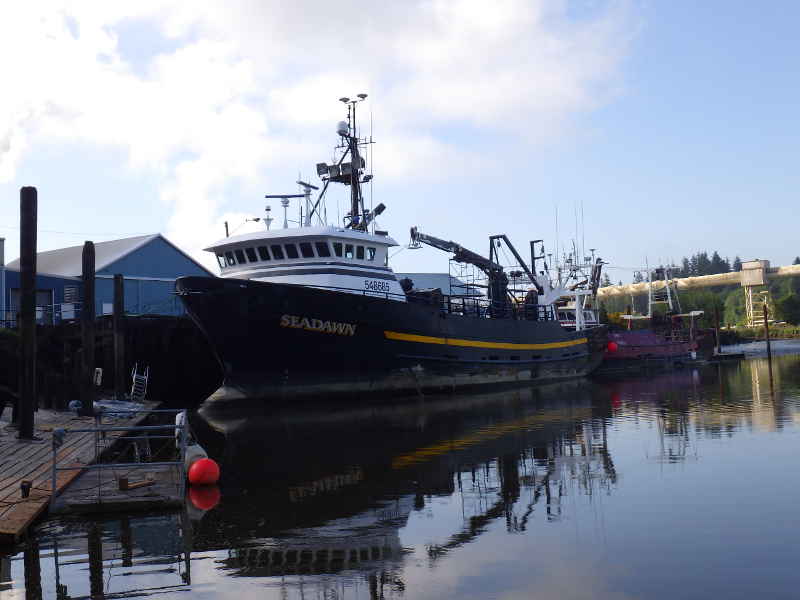
I think that's the lowest tide I have ever seen here in Toledo. Our poor oarhouse - it's just about done for.
Here's the view down the other side. TheJonah is safe - it's dredged under her.
SeaDawn seems to be sitting on the hard (probably;y the soft - lots of mud)
Texans. They're everywhere.
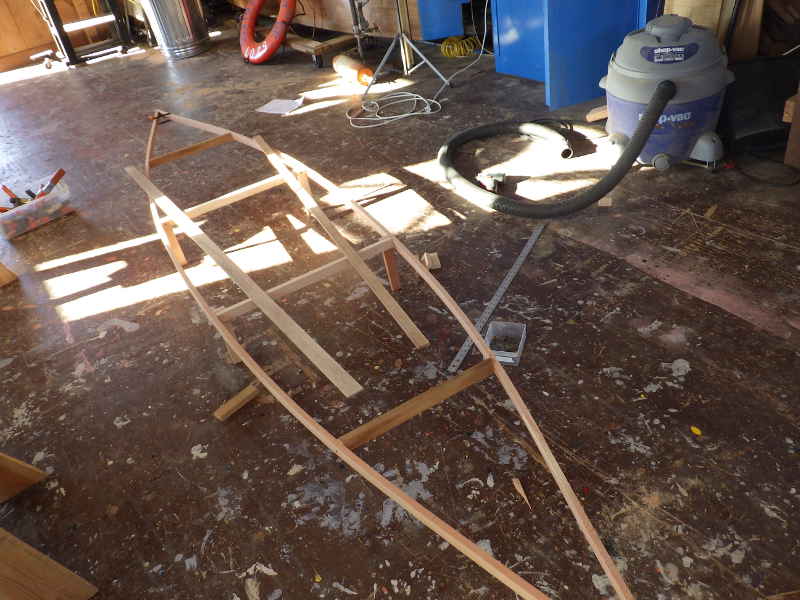
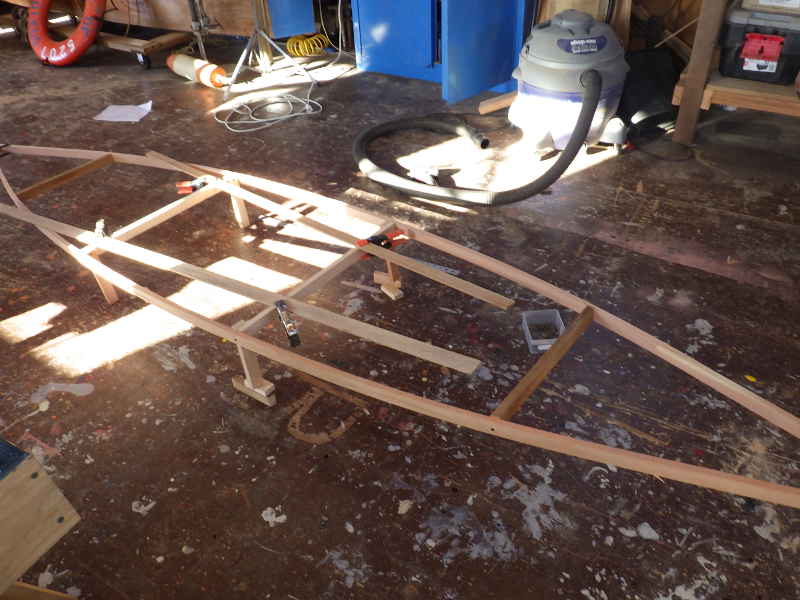
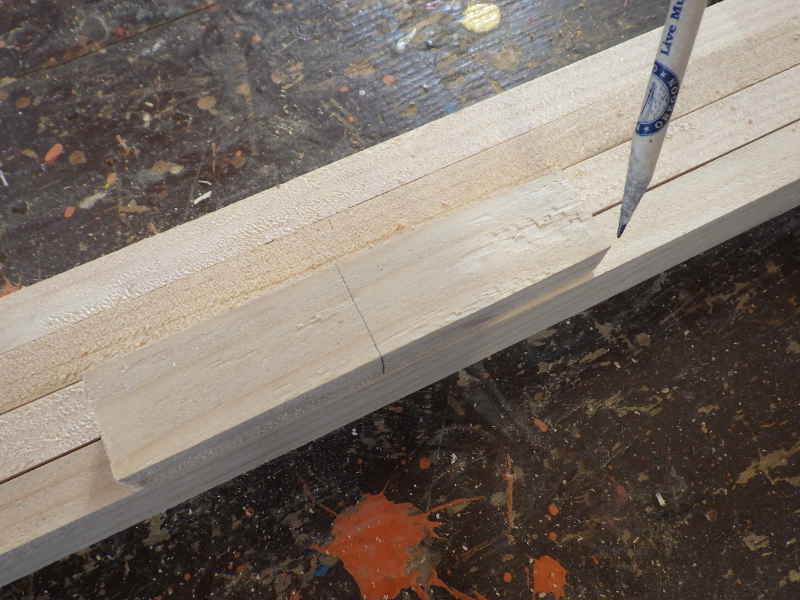
For a 'traditional' kayak build, everything starts with the gunnels. The ribs will be spaced on 6" centers and arranged so they don't go where the deck beams go. Rather than measure, I just cut a piece of scrap to 6".
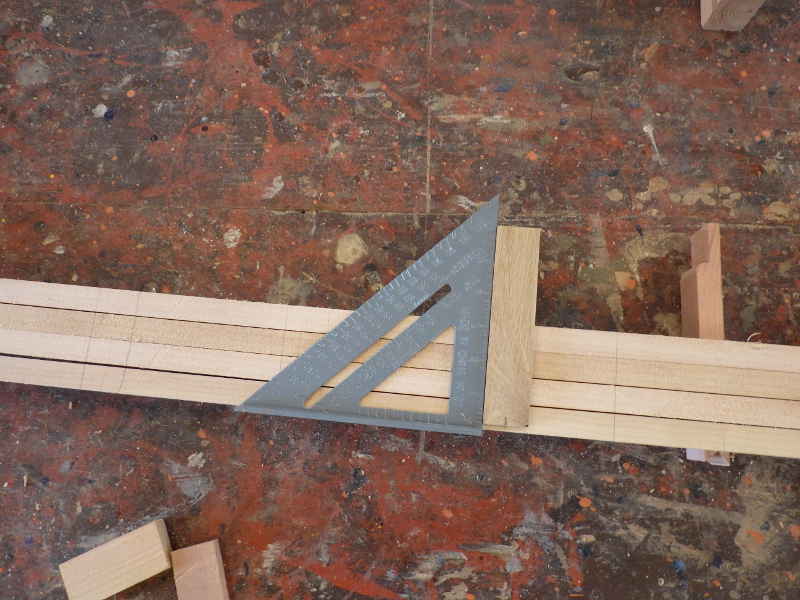
Next, I lined up a piece of rib centered on the mark and drew the marks across all the gunnels at once.
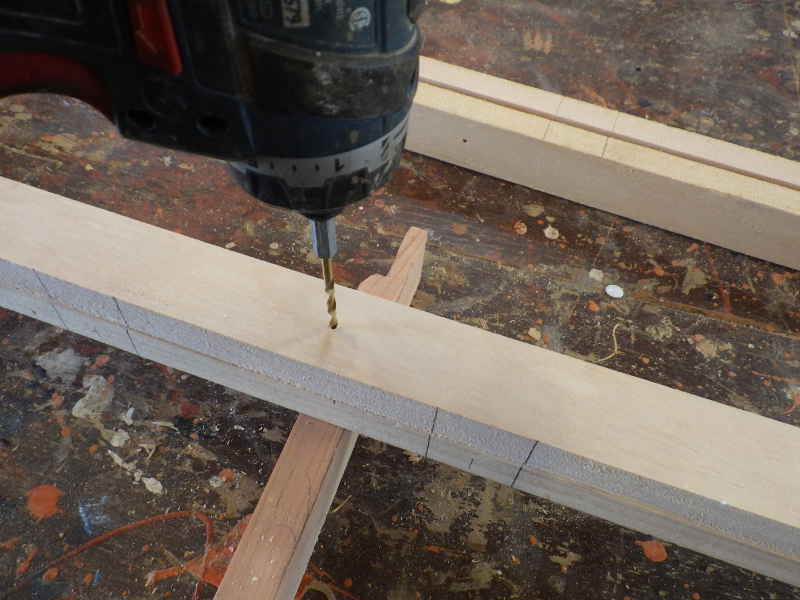
I drilled the holes that will become the mortises for the deck beams - again, all at once so all my mistakes are the same.
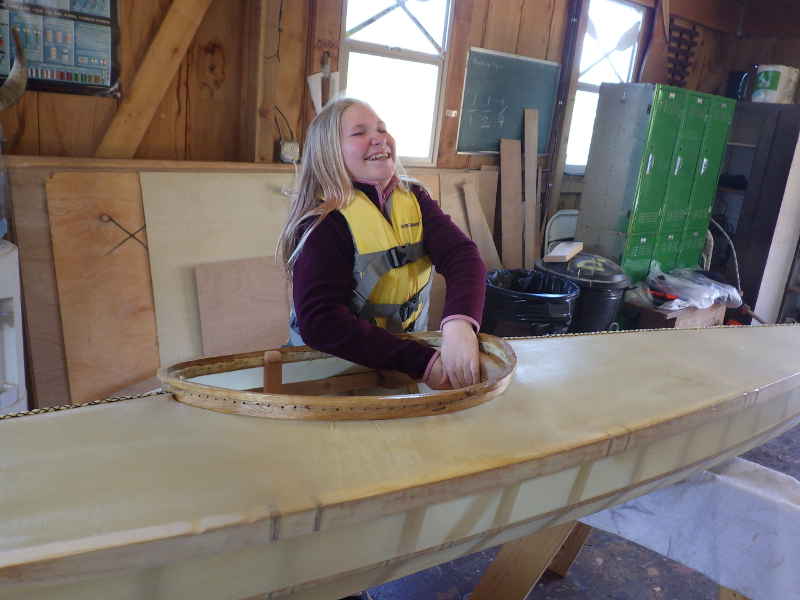
Patience came for a visit, so I said "Hey! You get to be my test pilot! This boat has never been in the water before - we've never built one like this before. Get a life jacket and take everything out of your pockets - let's see how she floats!" At roughly 40 lbs, the finished boat is a little heavy for an 11-year-old to carry.
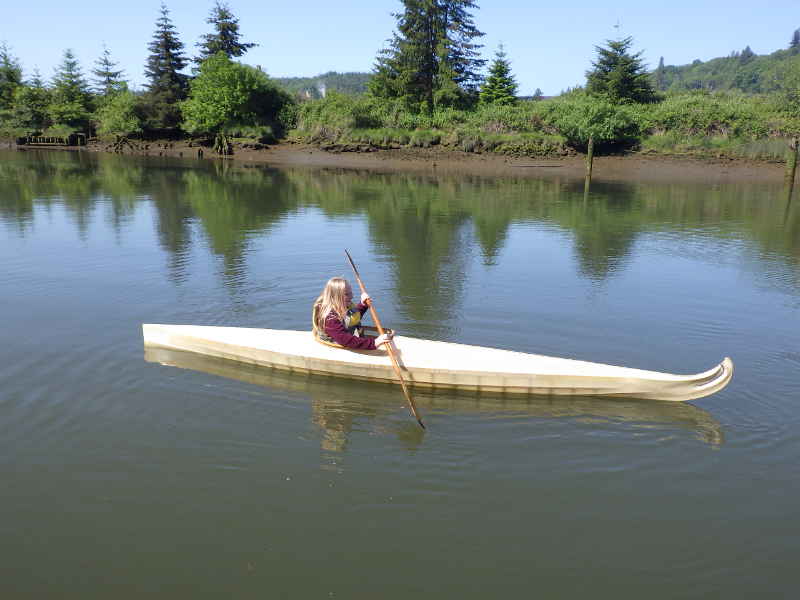
Patience has benefited from the ultra conservative designs of Boathouse boats like the Lazy Weekend Canoe and Tik Tak Kayaks: Wide, flat bottoms for stability and safety. She was not impressed with the liveliness of the kayak.
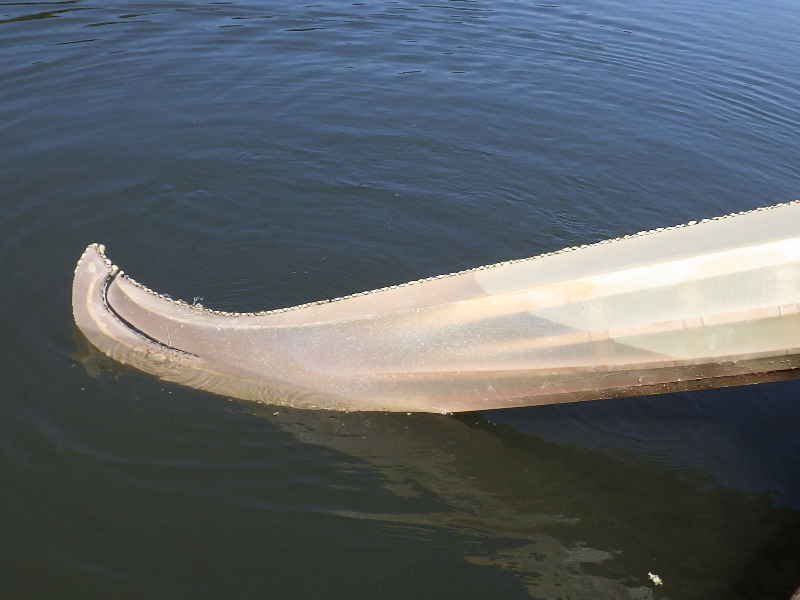
Still, she moved right along.
That is a beautiful boat.
The second I had dropped the kayak in the bottom, I'd noticed water was weeping through the weave of the fabric. Apparently it takes more than one coat of varnish to seal things up. I hadn't told Patience about it because . . . well, she had her life jacket on.
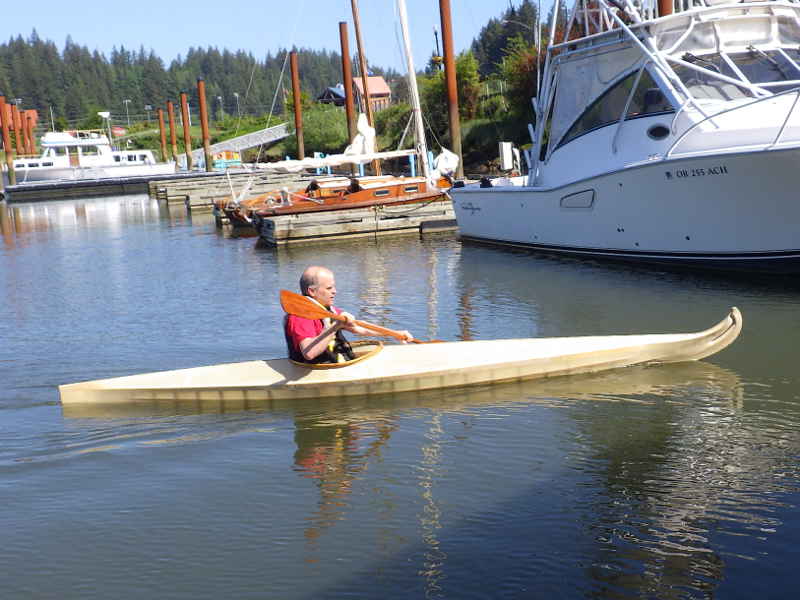
Time for me to try it out - seepage and all. It is very difficult for me to get into this boat, but I can.
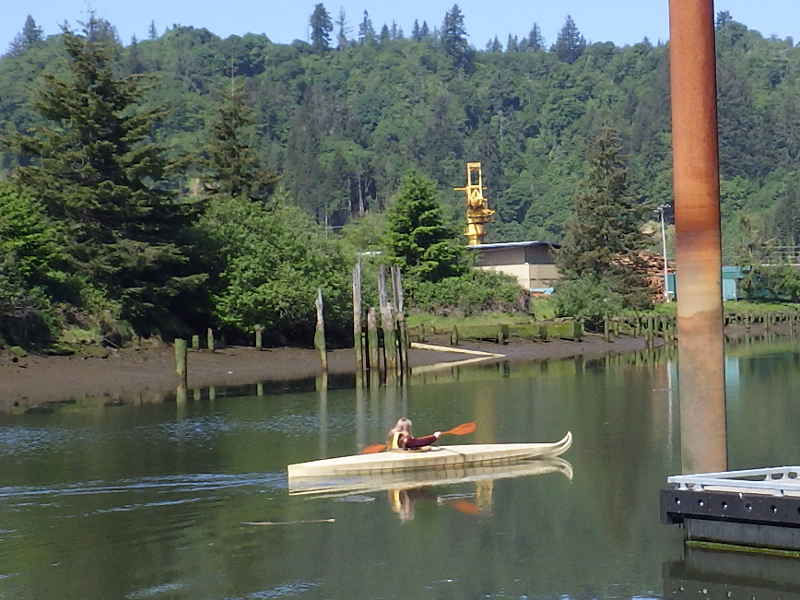
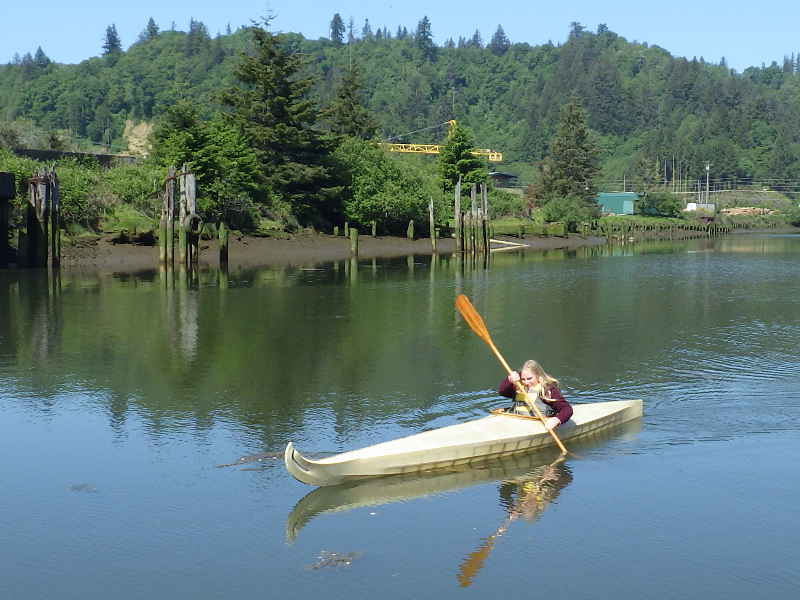
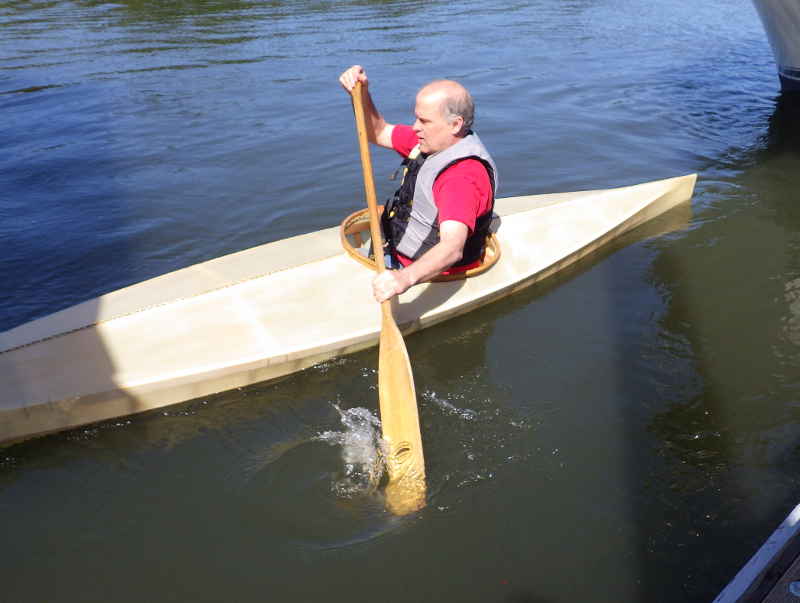
Oh, yeah! That paddles nice!
I weigh considerably more than Patience, but I still like how the boat trims. Maybe I could be a couple inches further forward.
It turns out, historically, natives on the Pacific coast didn't use double bladed paddles all that much, and I wanted to see how paddling a kayak with a canoe paddle worked. It works quite well, actually. Modern kayaks use double bladed paddles and rudders, which takes very little skill. That's probably why they are popular.
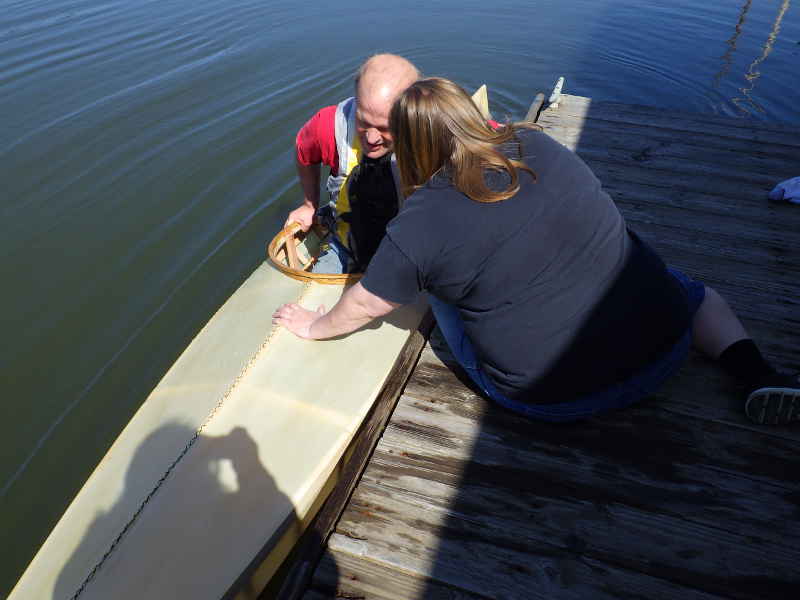
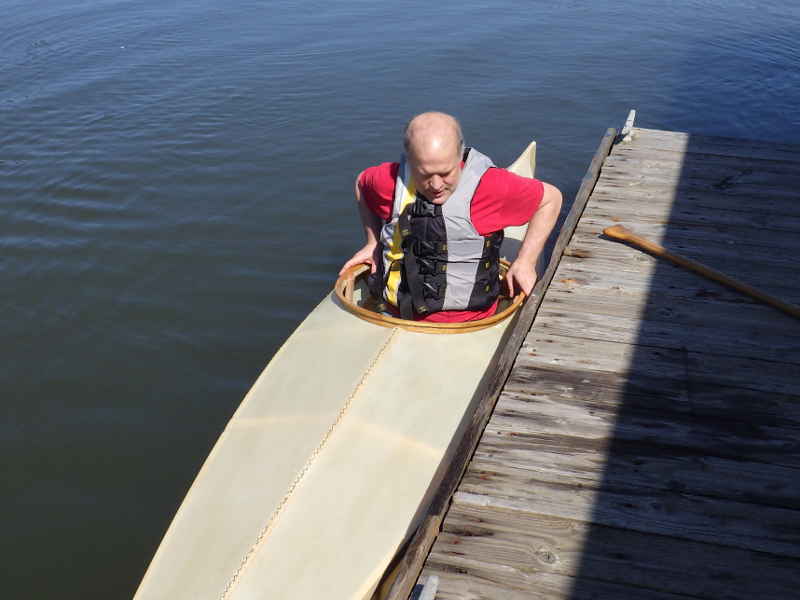
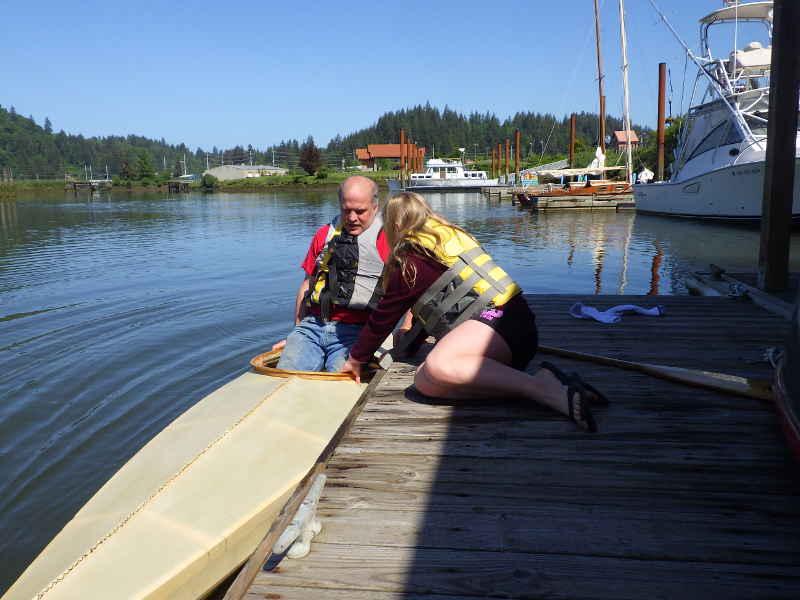
Getting in was a trial. Getting out was even more interesting. First, I tried it without help.
But I ended up needing someone to help steady the boat. Yeah, I have to change the cockpit a bit.
All in all, we'd been in the water less than 10 minutes, but we'd managed to collect quite a bit of water.
Hey, Patience! Take a picture of my butt!" Yeah, a little wet.
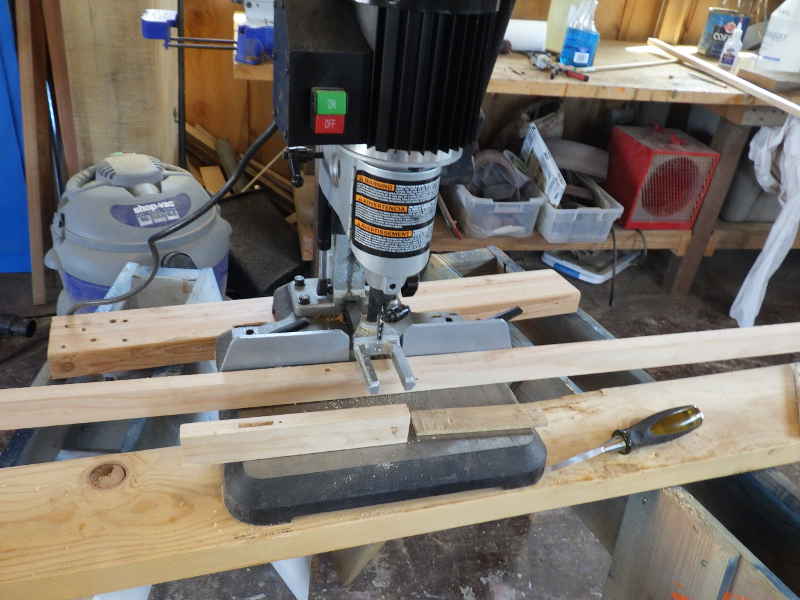
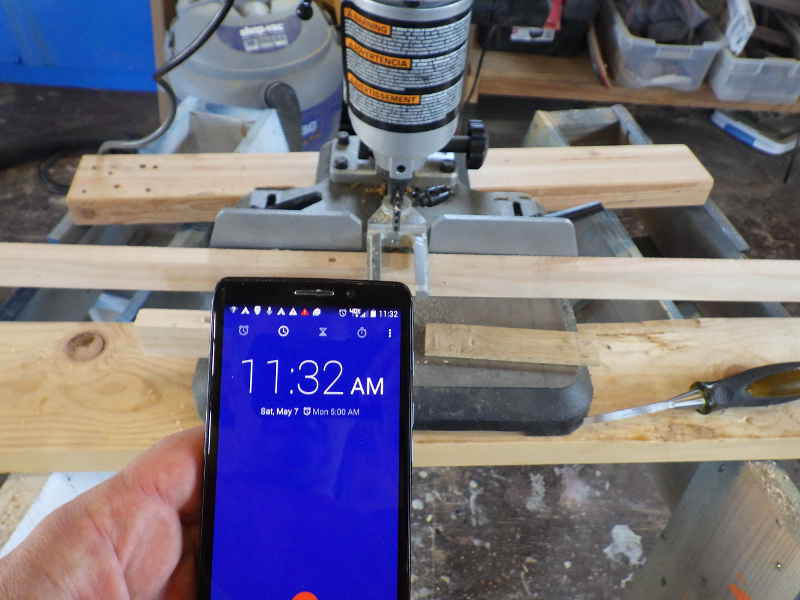
Back in the Boathouse, and now with a wet butt, I set about cutting mortises for the ribs. 17 ribs means 34 mortises per boat. I suppose I *could* have gone traditional and chiseled each one out with a sharpened narwhal tusk, but I used this spiffy Delta Mortising Machine instead.
Why spend the money on a Mortising Machine? Well, I timed how long it took me to cut 17 mortises - 10 minutes per gunnel. That's nice.
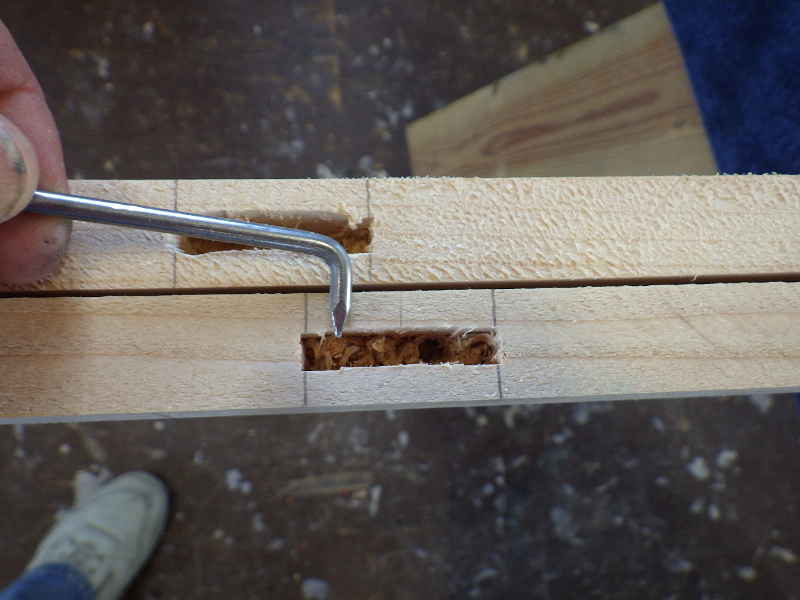
You still have to clean out the debris, though. A 1/4" chisel and a nail bent into a hook work wonders. That's enough for this week. Join us again next week when we assemble the gunnels of the next two kayaks. |