|
Two Steps Back When last we left the kayak build, she was beautiful, floating in the water, and simply the prettiest thing we'd built here at the Boathouse. That was then.
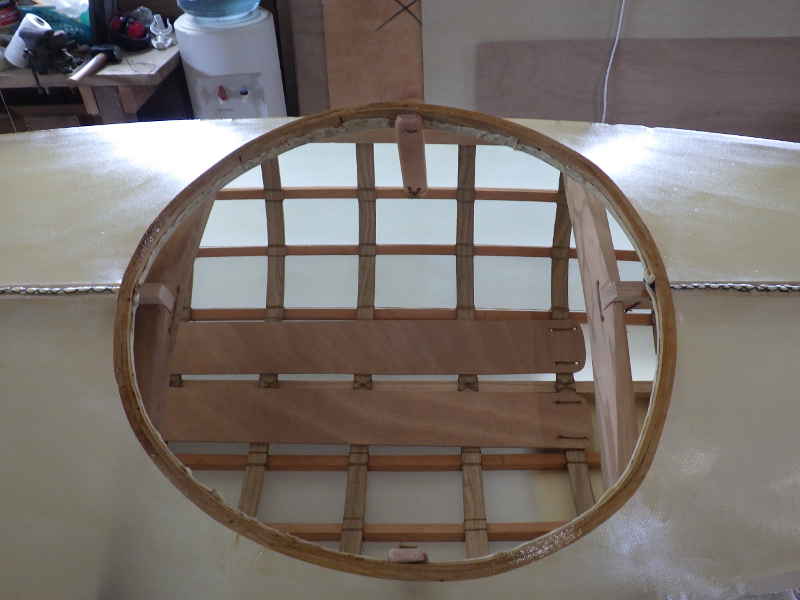
Oh oh oh, that's a purty boat. But pretty isn't everything. The cockpit was not suitable for ingress and egress. Something had to be changed.
Here's one issue: The hatch is larger than the space between the deck beams. What is needed is a little more space to get your legs in. I hope to accomplish this by moving the forward deck beam forward a bit (that's the one on the right) and repositioning the hatch. That's a great idea, but it means ...
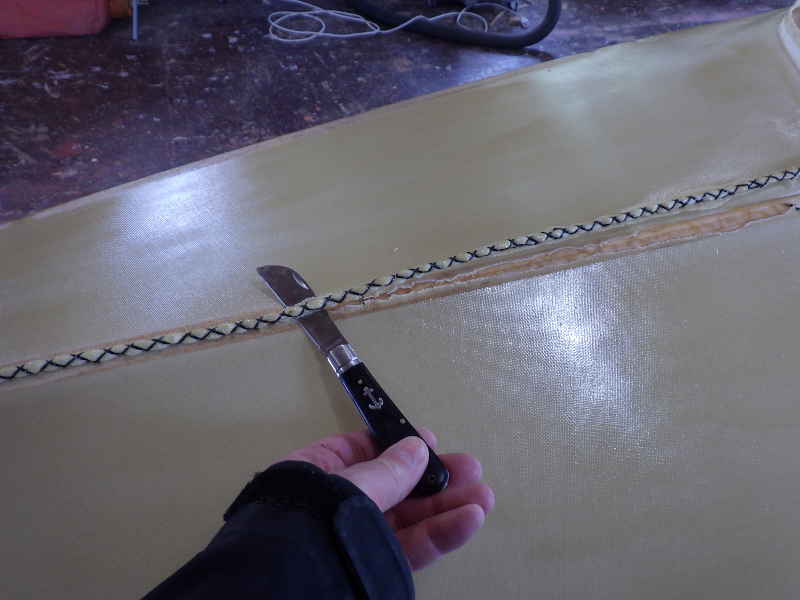
... peeling off the skin. This hurts my soul.
The varnish did a good job of soaking through and sticking to the frame. It took a bit to get her nekkid again.
That looks. . . wrong. Ugh.
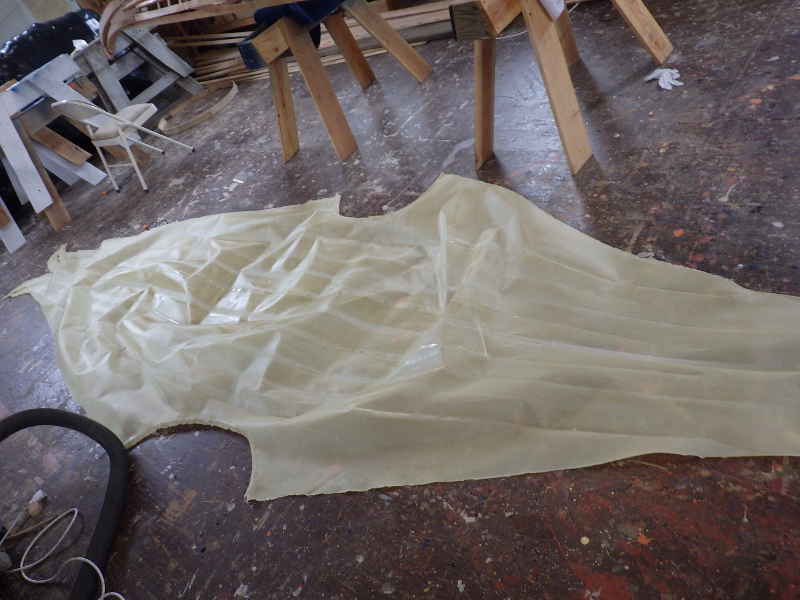
The skin rolls up into something about the size of a baseball bat. That boat is roughly twice the size of me, so if someone skinned me, they could roll me up into a pretty small bundle. Odd thoughts on a Friday evening.
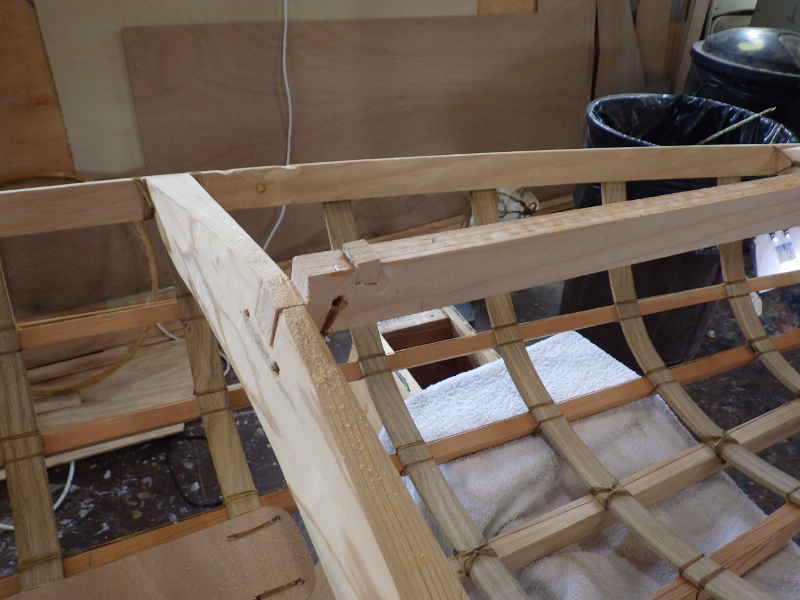
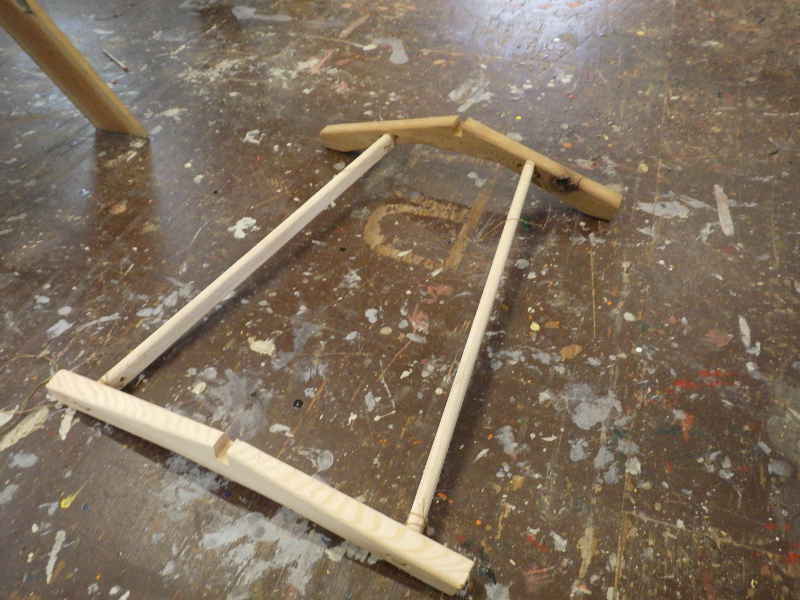
I wanted the hatch to rest on the deck beams, so moved it forward on the aft deck beam. I used the cut out to plug the old notch (and will trim later)
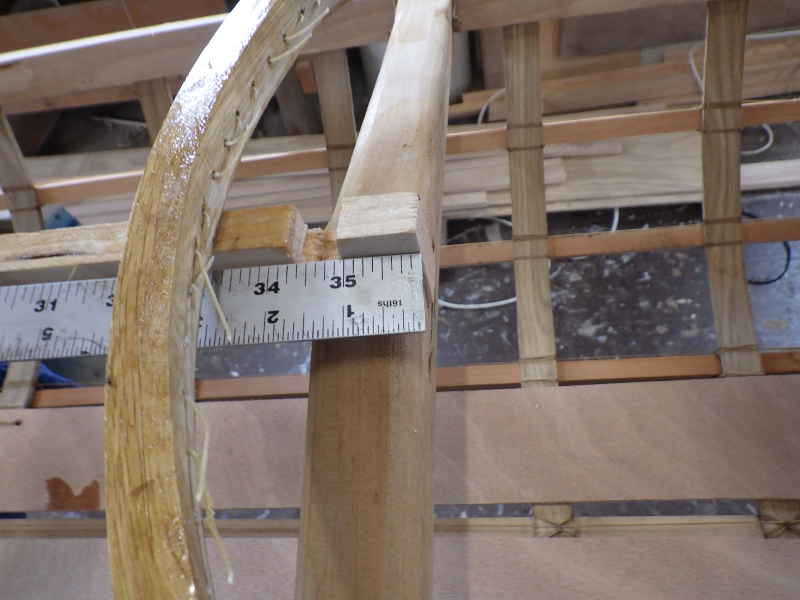
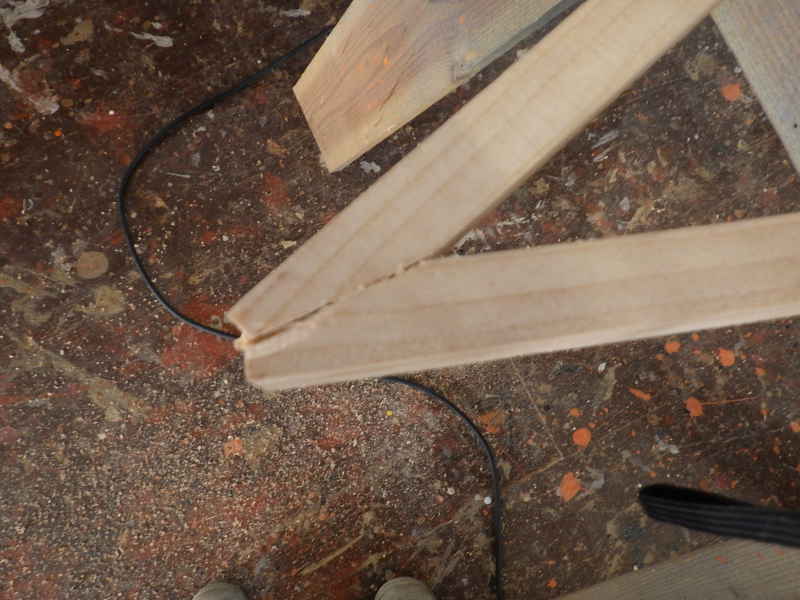
The forward deck beam will need to move about 3".
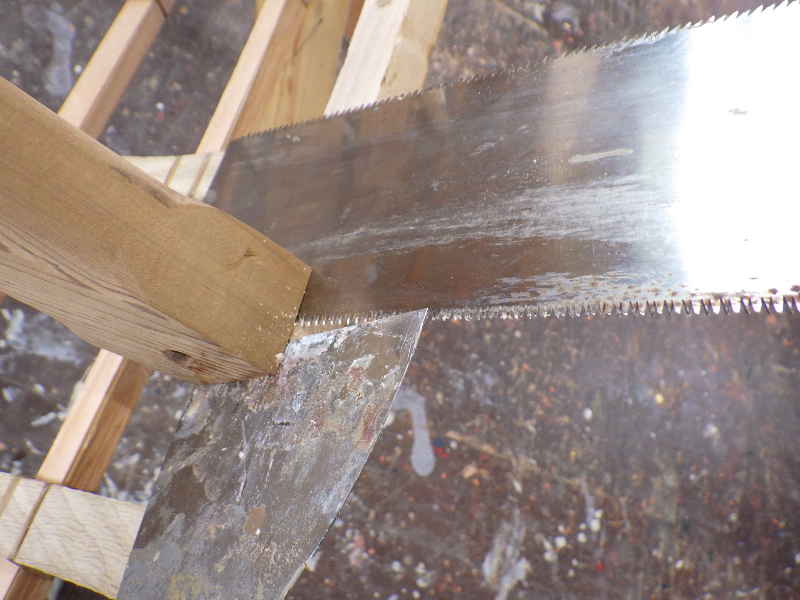
I used a scraper to pry the beam away from the gunnel just far enough to get the pull saw in to cut the peg.
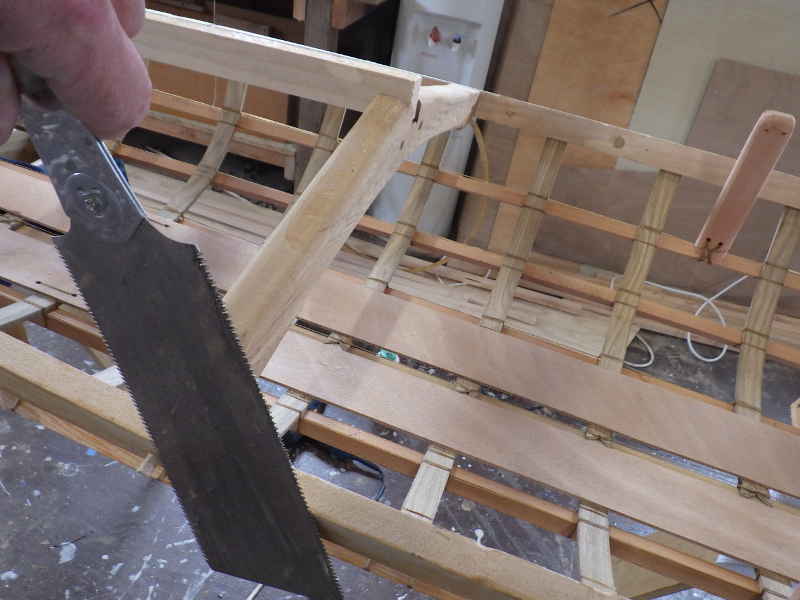
And then, move complete, pegged the deck beam into it's new place (and sawed off the excess peg before lashing.)
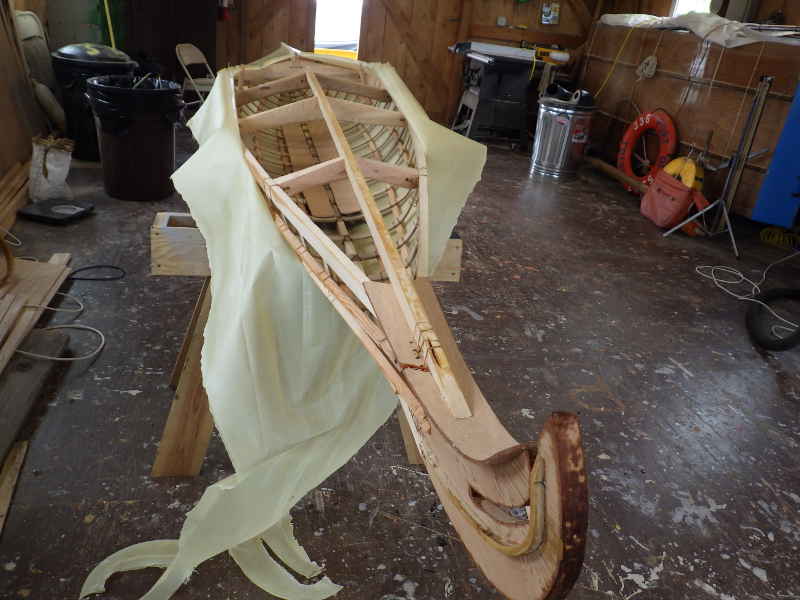
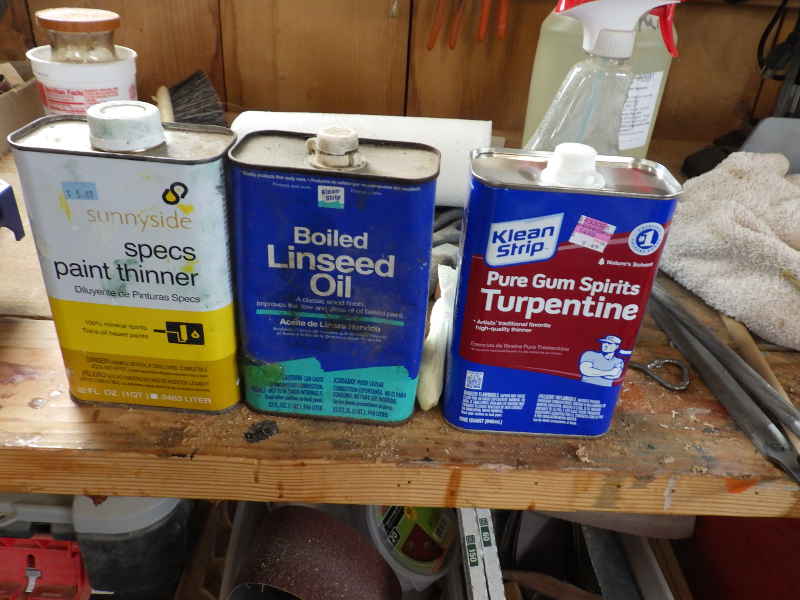
Since I had the skin off, I figured I'd remedy another issue I had. The books say there is no need to treat the wood of the kayak's skeleton. That's fine, but the skeleton is so damn pretty, it ought to look as good as it can. I turned to the ancient recipe of 1/3 Mineral Spirits, 1/3 Boiled Linseed Oil, and 1/3 Turpentine for my wood treatment. This is reputed to penetrate, seal, and dry.
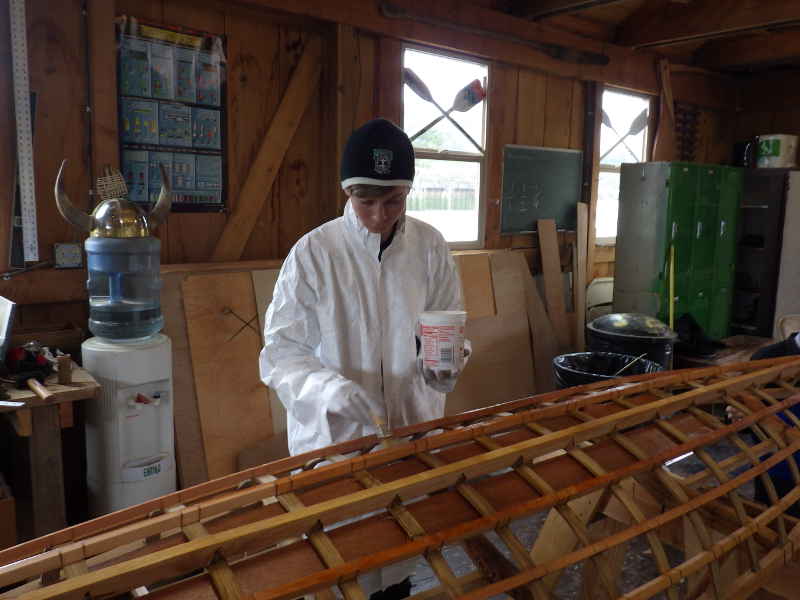
I'd gotten started when Landon walked in. He's a great kid, an excellent sailor, and will be conducting sailing classes out of the Boathouse all summer long. Fantastic! Here, here's a brush, some gloves, and a smock. Get to it.
Geoff came in and trimmed off a little of the pokey bits on the aft stringer.
Landon did a final inspection of his work Excellent. I am much happier with the skeleton now it has been treated.
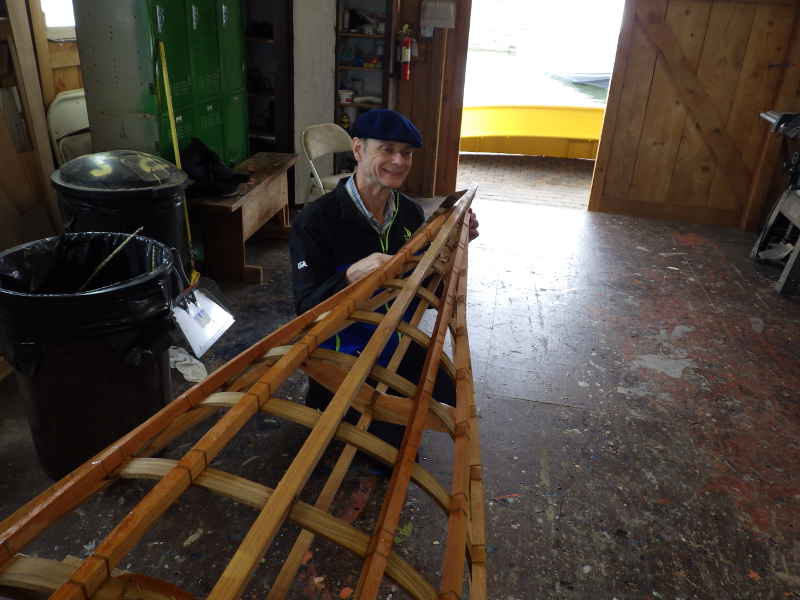
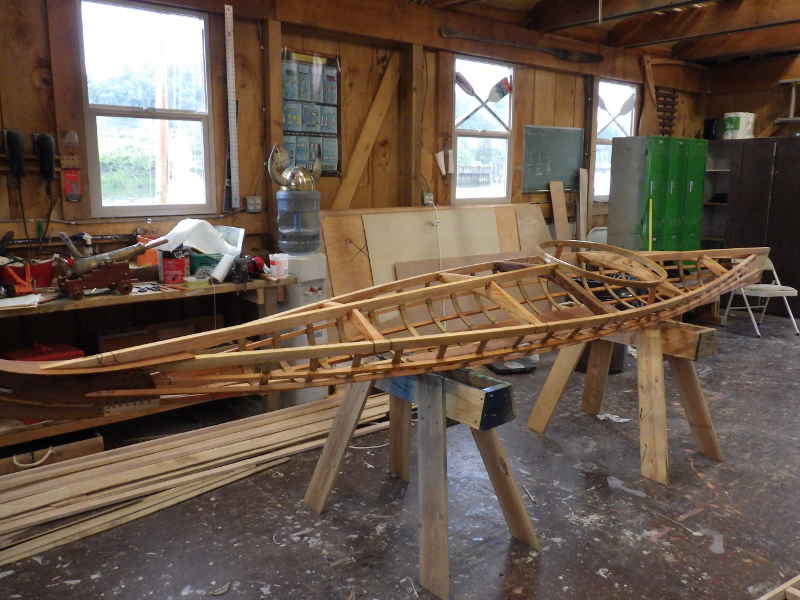
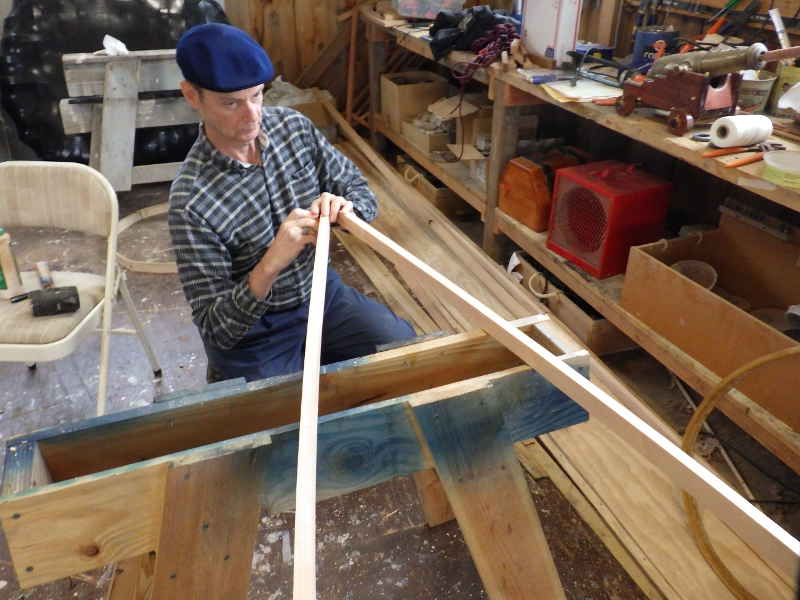
While they were doing that, I was lashing together the deck beams for the new kayaks. I am changing up the cockpit to make it easier to get into - going with a 20x31 keyhole hatch. I thought those braces would help with rigidity. Geoff - a NOAA naval architect, didn't actually come out and say "No." but he did ask me if I'd ever seen a kayak with those in any pictures. I got the idea. I might be slow, but I'm also stupid.
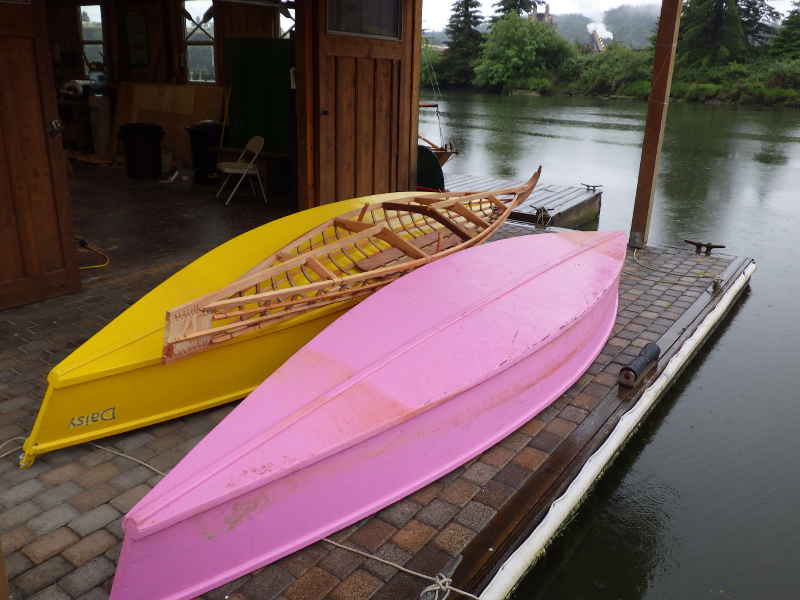
7pm rolled around, as 7pm often does, and it was time to pack up. That is one lovely boat.
It's so pretty, I took another picture of it.
The weather went to crap overnight and I got stuck waiting for the train in the morning. Toledo is a working town, the train brings chips to the mill and hauls away rolls of fiber.
Welcome to Oregon in May.
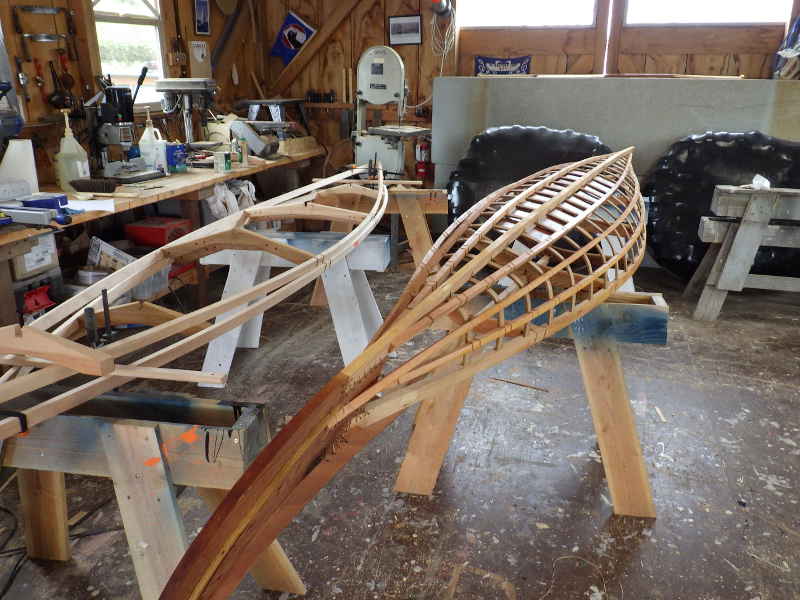
To give us some extra room, I stacked the kayak on top of out Lazy Weekend 2.0 canoes. It is a much prettier boat, too bad it can't hold a family of four or carry cargo of 700lbs.
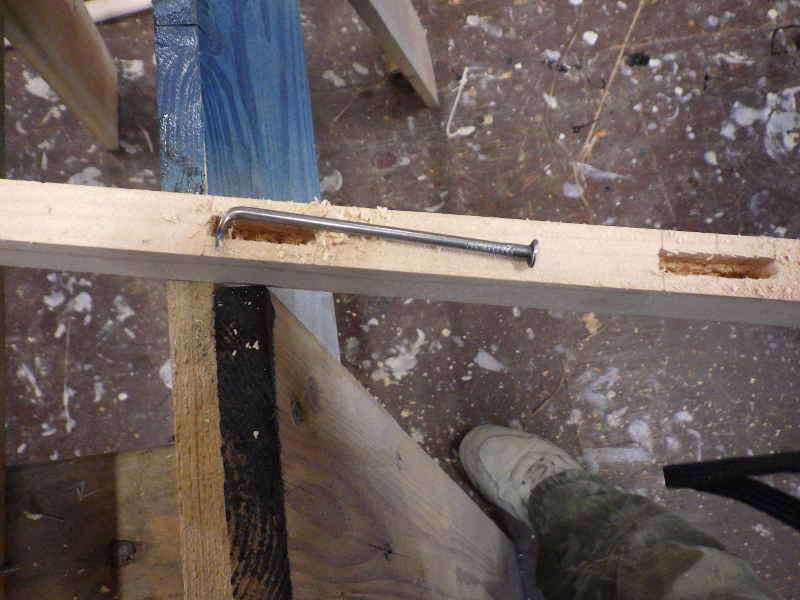
The mortising machine leaves a startling amount of sawdust in the mortises. The fastest way to get it out is to flatten the end of a big nail, square it off, and bend it into a hook. If I made a handle for it, it'd even be comfortable to hold.
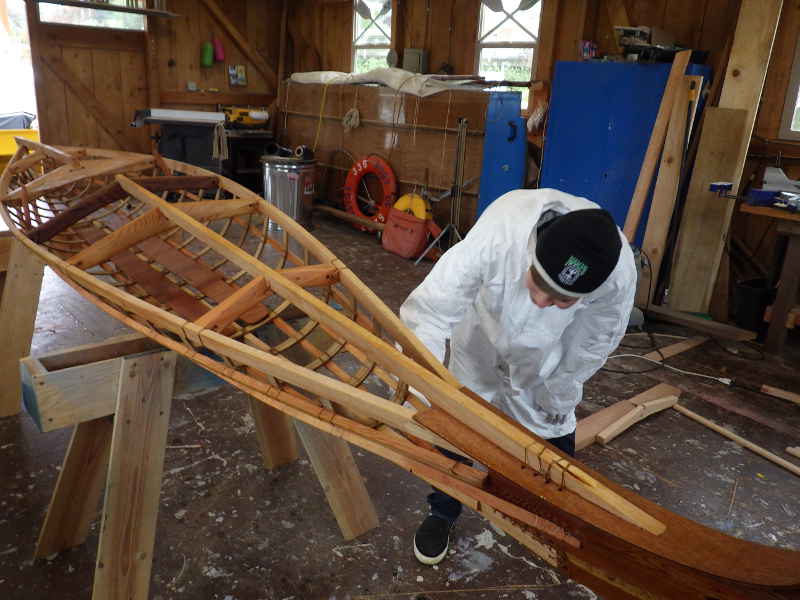
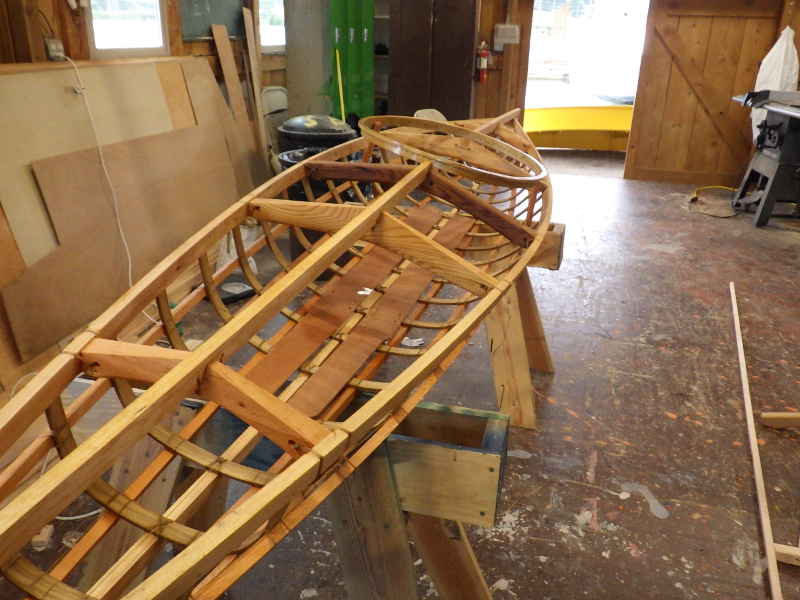
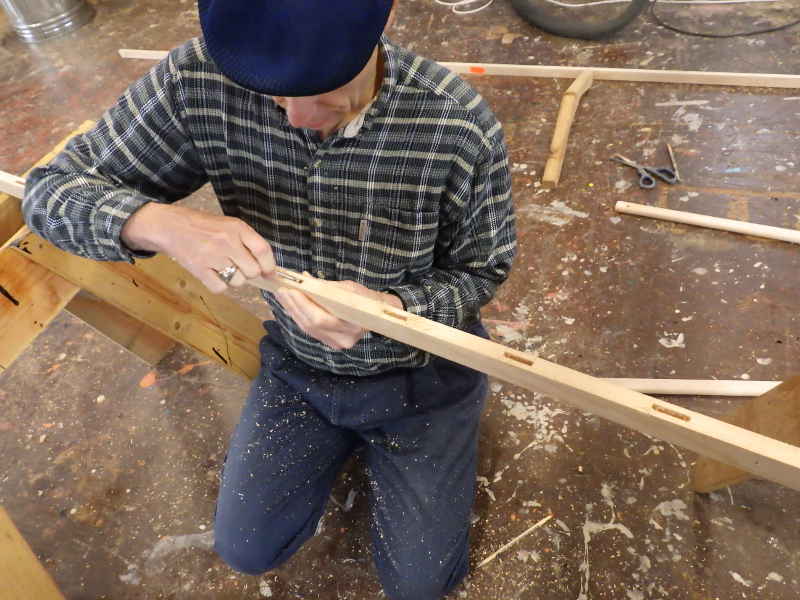
Geoff set to cleaning out the mortises while I turned my attention to deck beams.
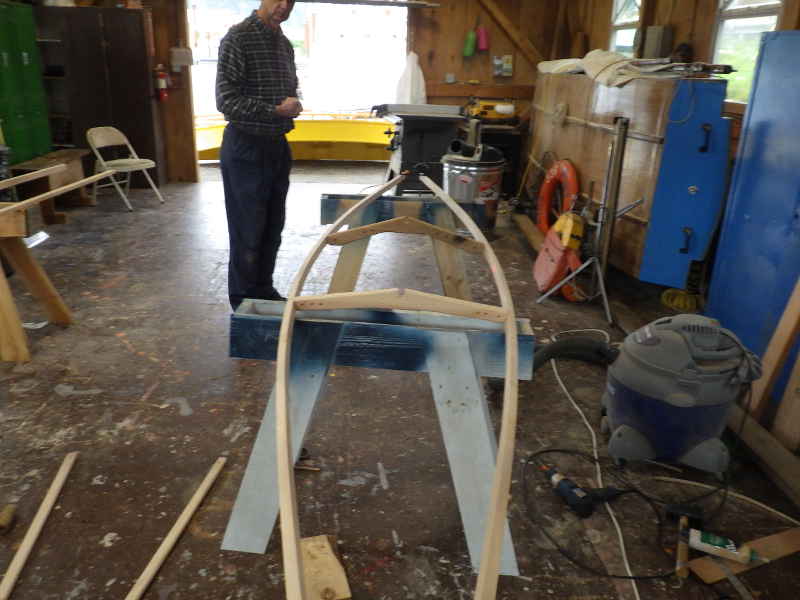
I lashed the cockpit deck beams into place and we bent the gunnels around them, holding the ends with bungee cords.
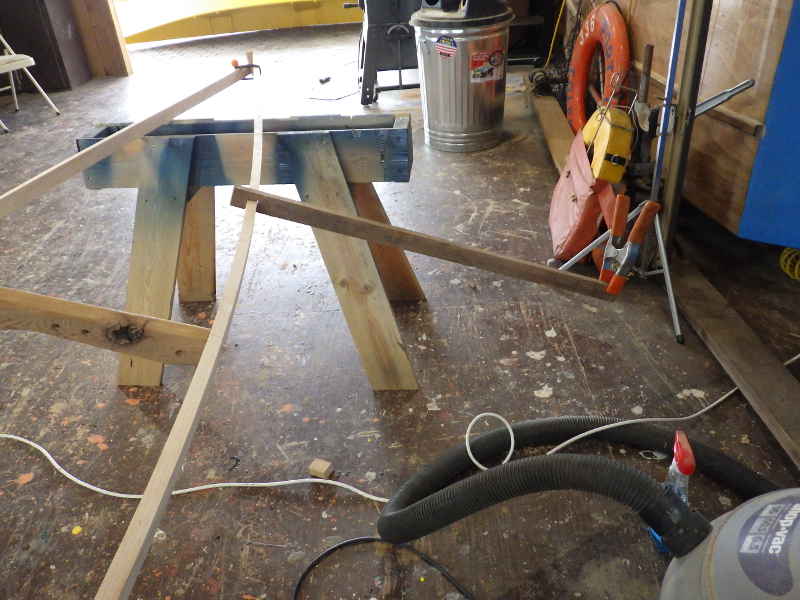
The ends don't really want to match up right and Geoff did a great job of clamping them into place. Still, the gunnels didn't want to twist quite right.
Geoff had to leave, so I made a Wood Wrench - a stick with a notch in it and some weight hanging off the end - to twist the gunnel into shape.
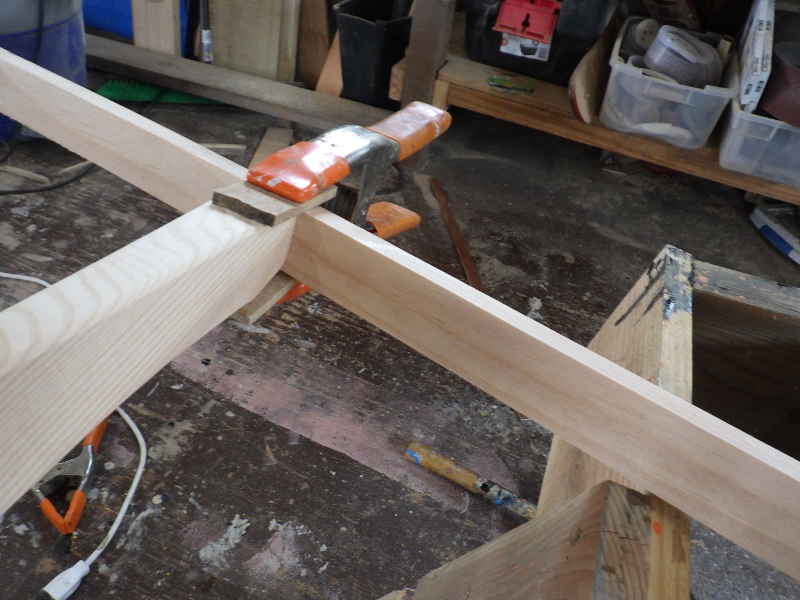
This design has a bit of a reverse sheer to it, so I put a slightly taller sawhorse in the middle and clamped the ends down to help me approximate the shape.
With no one to help, I had to come up with a way to hold the deck beam in place while I drilled and pegged the beam into place. A large spring clamp with pads of scrap wood worked nicely.
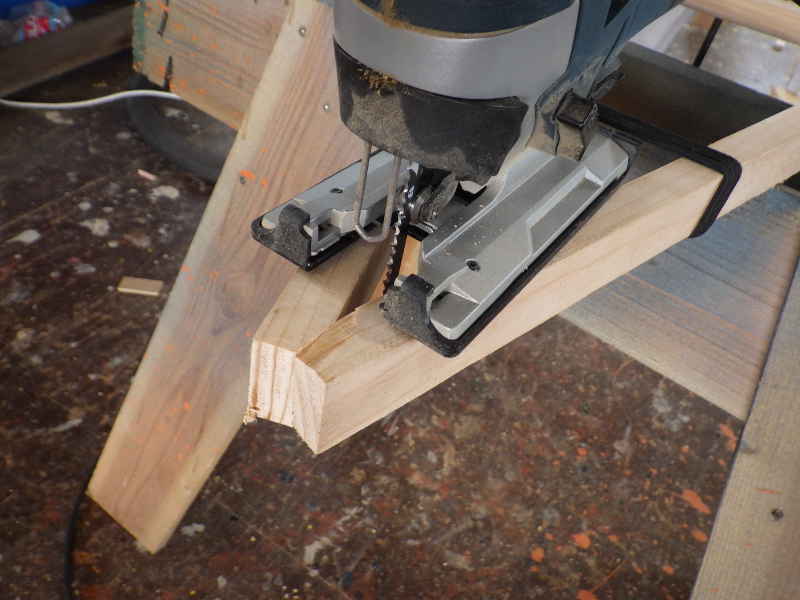
Once the deck beams were in place, I needed to get the ends of the gunnels to lay nicely. The right way to do this is to use your narwhal tusk chisel to carefully shave off wood and balance it all "by-the-eye." Another is to clamp the boards together tightly and use a saber saw with the Orbital Action set to max.
That's nice.
I want to build the next two kayaks in tandem, so I make all my mistakes at once. I was unable to get the deck beams installed on the second one before I ran out of time. Next week will be very busy - re-skinning the first kayak and getting the beams, stems, and keels installed on the other two.
|